
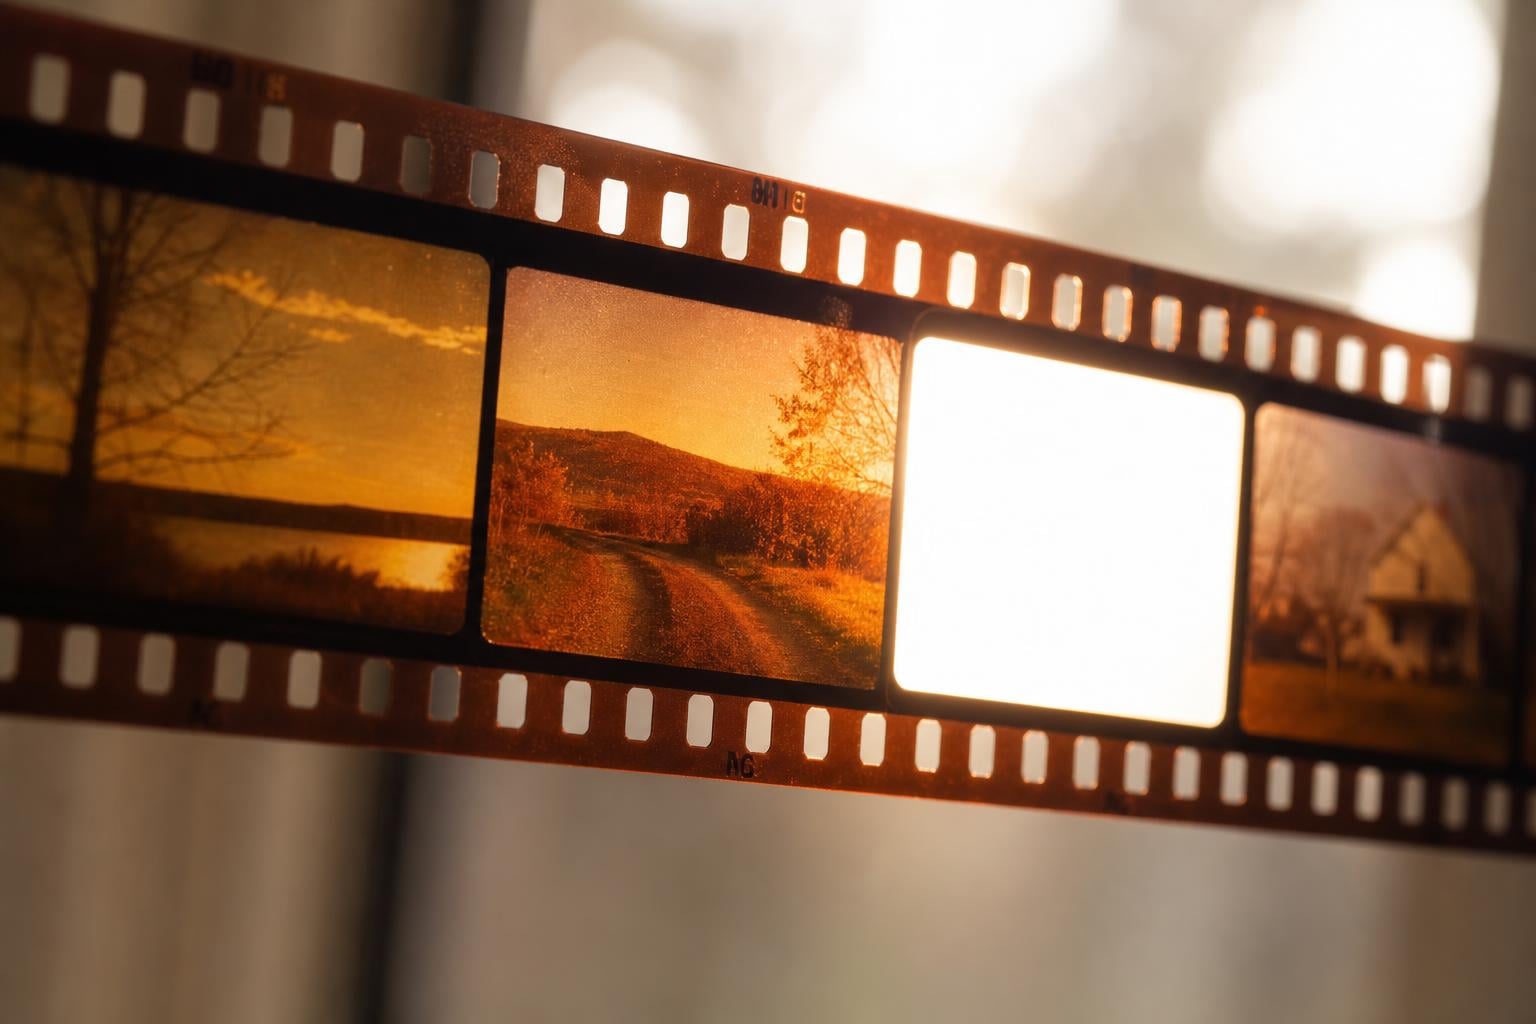
Slide film is so easy to ruin with wrong exposure because it has an exceptionally narrow exposure latitude of roughly 3 to 4 stops, compared to 5 to 7 stops for color negative film. The E-6 reversal process creates a positive image directly on the film base with no safety net. Any exposure error is baked in permanently. Overexposure blows highlights into unrecoverable white, while underexposure creates muddy, dark slides with shifted colors.
I have shot enough ruined rolls of transparency film to understand this frustration firsthand. One bright snowy afternoon with a fresh roll of Velvia taught me a lesson I will never forget. Every single frame came back from the lab blown out to pure white with zero highlight detail. That expensive mistake sent me down a rabbit hole to understand exactly why slide film punishes exposure errors so harshly.
Once you understand the chemistry and physics behind how reversal film works, the harshness starts making sense. This article breaks down the technical reasons, explains what goes wrong when you miss your exposure, and gives you practical metering techniques to avoid wasting another roll. Whether you are transitioning from digital, moving up from negative film, or just curious about why slide film has such a daunting reputation, you will find clear answers here.
Table of Contents
What Is Exposure Latitude and Why Does Slide Film Have So Little?
Exposure latitude is the range of exposure errors a film can tolerate while still producing an acceptable image. Think of it as a safety margin. If you overexpose or underexpose within that range, your photo still looks good. Step outside that range, and the image falls apart.
Color negative film (C-41 process) has a wide latitude of roughly 5 to 7 stops. That means you can be off by two or three stops in either direction and still recover a usable photo during scanning or printing. Black and white film is even more forgiving, sometimes tolerating 7 to 9 stops of error. This is why beginners are told to start with negative film. It forgives mistakes.
Slide film, also called transparency film or reversal film, typically has a latitude of only 3 to 4 stops total. Some high-contrast stocks like Fujifilm Velvia have even less. That means the window between too dark and too bright is roughly half the size of what you get with negative film. A 1/2 stop error is visibly noticeable. A full stop error can ruin the frame.
Here is the technical reason that matters so much. As noted in a detailed discussion on the Photrio photography forum, for any given exposure increase, a slide’s density increases roughly twice as much as a negative’s density. This means slide film reacts to light changes about twice as aggressively as negative film does. The film simply does not have the ability to compress highlights the way negative film does.
Negative film has what photographers call a “shoulder” in its characteristic curve. When light hits the film heavily, the density response gradually flattens out. This shoulder compresses highlight information, keeping it recoverable even when overexposed by a stop or two. Slide film lacks this shoulder. Instead, its density response ramps up steeply and then hits a hard ceiling. Once you exceed that ceiling, the detail is gone permanently.
This is why a shot that would look perfectly fine on Portra 400 can come back completely blown out on Velvia 50. The same scene, the same light, the same camera. The difference is entirely in how the film chemistry handles excess light.
The Science: How the E-6 Reversal Process Creates Fragile Positives?
To understand why slide film is so unforgiving, you need to understand what happens inside the film during development. Slide film uses the E-6 chemical process, which is fundamentally different from the C-41 process used for color negative film.
Both films start the same way. Light hits silver halide crystals embedded in multiple dye layers within the film emulsion. In color film, there are typically three layers sensitive to red, green, and blue light respectively. Each layer contains dye couplers that will eventually form the final color image.
Here is where the paths diverge. In the C-41 negative process, the film is developed once. The silver halide that was exposed to light becomes metallic silver and is retained, while dye couplers form a colored image. The result is a negative image where bright areas appear dark and dark areas appear bright. When you print or scan, you invert that relationship. That inversion step provides a natural compression of tones that smooths over small exposure errors.
The E-6 process adds a critical extra step called reversal. After the first development, the film goes through a chemical reversal bath that essentially flips the image from negative to positive. The unexposed silver halide, which would normally be removed, is exposed to light and developed a second time. This second development creates the dye image in the areas that were not exposed to light during the original photograph.
What this means practically is that the slide you hold in your hand is the final image. There is no printing step, no inversion, no tone compression. Whatever light hit the film during exposure determines the final density of each area. The film is both the capture medium and the display medium.
This is the core reason slide film is so easily ruined. With negative film, the printing or scanning step acts as an interpreter between the negative and the final image. A skilled scanner operator or darkroom printer can compensate for exposure errors by adjusting brightness, contrast, and color balance during that translation. With slide film, there is no translation step. The exposure mistakes are permanent.
The E-6 process also produces a much steeper contrast curve than C-41. This steepness is what gives slide film its famous punchy colors and deep blacks. But it is also what makes the film so fragile. A steep curve means small changes in exposure produce large changes in density. One-third of a stop can mean the difference between rich, saturated colors and blown-out white.
What Happens When You Overexpose Slide Film?
Overexposure is the most common and most devastating mistake you can make with slide film. When too much light hits the film, several things happen in sequence, and none of them are recoverable.
First, the brightest areas of your scene lose all detail. On negative film, an overexposed sky might still show subtle gradations and cloud texture. On slide film, that same sky becomes a solid block of pure white with nothing but the clear film base showing through. There is no data there. No scanner or editing software can bring back detail that was never captured.
Second, colors wash out and lose saturation. The rich, vibrant tones that make slide film famous depend on accurate exposure. Overexpose by even half a stop and those tones shift toward pastel, then toward white. A deep blue sky becomes pale blue. A rich red flower becomes washed-out pink. The color information is literally being diluted by excess light.
Third, the transition between properly exposed and overexposed areas becomes harsh and abrupt. On negative film, there is a gradual roll-off between highlight detail and blown areas. On slide film, the transition is sharp. You can see a hard line where the exposure exceeded the film’s capacity.
Here is a specific example from a Reddit user in the AnalogCommunity forum that illustrates this perfectly. They shot their first roll of Velvia 50 in bright snow conditions. Every single frame came back overexposed. The snow was pure white with zero detail. There was no texture, no shadow, no gradation. Just flat, empty white where beautiful snow scenes should have been. That entire roll was a total loss.
The consequences of overexposing slide film can be summarized clearly:
1. Blown highlights become pure white with no recoverable detail. Once the film base is showing through, no information exists to recover.
2. Color saturation drops dramatically in overexposed areas. Vibrant reds, blues, and greens shift toward washed-out pastels or pure white.
3. The density ceiling is hit abruptly, creating harsh transitions between properly exposed and blown areas with no gradual roll-off.
4. Multiple frames on a roll can be affected if the exposure error is systematic, such as leaving ISO set incorrectly or metering consistently wrong.
5. No amount of post-processing, scanning technique, or editing software can restore detail that was never captured on the film.
This last point cannot be emphasized enough. Forum after forum, the consensus is the same. Blown highlights on slide film are permanent. Unlike a raw digital file that might retain some highlight information in a stop of headroom, slide film simply has nothing there once the area goes clear.
What Happens When You Underexpose Slide Film?
Underexposure is less catastrophic than overexposure, but it still produces noticeably degraded results. When too little light reaches the film, the shadow areas suffer first and most dramatically.
The most visible symptom of underexposure is muddy shadows. Dark areas of your scene that should retain subtle detail and texture instead become flat, dark patches with no separation between tones. A shadow falling across a face might lose all facial detail in the shaded area. Tree bark in shadow becomes a solid dark mass. The fine gradations that make a photograph feel three-dimensional simply vanish.
Underexposure also causes noticeable color shifts. When slide film does not receive enough light, the dye layers do not form properly. Colors in shadow areas often take on a greenish, bluish, or grayish cast that looks unnatural. This is because the three color layers (red, green, and blue) respond differently at low exposure levels, and the imbalance becomes visible. A neutral gray shadow might shift green. A warm brown shadow might turn muddy gray.
Grain increases significantly in underexposed areas. Slide film that is rated at ISO 100 but exposed as if it were ISO 200 will show noticeably more grain structure, especially in shadows. The film’s dye clouds become more visible and less evenly distributed. What should be a smooth, fine-grained image takes on a rough, textured appearance in the darker regions.
The overall density of the slide becomes thin. Hold a properly exposed slide up to the light and it looks rich and vibrant. Hold an underexposed slide up to the light and it looks dark, flat, and lifeless. Colors that should pop instead look muted. The slide may even appear slightly out of focus because the reduced contrast softens apparent sharpness.
The consequences of underexposing slide film include:
1. Shadow detail collapses into flat, dark areas with no tonal separation or texture.
2. Color shifts appear in underexposed regions, typically toward greenish, bluish, or gray tones.
3. Grain becomes more pronounced and uneven, especially in darker areas of the frame.
4. Overall slide density is thin, producing dark, flat-looking transparencies that lack vibrancy.
5. Apparent sharpness decreases because the reduced contrast between tones softens edge definition.
The one silver lining with underexposure is that some recovery is possible during scanning. A skilled scanner operator can often lift shadow detail from a slightly underexposed slide. The information is thin, but it exists. This is why experienced photographers almost universally agree that if you must err, err on the side of underexposure with slide film.
The Underexpose vs Overexpose Debate: Which Is Worse?
For slide film specifically, overexposure is definitively worse than underexposure. This is one of the few topics in film photography where there is near-universal consensus among experienced shooters, and the reason comes down to information theory.
When you underexpose slide film, the shadow areas contain less dye density than ideal, but there is still some information there. A high-quality scanner can often extract usable detail from those thin shadows during digitization. The colors may be muted and the grain may be elevated, but the image is not completely lost.
When you overexpose slide film, the highlight areas contain zero information. The film is clear. There is nothing to extract. No scanner, no software, no editing trick can bring back detail that was never recorded. The blown highlight is permanent and absolute.
This is the opposite advice from what most photographers learn with negative film. With color negative film and black and white film, the common wisdom is to “expose for the shadows.” You give the film plenty of light so that shadow detail is captured, and the generous latitude of negative film handles any highlight excess gracefully during printing or scanning.
With slide film, the rule flips completely. You “expose for the highlights.” You meter from the brightest part of the scene where you want to retain detail, and you set your exposure to keep that area from blowing out. The shadows will fall where they fall. If they go dark, that is acceptable. If the highlights blow out, the frame is ruined.
This is why so many experienced slide film photographers recommend underexposing by 1/2 stop as a default starting point. That slight underexposure acts as an insurance policy against blown highlights. You trade a little shadow detail for highlight safety. Most slide film stocks handle this trade-off well because their shadows have more recoverable latitude than their highlights.
A contributor on the L-Camera forum put it well when they compared slide film to digital sensors. Both slide film and digital sensors share the characteristic that overexposure tends to blow highlights abruptly. Both have a hard ceiling that, once exceeded, destroys information permanently. The main difference is that digital sensors clip slightly more abruptly than slide film, but the behavior is fundamentally similar.
This comparison is useful for photographers coming to slide film from digital. If you have ever blown highlights on a raw digital file and tried to recover them in Lightroom, you understand the feeling. Slide film works the same way. Protect those highlights at all costs.
How to Meter for Slide Film Correctly?
Correct metering is the single most important skill for shooting slide film successfully. Because the margin for error is so narrow, your metering technique needs to be more deliberate and precise than what you might get away with using negative film.
The most reliable metering method for slide film is spot metering. Instead of reading an average of the entire scene, you use your camera’s spot meter (or a handheld spot meter) to read light from specific, small areas of the composition. This gives you direct control over which parts of the scene will be properly exposed and which will fall into shadow or highlight.
The standard approach is to spot meter from the brightest area of the scene where you want to retain detail. If you are photographing a landscape with a bright sky and darker foreground, meter from the sky near the horizon. Set your exposure based on that reading. The sky will be properly exposed with full detail, and the foreground will fall into shadow. This is the “expose for the highlights” principle in action.
Some photographers take this further by spot metering from both the brightest and darkest areas of the scene to measure the contrast range. If the difference between your brightest and darkest readings exceeds the film’s latitude (roughly 3 to 4 stops for most slide film), you know the scene is too high-contrast for a single exposure. You must either recompose, wait for different light, use a graduated neutral density filter, or accept that part of the scene will lose detail.
Incident light metering is another excellent option for slide film. An incident meter reads the light falling on the subject rather than the light reflecting off it. This avoids the problem of bright skies or dark subjects fooling a reflected-light meter. Hold the incident meter at your subject, point the dome toward the camera, and take your reading. This method is especially reliable for portraits and close-up work where the subject is accessible.
If you are using a modern digital camera alongside your film camera, you have a powerful metering tool already in your bag. Digital cameras provide instant histogram feedback, which tells you exactly where your highlights and shadows are falling. Shoot the same scene with your digital camera first, check the histogram to confirm no blown highlights, and then use those same exposure settings on your film camera loaded with slide film. Many photographers on Reddit and photography forums report excellent results with this hybrid approach.
Bracketing is a valuable safety net, especially when you are learning or when lighting conditions are tricky. Take your best-guess exposure, then shoot additional frames at plus and minus 1/3 or 1/2 stop increments. This costs you extra film, but it dramatically increases your chances of getting at least one perfectly exposed frame. Slide film is expensive, but a ruined roll is even more expensive when you factor in the wasted opportunity.
The Sunny 16 rule deserves mention here as well. This classic guideline states that on a bright, sunny day, correct exposure at f/16 is roughly 1/ISO seconds. For ISO 100 film, that means f/16 at 1/125 second. This rule gives you a baseline to sanity-check your camera’s meter readings. If your meter suggests something wildly different from Sunny 16 on a clear day, something may be wrong with your meter or your settings.
Common Exposure Mistakes and How to Avoid Them
Most slide film exposure problems fall into a handful of predictable categories. Here is a practical checklist of the most common mistakes and how to fix each one.
Mistake 1: Trusting the camera’s averaging meter in high-contrast scenes. Center-weighted and matrix meters are designed to produce a reasonable average exposure, but in high-contrast light, an average reading will often blow the highlights while leaving shadows muddy. Fix: Switch to spot metering and meter from the highlights where you want detail.
Mistake 2: Setting the wrong ISO. This is embarrassingly common and devastatingly effective at ruining film. If your camera is set to ISO 100 but you loaded ISO 50 film, every frame will be overexposed by a full stop. Fix: Check your ISO setting every time you load a new roll. Make it a physical habit, like buckling a seatbelt.
Mistake 3: Not accounting for bright backgrounds. A bright sky behind your subject will fool a reflected-light meter into underexposing the subject. The meter sees all that brightness and reduces exposure, turning your subject into a silhouette. Fix: Use an incident meter at the subject position, or use fill flash to balance the exposure.
Mistake 4: Metering through filters without compensating. If you use a polarizing filter, graduated neutral density filter, or color correction filter, your TTL meter may or may not read through it accurately depending on your camera. Fix: Test your specific camera and filter combination. When in doubt, manually compensate for the filter factor.
Mistake 5: Assuming slide film behaves like negative film. This is the most fundamental mistake. Photographers who are used to the forgiving nature of negative film often apply the same “expose for the shadows” approach to slide film and end up with blown highlights everywhere. Fix: Internalize the opposite rule. Expose for the highlights with slide film.
Mistake 6: Shooting in harsh midday sun without understanding the contrast range. The difference between bright sunlight and deep shadow on a clear day can easily exceed 7 stops, far beyond slide film’s 3 to 4 stop latitude. Fix: Shoot during the golden hour, on overcast days, or in open shade where the contrast range is more manageable.
Quick reference cheat sheet for slide film exposure:
Always meter for the highlights. Underexpose by 1/3 to 1/2 stop as insurance in bright conditions. Avoid scenes with more than 4 stops of contrast. Use spot metering or an incident meter. Bracket important shots. Shoot in soft light when possible. Check your ISO setting every time you load film.
Does Film Stock Matter? Velvia vs Provia vs Ektachrome
Not all slide films behave identically when it comes to exposure tolerance. The three most commonly available stocks today each have their own personality and latitude characteristics.
Fujifilm Velvia (available in ISO 50 and ISO 100) is the most demanding of the group. It is famous for its ultra-saturated colors and razor-sharp fine grain, but it has the narrowest exposure latitude of any current slide film. Many experienced shooters report that Velvia 50 has barely 2.5 stops of usable latitude. It rewards precise metering with some of the most beautiful colors in all of film photography, but it punishes errors ruthlessly. Velvia is best for controlled lighting situations like landscapes during golden hour.
Fujifilm Provia (ISO 100) is the workhorse of the slide film world. It offers slightly more latitude than Velvia, roughly 3.5 stops, and produces natural, balanced colors without the heavy saturation boost. Provia is more forgiving of minor exposure errors and is the stock most photographers recommend for people shooting their first few rolls of slide film. It handles portraits, street scenes, and general photography better than the more specialized Velvia.
Kodak Ektachrome (E100, ISO 100) sits between Velvia and Provia in terms of color character. It produces clean, natural colors with excellent skin tones and fine grain. Its exposure latitude is comparable to Provia at roughly 3.5 stops. Ektachrome is particularly well-regarded for its accurate color reproduction, making it a favorite for product photography, documentation, and any situation where color fidelity matters more than dramatic saturation.
The practical takeaway is that if you are new to slide film, start with Provia or Ektachrome. Both stocks give you a slightly wider margin for error while you learn proper metering technique. Save Velvia for when you have built confidence and are shooting in conditions you can control. That high saturation comes at the cost of exposure fragility.
FAQs
What are the disadvantages of slide film?
The main disadvantages of slide film are: (1) Very narrow exposure latitude of only 3-4 stops compared to 5-7 stops for color negative film; (2) Extremely unforgiving of overexposure, which causes blown highlights that cannot be recovered; (3) Higher cost for both the film stock and E-6 processing; (4) Limited film speed options with most stocks maxing out at ISO 100; (5) Requires precise metering technique, especially in high-contrast scenes; (6) Fewer labs offer E-6 processing compared to standard C-41 negative processing.
Is it better to underexpose slide film?
Yes, it is generally better to slightly underexpose slide film rather than overexpose it. Overexposure causes blown highlights that permanently destroy image detail with zero recovery possible. Underexposure, while it causes muddy shadows and some color shift, retains more recoverable information that can often be lifted during scanning. Most experienced slide film photographers recommend exposing 1/3 to 1/2 stop below the meter reading to protect highlights, particularly in bright outdoor conditions.
What is the Sunny 16 rule in film photography?
The Sunny 16 rule is a classic exposure guideline stating that on a bright sunny day, correct exposure is achieved by setting your aperture to f/16 and your shutter speed to the reciprocal of your film ISO. For ISO 100 film, that means f/16 at 1/125 second. This rule is especially useful for slide film shooters because it provides a reliable baseline to verify your camera’s light meter or to shoot without a meter entirely in bright conditions.
Is slide film hard to shoot?
Slide film is harder to shoot than color negative film but not impossibly difficult. The main challenge is its narrow exposure latitude of roughly 3-4 stops compared to 5-7 stops for negative film. Even 1/3 to 1/2 stop of error is visible in the final results. However, with proper metering technique, specifically spot metering and the expose-for-the-highlights rule, most photographers can learn to shoot slide film successfully within a few rolls.
Is it worse to overexpose or underexpose slide film?
For slide film, overexposure is definitively worse than underexposure. Overexposure causes blown highlights that permanently lose image detail. Once an area goes clear on transparency film, no scanner or editing software can recover it. Underexposure causes darker slides with muddy shadows and muted colors, but the information is often still recoverable during scanning. This is the opposite of negative film, where slight overexposure is generally preferred.
Is it okay to overexpose film?
It depends entirely on the film type. For color negative film, slight overexposure of 1-2 stops is generally fine and can produce smoother tones. For slide film, even slight overexposure is dangerous because it compresses and destroys highlight detail. Slide film has very little overexposure latitude, and overexposing by more than 1/3 to 1/2 stop can cause permanently blown highlights. For slide film, always err on the side of slight underexposure.
Is it better to overexpose or underexpose black and white film?
For black and white film, slight overexposure of 1/3 to 1 stop is generally preferred over underexposure. Overexposed black and white film produces a denser negative with more highlight detail that can be controlled during printing or scanning. Underexposed black and white film produces thin negatives with excessive grain and lost shadow detail. This is the exact opposite advice from slide film, where underexposure is preferred. The key difference is that black and white negative film has much wider exposure latitude than slide film.
Conclusion
Understanding why slide film is so easy to ruin with wrong exposure comes down to three core facts. The E-6 reversal process creates a final positive image directly on the film with no printing step to compensate for errors. The film’s density response is roughly twice as steep as negative film, meaning small exposure mistakes produce large density changes. And the absence of a highlight shoulder means blown highlights are permanent and unrecoverable.
The good news is that once you internalize these principles, shooting slide film becomes deeply rewarding. The same characteristics that make it unforgiving also make it capable of producing some of the most vibrant, sharp, and emotionally striking images in all of photography. There is nothing quite like holding a perfectly exposed slide up to the light and seeing those saturated colors glowing.
If you are about to shoot your first roll, remember the golden rules. Expose for the highlights. Use spot metering. Underexpose slightly in bright conditions. Start with Provia or Ektachrome before attempting Velvia. Shoot in soft light while you learn. And bracket your important shots until you build confidence. Every experienced slide film shooter has ruined rolls in their past. The difference between frustration and mastery is simply understanding the science and applying it consistently.