
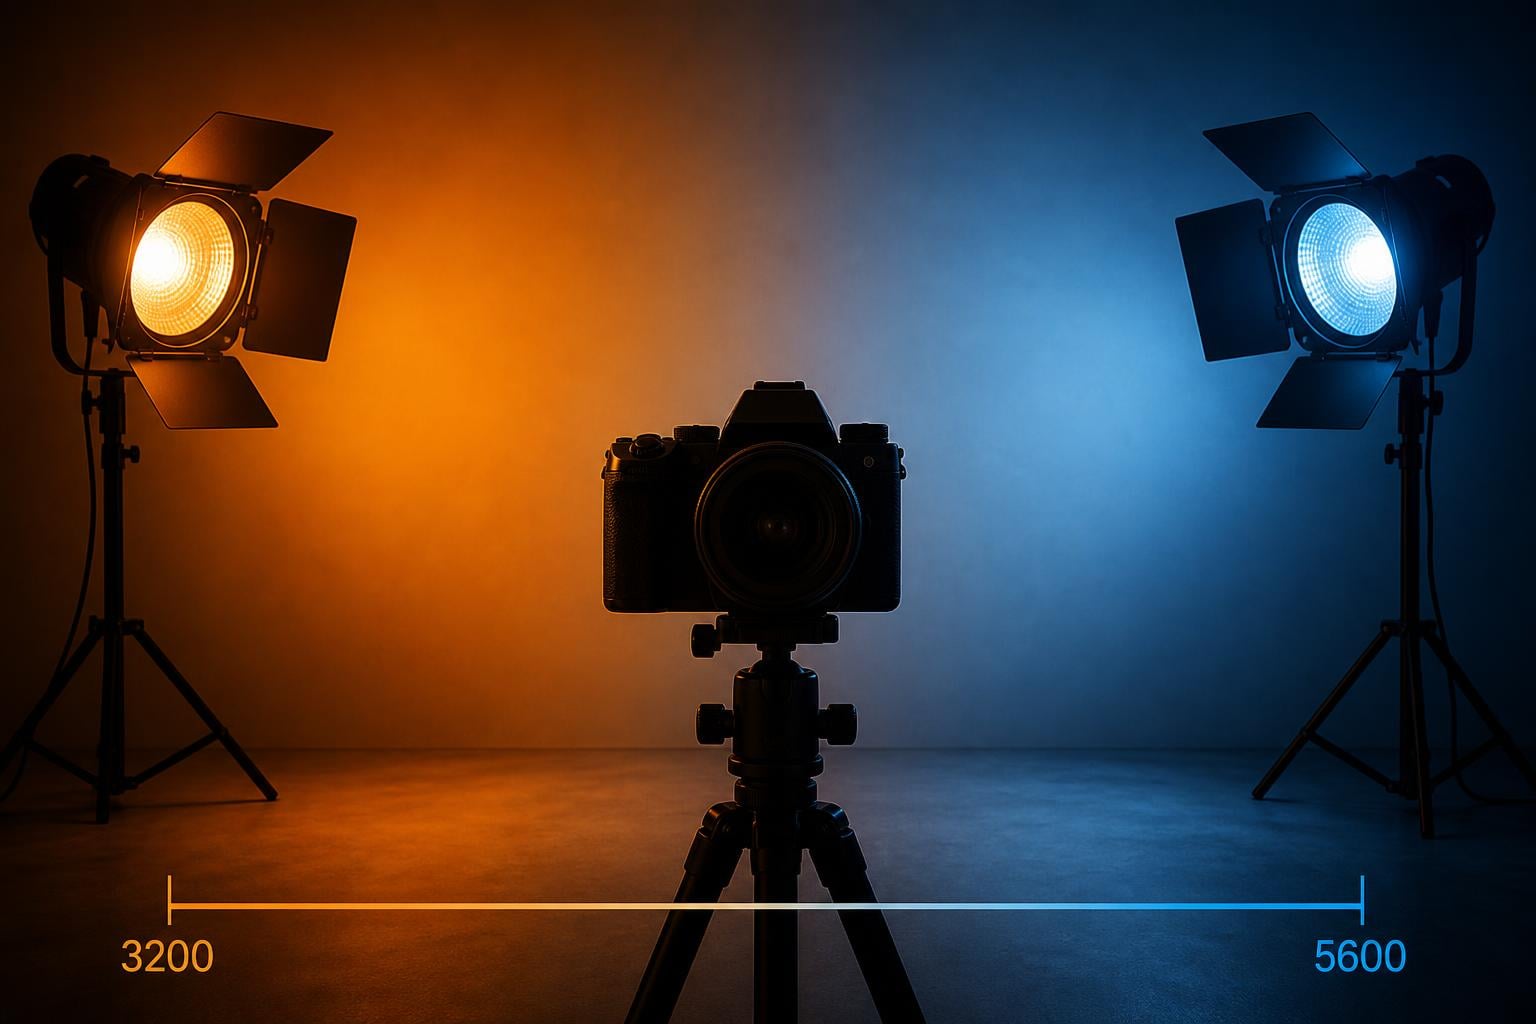
Auto white balance fails under mixed lighting because your camera tries to find a single average color temperature for the entire frame, but mixed lighting means different areas of your scene are lit by sources with completely different color temperatures. No single white balance value can correctly render both a 3200K tungsten bulb and a 5600K window at the same time. The result is a photo where one area looks properly colored while another takes on an unnatural yellow, blue, or green cast.
If you have ever photographed a wedding reception with overhead tungsten lights and large windows, you know this frustration intimately. One shot looks warm and golden. The next shot, taken two seconds later from a slightly different angle, shifts to a sickly green. You are not doing anything wrong. Your camera’s auto white balance (AWB) system is running into a fundamental limitation of how it processes color.
In this article, we will break down exactly what happens inside your camera when AWB encounters mixed lighting, why the averaging algorithm breaks down, and what you can do about it both in-camera and in post-processing. Whether you shoot weddings, real estate, or indoor portraits, understanding this technical limitation will change how you approach challenging lighting situations.
Table of Contents
What Is White Balance? (Quick Refresher)
White balance is the process of adjusting your camera so that white objects appear white in your photographs, regardless of the color of the light illuminating them. Our brains do this automatically and invisibly. A white piece of paper looks white to you whether you are standing under fluorescent office lights, warm living room lamps, or midday sun. Your camera cannot do this perfectly because it does not have a brain that “knows” what white looks like in context.
Instead, your camera uses white balance settings to compensate for the color cast of different light sources. Every light source has a characteristic color. Tungsten bulbs emit warm, orange-yellow light. Daylight is relatively neutral with a slight blue tendency. Shade is noticeably blue. Fluorescent tubes often have a greenish tint. White balance shifts the overall color of your image to cancel out these tints so neutral colors stay neutral.
You can set white balance manually using presets (Daylight, Tungsten, Fluorescent, etc.), by dialing in a specific Kelvin value, or by letting the camera decide automatically. That automatic mode, auto white balance, is where most mixed lighting problems begin.
Color Temperature and the Kelvin Scale
To understand why auto white balance fails, you need to understand color temperature. Color temperature describes the color characteristics of a light source, measured in Kelvin (K) on a scale derived from the color a theoretical “blackbody” emits when heated to different temperatures.
Lower Kelvin values produce warmer, more orange-red light. Higher Kelvin values produce cooler, more blue light. This can feel counterintuitive at first because we associate “warm” with high temperature in everyday language. In photography, a warm 2700K candle flame and a cool 10,000K blue sky are at opposite ends of the scale.
Here is a quick reference table of common light sources and their approximate color temperatures:
Candlelight: 1,500K to 2,000K (very warm, deep orange)
Incandescent or tungsten bulb: 2,700K to 3,200K (warm, orange-yellow)
Sunrise or sunset: 2,500K to 3,500K (warm golden tones)
Household LED (warm white): 2,700K to 3,000K (similar to tungsten)
Electronic flash: 5,500K to 6,000K (neutral, close to daylight)
Midday daylight: 5,000K to 5,600K (neutral white)
Overcast sky: 6,000K to 7,500K (slightly cool)
Open shade: 7,000K to 9,000K (cool, blue tones)
Clear blue sky: 10,000K to 15,000K (very cool, deep blue)
Most auto white balance systems operate within a range of roughly 3,000K to 7,000K. This covers the majority of common shooting situations. But notice the massive spread between tungsten at 2,700K and shade at 8,000K. When both appear in the same frame, your camera faces an impossible choice.
One more concept worth knowing is correlated color temperature (CCT). Not all light sources emit a clean spectrum of color. Fluorescent and LED lights have “spiky” spectral outputs that can shift green or magenta independently of their Kelvin value. This means even if your camera nails the Kelvin temperature, you can still end up with a green or magenta tint that pure white balance cannot fix.
How Auto White Balance Actually Works?
Auto white balance is not magic, even though it can feel that way when it works well. Your camera’s AWB system analyzes the colors across the entire frame, identifies what it assumes is a neutral reference (something that should be white or gray), and applies a correction to make that reference actually render as neutral. Most modern cameras also use a database of common lighting situations to improve accuracy.
Here is the key mechanism: AWB calculates an average color temperature across the entire scene. It samples millions of pixels, estimates the overall color cast, and applies a single correction value to the whole image. This works remarkably well when the scene is lit by one dominant light source. A landscape under midday sun, a portrait near a window, or a product shot under studio strobes all give AWB a consistent signal to work with.
However, this averaging approach has three built-in assumptions that cause problems. First, it assumes the scene contains something neutral that should appear gray or white. Second, it assumes one light source dominates. Third, it assumes any overall color cast is something to be corrected rather than preserved. All three assumptions can fail, and mixed lighting is where they fail hardest.
It is also worth noting that different camera brands use different AWB algorithms. Canon, Nikon, Sony, and Fujifilm all handle white balance calculations slightly differently. Some prioritize warm tones to preserve skin tones. Others prioritize neutral accuracy. This is why two photographers standing side by side with different cameras can produce noticeably different colors in the same mixed lighting scenario.
Another subtle issue: AWB recalculates for every single shot. If you are shooting a burst of photos at an event and a person in a bright yellow dress walks through your frame between shots, the AWB algorithm may interpret that sudden dominance of yellow as a color cast to correct. Your next shot shifts cooler. This is why wedding photographers on Reddit consistently report that AWB gives them different color temperatures for consecutive shots in the same scene.
Why Does Auto White Balance Fail Under Mixed Lighting?
Here is where we get to the heart of the problem. Auto white balance fails under mixed lighting because it can only apply one white balance correction to the entire frame, but mixed lighting creates a situation where different parts of the scene require different corrections. This is not a flaw in your specific camera. It is a mathematical impossibility.
Imagine a reception hall with large windows letting in 5,600K daylight while overhead tungsten bulbs pump out 3,200K warm light. The left side of your frame, lit by window light, needs one correction to look neutral. The right side, lit by tungsten, needs a completely different correction. AWB picks an average, maybe around 4,400K, and applies it everywhere. The result is that the daylight side looks slightly warm and the tungsten side looks slightly cool. Neither area is correct.
Cambridge in Colour notes that auto white balance “usually calculates an average color temperature for the entire scene” and that this averaging “tends to exaggerate the difference in color temperature for each light source.” In other words, the camera’s attempt to split the difference can actually make the color mismatch more visible than what your eyes perceive.
This happens because human vision has something cameras do not: chromatic adaptation. Your brain continuously adjusts white balance locally, effectively applying different corrections to different parts of your field of view simultaneously. You see the tungsten-lit wall and the daylight-lit window as both having neutral tones because your brain processes them independently. A camera captures everything in one frame with one white balance setting.
The second major problem is that in mixed lighting, there may be no single correct white balance at all. If you correct for the tungsten light, the window light goes blue. If you correct for the daylight, the tungsten areas go orange. There is no Kelvin value that makes both light zones look simultaneously correct. This is a concept that frustrates many photographers because it means no setting, manual or automatic, can fully solve the problem.
The third issue is the green-magenta shift, which is particularly common with fluorescent and some LED lighting. These light sources do not follow the clean Kelvin temperature curve. A fluorescent tube might read 4,000K but have a significant green spike in its spectral output. Your camera might correct the Kelvin temperature perfectly but leave a green tint that looks unnatural and is very difficult to remove with white balance alone. In mixed fluorescent and tungsten environments, you can end up with a green tint in one area and an orange tint in another, creating a color correction nightmare.
The fourth problem is AWB inconsistency across sequential shots. Because AWB recalculates for every frame, any change in composition can shift the calculated average color temperature. Zoom in on a subject wearing a warm-toned outfit and the whole image may shift cooler. Step back to include more of a blue wall and the image shifts warmer. For event photographers who need a consistent look across hundreds of photos from the same venue, this inconsistency is more problematic than the color inaccuracy of any individual shot.
Forum photographers describe this exact scenario repeatedly. On Reddit’s Wedding Photography community, shooters call reception halls with windows and tungsten overheads “nightmare lighting” because AWB delivers a different color temperature for nearly every photo. Real estate photographers have started abandoning AWB entirely in favor of fixed Kelvin settings to maintain consistency across all photos in a property shoot.
Common Mixed Lighting Scenarios That Break AWB
Not all mixed lighting situations are equally difficult. Here are the most common scenarios where AWB consistently struggles, ranked by how badly they break your camera’s white balance system.
Wedding and event receptions (tungsten plus daylight): This is the most widely reported problem scenario. Large windows let in cool daylight while warm tungsten or LED bulbs light the interior. The closer your subject is to a window, the more the color temperature shifts across their face and clothing. Wedding photographers on photo.stackexchange describe spending hours in post-processing trying to balance skin tones across a single event because AWB gave them a different baseline for every shot.
Real estate interiors (window plus interior lighting): Real estate photographers face the same tungsten-plus-daylight problem but with an added twist. They need consistent, accurate color across an entire property listing. If one room uses AWB and gets 4,200K while the next room calculates 4,800K, the photos look like they were taken in different houses. This is why many real estate photographers have moved to fixed Kelvin settings around 4,000K to 5,000K.
Fluorescent plus tungsten (office and commercial spaces): This combination introduces the dreaded green-magenta shift alongside the standard color temperature mismatch. Fluorescent tubes often have a green spike that AWB may or may not correct, while tungsten bulbs add warmth. You end up with green-tinted areas next to orange-tinted areas, and no single white balance setting fixes both.
Sunset plus interior lighting: Photographers shooting near sunset through windows face a rapidly changing color temperature outdoors while interior lighting stays constant. AWB recalculates with every shot as the outdoor light shifts from golden to blue, creating a series of photos with no color consistency.
Panorama and burst sequences: Any situation where AWB recalculates between shots creates problems for panorama stitching and burst photography. If each frame in a panorama has a slightly different color temperature, the stitched image shows visible color bands at the seams. The same applies to HDR bracketing where each exposure may receive a different AWB correction.
Predominantly single-color subjects: This is not strictly mixed lighting, but AWB also fails when a single color dominates the frame. Pink flowers, green foliage, or a yellow wall can trick the averaging algorithm into thinking the entire scene has a color cast. Digital Photography School highlights sunset photography as a prime example: AWB may strip away the warm golden tones you want to preserve because it interprets them as an unwanted orange cast.
In-Camera Solutions for Mixed Lighting
The most reliable fix for mixed lighting starts before you press the shutter. Here are the main in-camera approaches, ordered from simplest to most advanced.
1. Switch to a fixed Kelvin setting. Instead of letting AWB calculate a new value for every shot, dial in a specific Kelvin temperature and leave it there. Many event photographers use 5,000K as a neutral baseline that records what the camera sees without trying to correct for it. This gives you consistent results across every shot in a session, which matters more than perfect accuracy in any single frame.
2. Use a white balance preset. If you know the dominant light source, select the matching preset. Tungsten preset corrects for warm indoor bulbs. Daylight preset locks in a neutral 5,200K. This is faster than dialing in Kelvin and prevents the shot-to-shot inconsistency of AWB.
3. Set a custom white balance. Use a gray card or white balance tool like an ExpoDisc to measure the exact color temperature of your scene and save it as a custom setting. This gives you the most accurate single-source white balance possible, though it still cannot solve the fundamental mixed lighting problem of multiple color temperatures in one frame.
4. Gel your flash to match ambient light. If you are using flash in a tungsten-lit room, add a Color Temperature Orange (CTO) gel to your flash so its output matches the ambient tungsten color temperature. Now your flash and ambient light are both the same color temperature, and a single white balance setting works for the entire scene. This is a standard technique among professional wedding and event photographers.
5. Overpower the ambient light. If your flash is powerful enough relative to the ambient light, you can make the flash the dominant light source. This effectively eliminates the mixed lighting problem by replacing it with a single, known color temperature.
Post-Processing Fixes for Mixed Lighting White Balance
When in-camera solutions are not enough, post-processing gives you powerful tools to correct mixed lighting. The key requirement is that you shoot in RAW format, which preserves full white balance flexibility. JPEG files bake in the white balance at capture time and offer far less correction latitude.
Shoot RAW, always. This is the single most important advice for mixed lighting situations. RAW files store the uncorrected sensor data, letting you change white balance freely in Lightroom, Camera Raw, or Capture One without any quality loss. Every professional photographer dealing with mixed lighting relies on this safety net.
The multiple RAW conversion technique. For severely mixed lighting, process the same RAW file twice with different white balance settings. Set one version correct for the daylight areas and another correct for the tungsten areas. Then composite the two in Photoshop using a layer mask to reveal the correct version in each zone. This technique, shared on photo.stackexchange, is the most thorough way to handle scenes where two light sources illuminate different parts of the frame.
Use the eyedropper tool on a neutral reference. In Lightroom or Camera Raw, click the white balance eyedropper on any neutral gray or white object in your photo. If you shot with a gray card in the scene, click on that for an accurate starting point. Without a gray card, look for white shirts, gray suits, or neutral surfaces.
Selective adjustments with brushes or gradients. Use Lightroom’s adjustment brush or radial filter to apply different white balance corrections to different areas of the image. Warm up the subject’s face while cooling the background, or vice versa, depending on which light source you want to prioritize.
Check the Camera Calibration panel. Lightroom’s Camera Calibration panel contains Shadow Tint and primary color sliders that can help clean up residual green-magenta shifts that standard white balance controls cannot address. This is particularly useful for fluorescent mixed lighting scenarios.
A Real-Time Workflow for Event Photographers
Here is a practical, step-by-step workflow you can use the moment you walk into a mixed lighting venue. This combines insights from working wedding and event photographers on Reddit and photo.stackexchange.
Step 1: Identify your light sources. Take 30 seconds to look around. What types of light are in the room? Where are the windows? What color do the overhead lights appear? Are there fluorescent tubes or LED panels?
Step 2: Switch off AWB immediately. Set your camera to a fixed Kelvin value. Start at 4,000K for typical indoor mixed lighting and adjust from there. This prevents the shot-to-shot inconsistency that will haunt you in post-processing.
3. Take a reference shot with a gray card. Have someone hold a gray card in the primary shooting area. Take a photo, then use it later in post to set accurate white balance for the whole session.
Step 4: Gel your flash if using one. Match your flash color temperature to the dominant ambient light. CTO gels for tungsten environments, half-CTO for mixed situations, or no gel if you are overpowering ambient entirely.
Step 5: Shoot RAW throughout. Never shoot JPEG for events with mixed lighting. RAW gives you complete white balance flexibility with zero quality cost.
Step 6: Reassess when the light changes. As the sun sets and window light disappears, or as the venue dims the lights for a dance floor moment, reassess your Kelvin setting. The mixed lighting situation may resolve into a single-source scenario, or shift to a new mixed combination.
FAQs
Why does auto white balance struggle in mixed lighting?
Auto white balance struggles in mixed lighting because it calculates a single average color temperature for the entire frame. When two light sources with different color temperatures illuminate different parts of the scene, no single white balance value can render both areas accurately. The camera’s averaging algorithm also tends to exaggerate color differences between light sources.
Why is auto white balance bad?
Auto white balance is not inherently bad. It works well in most single-light-source situations. However, it fails when the scene has no neutral reference point, when a single color dominates the frame, when multiple light sources with different color temperatures are present, or when you want to preserve a creative color cast like warm sunset tones. AWB is designed to produce an average neutral image, which is not always the desired result.
What is white balance in mixed lighting?
White balance in mixed lighting refers to the challenge of rendering accurate colors when a scene is illuminated by two or more light sources with different color temperatures. In these situations there may be no single correct white balance. The photographer must choose which light source to prioritize, use different white balance settings for different areas via post-processing, or modify the light sources themselves using gels.
Can you fix mixed lighting white balance in post-processing?
Yes, mixed lighting white balance can be corrected in post-processing if you shoot RAW. Techniques include using the eyedropper tool on a neutral reference, applying selective white balance adjustments with brushes or gradients, using the multiple RAW conversion technique to process different light zones separately, and adjusting the Camera Calibration panel sliders for green-magenta shifts.
Should I shoot RAW or JPEG for mixed lighting?
Always shoot RAW for mixed lighting situations. RAW files preserve the uncorrected sensor data and allow you to change white balance freely in post-processing with zero quality loss. JPEG files bake in the white balance at capture time and offer very limited correction range, making them unsuitable for mixed lighting scenarios where significant white balance adjustment is often needed.
What is the best white balance setting for indoor mixed lighting?
For indoor mixed lighting, the best approach is to switch off auto white balance and set a fixed Kelvin value. Many event photographers use 5,000K as a neutral baseline that records what the camera sees without overcorrecting. Alternatively, use a custom white balance measured with a gray card for the most accurate single-source setting, or gel your flash to match the dominant ambient light color temperature.
Why does my camera give different white balance results for the same scene?
Auto white balance recalculates for every shot based on the colors in the frame. If you change composition, zoom, or if a colored subject moves through the frame, the AWB algorithm interprets the changing color balance differently and applies a different correction. This is why AWB can produce noticeably different color temperatures for consecutive shots taken seconds apart in the same location.
What is the 60-30-10 rule in photography?
The 60-30-10 rule is a color composition guideline suggesting that 60 percent of your image should be a dominant color, 30 percent a secondary color, and 10 percent an accent color. This creates visual balance and harmony. While not directly related to white balance, understanding this rule helps photographers work intentionally with color in mixed lighting situations.
Conclusion
Auto white balance fails under mixed lighting for a simple but fundamental reason: it can only apply one color temperature correction to the entire frame, and mixed lighting means different parts of your scene need different corrections. No firmware update or newer camera model can fully solve this mathematical limitation.
The good news is that you now understand exactly why it happens and have a toolkit of practical solutions. Switch to a fixed Kelvin setting for consistency. Shoot RAW for maximum post-processing flexibility. Gel your flash to match ambient light. Use the multiple RAW conversion technique for extreme cases. And remember that in mixed lighting, there is often no single correct white balance, only the best compromise for your specific situation.
The photographers who consistently produce accurate, natural-looking colors in mixed lighting are not the ones with the most expensive cameras. They are the ones who understand the limitation and work around it deliberately. Take control of your white balance, and you take control of your color.