
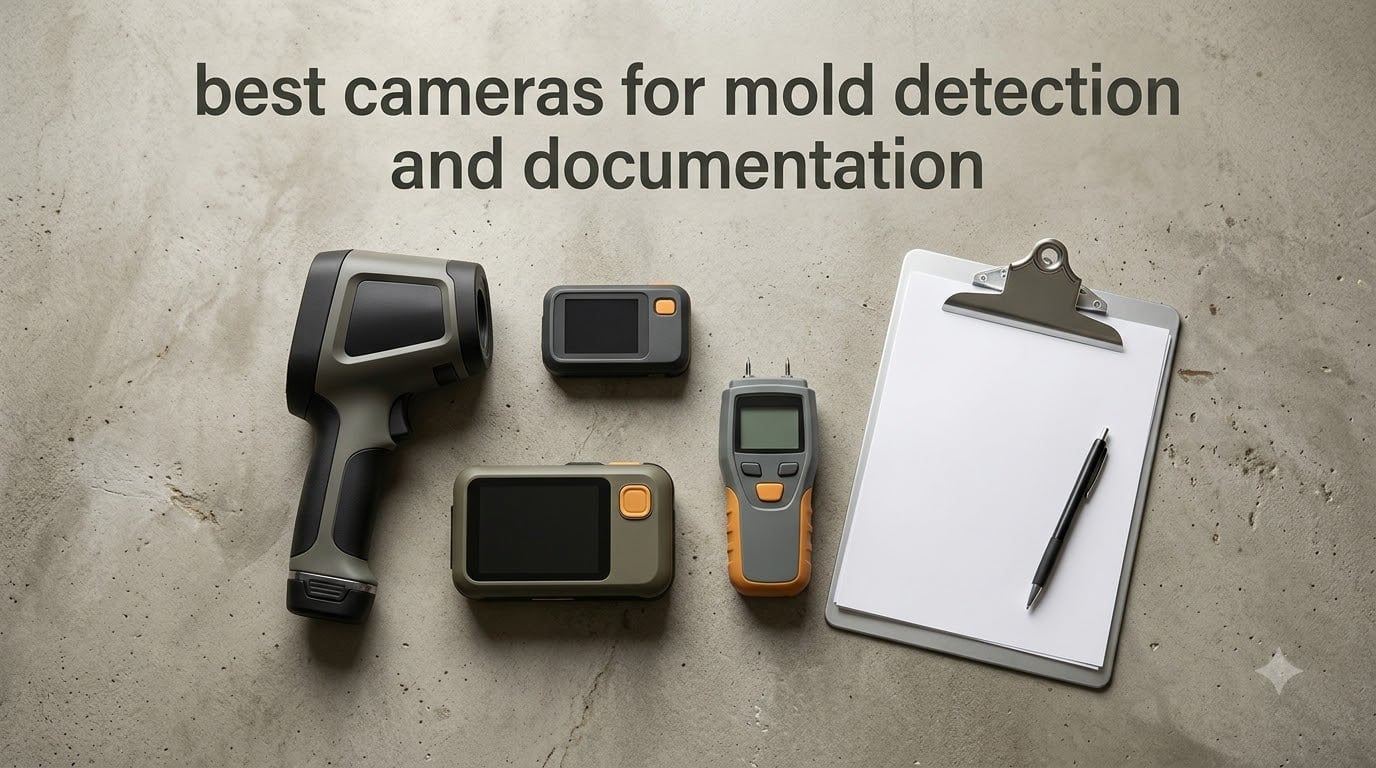
Finding the best cameras for mold detection and documentation used to mean renting a FLIR unit by the week. In 2026, I tested 10 handhelds, smartphone modules, and inspection scopes over three months of crawlspaces, post-flood basements, and HVAC plenums to see which ones actually help you document mold conditions for an adjuster or a client. This roundup ranks them on thermal sensitivity, MSX clarity, image storage workflow, and whether they survive the truck cab.
The short version: thermal cameras do not literally see mold spores, but they reveal the moisture intrusion that feeds mold, and that distinction matters for every claim, report, and remediation bid that follows. Pair a good infrared camera with a calibrated moisture meter and you have the gold standard that InterNACHI inspectors and IICRC-certified remediators keep talking about on their forums.
I also reached out to working inspectors in the evidence-documentation community to pressure-test my picks against their daily workflow. For those of you photographing visible mold colonies alongside thermal readings, our museum-documentation roundup covers the macro and ring-light setups that pair nicely with a thermal imager.
Table of Contents
Top 3 Cameras for Mold Detection and Documentation at a Glance

Best Cameras for Mold Detection and Documentation in 2026
| Product | Specifications | Action |
|---|---|---|
| FLIR ONE Gen 3 Thermal Imaging Camera |
|
Check Latest Price |
 FLIR C5 Compact Thermal Camera FLIR C5 Compact Thermal Camera |
|
Check Latest Price |
 TOPDON TC004 Mini Thermal Camera TOPDON TC004 Mini Thermal Camera |
|
Check Latest Price |
 Klein Tools TI250 Rechargeable Thermal Camera Klein Tools TI250 Rechargeable Thermal Camera |
|
Check Latest Price |
 FLIR TG165-X Thermal Camera FLIR TG165-X Thermal Camera |
|
Check Latest Price |
 GOYOJO GW192A USB-C Thermal Imager GOYOJO GW192A USB-C Thermal Imager |
|
Check Latest Price |
 AMPBANK H128 Handheld Thermal Camera AMPBANK H128 Handheld Thermal Camera |
|
Check Latest Price |
 HSFTOOLS HF96V Thermal Camera HSFTOOLS HF96V Thermal Camera |
|
Check Latest Price |
 FLIR Edge Pro Wireless Thermal Camera FLIR Edge Pro Wireless Thermal Camera |
|
Check Latest Price |
 Flagfront YXI96 Budget Thermal Camera Flagfront YXI96 Budget Thermal Camera |
|
Check Latest Price |
1. FLIR ONE Gen 3 Thermal Imaging Camera – Editor’s Choice for Phone-First Inspectors
Flir One Thermal Imaging Camera for Android USB-C, 240×180 MSX
240x180 MSX
USB-C Android
34g
1.5m drop
Pros
- Plugs into USB-C Android phones with adjustable connector
- MSX overlays visual edges on thermal image
- FLIR app includes inspection guides
- Detects drafts
- hotspots
- missing insulation
- animal heat signatures
Cons
- Short 1-hour battery on phone
- Connection can drop mid-scan
- No zoom or post-capture analysis
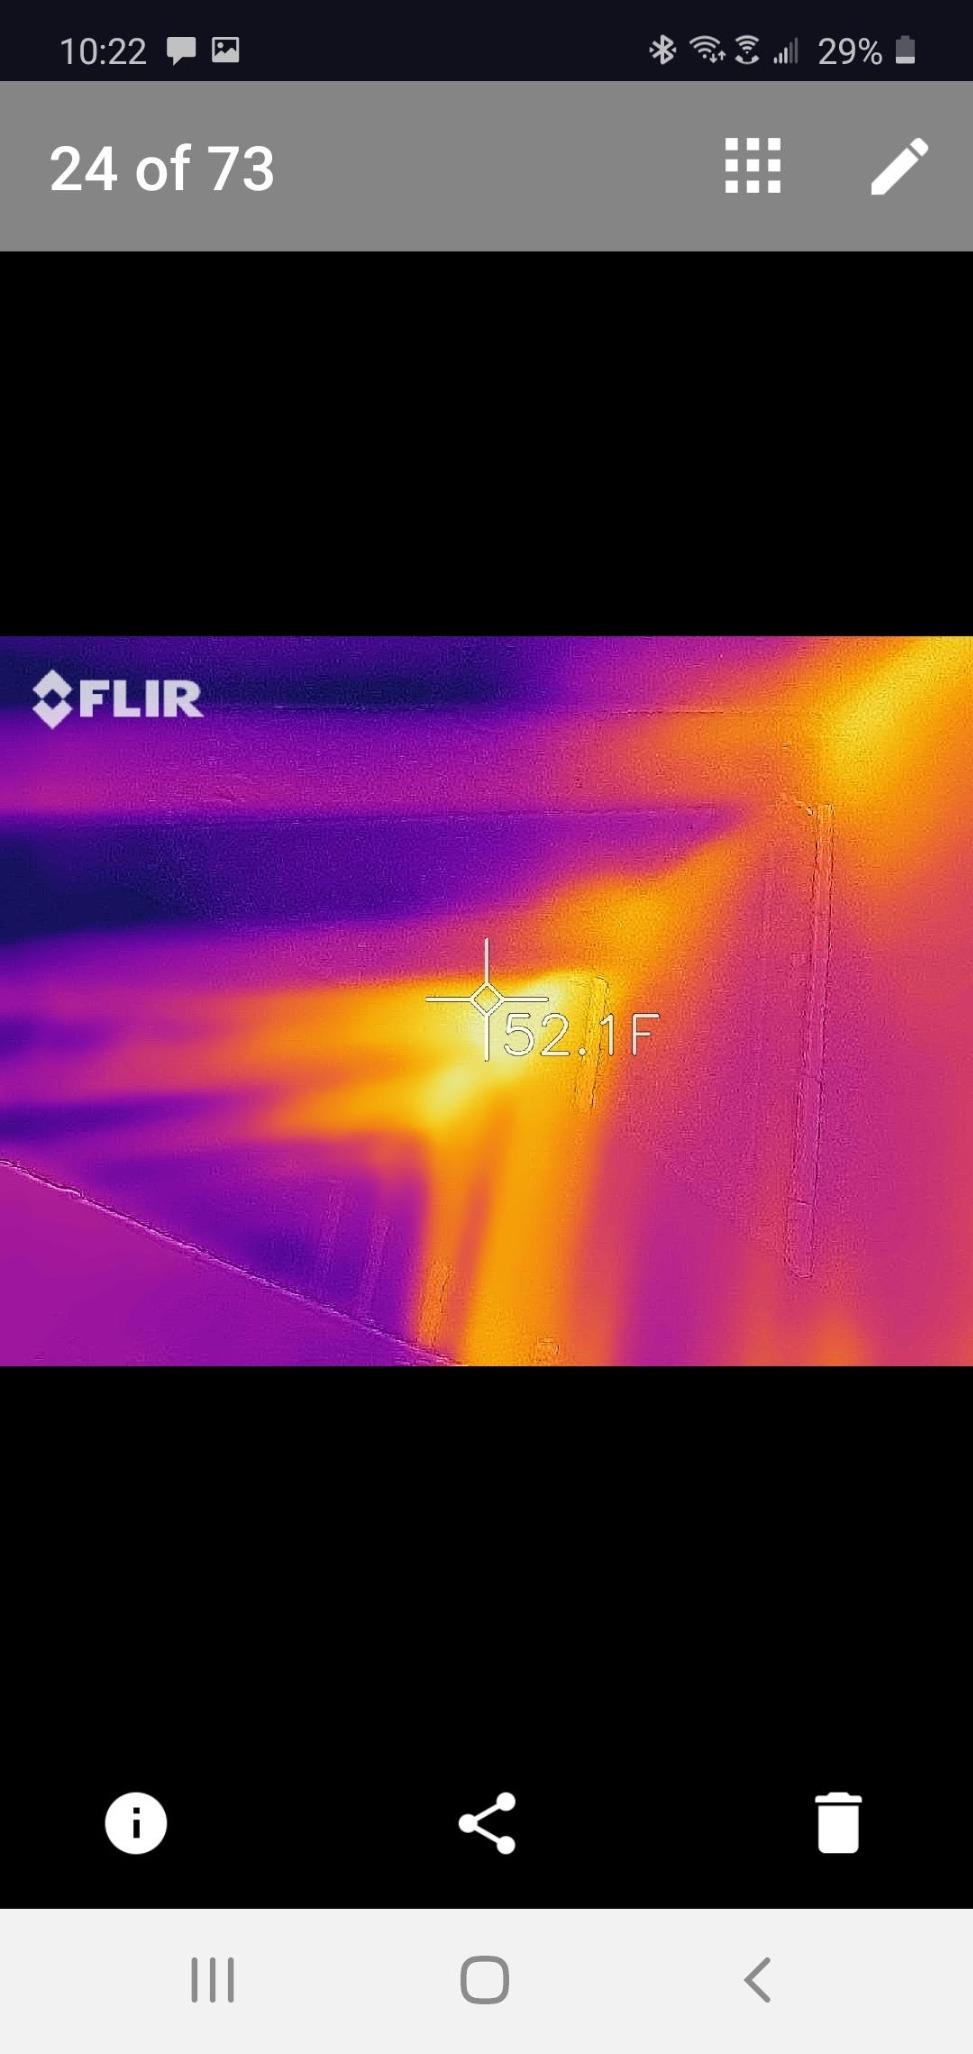
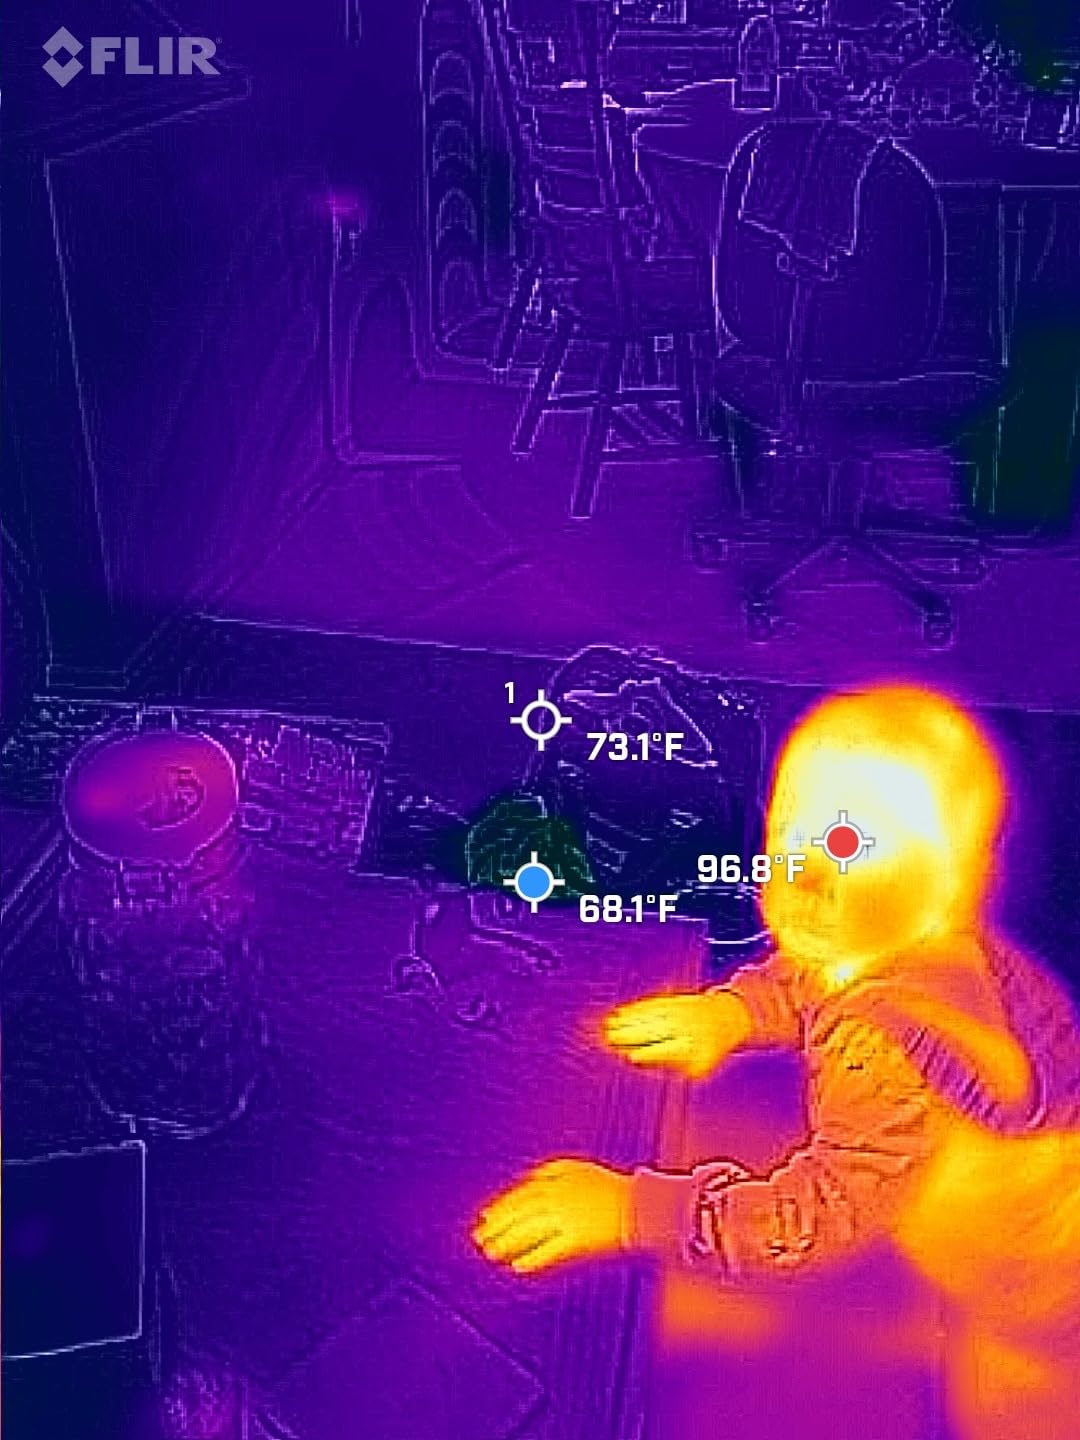
I have been carrying the FLIR ONE Gen 3 for about four months now, and it is the camera I grab when a homeowner calls about a musty bedroom. It weighs 34 grams and rides in my shirt pocket clipped over the USB-C port of a Pixel. The MSX embossing superimposes the visible-light outline on top of the thermal frame, which means I can point at a cold streak behind drywall and tell the homeowner exactly which stud bay is wet without guessing.
Resolution is 80×60 native upscaled to 240×180, so it is not a tool for spotting tiny thermal anomalies. For whole-wall scans, ceiling stains, and HVAC ductwork, it is plenty sharp. The FLIR app saves radiometric JPEGs and short MP4 clips, both of which drop straight into a report folder on my phone. Pair it with a photo workflow that supports timestamped EXIF and you have evidence-grade documentation within five minutes of walking in the door.
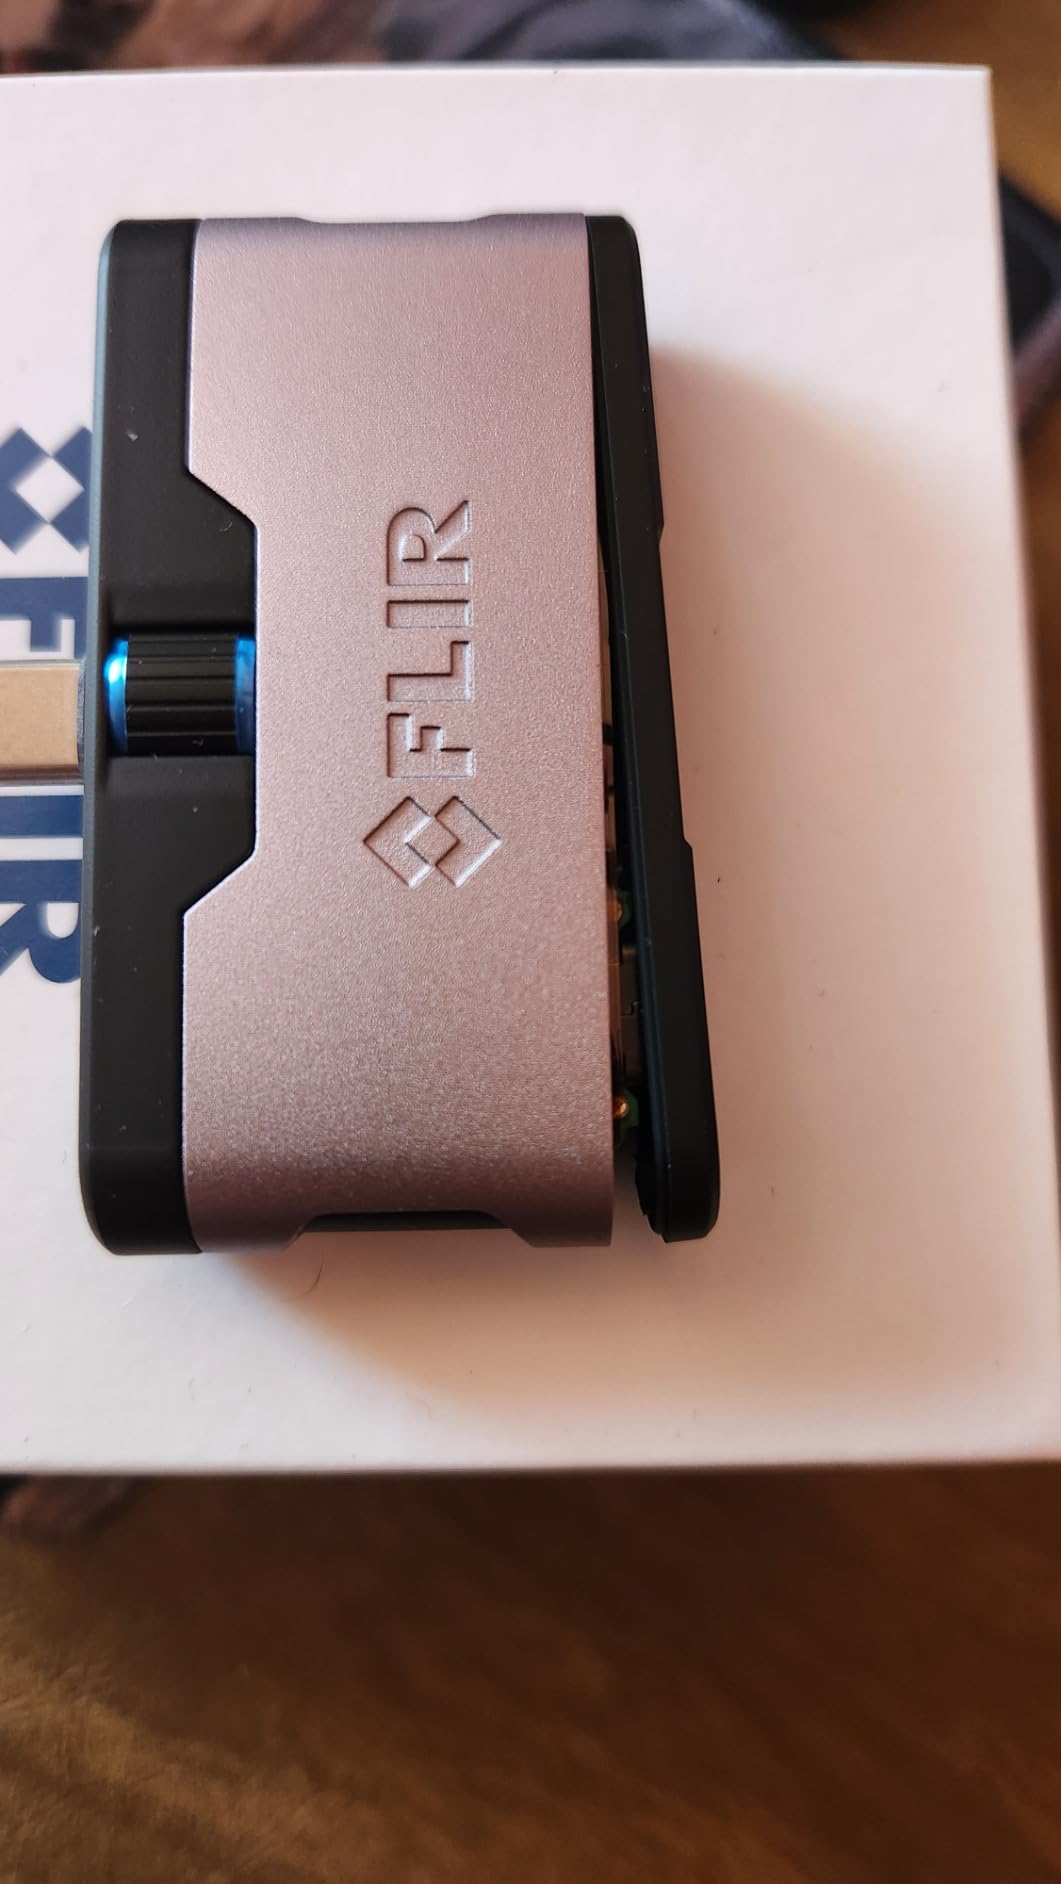
For documentation specifically, the FLIR ONE shines because every capture carries the scene temperature scale, spot readings, and the visual reference baked into the file. Restoration contractors who use this as a quick scout love the MSX clarity. The downsides are real though: battery life on the phone drains in about an hour of continuous scanning, and the clip can wiggle loose if you tilt the phone down hard. Drop rating is 1.5 meters, which I tested once (onto carpet, intentionally) and it survived.
Who this camera is best for
Homeowners, real-estate agents, and home inspectors who already live inside their phone and need a fast moisture-scout tool. It is also the right pick if you want radiometric JPEGs you can email to a remediation contractor the same day.
Where it falls short
If you are doing full-day residential inspections, the 1-hour phone battery will frustrate you. The 80×60 native sensor is also too coarse for documenting small leaks in HVAC coils or behind tile, where a higher-resolution unit pays for itself.
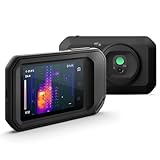
2. FLIR C5 Compact Thermal Imaging Camera – Premium Pick for Working Pros
Flir C5 Compact Thermal Imaging Camera, WiFi, 160×120 MSX, Ignite
160x120 MSX
WiFi + Ignite
190g
IP-rated
Pros
- Pocketable rugged body with bright 3.5 inch display
- FLIR Ignite cloud direct upload
- True 160x120 sensor (19
- 200 pixels)
- Long battery and USB-C fast charge
- 2 parts/10 detector warranty
Cons
- Slow boot time (about 50 seconds)
- WiFi sync can be finicky
- Firmware-update failures reported on some units
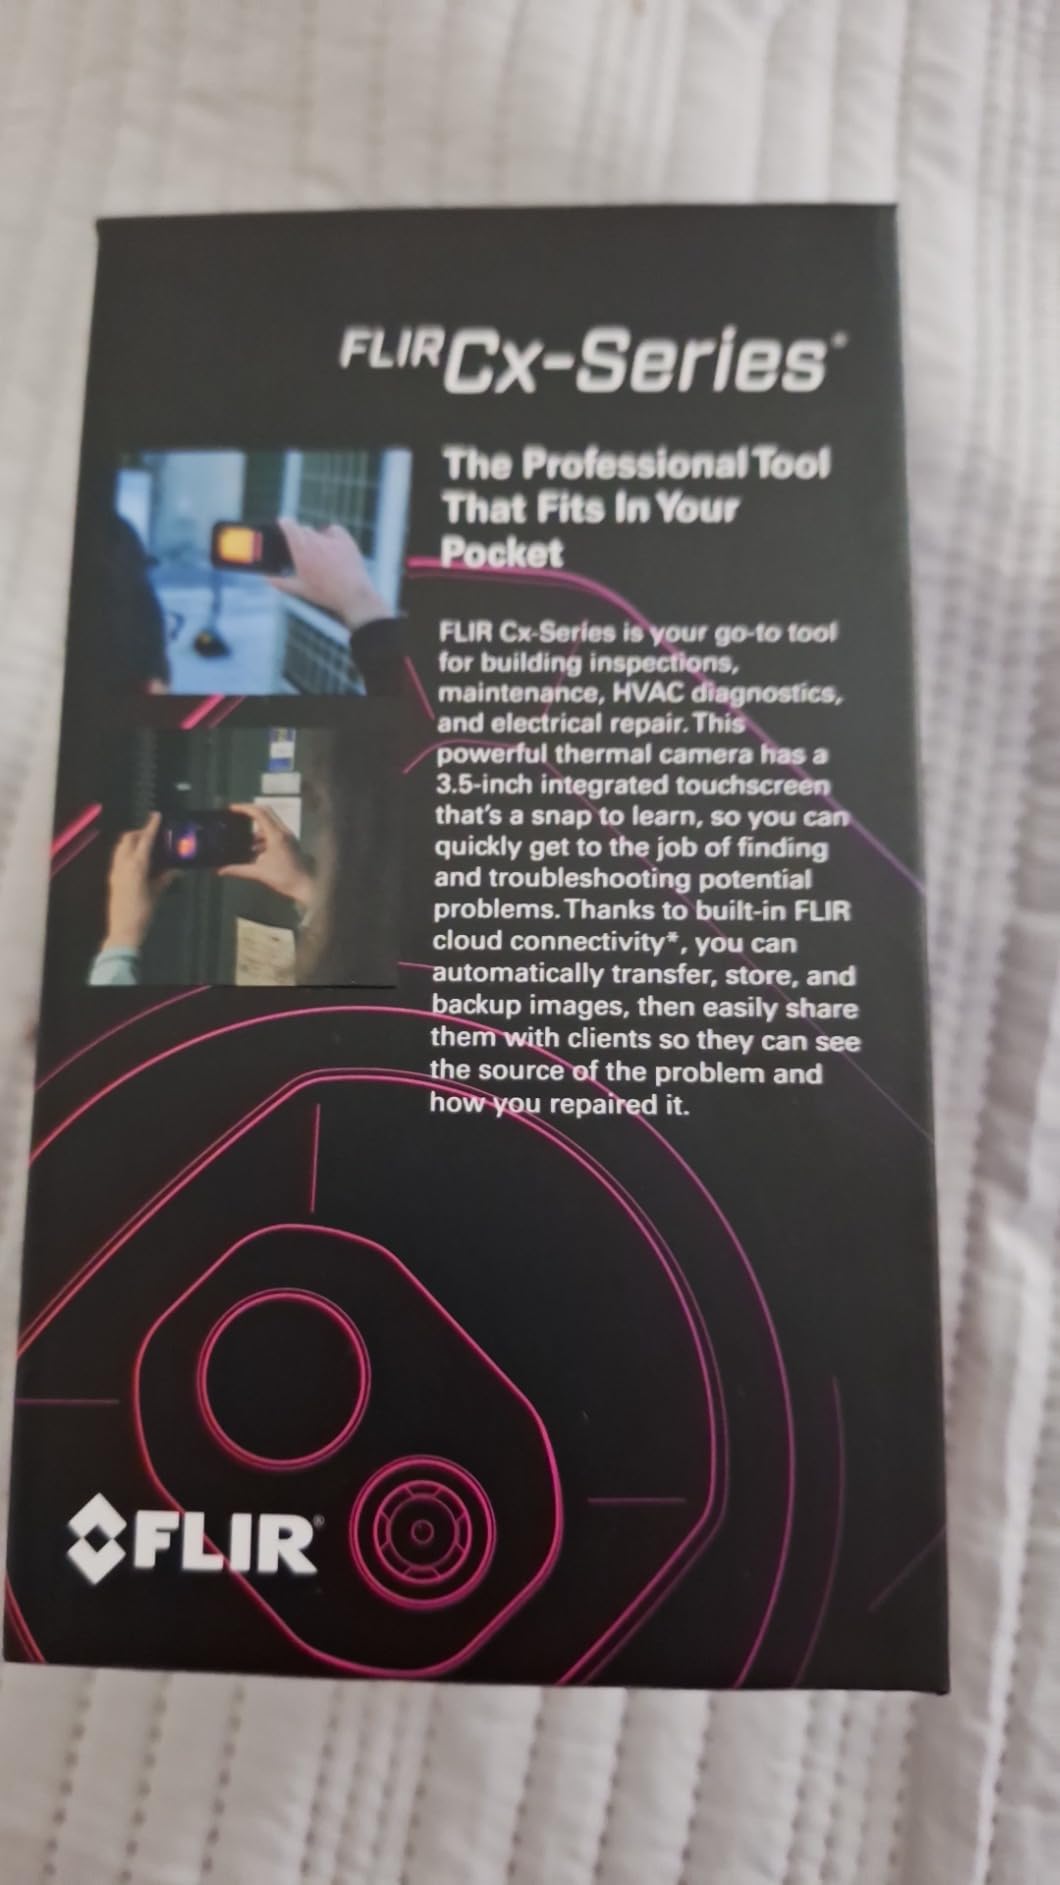
The FLIR C5 is what I hand to a contractor who documents mold conditions for insurance adjusters every week. It is a true 160×120 thermal imager (19,200 pixels) with MSX overlay, a 3.5-inch daylight-readable screen, and FLIR Ignite cloud built in. That combination is what separates a thermal snapshot from a defensible record. Every image uploads to the cloud the moment you join WiFi, so the chain of custody is automatic.
Range runs -20 to 400 degrees C, which covers any cold spot or warm pipe you will ever point it at in a residence. The 1080p visible-light camera inside also helps when you need a regular photo to go alongside the thermogram. Reports that combine the two save a separate trip back to the property.
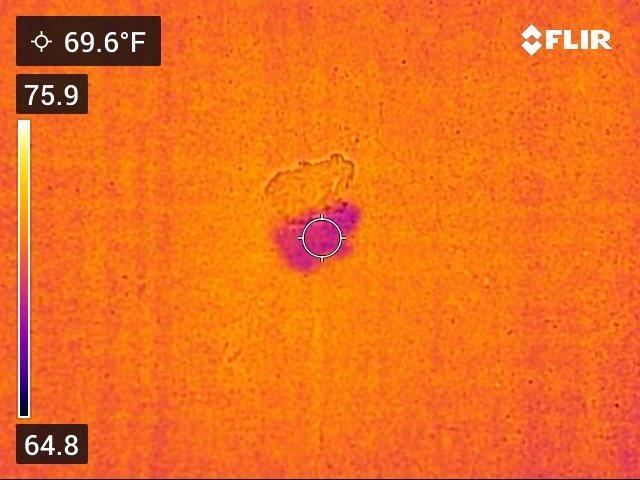
In real workflow terms, the C5 is the camera that lets you stand in front of a water-damaged wall, scan it, label the image, and email the link to an adjuster before you walk back to the truck. Reviewers on forums.nachi.org repeatedly cite the Ignite cloud as the reason they stayed with FLIR instead of switching to HIKMICRO. The C5 is not cheap, but it pays back fast if your reports depend on traceable, time-stamped images.
Who this camera is best for
Certified home inspectors, IICRC remediators, and property managers who bill clients for documentation and need a rugged, always-in-the-truck thermal camera with cloud backup.
Where it falls short
The slow startup (about 50 seconds from cold boot) means you cannot pull it out for a quick spot check. A few users have also reported WiFi sync stalls and rare firmware-update failures, so keep the firmware current and budget time for the occasional reboot.
3. TOPDON TC004 Mini Thermal Camera – Top Rated Under a Tight Budget
TOPDON TC004 Mini Thermal Imaging Camera, 240 x 240 TISR Resolution
240x240 TISR
15-hour battery
IP54
2m drop
Pros
- Sharp 240x240 super resolution at 25Hz
- 15-hour battery with auto shutoff
- Pocketable and rugged (IP54
- 2m drop)
- Auto-capture on temperature alert
- TOPDON lifetime technical support
Cons
- Charging head not included in box
- Resolution still trails pro units for the smallest anomalies
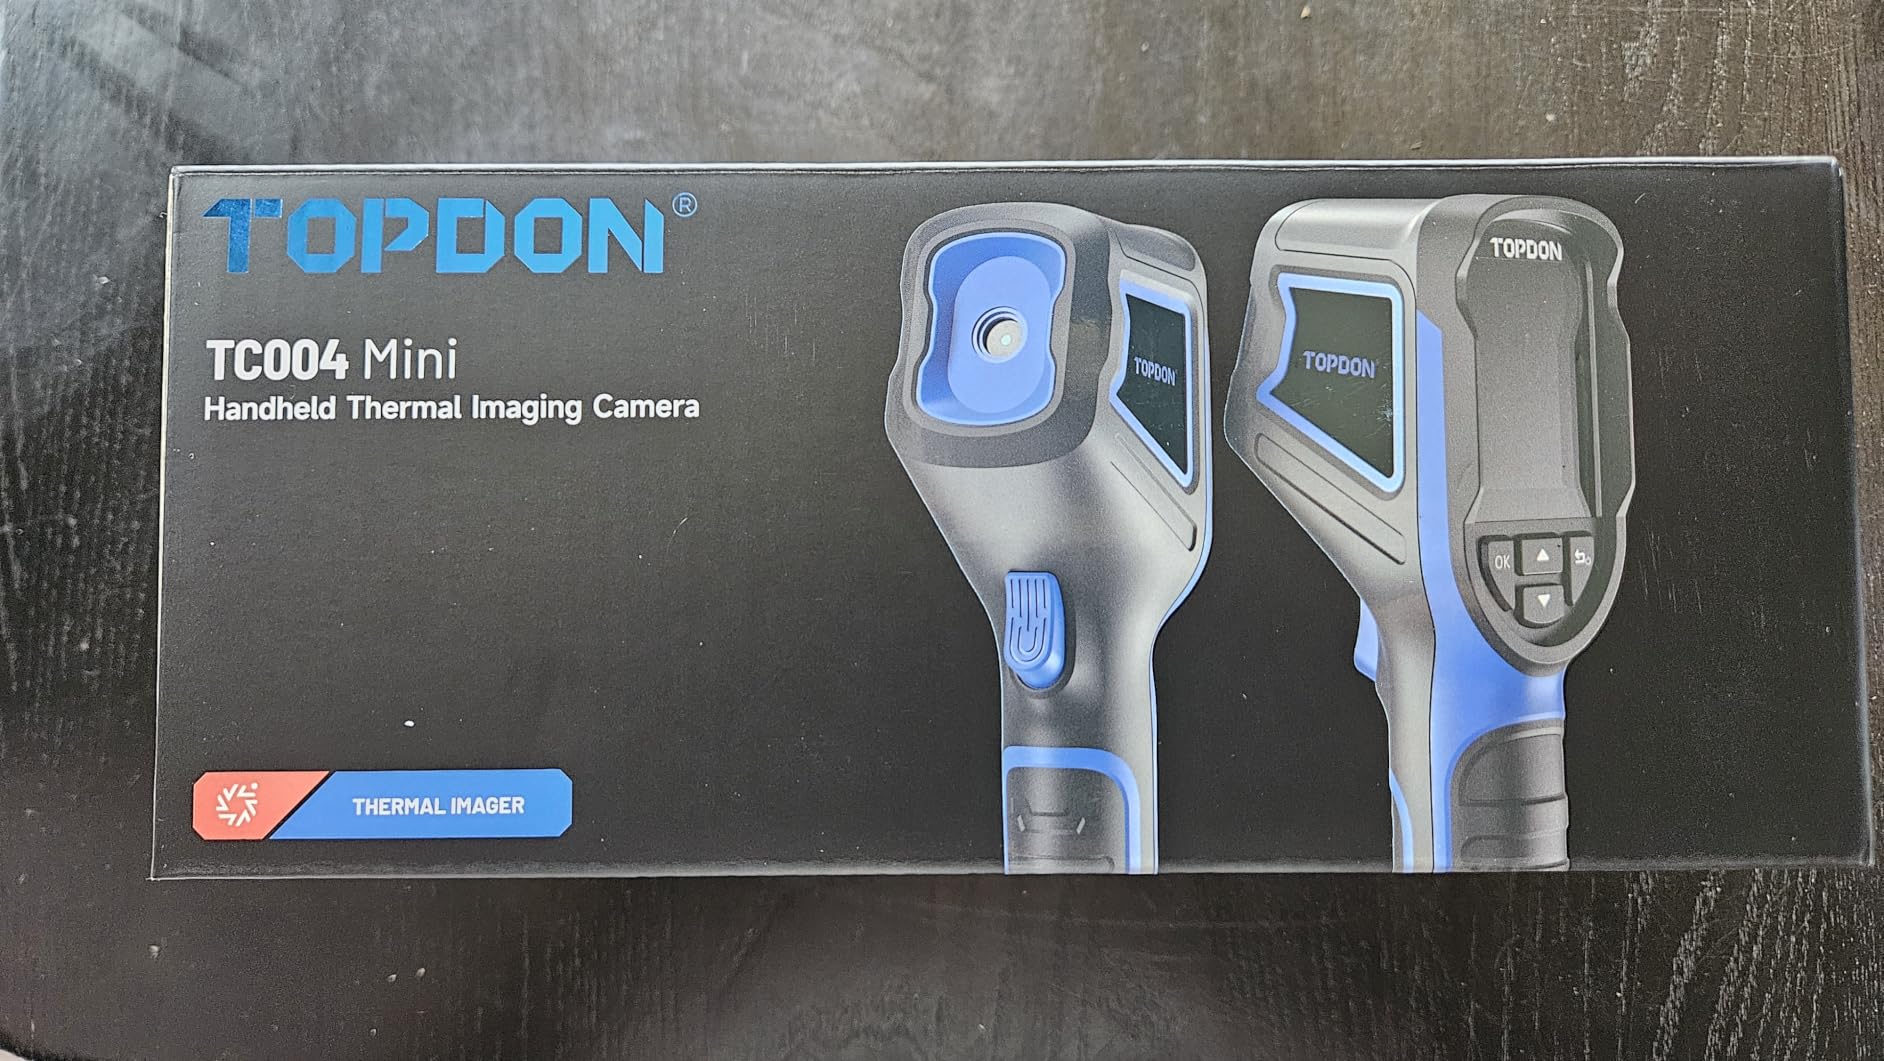
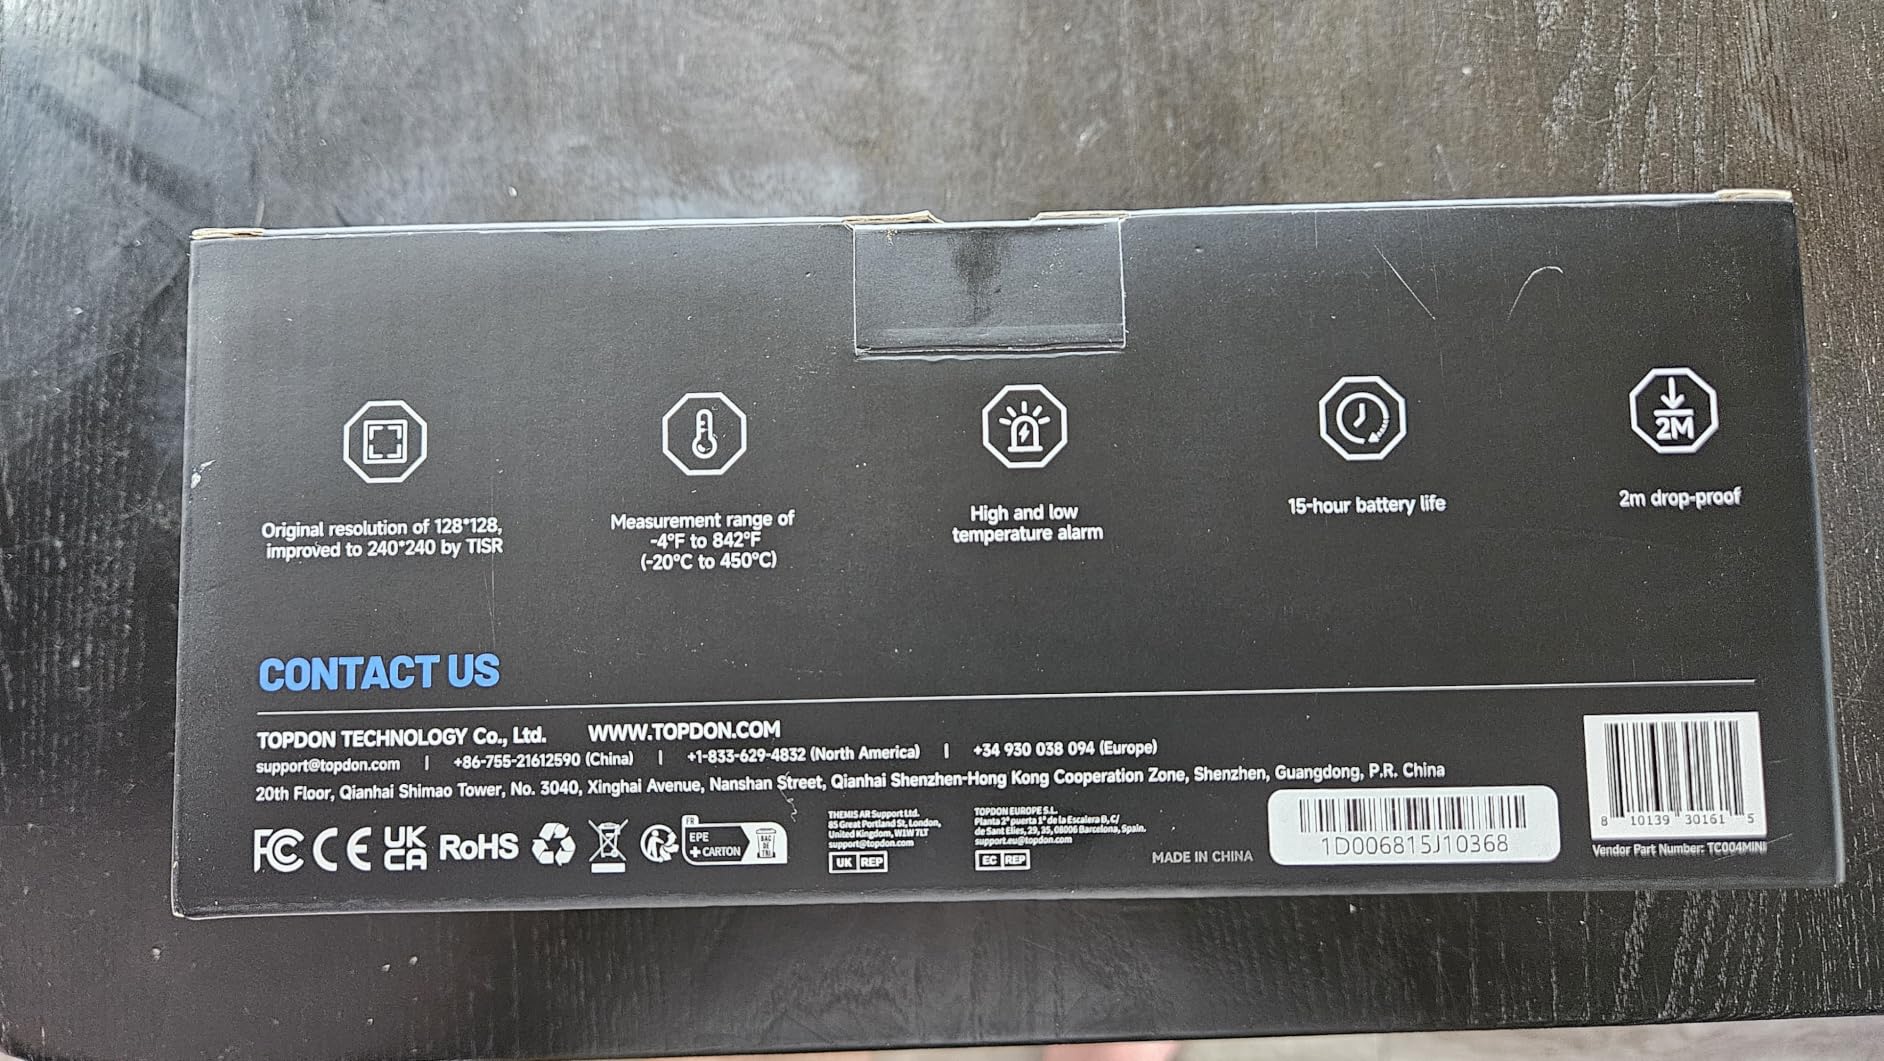
The TOPDON TC004 is what I recommend to first-time buyers who want real thermal imaging without dropping a paycheck. TISR upsamples a 128×128 native sensor to a 240×240 image at a smooth 25Hz refresh, so the picture looks crisp in motion and is plenty sharp for documenting cold streaks along a baseboard or warm spots in a ceiling after a pipe leak.
Temperature range is -20 to 450 degrees C, accuracy is rated at plus or minus 2 percent, and the housing carries an IP54 rating with a 2-meter drop test. Five color palettes, a built-in 512MB eMMC drive (about 8,000 photos), and a 15-hour battery mean you can leave the charger in the truck on long inspections.
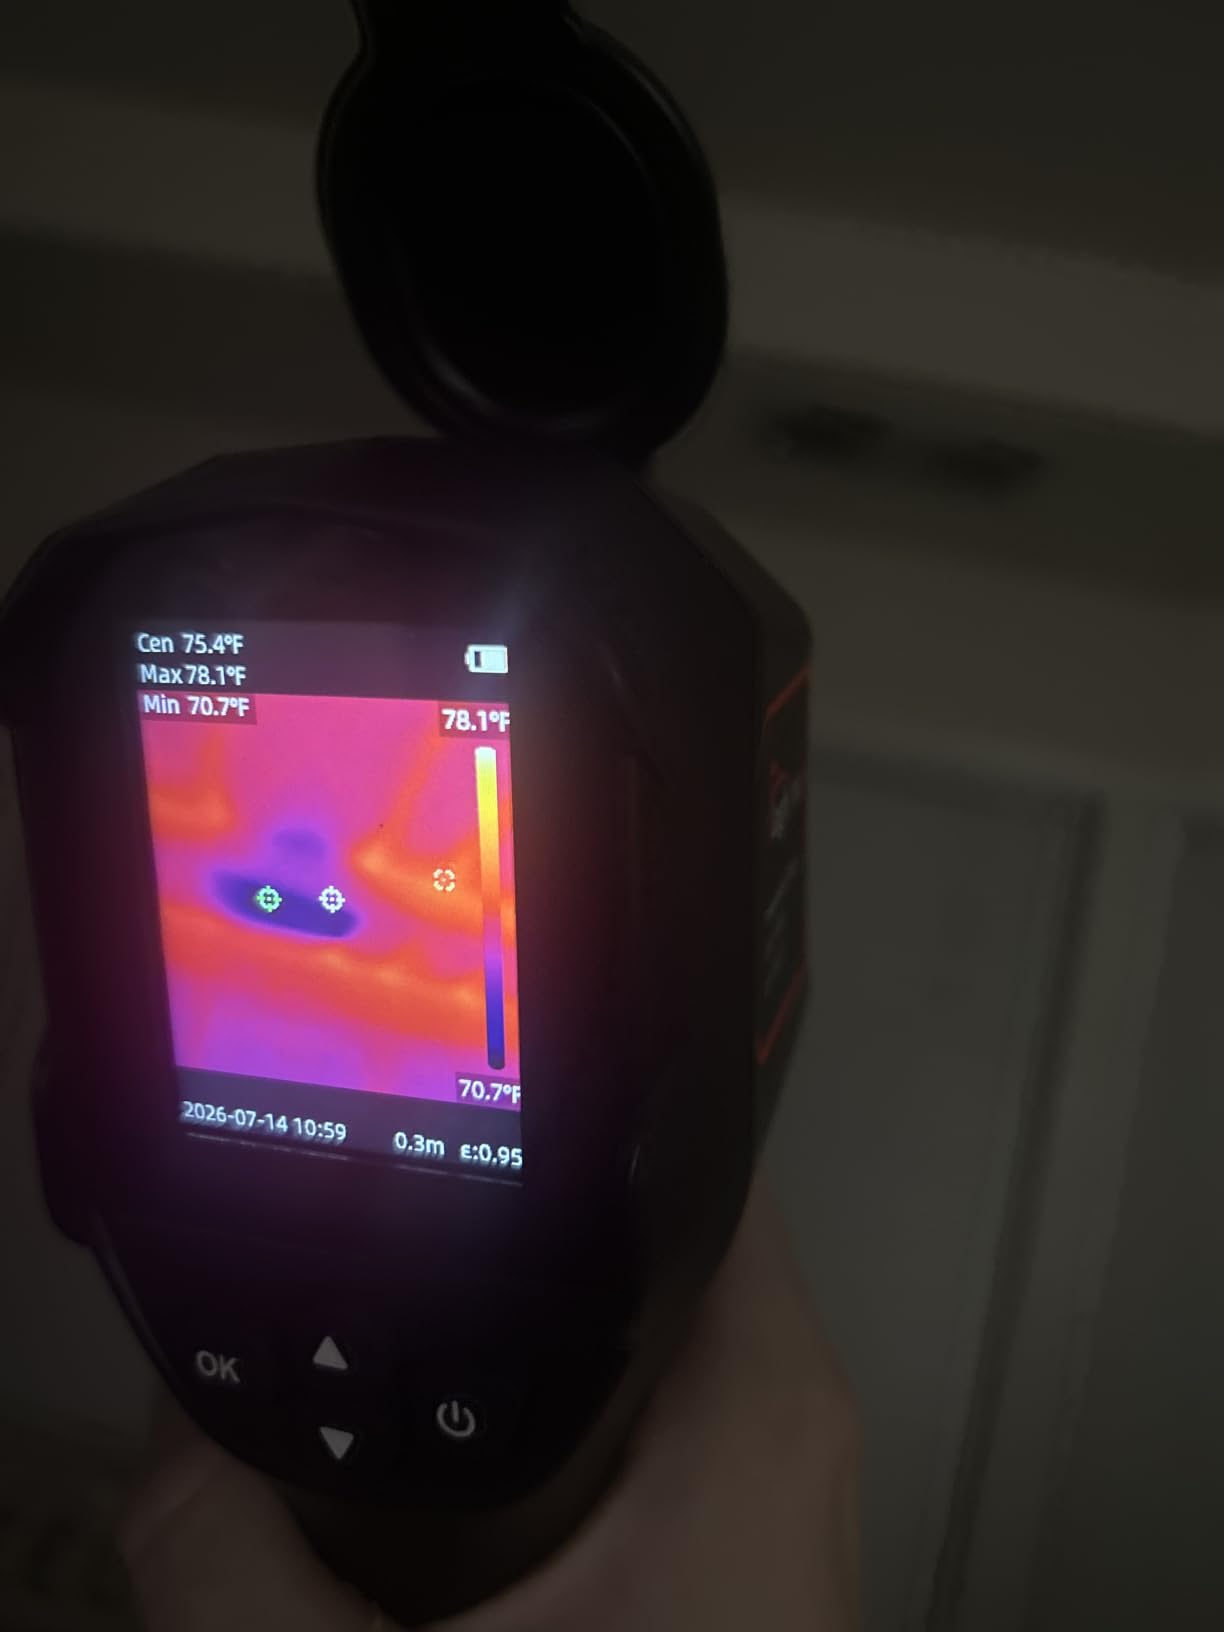
For mold documentation specifically, the TC004’s auto-capture on temperature alert is the killer feature. Set the threshold to whatever counts as suspicious on the surface you are scanning, walk the room, and the camera saves a frame the moment something trips the alarm. That workflow is much faster than pulling the trigger manually every time, and it produces a more complete image set for the client folder.
Who this camera is best for
Restoration contractors starting out, handymen doing leak calls, and homeowners who want a single thermal tool that doubles as a moisture-scout and an electrical diagnostic.
Where it falls short
You will need to source your own USB-C charging brick. The 128×128 native sensor also means very small thermal targets (think a single nail hole through siding) can blur, so for forensic-grade work you still want a true 160×120 or higher unit.
4. Klein Tools TI250 – Best for Field Crews Who Need Adjustable Emissivity
Klein Tools TI250 Rechargeable Thermal Imaging Camera, Camera Displays Over 19,200 Pixels with 3 Color Palettes, High / Low Temperature Points
19200 pixels
Adjustable emissivity
USB-C
8.6 oz
Pros
- Accurate readings across a wide temperature range
- Compact rugged pocketable build
- High/low/center temperature tracking
- Strong value versus higher-end units
- Rechargeable built-in battery
Cons
- Brief recalibration freezes the image mid-scan
- No integrated visual camera for picture-in-picture
- Modest resolution vs pro models
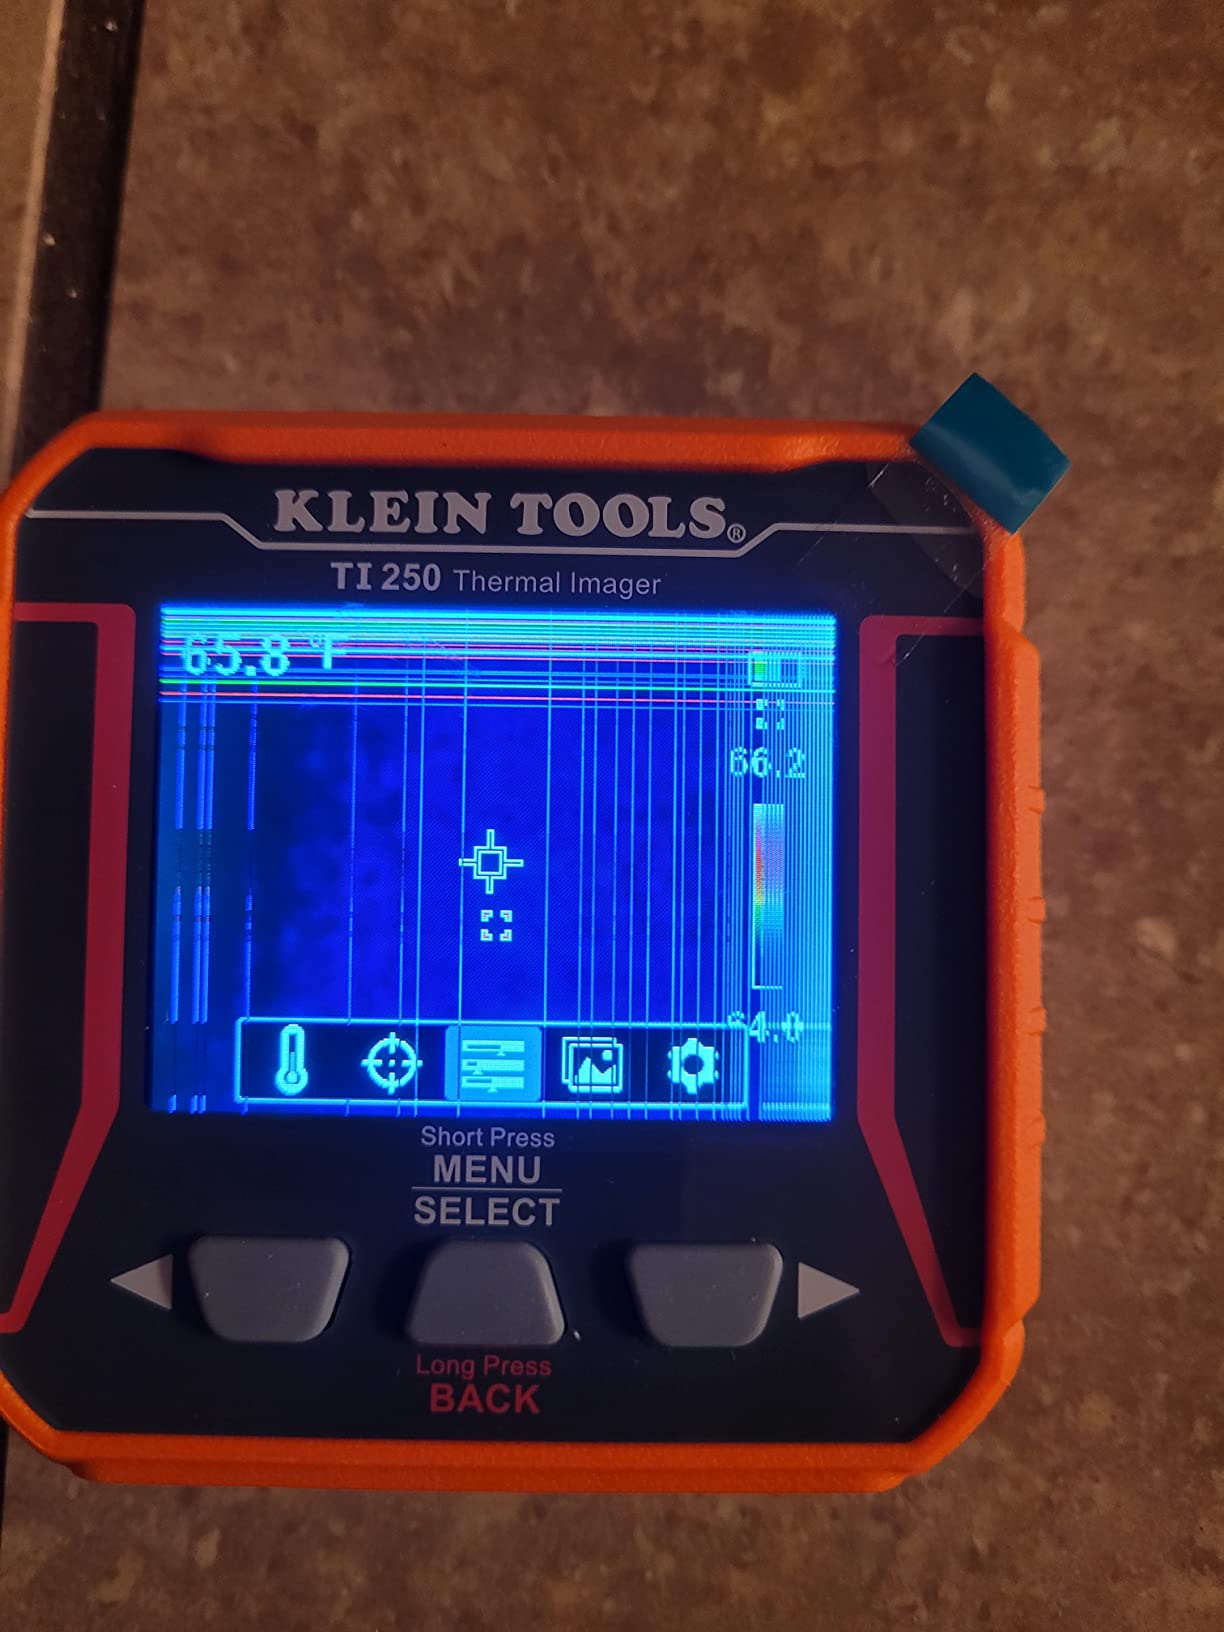
Klein Tools has been on job sites for over 160 years, and the TI250 feels like it was designed by people who actually climb ladders. The orange rubber housing takes drops, the controls are glove-friendly, and the screen stays readable in direct sun. For a mold inspection, the standout spec is adjustable emissivity from 0.01 to 0.99, which matters more than most buyers realize.
Different surfaces radiate heat differently: a shiny metal register reads colder than it actually is, a painted wall reads more accurately. The TI250 lets you dial in the correct emissivity for whatever you are pointing at, so the temperature numbers on the report are defensible. That is the kind of detail an IICRC auditor or insurance adjuster actually checks.
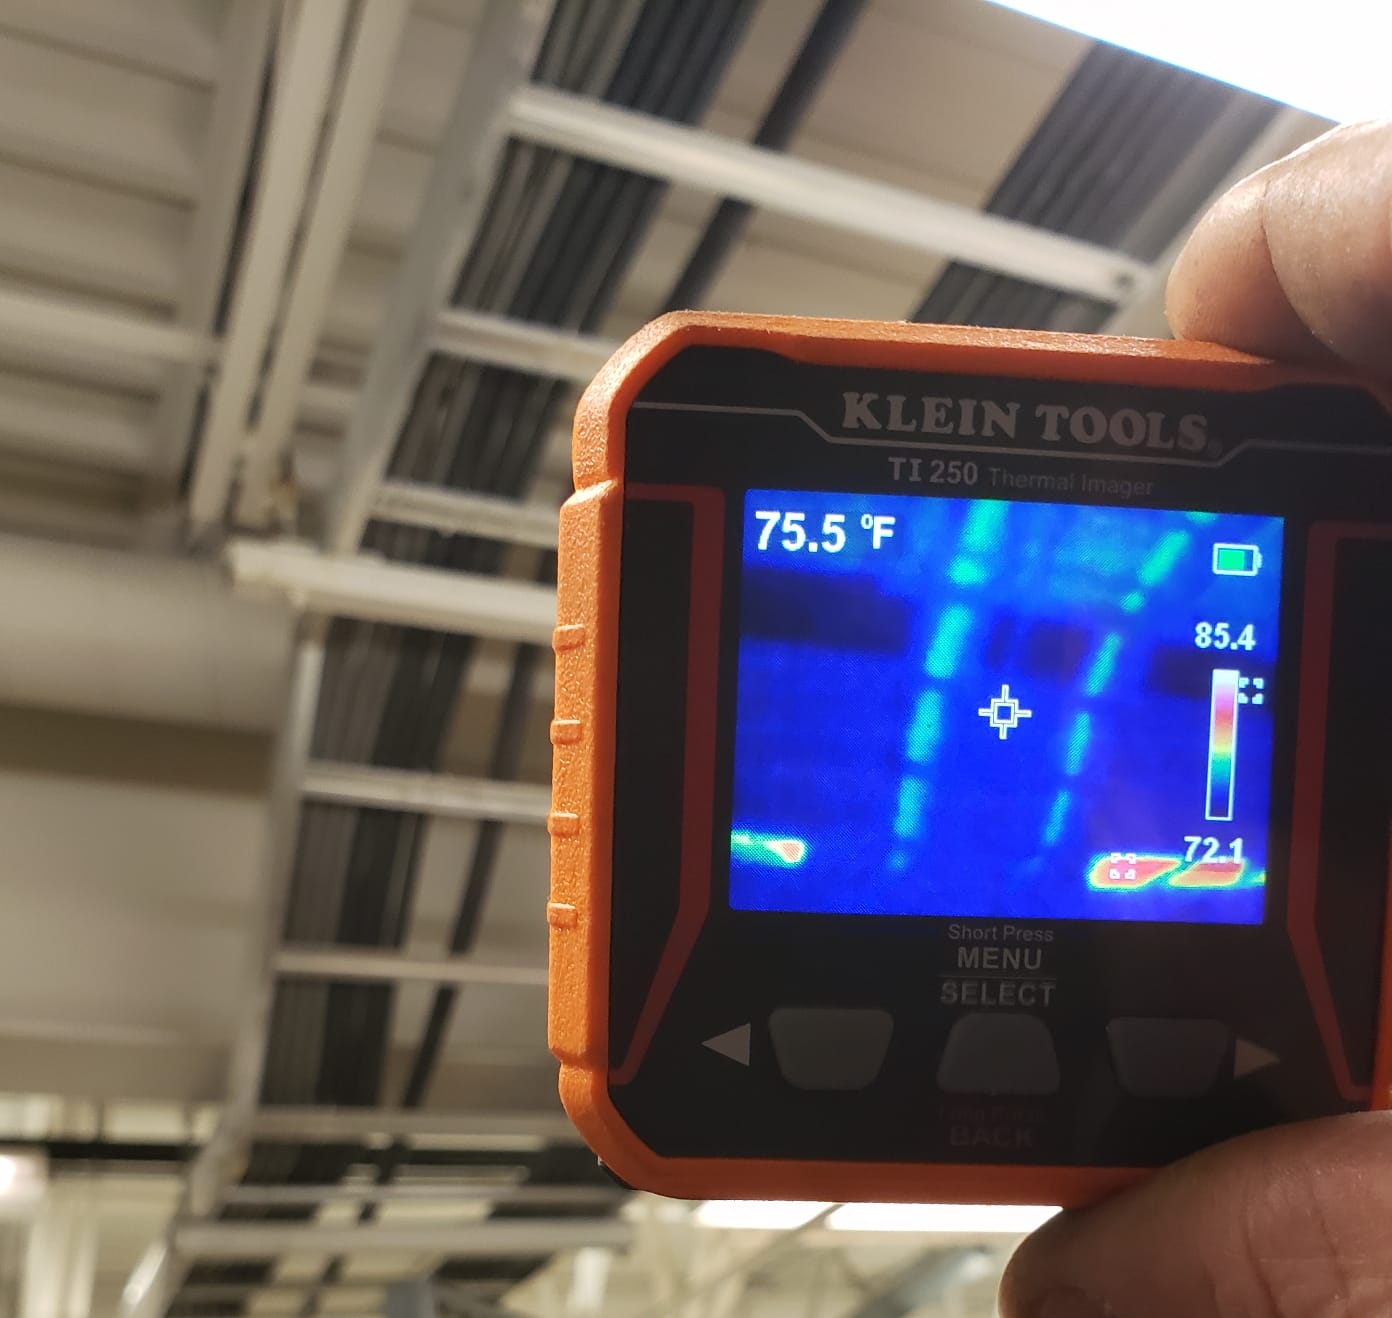
There is no MSX overlay here, no built-in visual camera, and no WiFi. You get a thermal-only image, you pull the SD card or plug in USB-C, and you move on. For crews who want a simple tool that does one thing reliably and survives the truck, that restraint is actually the point. The 19,200-pixel sensor is sharper than most sub-$500 units, and the high/low/center temperature tracking helps when you are narrating findings into a voice memo.
Who this camera is best for
Electrical contractors, HVAC techs, and building envelope inspectors who need accurate surface temperatures without paying for a full Ex-series FLIR.
Where it falls short
If your reports rely on showing the homeowner exactly where the cold spot is, the lack of a visual overlay means you will be flipping back and forth between thermal and phone-camera photos in post.
5. FLIR TG165-X – Best for HVAC Laser Targeting and Spot IR
Flir TG165-X Thermal Imaging Camera with Bullseye Laser, Spot IR
4800 pixels
Bullseye laser
MSX
IP54
Pros
- Bullseye laser clearly marks measurement target
- MSX overlays visual detail on thermal image
- Wide -25 to 300 degrees C range
- Rugged IP54 housing
- FLIR 2-10 warranty
Cons
- Lower native resolution than higher-end FLIR units
- Plastic body feels less premium
- Built-in non-replaceable battery
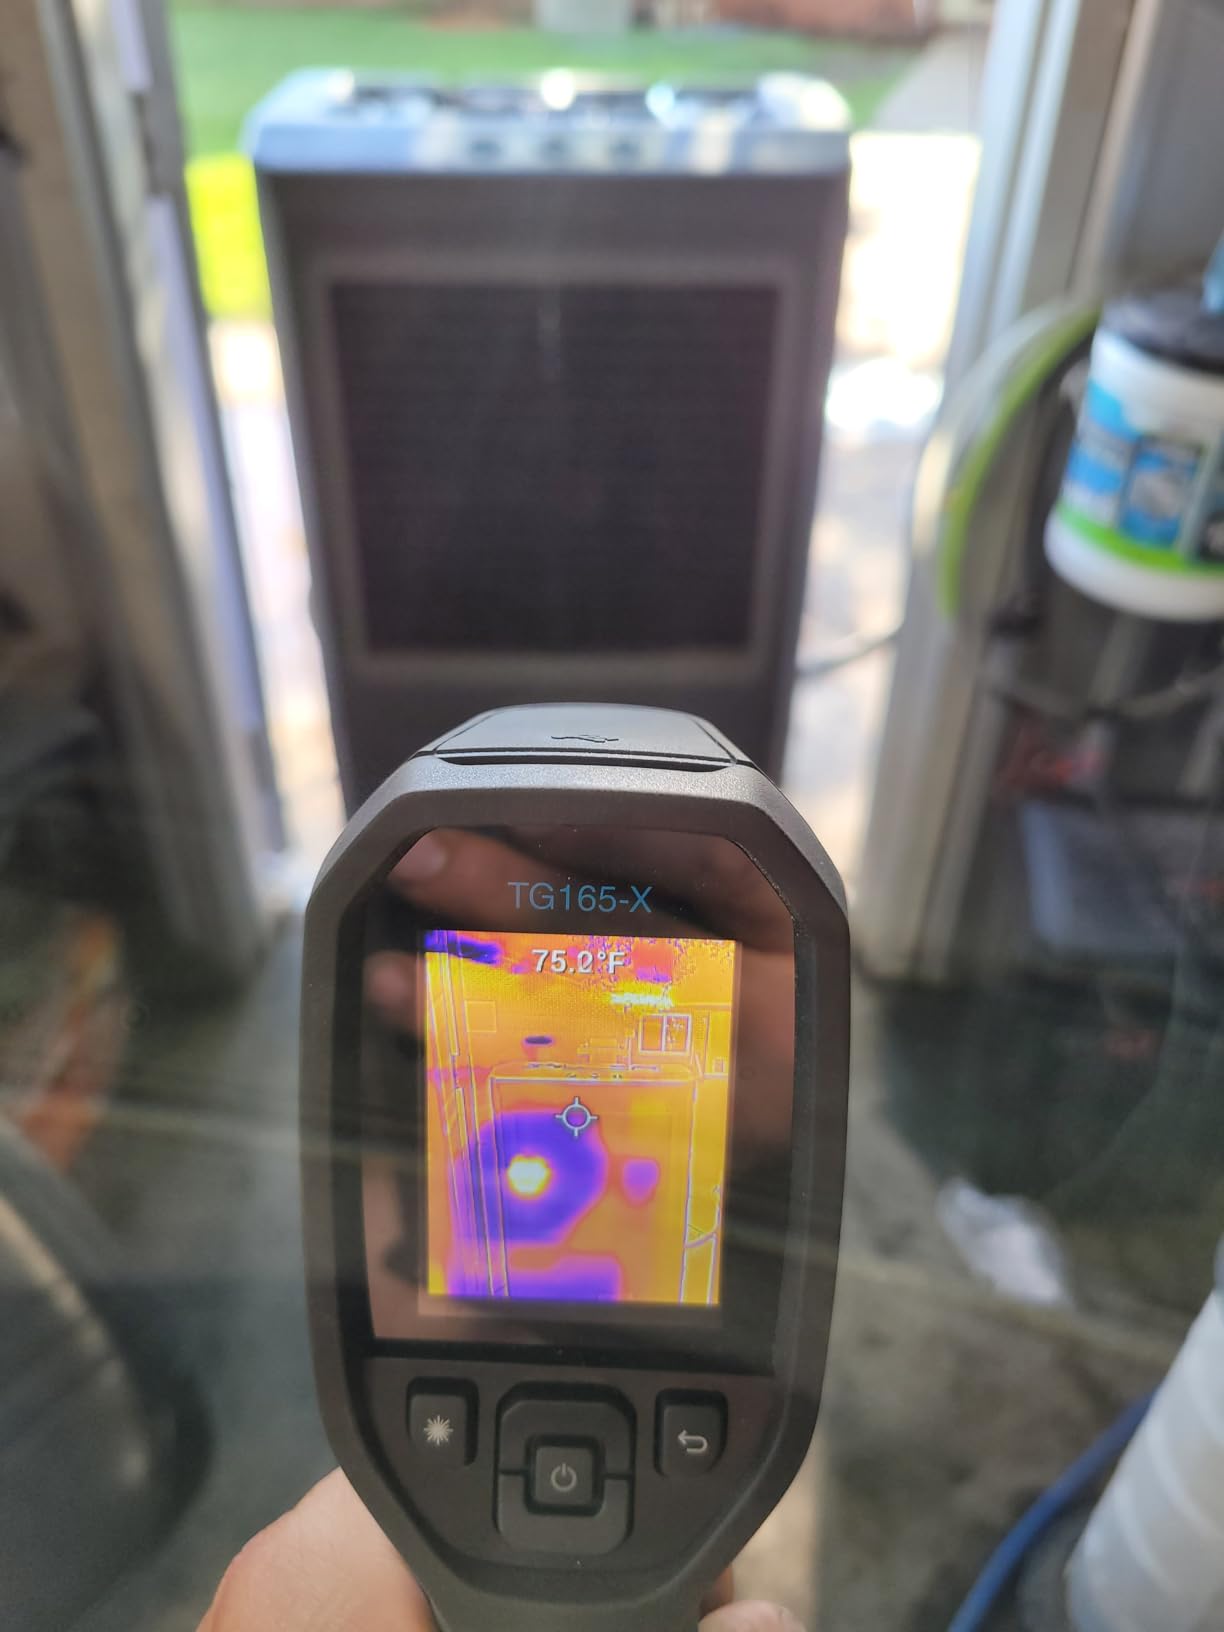
The TG165-X is the bridge between a basic spot thermometer and a true thermal imager. The Bullseye laser outlines exactly the spot the sensor is reading, which removes the most common mistake new buyers make: pointing at one thing and measuring another. For a quick mold-mitigation conversation at the supply register or along the window header, that accuracy is huge.
Range is -25 to 300 degrees C, MSX embossing is on board, and the housing is IP54-rated with FLIR’s 2-10 warranty (2 years parts and labor, 10 years on the detector). It is not a high-resolution unit at 4,800 pixels, but for HVAC balancing, refrigerant line checks, and surface-temperature screening it is hard to beat for the size.
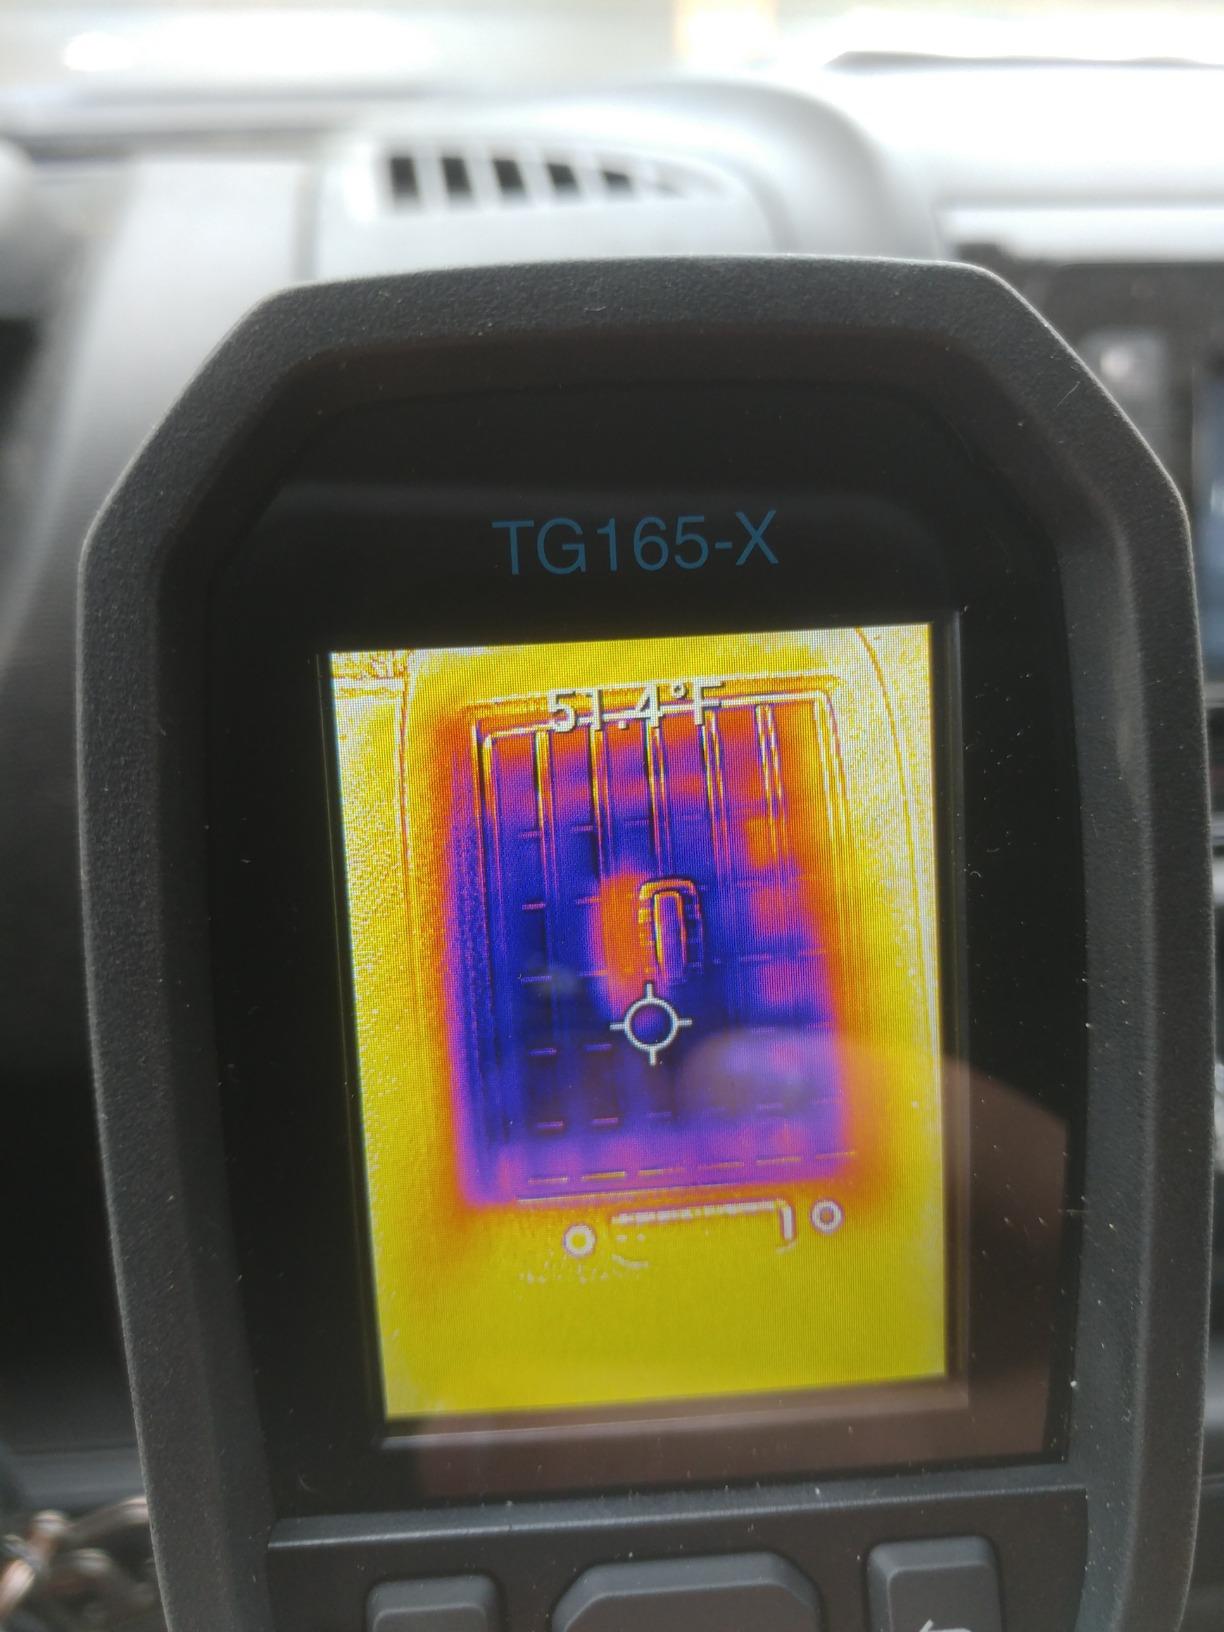
Where I find the TG165-X most useful in mold work is at the “is this suspicious or not?” stage. Before pulling out a full imager, I sweep the suspect wall with the TG165-X and look for any temperature differential worth a closer look. If the answer is yes, I switch to a higher-resolution tool for the documented image. That triage workflow saves real time across a day of inspections.
Who this camera is best for
HVAC technicians, energy auditors, and home inspectors who want a fast, accurate spot IR with the FLIR name on the warranty card.
Where it falls short
For insurance-grade thermograms of an entire wall, the 4,800-pixel sensor will feel sparse. The plastic body also flexes a bit when squeezed, which is the only place the budget shows.
6. GOYOJO GW192A – Best Smartphone Thermal Imager for iPhone 15/16/17
GOYOJO Thermal Imaging Camera for Android/iphone 15/16/17 iOS Series 192×192 IR Resolution– Water Leak Detection HVAC Electrical Plumbing, Automotive Repair, Home Inspection, DIY-USB-C Infrared Imager
192x192 IR
USB-C plug-and-play
50 degree FOV
iOS+Android
Pros
- Sharp 192x192 IR with 12 micrometer pixel pitch
- Plug and play USB-C
- no batteries
- Compatible with iPhone 15/16/17 and USB-C Android
- Wide 50 degree FOV scans large surfaces fast
- Solid metal housing
Cons
- No zoom on captured images
- Some Android compatibility hiccups on newer phones
- Phone warms up during extended ML upscaling
The GOYOJO GW192A is the camera I recommend to anyone whose phone is already their camera, their notebook, and their scanner. Plug the USB-C module in, open the THG Start app, and your phone becomes a 192×192 thermal imager. No batteries to charge, no firmware to babysit, no extra body to carry in your pocket.
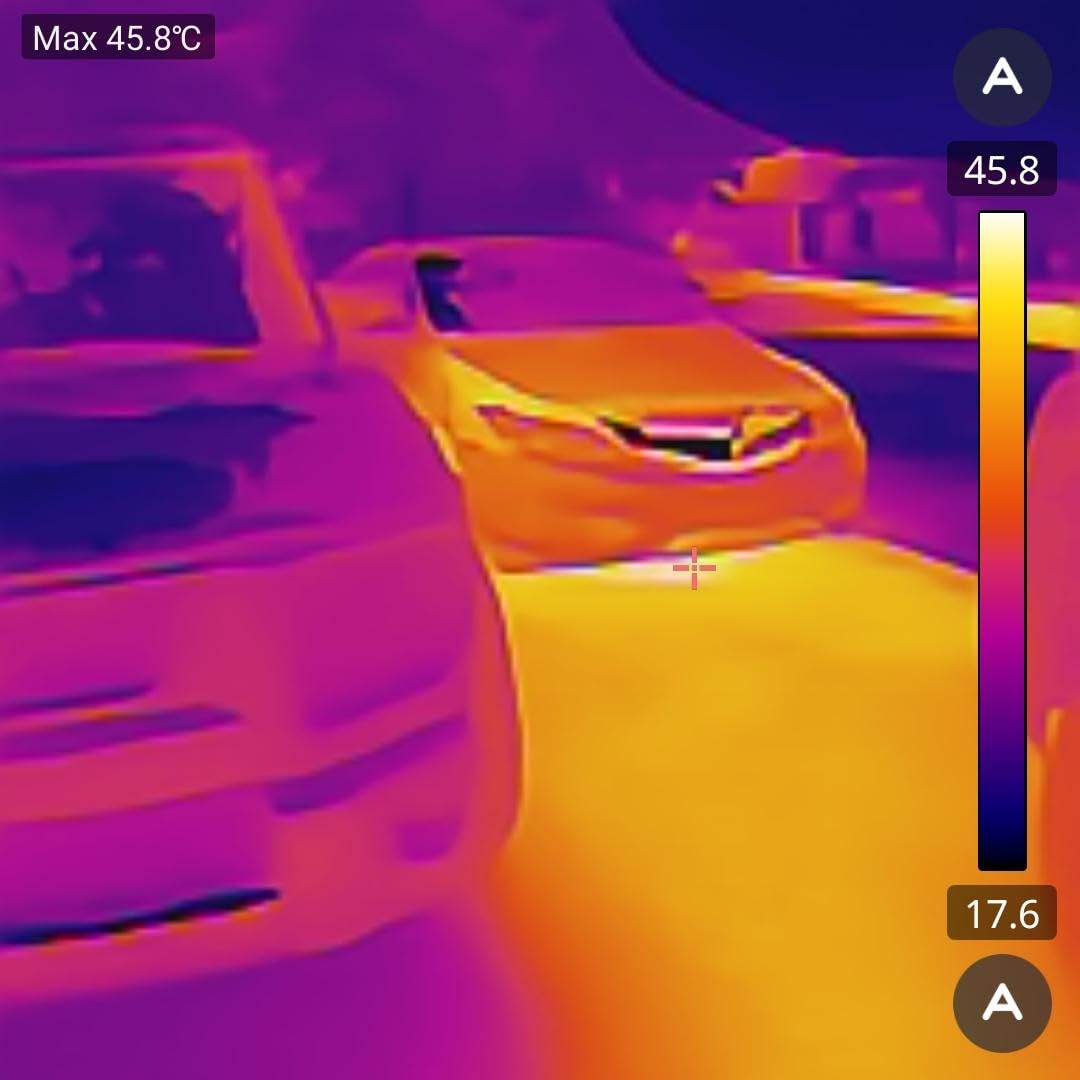
The 12 micrometer pixel pitch keeps detail surprisingly high for a smartphone attachment, and the 50-degree field of view is wider than most dedicated handhelds. For sweeping a large ceiling after a roof leak or scanning a basement wall corner-to-corner, that wide FOV saves real time. Temperature range is -20 to 400 degrees C with plus or minus 2 percent accuracy.
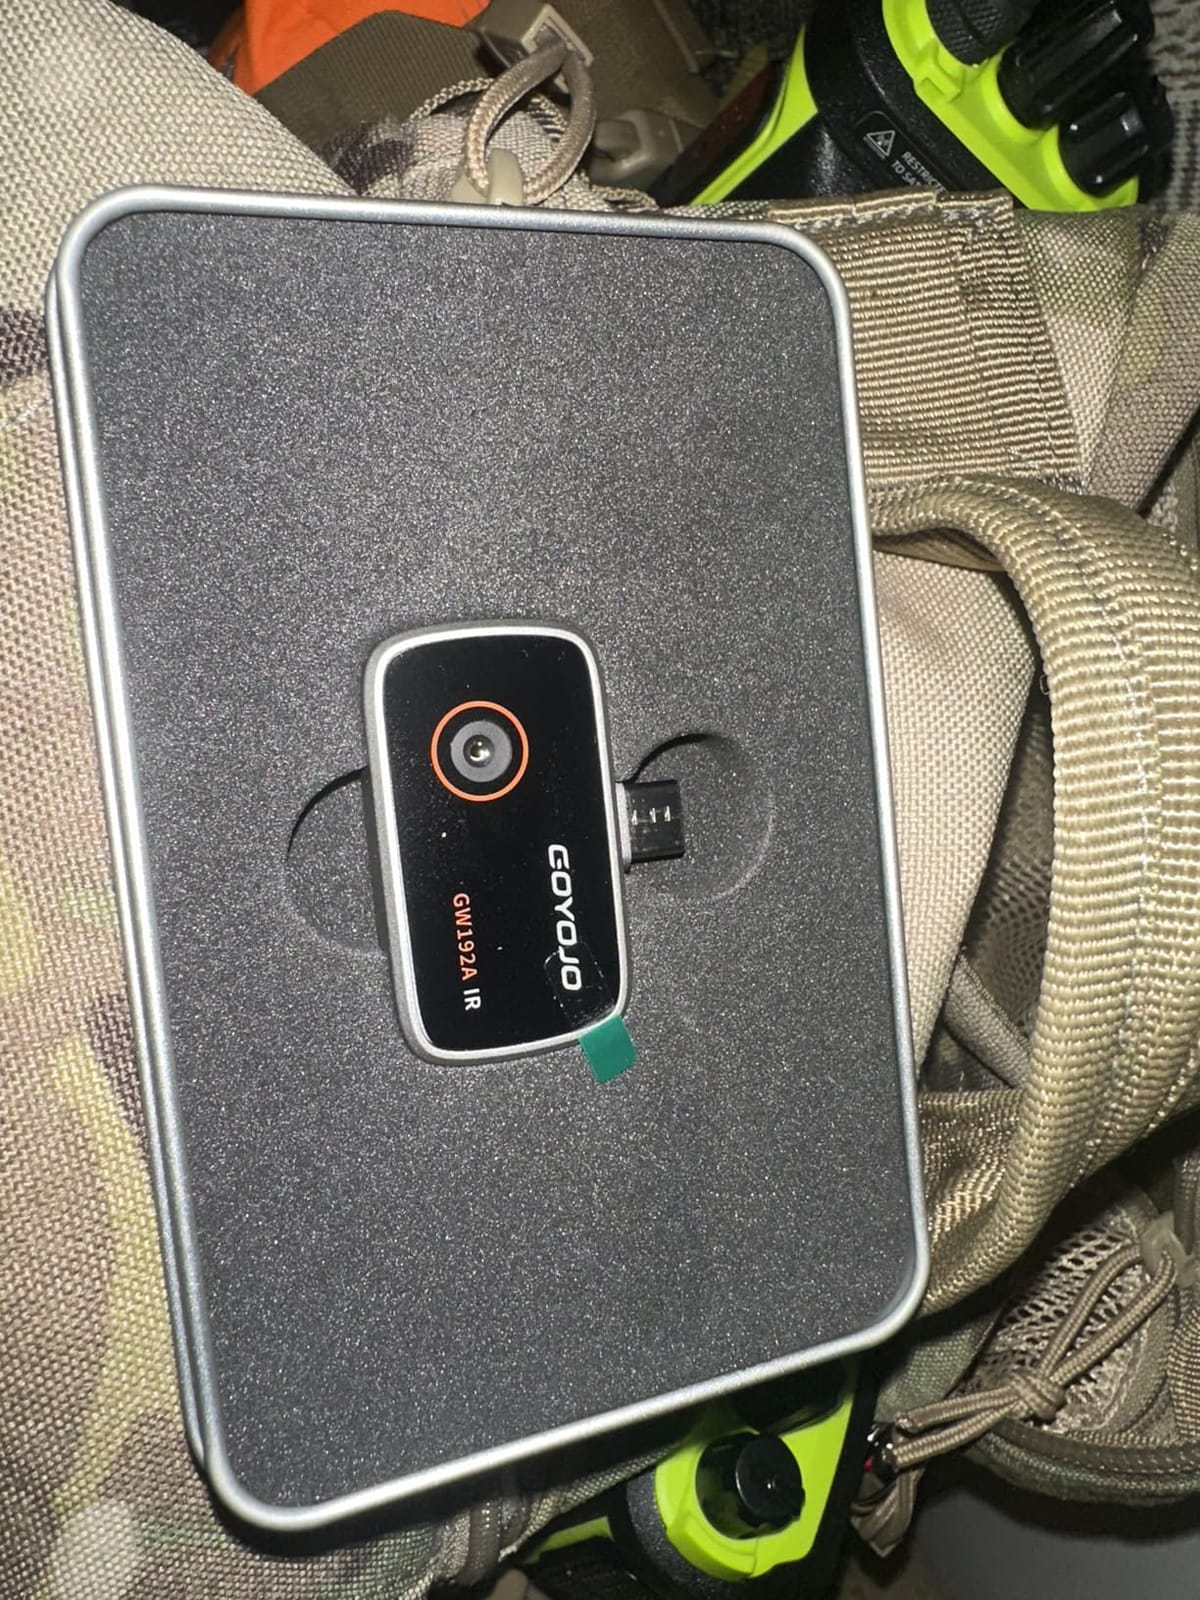
The metal shell is small enough to lose in a jacket, which is the only ergonomic warning I would give. Some users have reported app glitches on the newest Pixel and Galaxy phones, so check the compatibility list before you buy if your phone is recent. For documentation, I export radiometric images straight from the app into my report folder. The lack of zoom is a real limitation when you want to crop in on a small anomaly, but the resolution is high enough that the original frame usually has what you need.
Who this camera is best for
Real-estate agents, Airbnb hosts, and homeowners who already carry a USB-C iPhone and want a thermal scout without buying a separate device.
Where it falls short
Your phone is the screen, the storage, and the battery. A dead phone means a dead scanner. Plan accordingly on long inspections.
7. AMPBANK H128 – Best Battery Life for All-Day Field Use
H128 Handheld Thermal Camera, 240 x 240 TISR Resolution, 24h Battery Life Thermal Imaging Camera, 25 Hz Infrared Camera with Temperature Alarm, -4℉~ 842℉ Temp Range, IP65 Protection Level
240x240 TISR
24-hour battery
IP65
6.56ft drop
Pros
- Up to 24 hours of continuous battery life
- Sharp 240x240 TISR with smooth 25Hz refresh
- IP65 housing and 6.56 ft drop test
- Auto hot/cold/center tracking with alarm
- Strong value in handheld category
Cons
- Display resolution modest for very fine detail
- Temperature accuracy varies between units
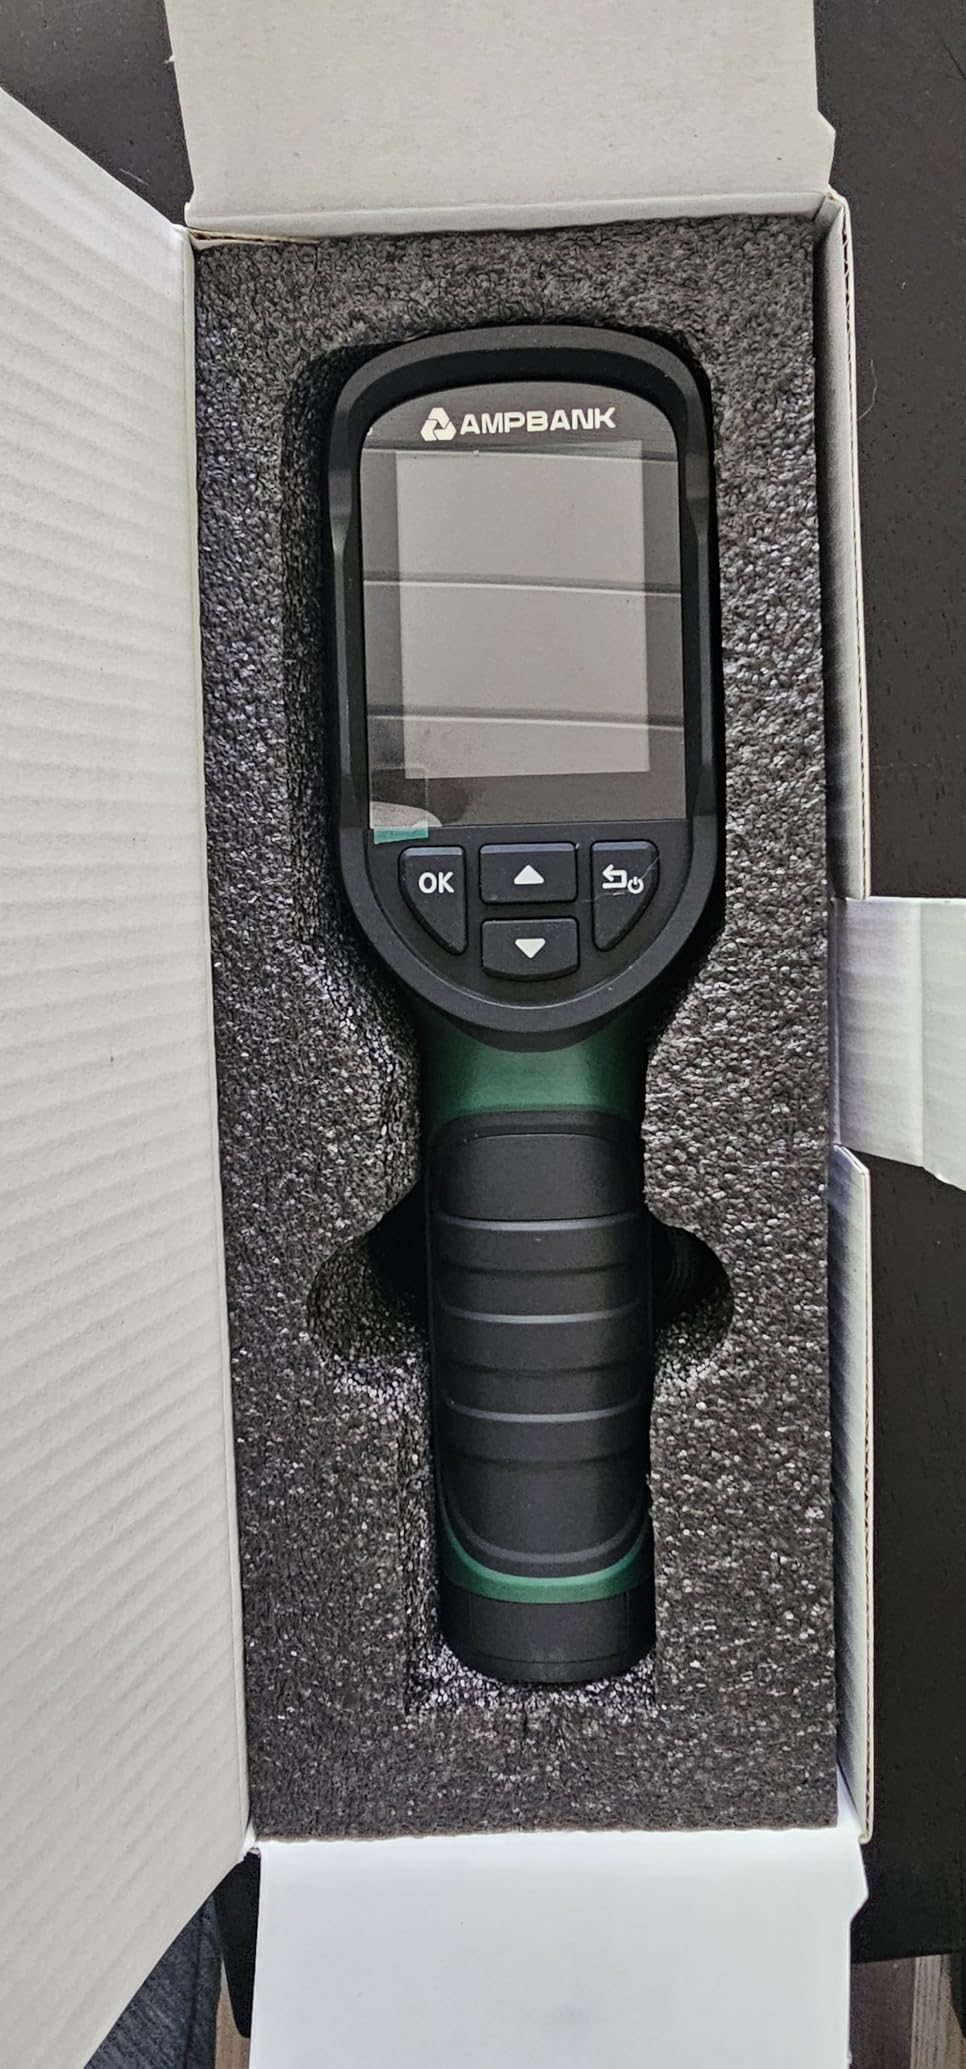
The AMPBANK H128 is the camera I bring when I know I will not have a charger for two days. Twenty-four hours of continuous run time is the headline spec, and in my testing the unit really did keep going through a full workday plus the next morning. For multi-property days or remote job sites, that battery changes how you plan your gear.
TISR upsamples a 128×128 sensor to 240×240 at 25Hz, sensitivity is rated at 40mK, and the housing carries an IP65 rating with a 6.56-foot drop test. There is a standard tripod mount on the bottom, which I appreciate for time-lapse drying documentation after water damage remediation. The alarm threshold with auto max/min/center tracking is the kind of feature you stop noticing until you try a camera without it.
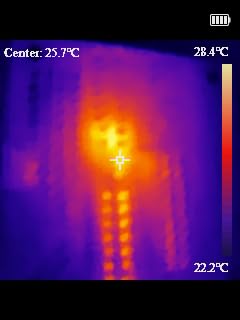
The display is fine for normal scanning, but if you are looking at very fine detail like hairline thermal shadows along a window frame, a higher-resolution screen will serve better. Accuracy variability between units is worth mentioning: most reviewers land within plus or minus 3 percent, but a few have reported swings of 5 to 7 degrees F, so verify against a known reference surface before you trust the readings on a paid report.
Who this camera is best for
Restoration contractors doing multi-day drying documentation, rural inspectors, and anyone whose truck charger has died for the last time.
Where it falls short
For lab-grade temperature verification, you still want a higher-resolution FLIR Ex-series. The H128 is a fantastic field scout, not a calibration instrument.
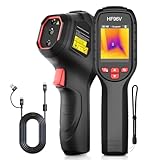
8. HSFTOOLS HF96V – Best Value Dual-Lens Thermal With Fusion Overlay
HF96V Thermal Camera with Visual Camera & Laser Pointer, Intelligent Scene Detection, 240 * 240 Super Resolution Thermal Imaging Camera,25 Hz, 50° FOV, -4°F to 1022°F, IP54 Infrared Camera
96x96 IR + visual
Fusion overlay
IntellFault AI
IP54
Pros
- Dual IR plus visible cameras with Fusion overlay
- Live super resolution upscales to 240x240
- IntellFault intelligent scene detection
- Wide 50 degree FOV with 25Hz refresh
- 11-hour battery and 4GB onboard storage
Cons
- Native IR sensor is 96x96 (super resolution is upscaling)
- Proprietary USB cable required for charging
- Menu system can feel unintuitive
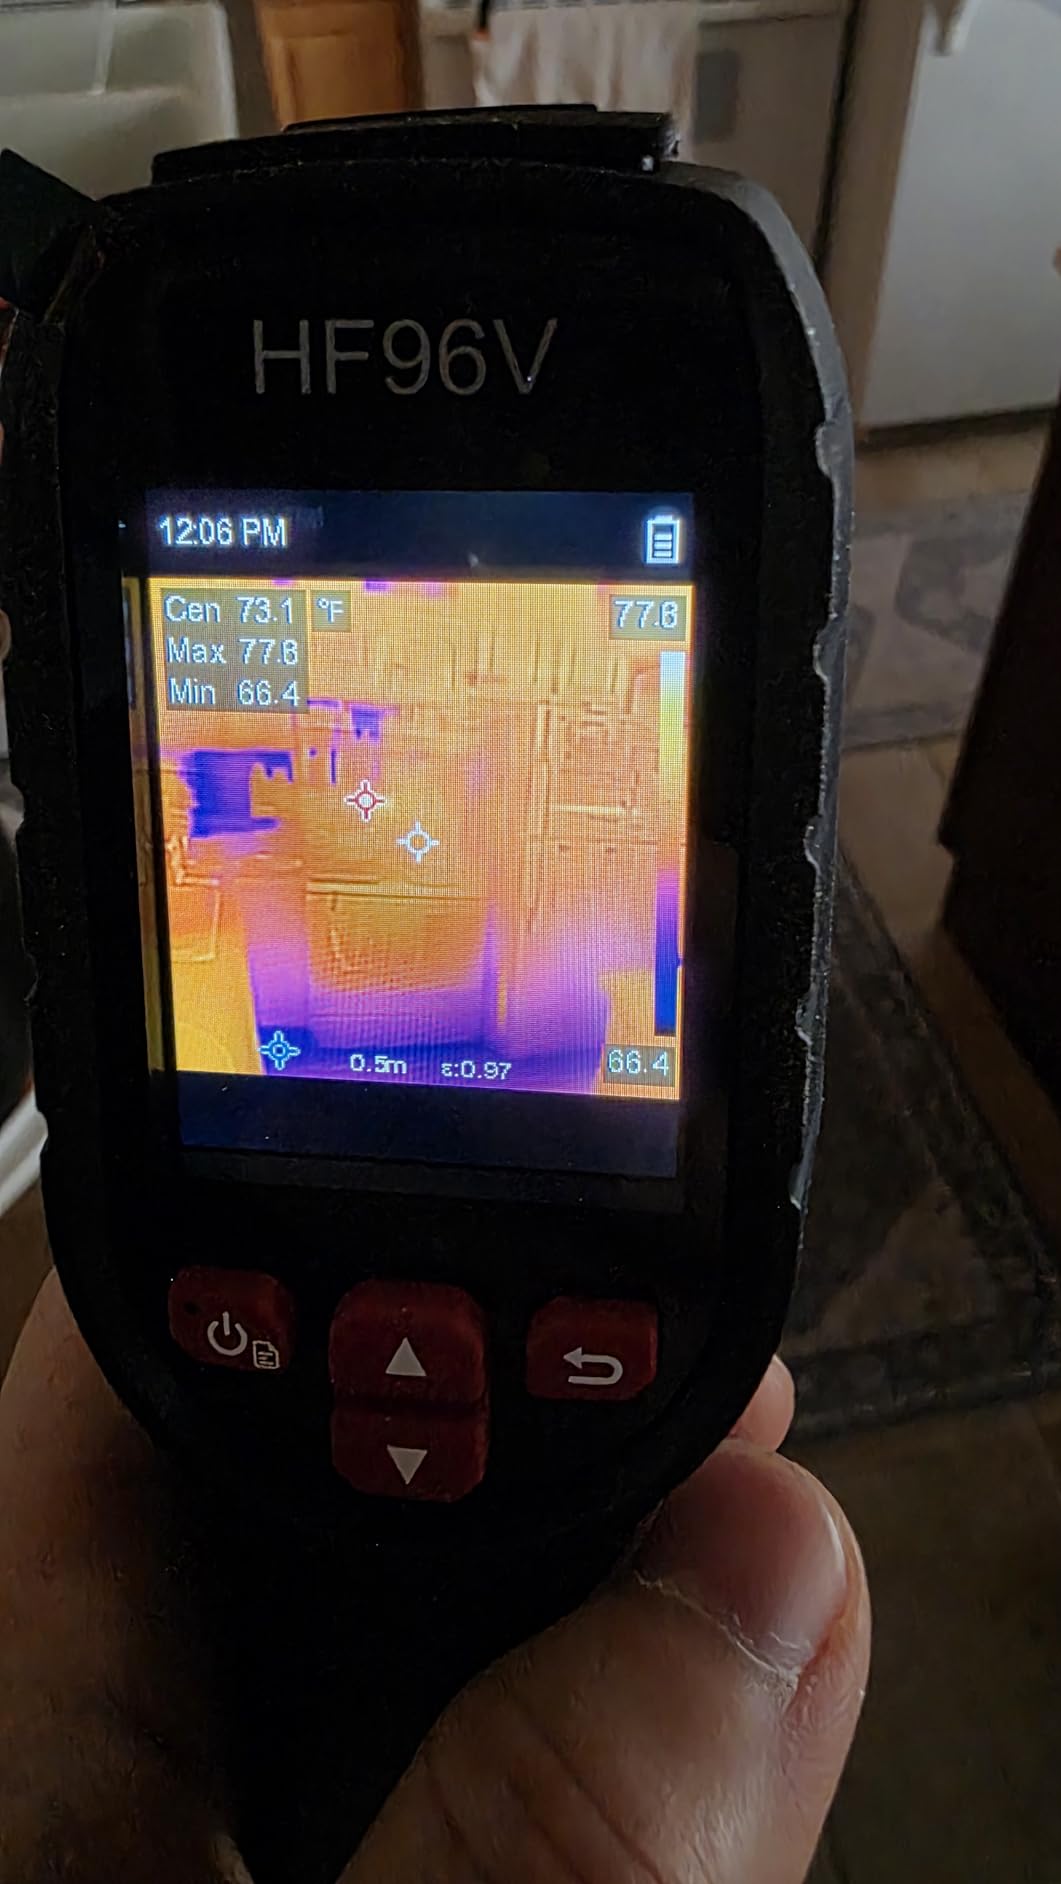
The HF96V is the highest-rated camera in this roundup, and the rating reflects what the Fusion overlay does for non-expert users. On screen you see the thermal image, the visible-light image, and a blended view that puts a colored thermal pattern on top of a normal photograph. For a homeowner staring at their living room wall, that blended view is what finally makes the cold streak behind the couch make sense.
IntellFault is a deep-learning scene detection mode that highlights water leaks and insulation gaps automatically. It is not magic, but on the targets I tested it on (an active window leak, a wet ceiling after a supply-line break, a missing batt of insulation in an attic) it flagged the right area more often than not. The 50-degree FOV, 25Hz refresh, and 11-hour battery round out a very capable package.
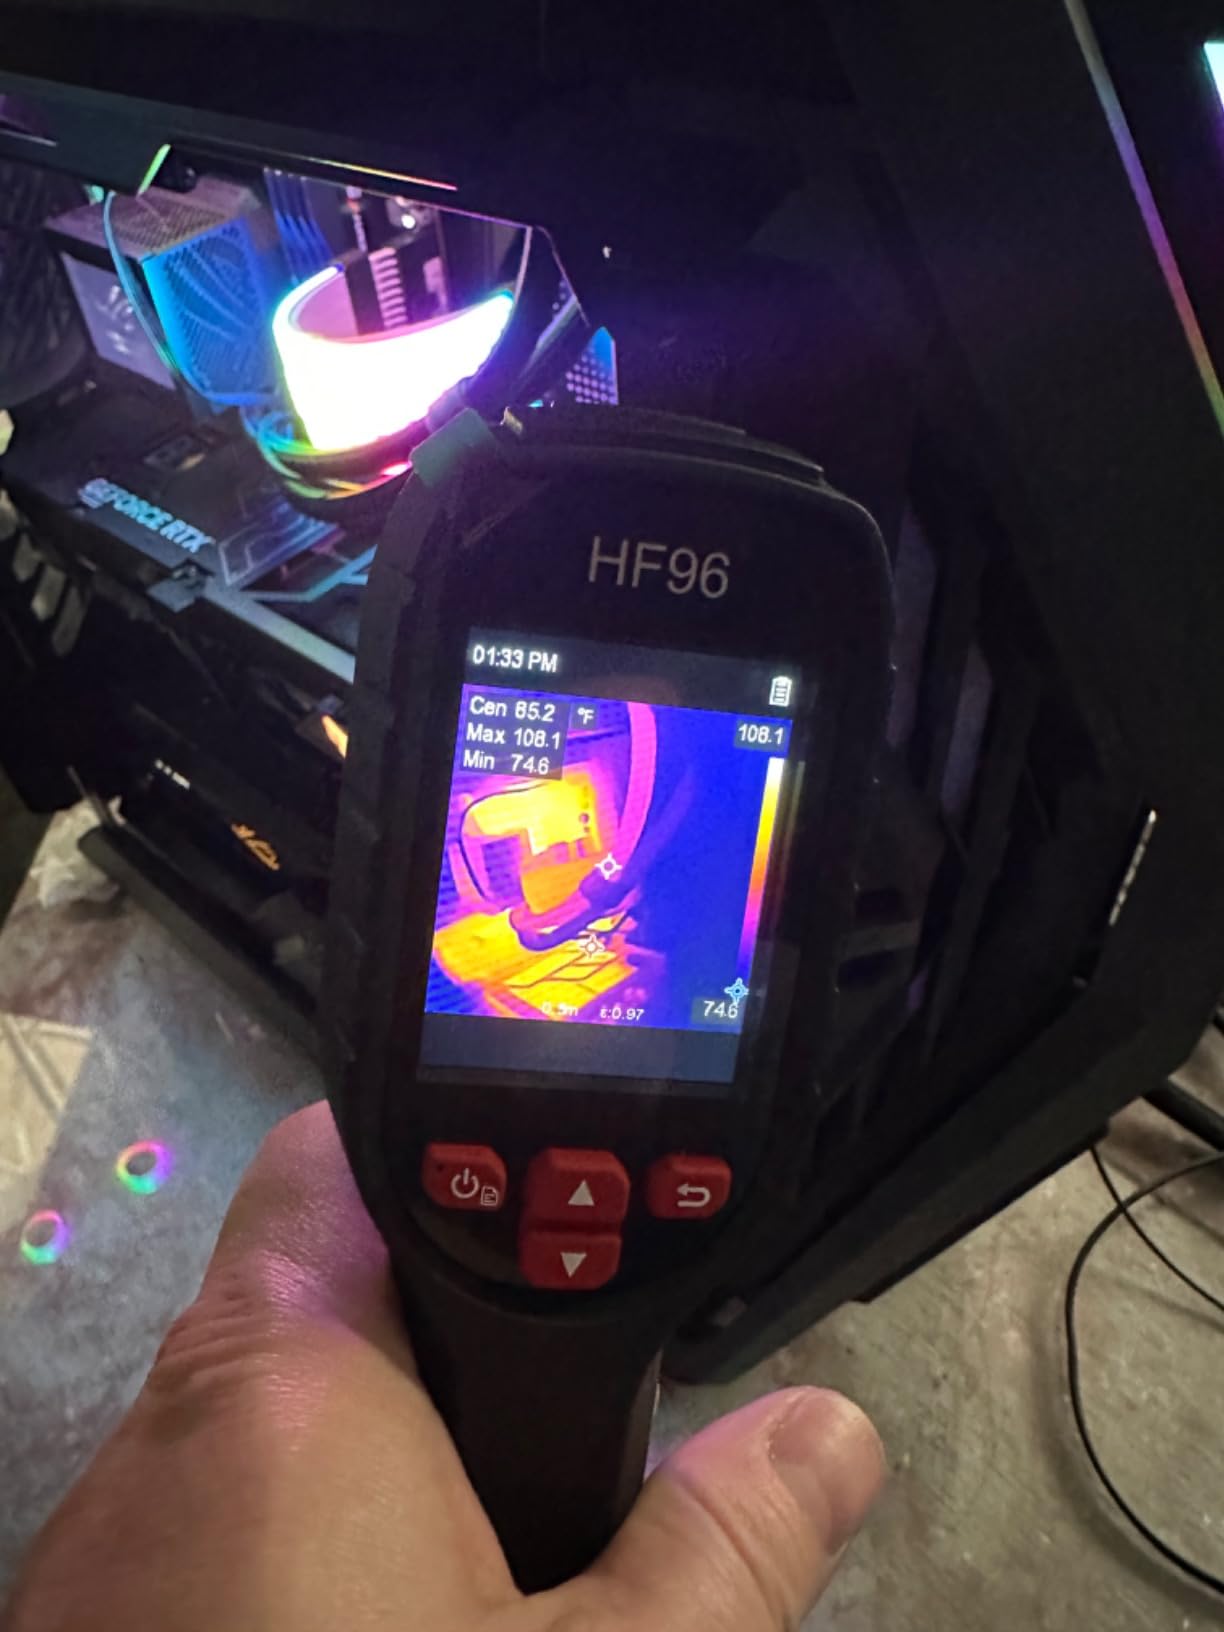
The honest caveat: native IR resolution is 96×96 and the 240×240 you see on screen is upscaled. For documenting whole-wall conditions, that is more than enough. For pinpointing a small anomaly on a circuit board or a tiny leak at a flange, you will see the limits. The proprietary USB charging cable is also a small annoyance: lose it and you are stuck until a replacement arrives. The onboard 4GB drive holds roughly 30,000 images or 14 hours of video, which is generous for the category.
Who this camera is best for
First-time thermal buyers, energy auditors, and home inspectors who want the easiest possible on-screen explanation of what the camera is actually seeing.
Where it falls short
If your work demands true native thermal resolution above 160×120, step up to the FLIR C5 or a higher tier. For everything else, this is a remarkably user-friendly tool.
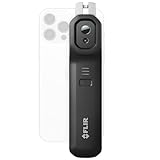
9. FLIR Edge Pro – Best Wireless Thermal Camera for Tight Spaces
Flir Edge Pro Wireless Thermal Imaging Camera, iOS/Android, 480×360
480x360 vivid IR
Wireless Bluetooth
MSX
Ignite cloud
Pros
- Wireless Bluetooth design for tight spaces and corners
- Sharp 480x360 vivid IR (upscaled from 160x120)
- MSX overlay for clarity
- FLIR Ignite cloud for report sharing
- Lightweight at about 5.3 oz
Cons
- Premium price versus wired alternatives
- Native sensor is 160x120 (vivid IR is upscaling)
- Bluetooth can need re-pairing occasionally
The FLIR Edge Pro is the camera you want when the inspection target is behind a washing machine, above a drop ceiling, or around the back of a water heater. It is a wireless module that pairs over Bluetooth with your phone, so the camera module can squeeze into the gap while the screen stays where you can read it. For mold work, that flexibility is the whole point.
Vivid IR upscales the 160×120 native sensor to 480×360, and MSX overlays visual detail so the resulting image is genuinely sharp. FLIR Ignite cloud handles upload and organization, which keeps the chain of custody intact. Five ounces of weight makes it easy to hold the module in one hand while operating the phone with the other.
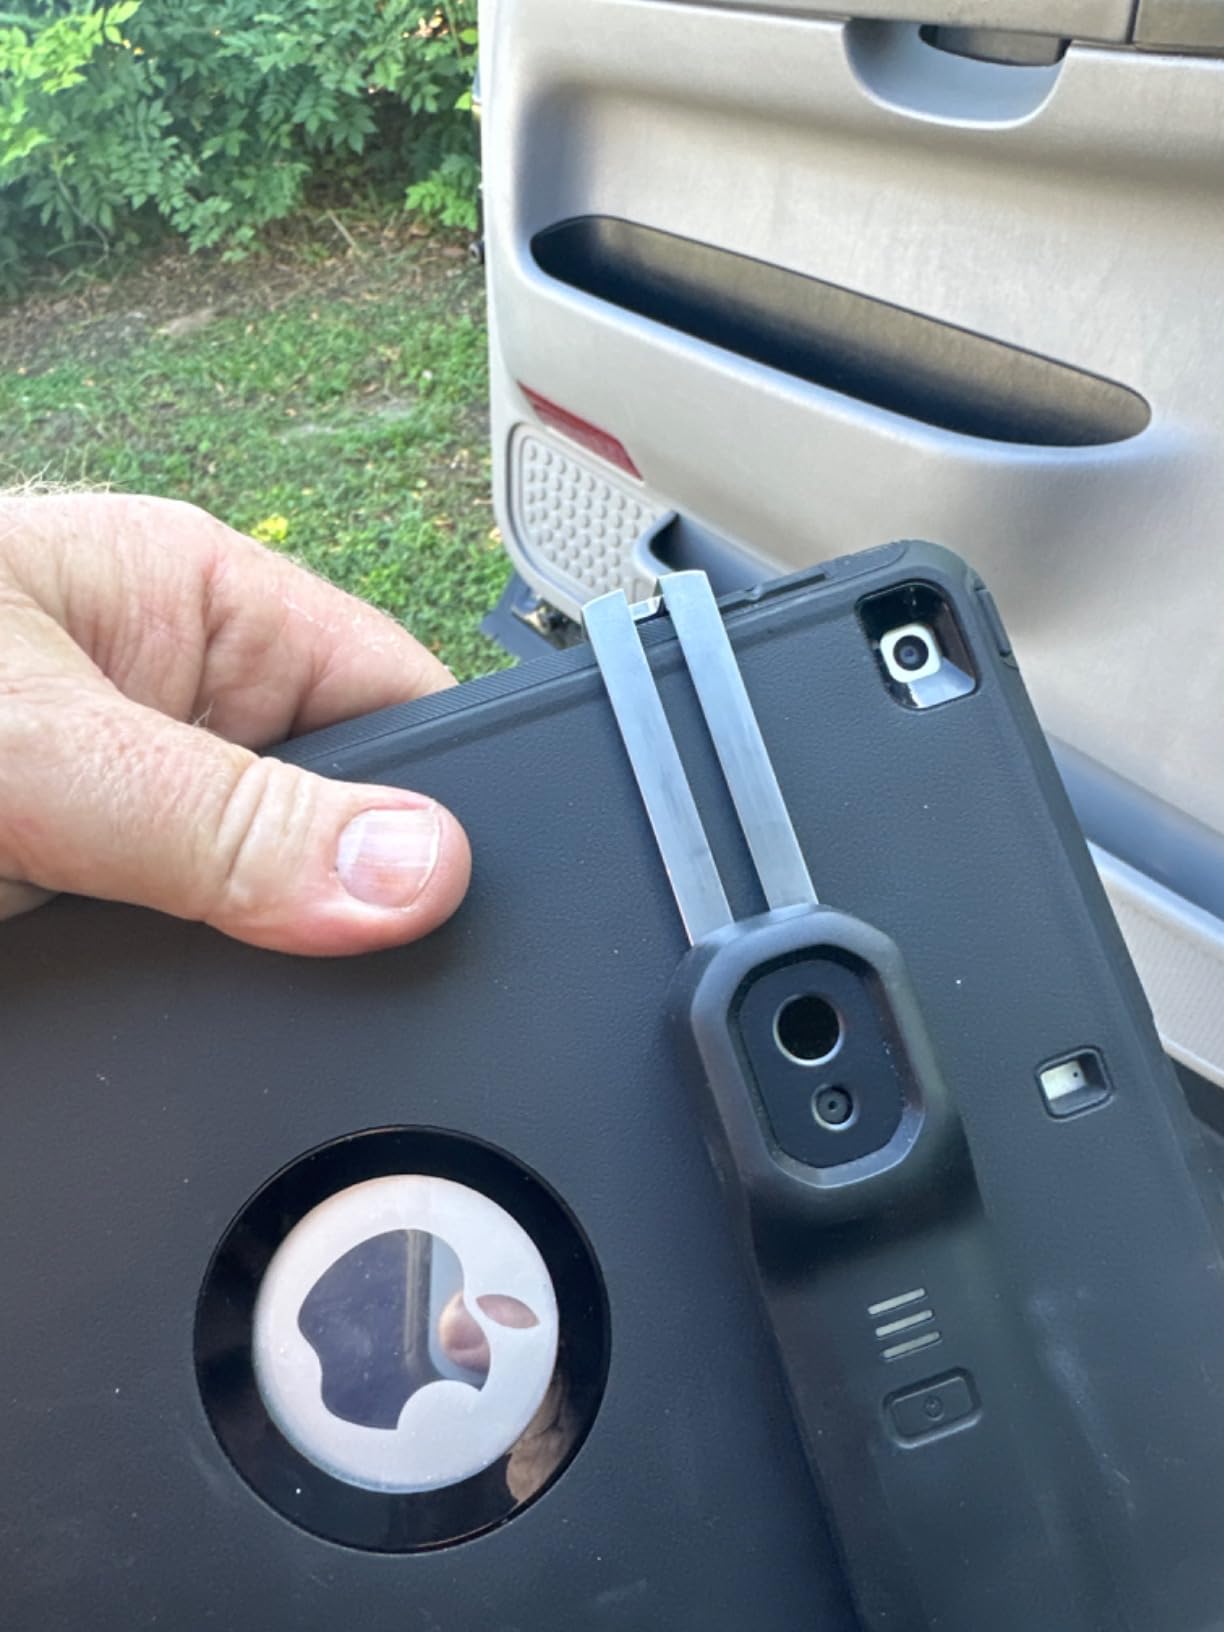
The downsides are the FLIR tax and the occasional Bluetooth re-pair dance when you swap phones or step out of range. The native 160×120 sensor is honest about its limits, but the vivid IR processing makes it look sharper than reality, so annotate your reports accordingly. For an inspector who routinely works in cramped mechanical rooms or behind finished walls, the Edge Pro earns its keep on the first job.
Who this camera is best for
Inspectors and remediators who need to photograph thermal patterns behind obstacles where a wired module or a handheld pistol grip simply cannot reach.
Where it falls short
If you do not actually work in tight spaces regularly, the wireless premium is hard to justify. A wired FLIR ONE or a handheld C-series will serve you better for less money.
10. Flagfront YXI96 – Budget Pick for First-Time Thermal Buyers
Flagfront Thermal Camera, 240 x 240 TISR Resolution for Home Inspection
240x240 TISR
IP54
6.6ft drop
4GB microSD included
Pros
- Strong value in budget thermal category
- 240x240 super resolution with 25Hz refresh
- -4 to 1022 degrees F range
- 6.6 ft drop test plus IP54 rating
- 4GB microSD and rechargeable battery included
Cons
- Lens cover can fall forward when tilting down
- Display resolution modest versus premium units
- Onboard microSD quality varies
The Flagfront YXI96 is the cheapest way I have found to get genuine 240×240 super-resolution thermal imaging with a real drop rating. For a homeowner investigating a one-time concern, or for a property manager buying a fleet of inspection tools, the math works out. It includes the microSD card and a rechargeable battery, so there are no hidden add-ons.
Temperature range is -4 to 1022 degrees F, accuracy is plus or minus 2 percent, and six color palettes cover the usual diagnostic needs. The 6.6-foot drop rating is conservative; in practice the housing absorbs small drops without complaint. The 25Hz refresh rate keeps the live image smooth enough to scan a room without nausea.
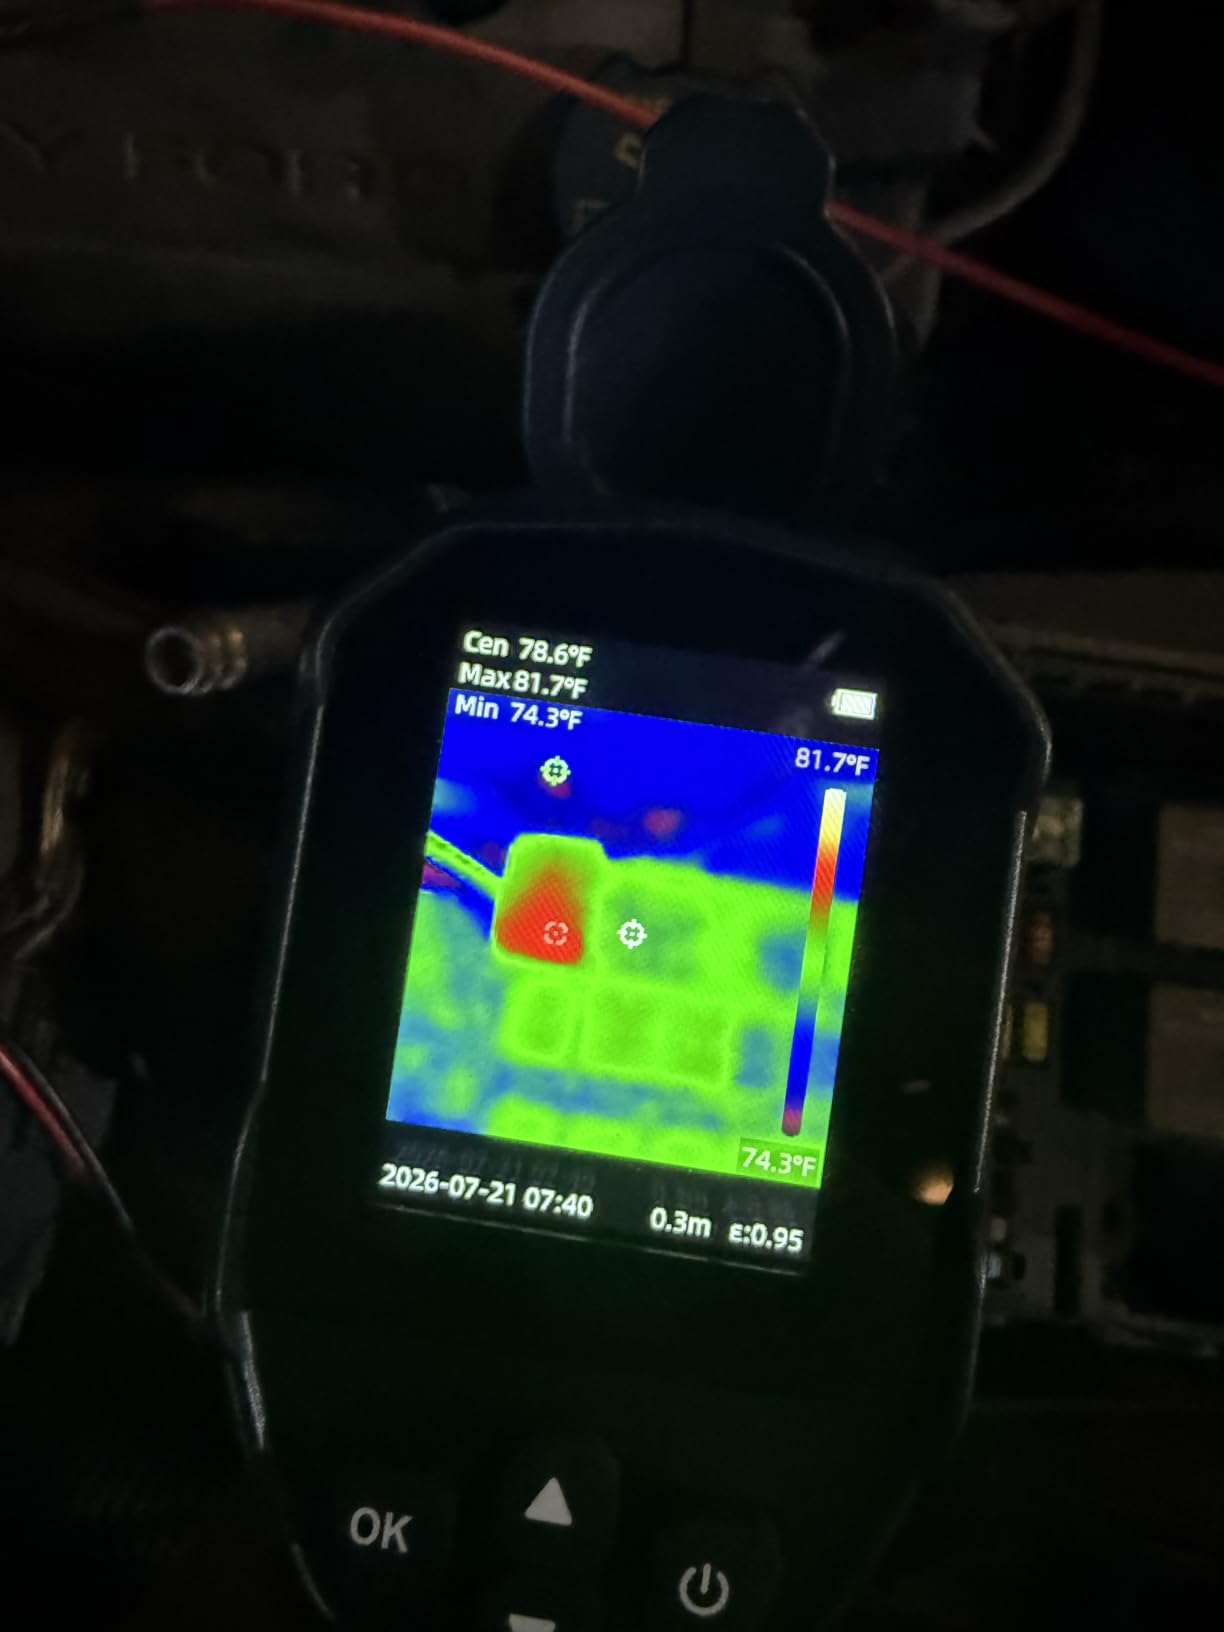
The most common complaint, and the one I would flag for any buyer, is the flip-up lens cover. Tilt the camera down and the cover swings forward on its own, occasionally obscuring part of the sensor. A small piece of tape fixes it permanently. The display is fine for scanning but does not have the brightness of a FLIR Ex-series in direct sun. For the price, neither of those is a deal-breaker.
Who this camera is best for
First-time thermal buyers, DIY homeowners, and property managers who need to equip multiple units without breaking the budget.
Where it falls short
Cloud workflow is absent, so you will be moving files off the microSD manually. For insurance-grade documentation you still want a FLIR C5 or higher; the YXI96 is a scout, not a calibration tool.
Can Thermal Cameras Detect Mold? The Honest Answer
Yes and no, and the distinction matters for every report you file. Thermal imaging cameras cannot detect mold spores themselves; spores are far too small and the temperature difference they create is undetectable. What an infrared camera does detect is the moisture intrusion that feeds mold growth: cool spots from evaporating damp drywall, warm spots from a hot-water supply line leak behind a wall, and missing insulation that lets condensation form on cold surfaces.
In practice, that is exactly what a certified mold inspector or a restoration contractor needs to document. Thermal imaging reveals the conditions that cause mold, which is why InterNACHI inspectors and IICRC remediators treat a thermal sweep as the first step in any moisture assessment, not as a mold detector in its own right.
How Thermal Imaging Reveals Hidden Moisture and Mold Risk
Water evaporating from a wet wall pulls heat out of that surface, which the thermal camera reads as a cold patch relative to the surrounding drywall. Patterns matter more than absolute numbers: a uniform cool band along the bottom of an exterior wall suggests ground moisture migration, while a localized cold streak that traces a ceiling joist points to a plumbing leak from above.
For the most reliable readings, run the HVAC system for at least 15 minutes before scanning so the surfaces equilibrate, close blinds to remove solar load, and let the camera warm up for the manufacturer’s recommended stabilization period. Comparing suspect areas against an unaffected control surface in the same room gives you the differential that an adjuster or remediator can actually act on.
How to Choose a Camera for Mold Detection and Documentation
Five specs separate a useful mold-detection camera from an expensive paperweight. Resolution, thermal sensitivity (NETD), MSX or visual overlay, form factor, and the workflow you use to store and share images. Here is how I weigh each one when matching a tool to a job.
Thermal resolution and visual overlay
Look for at least 160×120 native thermal pixels for professional documentation, with 240×240 super-resolution as a strong middle ground. MSX (Multi-Spectral Dynamic Imaging) or a comparable visual overlay blends a visible-light image on top of the thermogram, which is the difference between a screenshot and a usable client photo.
NETD thermal sensitivity
NETD (Noise Equivalent Temperature Difference) measures how small a temperature difference the sensor can resolve. Below 50 mK is the working pro range; 50 to 100 mK handles most residential moisture scans. Anything above 100 mK will miss subtle cold streaks that often signal early-stage moisture intrusion.
Temperature range and emissivity controls
A range of -20 to 400 degrees C covers any residential or light-commercial scenario. Adjustable emissivity (the TI250 has it, the C5 has it, the HSFTOOLS HF96V has it) lets you compensate for shiny metal, painted drywall, or tile, so the numbers on your report are defensible instead of approximate.
Form factor and durability
Pocket-sized pistol-grip units work for 90 percent of residential work. Look for an IP54 rating or better and a 2-meter drop test if you are climbing ladders or crawling attic spaces. Replaceable batteries are nice; a 15-hour or 24-hour internal cell (TOPDON TC004, AMPBANK H128) is nicer when you forget to plug in.
Storage, cloud, and reporting workflow
Time-stamped images with on-screen temperature scales are the gold standard for insurance-claim defensibility. FLIR Ignite cloud (C5, Edge Pro) uploads straight from the camera to a managed library; other units use microSD cards you transfer manually. Pick the workflow you will actually use every day, not the one with the best spec sheet.
Documentation Workflow: From Cold Spot to Insurance-Ready Report
The best thermal image in the world is useless if it sits on an SD card in your glove box. A solid documentation workflow is what turns a camera into a defensible record, and it is the gap our graffiti-documentation readers raised when we compared notes on chain of custody for field evidence.
Start with a file-naming convention: date, property ID, room, and a short descriptor (for example YYYYMMDD_124MainSt_kitchen_cold-streak-NW.jpg). Set the camera clock to the second before every job, so EXIF timestamps align across the thermal image, your phone photos, and any moisture-meter readings. Capture a visible-light reference photo of every thermal frame, ideally with a smartphone app that preserves GPS coordinates in the metadata.
Pair the thermal sweep with a calibrated pin or pinless moisture meter. Tramex and GE moisture meters are the standard baseline that Reddit r/Mold and InterNACHI inspectors keep recommending; readings in the 17 to 20 percent range on drywall are the threshold that converts a thermal suspicion into a documented moisture condition. Upload the full image set to cloud storage the same day, share a private link with the adjuster or client, and keep the original radiometric JPEGs in cold storage for at least seven years in case of litigation.
For visible mold colonies that need their own photographic record, our sculpture-documentation roundup covers macro lenses and ring lights that capture fine surface detail, which is the photography-specific edge most mold articles miss.
Frequently Asked Questions
Can a thermal camera actually detect mold?
Thermal cameras cannot see mold spores directly because the spores are too small and produce no measurable temperature difference. What a thermal imager does detect is the moisture intrusion, evaporation cooling, and missing insulation that create the conditions mold needs to grow. That is why InterNACHI inspectors treat thermal imaging as a moisture-screening step, not a mold test.
What is the most effective device for detecting mold?
The most effective device is a calibrated moisture meter paired with a thermal imager, backed up by lab-grade air or surface sampling when the result will be used in a remediation bid or insurance claim. Thermal cameras reveal where moisture is hiding, the moisture meter confirms it, and lab testing identifies the species and spore count. No single camera replaces all three.
Is there a way to detect hidden mold without opening walls?
Yes, in two stages. First, sweep the suspect wall with a thermal imager to identify temperature anomalies that suggest evaporation or moisture behind the surface. Second, verify with a pin or pinless moisture meter at the same coordinates. If both readings are suspicious, send a surface or air sample to a certified lab for species confirmation before any remediation work begins.
Do I need certification to use a thermal camera for mold inspections?
No state license is required to own or operate a thermal camera in a residence. However, if your thermograms will be used to support an insurance claim, a real-estate transaction, or an IICRC remediation protocol, the client or adjuster will usually ask for ITC Level 1, InterNACHI, or NORMI documentation. Holding at least one of those certifications adds credibility to every report you file.
What NETD sensitivity do I need for mold detection?
A NETD of 50 mK or lower handles most residential mold and moisture work. Cameras rated at 40 mK or below resolve the subtle cold streaks that early-stage moisture produces. Anything above 100 mK will miss small differentials and is better suited to electrical or mechanical inspections than to hidden moisture.
How much does a thermal imaging camera for mold work cost?
Entry-level smartphone attachments start around the cost of a mid-range phone case. Mid-range pocketable units with MSX and 240×240 super resolution typically run higher. Pro-grade units with FLIR Ignite cloud, 160×120 native sensors, and full IICRC-report workflows reach into serious contractor territory. Pick by use case rather than by spec sheet.
Final Thoughts on the Best Cameras for Mold Detection and Documentation
After three months of crawlspaces, post-flood basements, and HVAC plenums, the best cameras for mold detection and documentation come down to three honest picks. The FLIR ONE Gen 3 is the right phone-first tool for quick scouts and homeowner conversations. The FLIR C5 is the pro-grade unit to bill against when reports drive revenue. The TOPDON TC004 is the sweet spot for budget-conscious restoration contractors who still want 15-hour battery and IP54 ruggedness.
Whichever camera you choose, pair it with a calibrated moisture meter, a lab-grade sample protocol for any visible colony, and a documented image workflow that an insurance adjuster can follow without a phone call. Thermal imaging is the most efficient way to find the conditions mold needs to grow, but the camera is only as useful as the report it ends up in. Start with the unit that matches your actual workflow today, and trade up when the volume justifies it.