
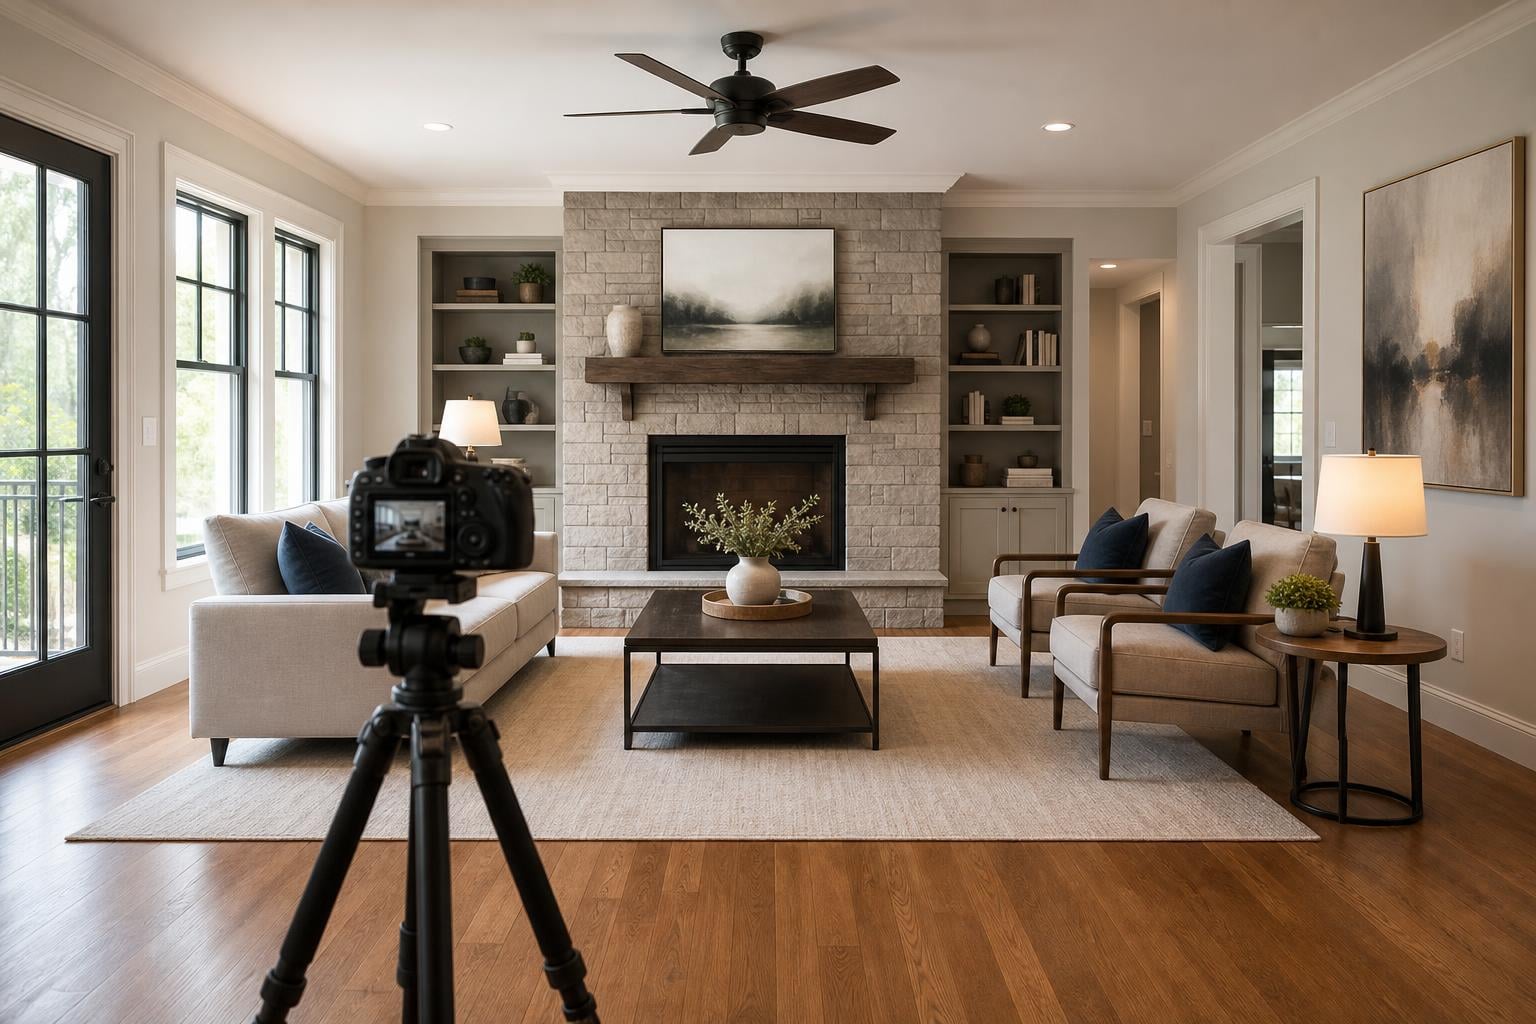
You upload your listing photos, sit back, and wait for the showings to roll in. But then you notice something off. The walls look like they are slowly tipping over. The door frames lean to the left. The ceiling meets the wall at an angle that would make an architect wince. If you have ever asked yourself why do my real estate photos have crooked leaning walls, you are not alone.
This is one of the most common problems in real estate photography. It affects beginners shooting with an iPhone, agents using a point-and-shoot, and even experienced photographers who get a little lazy with their tripod setup. The good news is that crooked walls are completely preventable and fixable.
In this guide, our team breaks down exactly what causes leaning walls in property photos, the physics behind why it happens, and practical steps to prevent it both in-camera and during post-processing. Whether you are shooting with a professional mirrorless camera or a smartphone, you will walk away with actionable fixes you can apply on your next shoot.
Table of Contents
Why Do My Real Estate Photos Have Crooked Leaning Walls?
Crooked or leaning walls in real estate photos happen because the camera sensor is not perfectly level and parallel to the wall when the photo is taken. This causes vertical lines that are straight in real life to appear tilted, converging, or falling over in the image. Wide-angle lenses, which most real estate photographers use to capture tight interiors, amplify this distortion significantly.
Here are the four main causes, ranked by how often we see them:
Camera tilt (pitch): Pointing the camera up or down even a few degrees tilts the sensor plane relative to the walls, causing verticals to converge.
Wide-angle lens distortion: Lenses in the 10mm to 24mm range naturally curve straight lines and exaggerate any perspective distortion from camera tilt.
Wrong shooting height: Shooting from eye level or above typically means the camera is angled downward, which introduces keystoning.
Handheld instability: Shooting handheld makes it nearly impossible to hold the camera perfectly level frame after frame.
The fixes fall into two categories: getting it right in-camera (the best approach) and correcting perspective distortion in post-processing software like Lightroom or Photoshop. We cover both in detail below.
The Physics Behind Why Tilting Your Camera Skews Vertical Lines?
To understand why your walls look crooked, it helps to understand what is happening physically when you press the shutter. This is something almost no photography guide explains, but once you grasp it, everything clicks into place.
Imagine standing in front of a tall building and looking straight at it. The walls go straight up and down. Now imagine tilting your head back to look at the top of the building. The walls no longer appear vertical. They seem to lean inward, converging toward a point in the sky. The building has not changed, but your angle of view has.
Your camera works the same way. The sensor inside your camera is a flat plane. When that sensor is perfectly parallel to the wall you are photographing, vertical lines render straight and true. But the moment you tilt the camera, even by two or three degrees, the sensor is no longer parallel to the wall. The top of the wall is now farther from the sensor than the bottom, or vice versa. This distance difference causes the vertical lines to converge or diverge in the final image.
This effect is called perspective distortion, and it is governed by simple geometry. The farther the sensor tilts from parallel, the more dramatic the convergence. A tilt of 5 degrees produces noticeable leaning. A tilt of 10 degrees makes walls look like they are about to collapse.
Wide-angle lenses make this worse for a simple reason: they capture a wider field of view, which means more of the wall is recorded at the edges of the frame where the distance difference is greatest. A 16mm lens on a full-frame sensor will show far more converging verticals from the same camera tilt than a 50mm lens would.
This is not a defect in your lens. It is not a camera setting you forgot to toggle. It is basic optics. And once you understand that your sensor needs to stay parallel to the walls, every fix we discuss below will make complete sense.
The Main Causes of Leaning Walls in Real Estate Photos
Now that you understand the physics, let us look at the specific things that cause your walls to lean. We see the same five issues over and over again when reviewing real estate photos from agents and new photographers.
1. Camera Pitch (Tilting Up or Down)
This is the number one culprit. When you tilt the camera up to capture more of the ceiling or tilt it down to capture more of the floor, you are introducing keystoning. The walls will lean inward (when tilted up) or outward (when tilted down). Even a slight tilt of 3 degrees is visible to most viewers, even if they cannot articulate exactly what looks wrong.
The fix is simple in concept: keep the camera perfectly level. In practice, this means using a tripod and a leveling tool rather than handholding and eyeballing it.
2. Wide-Angle Lens Distortion
Real estate interiors demand wide-angle lenses. You need to capture an entire room from a doorway or hallway, and that typically means shooting at 16mm to 24mm on a full-frame sensor. These focal lengths inherently produce two types of distortion.
Barrel distortion causes straight lines near the edges of the frame to bow outward, like the sides of a barrel. Perspective distortion amplifies any camera tilt, making converging verticals far more dramatic than they would be with a standard or telephoto lens.
Barrel distortion can be corrected with lens profiles in Lightroom or Camera Raw. Perspective distortion must be addressed by leveling the camera and, if needed, applying transform corrections in post.
3. Shooting From the Wrong Height
Most beginners shoot from eye level, which is typically 5 to 6 feet off the ground. At this height, you naturally angle the camera slightly downward to capture the room. That downward tilt immediately introduces perspective distortion.
The ideal camera height for most interior real estate shots is between waist and chest level, roughly 3.5 to 5 feet. At this height, the camera can remain level while still capturing a balanced view of the room, including both floor and ceiling.
4. Handheld Shooting Instability
Handheld shooting makes it virtually impossible to keep the sensor perfectly level from shot to shot. Even if you think you are holding the camera straight, a half-degree tilt in any direction will show up as leaning walls in the final image. This is compounded when using a wide-angle lens.
A tripod is not optional for professional real estate photography. It is mandatory. The tripod locks your camera in position, allows precise leveling, and ensures consistency across every frame in the shoot.
5. Uncorrected Lens Profiles
Even if your camera is perfectly level, your photos may still show slightly curved walls if you have not applied lens profile corrections. Every lens has optical characteristics that cause some degree of distortion, and wide-angle lenses are the worst offenders.
Lightroom, Camera Raw, and Capture One all have built-in lens profiles that automatically correct this distortion based on the specific lens used. Applying this correction should be the first step in your editing workflow.
How to Keep Your Vertical Lines Straight In-Camera
The best way to deal with crooked walls is to prevent them at the time of shooting. In-camera correction gives you cleaner files, preserves image quality, and saves time in post-processing. Here is our step-by-step process for nailing straight verticals every time.
Step 1: Use a Tripod With a Geared Head or Ball Head
A solid tripod is the foundation of straight verticals. You do not need the most expensive model, but you need something sturdy enough to hold your camera rock-steady. Carbon fiber tripods like the Induro or Manfrotto lines are popular among real estate photographers for their stability and light weight.
For the head, you have two solid options. A geared head (like the Arca Swiss D4 or Benro GD3WH) allows micro-adjustments with precision knobs, making it easy to dial in a perfectly level camera. A ball head with an independent panning base is faster to adjust but requires a bit more attention to ensure level.
We have seen photographers on Reddit and photography forums consistently recommend geared heads for real estate work specifically because of the precision they offer for vertical alignment.
Step 2: Level the Camera
Once your camera is on the tripod, you need to confirm it is perfectly level in both pitch (front to back) and roll (side to side). There are three tools for this:
Virtual horizon (electronic level): Most modern cameras, including Sony Alpha, Canon EOS R, and Nikon Z series, have a built-in electronic level displayed on the LCD or viewfinder. This is the most convenient option.
Hot-shoe bubble level: A small spirit level that slides into your camera’s hot shoe. These cost about $10 to $15 and are highly accurate. Many photographers use these alongside the virtual horizon for double confirmation.
Built-in bubble level on tripod: Some tripods have a bubble level on the base plate. This levels the tripod itself but not necessarily the camera, so use it as a starting point only.
There is ongoing debate in photographer communities about whether the virtual horizon or a bubble level is more accurate. In our experience, both work well, but we recommend using both for maximum confidence on important shoots.
Step 3: Set the Correct Camera Height
Camera height matters more than most photographers realize. The general rule for interior real estate photography is to position the camera between waist and chest height, typically around 3.5 to 5 feet from the floor.
At this height, you can keep the camera perfectly level while still capturing a pleasing composition that shows the floor, furniture, walls, and ceiling in balanced proportions. Shooting too high (eye level or above) forces you to angle the camera down. Shooting too low makes the furniture loom large and can require angling up.
For rooms with standard 8-foot ceilings, chest height usually works well. For rooms with high or vaulted ceilings, you may need to experiment, but always prioritize keeping the camera level over getting the perfect framing. You can always crop later.
Step 4: Choose the Right Focal Length
The focal length you choose affects both how much of the room you capture and how much distortion you introduce. Here is our guidance for real estate interiors:
16-24mm (full-frame): Ideal for most interior shots. Wide enough for small rooms, tight enough to minimize extreme distortion.
24-35mm (full-frame): Great for larger rooms, living areas, and exterior shots. Minimal distortion.
10-15mm (full-frame): Reserve for very tight spaces like small bathrooms. Significant distortion is unavoidable at these focal lengths.
If you are shooting on a crop sensor (APS-C), multiply these focal lengths by 1.5x or 1.6x to get the equivalent field of view. A 10mm lens on a crop sensor gives roughly the same view as a 15mm lens on full-frame.
Step 5: Enable In-Camera Lens Corrections
Many modern cameras can apply lens profile corrections to JPEG files in-camera. This automatically corrects barrel distortion and vignetting based on the attached lens. Check your camera menu under “Lens Compensation” or “Lens Aberration Correction” and enable both distortion correction and peripheral illumination correction.
If you shoot RAW, these corrections will not be baked into the file, but they will be applied automatically when you open the file in Lightroom or Camera Raw, provided the lens profile database recognizes your lens.
Step 6: Shoot in RAW for Maximum Correction Flexibility
Shooting RAW gives you the maximum amount of data to work with when correcting perspective distortion in post-processing. JPEG files discard data through compression, which limits how much you can stretch and transform the image without introducing artifacts or visible quality loss.
RAW files also capture more dynamic range, which is essential for interior photography where you are dealing with bright windows and shadowed corners. If you are bracketing exposures for HDR merging, RAW is even more important.
The 3-Wall Rule and How It Affects Vertical Lines
The 3-wall rule is a compositional guideline in real estate photography that suggests photographing a room from an angle where you can see two walls converging toward a third wall in the background. This creates depth and makes the space feel larger and more three-dimensional.
The 3-wall rule intersects with vertical correction in an important way: when you shoot at an angle to a wall, any camera tilt becomes more visible. The angled perspective emphasizes converging lines, so getting the camera perfectly level becomes even more critical. If you nail the level, the 3-wall composition looks dynamic and professional. If you are off by even a few degrees, the diagonal lines amplify the distortion.
Best Camera Settings for Straight Verticals
While no camera setting directly controls perspective distortion, several settings support your goal of straight walls:
Aperture: f/8 to f/11 for maximum sharpness and depth of field across the room.
ISO: 100 to 400 to minimize noise. Use a tripod so you can keep ISO low even with longer shutter speeds.
Shutter speed: Whatever the meter recommends given your aperture and ISO. On a tripod, shutter speed can be several seconds if needed.
White balance: Set manually or use a custom preset for consistent color across the shoot.
Drive mode: Use a 2-second self-timer or a remote shutter release to eliminate camera shake from pressing the button.
How to Fix Crooked Walls in Post-Processing?
Sometimes you cannot achieve perfect verticals in-camera. Maybe you shot handheld in a rush, or the room layout made a perfectly level shot impossible. Post-processing tools can correct leaning walls, though there are trade-offs in image quality and framing.
Lightroom Transform Panel
Adobe Lightroom has a dedicated Transform panel (formerly called Lens Corrections) that is the go-to tool for most real estate photographers. Here are the options, from simplest to most precise:
Auto: Lightroom attempts to automatically level and correct perspective. It works sometimes but often overcorrects or misses entirely. Many photographers on Reddit describe the Auto button as unreliable.
Level: Corrects horizontal tilt only (roll). Useful when the horizon line is off but verticals are fine.
Vertical: Corrects vertical convergence (keystoning). This is the tool you will use most often for leaning walls.
Guided Upright: The most precise option. You draw guide lines along edges in your photo that should be vertical or horizontal, and Lightroom uses those guides to calculate the correction. This is our recommended approach for real estate photos.
Here is a quick step-by-step for the Guided Upright workflow:
Open your photo in the Lightroom Develop module.
Apply your lens profile correction first (Enable Profile Corrections in the Lens Corrections panel).
Go to the Transform panel and click the Guided Upright icon.
Click and draw along a vertical edge in your photo (a door frame, window frame, or wall edge).
Draw a second vertical guide along another edge on the opposite side of the frame.
Optionally, draw horizontal guides along the floor or ceiling.
Lightroom will apply the correction automatically based on your guides.
Crop the image to remove any white edges created by the transformation.
Photoshop Perspective and Skew Tools
For more complex corrections or when Lightroom’s tools are not enough, Photoshop offers additional options:
Edit > Transform > Skew: Drag the top corners of the image independently to correct vertical convergence on one or both sides.
Edit > Transform > Perspective: Drag corners symmetrically to correct keystoning. Good for relatively simple corrections.
Perspective Crop Tool: Draw a crop box and define the four corners to match the actual rectangle of the room. Photoshop crops and transforms in one step.
Adaptive Wide Angle filter: Useful for correcting complex distortion from ultra-wide and fisheye lenses. You draw lines along curved edges and the filter straightens them.
Warning: Over-Correcting and Edge Stretching
The biggest risk in post-processing correction is overdoing it. When you apply aggressive perspective correction, the edges of the image get stretched. This can make furniture look bloated, people look distorted, and walls look unnaturally wide. The center of the image compresses while the edges expand.
A good rule of thumb is to correct to about 90 to 95 percent of perfect vertical. Most viewers will not notice a slight lean, but they will notice if your sofa looks like it belongs in a funhouse. If correcting to full vertical requires extreme transformation, consider cropping tighter or recomposing the shot instead.
Another issue to watch for: when you correct verticals in post, you lose pixels at the edges of the frame. You may need to shoot slightly wider than you think you need to allow room for cropping after correction.
How to Fix Crooked Walls With a Smartphone
Many real estate agents and landlords take listing photos with an iPhone or Android phone. While smartphones do not give you the same level of control as a professional camera, you can still minimize and correct leaning walls.
Enable Grid Lines
Both iPhone and Android cameras have a grid overlay option in their camera settings. Turn this on. The grid provides a visual reference for keeping vertical lines in your composition aligned with the grid lines. While not as precise as a bubble level, it helps significantly.
Use the Built-in Level
iOS has a built-in level indicator that appears when you hold the phone in portrait orientation. Two crosshairs align when the phone is level. Use this to confirm your phone is not tilted before shooting.
Shoot at the Right Height
The same height rules apply to smartphone photography. Hold the phone at waist to chest level rather than at eye level. This reduces the temptation to tilt the phone down to capture the floor.
Third-Party Apps for Perspective Correction
If your photos still have leaning walls, several apps can correct perspective distortion after the fact:
Lightroom Mobile (free): Includes the same Transform tools as the desktop version, including Guided Upright. The Geometry panel lets you correct verticals with precision.
Snapseed (free): Google’s photo editing app has a Perspective tool that lets you drag sliders to correct vertical and horizontal tilt. Simple but effective for quick fixes.
SKRWT ($1.99): A dedicated perspective correction app with fine-grained controls for barrel distortion, perspective, and lens correction.
Can AI Tools Automatically Straighten Real Estate Photos?
Artificial intelligence is changing how real estate photos are edited, and perspective correction is one area where AI tools are making inroads. Several platforms now offer one-click or automated correction for leaning walls.
Lightroom’s Auto Upright feature uses algorithms to detect vertical and horizontal lines and attempt correction. Adobe’s Sensei AI engine powers this, and it has improved over the years, though it still struggles with complex compositions.
Dedicated real estate photo editing services increasingly use AI-powered pipelines to batch-process perspective correction across hundreds of listing photos. These tools analyze the image, detect architectural lines, and apply corrections automatically.
The limitation of AI correction is consistency. AI can identify lines, but it does not always understand which lines matter most. In a room with patterned wallpaper, angled ceilings, or curved architecture, AI correction may target the wrong reference lines and produce worse results than manual correction.
Our recommendation: use AI tools for initial processing and quick fixes, but always review the results manually. The Guided Upright approach in Lightroom, where you tell the software exactly which lines should be vertical, remains more reliable for critical listing photos.
Common Mistakes That Make Walls Look Crooked
Even photographers who know the rules fall into bad habits. Here are the most common mistakes we see and how to avoid them.
Mistake 1: Pointing the Camera Up or Down Instead of Repositioning
When you cannot fit the whole room in the frame, the instinct is to tilt the camera. Do not do this. Instead, reposition yourself. Step back, use a wider lens, or adjust your tripod height. Tilting the camera is the fastest path to leaning walls.
If you absolutely cannot avoid a slight tilt, plan to correct it in post-processing. But always try repositioning first.
Mistake 2: Relying Solely on Lightroom Auto-Correct
The Auto button in Lightroom’s Transform panel is a starting point, not a solution. It frequently overcorrects, undercorrects, or corrects the wrong axis. Photographers in online forums consistently report that Auto fails on a significant percentage of interior shots.
Use Guided Upright instead. Taking 30 seconds to draw guide lines produces dramatically better results than trusting the Auto button.
Mistake 3: Over-Correcting in Post (Bowing Walls)
Over-correction creates a different but equally obvious problem: walls that bow outward in the middle. This happens when you apply too much vertical correction, especially near the edges of a wide-angle frame. The result looks like the room is swelling.
To avoid this, correct to about 90 to 95 percent of vertical. Leave a tiny amount of convergence rather than forcing walls to be perfectly plumb. The image will look more natural.
Mistake 4: Ignoring Lens Distortion
Perspective correction cannot fix barrel distortion. If your lens curves straight lines at the edges of the frame, no amount of Transform adjustment will straighten them. You must apply lens profile corrections first.
In Lightroom, check the Enable Profile Corrections box in the Lens Corrections panel before doing any Transform work. This removes barrel distortion so your Transform corrections work on already-straight lines.
Mistake 5: Not Training Your Eye to See Converging Verticals
One of the most common pain points we found in photography forums is that beginners literally cannot see when their verticals are off. They know something looks wrong, but they cannot identify the specific problem.
Training your eye takes practice, but here are techniques that help:
Use reference lines: Hold a straight edge (a ruler, a piece of paper) against your screen aligned with a wall edge or door frame. If the wall does not align with the straight edge, it is crooked.
Check door frames and windows: These are the most reliable vertical references in most rooms. If a door frame leans, your verticals are off.
Zoom in to 100 percent: At full magnification, convergence becomes more obvious.
Compare before and after: Toggle the correction on and off in Lightroom to see the difference. Over time, you will start noticing convergence without the toggle.
In-Camera Correction vs Post-Processing: Which Is Better?
Both approaches have their place, and the best real estate photographers use both. Here is how they compare.
In-camera correction produces the cleanest files. When your verticals are straight at the moment of capture, you do not need to stretch or transform pixels in post. This means no loss of resolution at the edges, no introduced artifacts, and no need to shoot extra wide to allow for cropping. The downside is that it requires a tripod, a leveling tool, and the discipline to set up properly for every shot.
Post-processing correction is faster and more flexible. You can fix minor tilts in seconds with Guided Upright. It is also the only option for photos already taken with leaning walls. The trade-off is that aggressive correction stretches edge pixels, which can reduce image quality and introduce distortion elsewhere in the frame.
Our recommendation: prioritize in-camera correction as your primary strategy. Use post-processing for fine-tuning and for situations where a perfectly level shot was not possible. This hybrid approach gives you the best balance of quality and efficiency.
FAQs
What is the 3 wall rule in real estate photography?
The 3-wall rule is a compositional technique where you photograph a room from an angle that shows two walls converging toward a third wall in the background. This creates depth and dimension, making the space feel larger and more inviting. It is one of the most effective ways to showcase interior spaces in listing photos.
How to straighten a slanted picture?
To straighten a slanted picture, open the photo in Lightroom, go to the Transform panel, and use the Guided Upright tool to draw lines along vertical edges like door frames or wall corners. Lightroom will automatically correct the perspective. Alternatively, use the Vertical slider for a quick fix, or use Photoshop’s Skew or Perspective tools for manual control. Always apply lens profile corrections first.
Why are real estate photos distorted?
Real estate photos are distorted primarily because the camera sensor is not perfectly level and parallel to the walls. This perspective distortion causes vertical lines to converge. Wide-angle lenses, which are necessary for interior photography, amplify the effect. Barrel distortion from the lens itself also curves straight lines near the edges of the frame.
What is the 3 3 3 rule in real estate?
The 3 3 3 rule in real estate is a staging guideline that suggests using groups of three items for visual appeal, such as three pillows on a bed, three framed photos on a wall, or three decorative objects on a table. Odd-numbered arrangements feel more natural and balanced to the eye. While not directly related to photography technique, it helps create visually pleasing compositions in listing photos.
What are common mistakes in real estate photos?
Common mistakes include crooked or leaning walls from not leveling the camera, over-brightening rooms in HDR processing, using lenses that are too wide causing extreme distortion, leaving personal items visible, poor lighting with dark shadows and blown-out windows, and over-correcting perspective in post-processing which creates unnatural bowing. The most fixable mistake is crooked verticals, which can be prevented with a tripod and corrected in Lightroom.
Can crooked walls in real estate photos be fixed after uploading to the MLS?
Once photos are uploaded to the MLS, you typically cannot edit them in place. You would need to replace them with corrected versions. Most MLS platforms allow you to swap photos, so download the original, fix the verticals in Lightroom or Photoshop, and re-upload the corrected version. It is always better to catch and fix crooked walls before publishing the listing.
Conclusion
Understanding why do my real estate photos have crooked leaning walls comes down to one fundamental principle: keep your camera sensor parallel to the walls. When you tilt the camera, the geometry of perspective distortion causes vertical lines to converge. Wide-angle lenses amplify this effect. The fix is simple but requires discipline: use a tripod, level the camera, shoot at the right height, and apply lens corrections.
When you cannot get it perfect in-camera, Lightroom’s Guided Upright and Photoshop’s transform tools let you correct leaning walls in post-processing. Just be careful not to overcorrect, and always apply lens profile corrections first.
Straight verticals are the single biggest difference between amateur and professional real estate photos. Buyers may not know what keystone distortion is, but they can feel when a room looks off. Master this one skill, and your listing photos will immediately look more polished, trustworthy, and effective.