
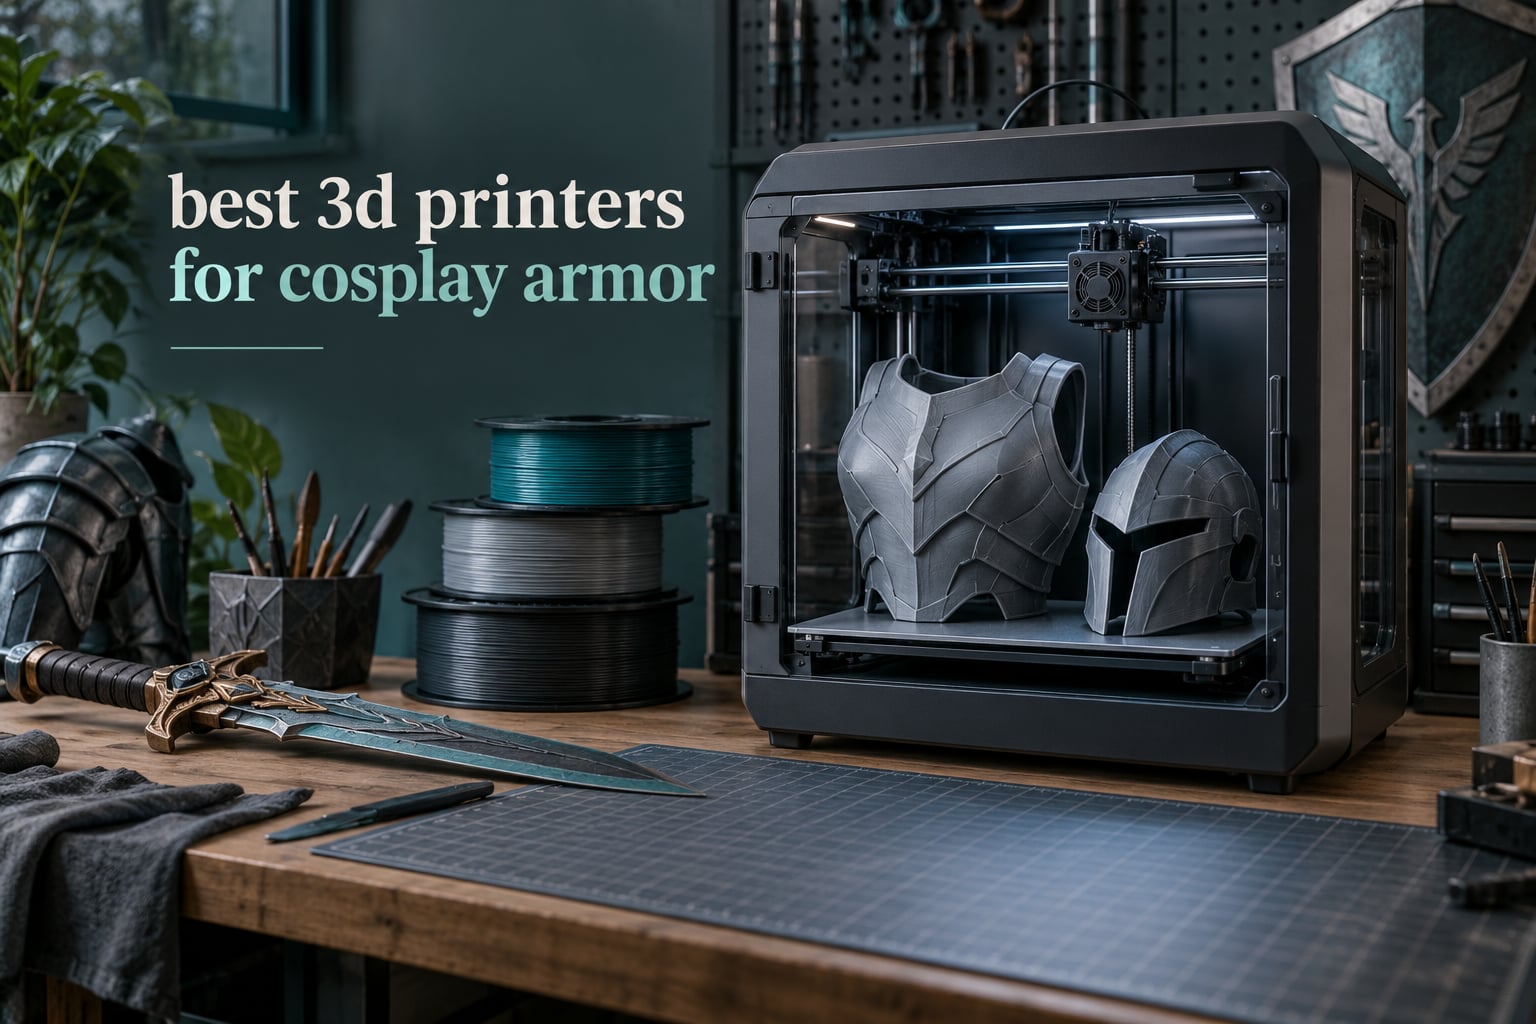
The best 3D printer for cosplay armor is the Sovol SV08 MAX, because its 500 x 500 x 500 mm build volume prints a chest piece, a full helmet, or a prop weapon in one piece instead of splitting it into glued sections. It runs CoreXY motion at 700 mm/s with a 300°C hotend, takes on ABS, ASA, PETG, TPU, nylon and carbon-filled filaments, and levels its bed with an eddy current sensor.
Our team compared ten current-generation printers against what cosplay work actually asks of a machine: a bed big enough for a real chest plate, a chamber that keeps ABS and ASA from warping overnight, and enough throughput that a suit does not eat an entire weekend. Every machine below is a live, current-generation model, not a discontinued leftover from someone else’s list.
For runners-up, the Creality K2 Plus Combo covers multi-color scale armor best, and the Bambu Lab P1S Combo is the machine most first-time cosplayers actually finish a build on. There is also a resin option here for helmets and visors, and a belt printer for seamless prop swords. If you also shoot your cosplay, our best 3D printers for miniatures covers the small-detail end of the hobby.
Table of Contents
Top 3 Picks for 3D Printers for Cosplay Armor in 2026
Best 3D Printers for Cosplay Armor (October 2026)
| Product | Specifications | Action |
|---|---|---|
| Sovol SV08 MAX |
|
Check Latest Price |
 Creality K2 Plus Combo Creality K2 Plus Combo |
|
Check Latest Price |
 Bambu Lab P1S Combo Bambu Lab P1S Combo |
|
Check Latest Price |
 Longer LK5 Pro Longer LK5 Pro |
|
Check Latest Price |
 Creality K2 Pro Combo Creality K2 Pro Combo |
|
Check Latest Price |
 ANYCUBIC Photon Mono M7 MAX ANYCUBIC Photon Mono M7 MAX |
|
Check Latest Price |
 Snapmaker U1 Snapmaker U1 |
|
Check Latest Price |
 Flashforge Creator 5 Pro Flashforge Creator 5 Pro |
|
Check Latest Price |
 QIDI Max4 Combo QIDI Max4 Combo |
|
Check Latest Price |
 IdeaFormer IR3 V2 Belt Printer IdeaFormer IR3 V2 Belt Printer |
|
Check Latest Price |
1. Sovol SV08 MAX – Best Overall for Cosplay Armor
Sovol SV08 MAX CoreXY 3D Printer, Voron 2.4 700mm/s High Speed 3D Printers
500x500x500mm build volume
700mm/s CoreXY
300C nozzle
Eddy current bed sensor
Pros
- 500mm cube fits a full chest plate or helmet in one piece
- CoreXY holds precision at 700mm/s with 40000 mm/s2 acceleration
- Eddy current sensor levels without a probe touching the print
- 300C hotend handles ABS ASA PC and nylon
- Built-in 1280x720 camera for watching long prints
- 0.6mm and 0.8mm nozzles available for thick armor walls
Cons
- Weighs 86.8 pounds so it needs its own table
- Heated chamber module is a separate purchase
- Residual layer lines on large flat panels need sanding
We have printed full pauldrons and a forearm brace on the SV08 MAX without splitting them, and that capability is the whole reason it leads this list. A 500 mm cube in all three axes means a scaled-up chest piece that would overhang a 300 mm bed by 100 mm simply prints flat on the plate.
CoreXY kinematics matter more here than the headline speed. An armor print is a long job, often 20 to 40 hours, and CoreXY keeps the toolhead mass in the corners where it does not introduce ringing on a curved pauldron. Acceleration of 40000 mm/s2 lets it push hard layers without the ghosting you would see on a bed slinger.
The eddy current bed sensor reads the plate without a probe or manual mesh leveling, which removes the single most common failure point on a first armor build: a first layer that fails 14 hours into a print. The 1280×720 camera is small but genuinely useful for catching a filament runout or a layer shift on an unattended overnight print.
Filament support is broad. The listed materials run from PLA and PETG through TPU, ABS, ASA, PA, PC, PLA-CF, PETG-CF and HP-PLA, with a 300°C maximum nozzle temperature. That covers the tough thermoplastics and the abrasive composites, which is exactly the range cosplay armor lives in.
One honest limitation: the chamber is not actively heated out of the box. A reserved interface exists for the heated chamber module, so if you plan to print large ABS panels in winter, budget for that add-on. The machine also weighs 86.8 pounds, which is a two-person move.
What the 500mm cube changes about your build plan
Most cosplayers size up from their largest single piece, not their suit. Measure the widest point of your biggest part, add 10 mm of clearance per side, and check it against the plate. On the SV08 MAX that check almost never fails, which means fewer sliced sections and fewer visible seams to fill and paint.
The 0.6 mm and 0.8 mm nozzle options are the sleeper feature here. Armor that gets worn benefits from thicker extrusion per layer, and a 0.8 mm nozzle lays down a thicker wall in fewer passes, saving hours on a pauldron or a greave.
When to skip it and save the money
If your project list is helmets, gauntlets, bracers and pouches, all of which fit inside a 256 mm cube, this machine is more volume than you will use. A 256 mm cube machine will print the same parts on a much smaller footprint on your desk.
At 28 x 27.6 x 29.5 inches it also needs a permanent bench, so skip it for a dorm room or a convention booth.
2. Creality K2 Plus Combo – Best for Multi-Color Scale Armor
Creality K2 Plus Combo 3D Printer, Multi Color Printing with New CFS 600mm/s High-Speed Full Auto-Leveling Dual Al Camera Next-Gen Direct Drive Extruder Large Build Volume 13.78×13.78×13.78inch
350x350x350mm build volume
Active 60C chamber
CFS 16-color
350C hardened nozzle
Pros
- 350mm cube handles most chest pieces uncut
- Active chamber heating to 60C reduces ABS and ASA warping
- 350C nozzle covers PPA and fiber-reinforced blends
- CFS system prints up to 16 colors for layered scale armor
- Matrix die-cast frame stays rigid at 600mm/s
- Dual AI cameras watch chamber and toolhead
Cons
- Weighs 70.4 pounds
- Four CFS canisters for full 16-color capability are a separate purchase
- Some users find the Creality OS ecosystem setup complex
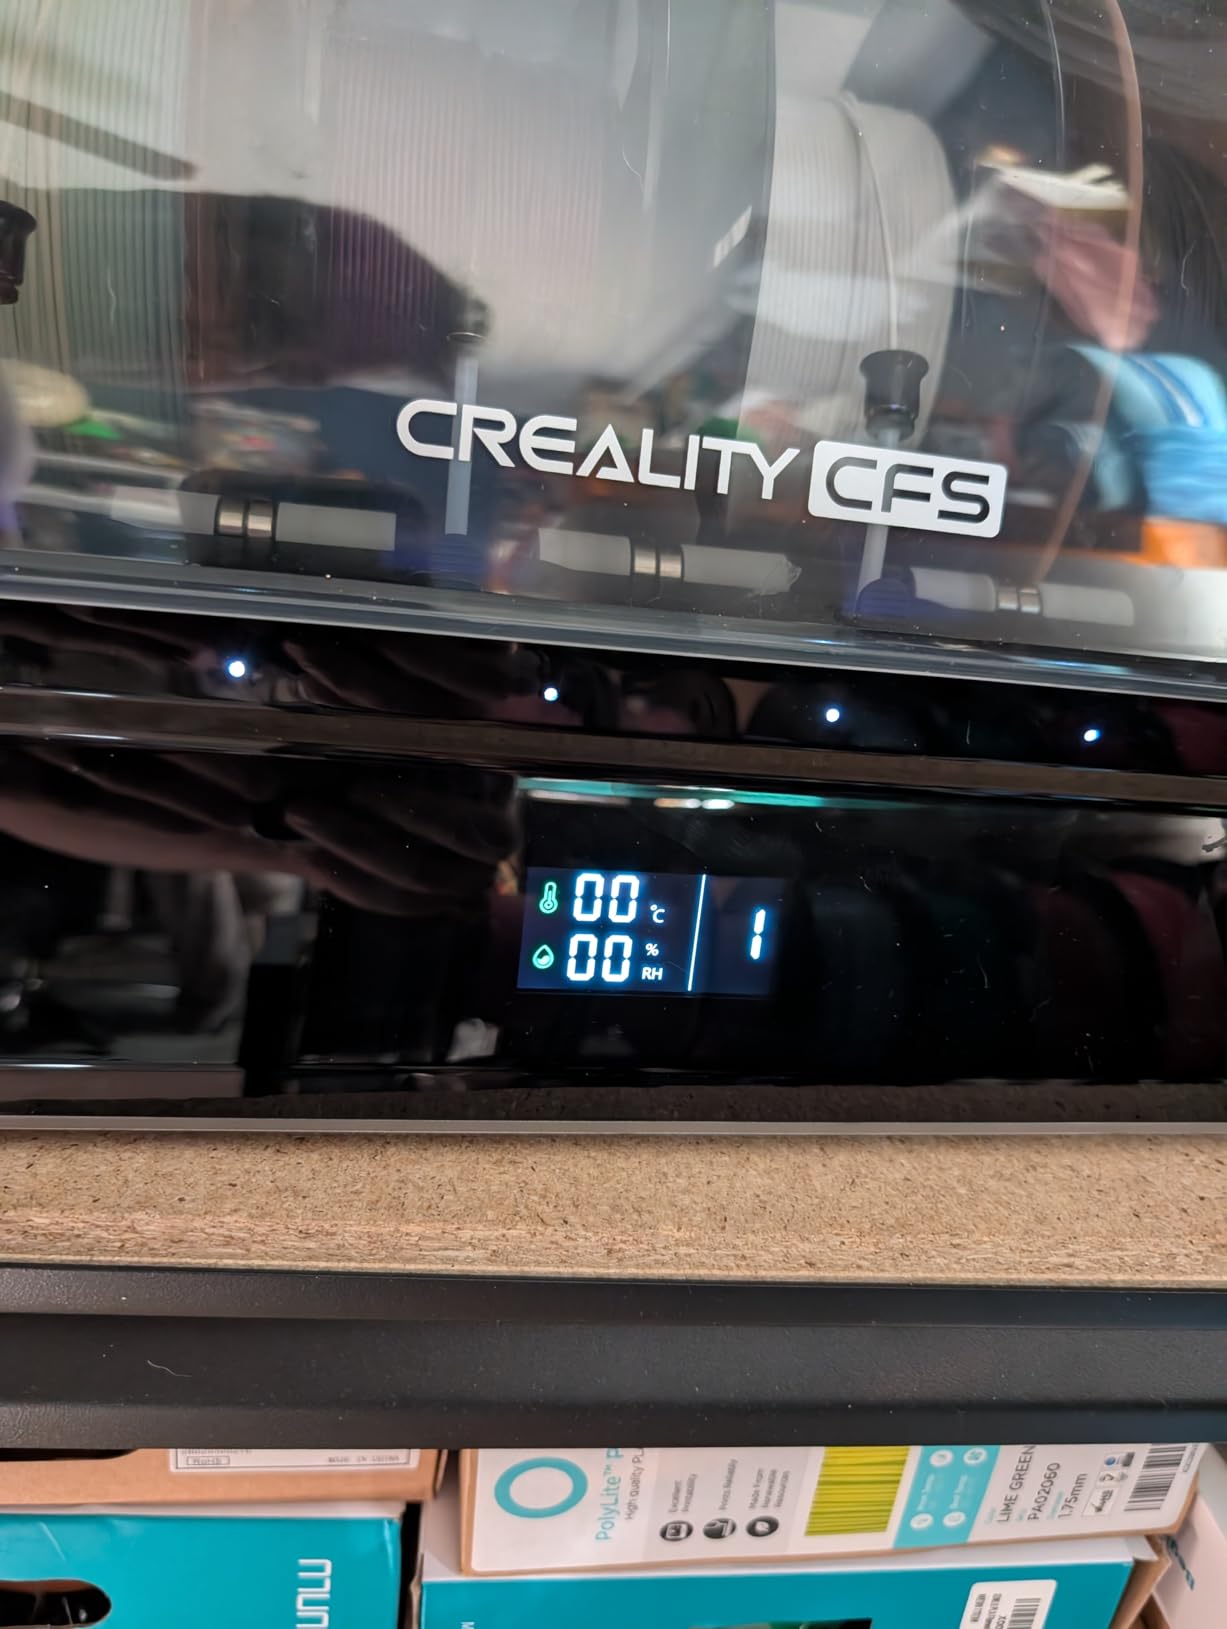
The K2 Plus Combo is the printer to buy if character accuracy drives your build, because scale armor means layering contrasting colors on a single part and that means a multi-material system. Four CFS canisters feed 16 colors, and the changes happen without you babysitting a purge sequence.
Its 350 mm cube is a meaningful step up from the 256 mm class, and the active 60°C chamber is the feature that separates it from cheaper enclosed machines. A warm chamber is what keeps a 30-hour ABS chest plate from cracking at the corners when the room cools overnight.
The 350°C nozzle reaches a higher temperature than any other machine in this list that publishes one, and it matters if you plan to experiment with PPA, PPA-CF or PET-CF for impact-resistant bracers. FOC step-servo motors with a dual Z-axis on four linear rods hold Z alignment over a tall print, which is what you want for a helmet printed mouth-up.
Reviewers consistently single out the two AI cameras as a time saver. One watches the chamber and one watches the toolhead, and the toolhead view is what tells you a filament has stopped feeding during an unattended job.
The honest trade-off is weight and complexity. At 70.4 pounds in a 16.1 x 15.4 x 18.7 inch frame, it is not a desktop machine, and reviewers note the multi-canister setup has a learning curve that the simpler enclosed printers do not have.
Where multi-color genuinely pays off
Layered scale armor, tabards with a trim color, and helmets with detail you do not want to hand-paint are the wins. If your build is 90 percent single-color plates, the color system is an expensive feature you will switch off.
When it is more machine than your budget wants
Skip this one if you print PLA and PETG only. Every dollar above a mid-range enclosed machine goes into the color system and the heated chamber, and neither helps a PLA-only prop build at all.
If your parts are small but you still want a warm chamber for ASA, the Creality K2 Pro at a 300 mm cube covers most of the same use case in a smaller frame. For a first full suit, the bigger plate is the reason to stretch for this model instead.
3. Bambu Lab P1S Combo – Best Value 3D Printer for Cosplay Armor
Bambu Lab P1S Combo, P1S 3D Printer and AMS, Multi-Color 3D Printing
256x256x256mm build volume
Enclosed chamber
AMS 16 colors
500mm/s CoreXY
Pros
- Enclosed chamber prints ABS and ASA without warping
- AMS gives 16-color scale armor without a purge-heavy setup
- Setup takes about 15 minutes out of the box
- Bambu Studio and MakerWorld solve most slicing problems
- 500mm/s CoreXY with 20000 mm/s2 acceleration
Cons
- 256mm cube is small
- so chest pieces need splitting
- Screen is dated and not touch-responsive
- Bamboo explicitly does not recommend carbon or glass fiber filament
The P1S Combo is the most-cited recommendation across the cosplay forums for a reason: it just finishes builds. A 405th member reports ordering one after research, building a full ODST armor set on it, and having no regrets, and that is the kind of completed-build evidence that spec sheets cannot match.
The enclosure is passive rather than actively heated, and that is the honest limit of this machine. For ABS and ASA at normal room temperature it works well; for a very large ABS panel on a cold night, a machine with a heated chamber has more margin.
What you give up on size is the main cost. A 256 mm cube fits a helmet, a gauntlet, a bracer or a pauldron, but a full chest plate usually needs splitting into two or three sections that you epoxy and finish. Many cosplayers simply accept the seam, sand it, and filler it, because the seam on the underside of a chest piece is never the part the camera sees.
Reviewers praise the automatic bed leveling and the 15-minute setup as the reasons first-time builders succeed on it. They also criticize the screen as outdated and the software ecosystem as confusing until it clicks.
One material note worth reading twice: Bambu lists carbon and glass fiber reinforced polymers as not recommended for this machine. If carbon-filled PETG is on your material plan, choose a printer with a hardened steel hotend instead.
Which cosplay pieces fit without splitting
Helmet shells, visors, gauntlets, bracers, pauldrons, belts and pouches all fit a 256 mm cube comfortably. The rule of thumb is if your part is roughly head-sized or smaller, you are fine.
Chest plates, codpieces and back plates are the split candidates. Cut them where a strap or belt will cover the joint, which turns a filler job into an invisible one. Our advice on pre-finished armor detailing covers the same problem from the retail side.
When to step up instead
If you are printing one large piece repeatedly and never splitting anything, the 256 mm cube becomes the bottleneck and every hour you spend joining sections is time you did not need to spend. Move up to a 350 mm cube machine instead.
The other reason to skip is abrasive filament. Keep this machine on PLA, PETG, TPU, ABS and ASA, and do not plan a carbon-fiber nylon gauntlet on it.
4. Longer LK5 Pro – Budget Pick With a Tall Build Volume
Longer LK5 Pro 3D Printer with Dual Z-Axis Upgrade, 4.3″ Color Touch Screen, Silent Motherboard, Large Print Size 11.8″x11.8″x15.7″, Fully Open Source, Filament Run-Out Detection
300x300x400mm build volume
Dual Z-axis
4.3 inch touchscreen
Open source firmware
Pros
- 300x400mm plate is taller than most machines at this level
- Dual Z-axis upgrade keeps a tall print from racking
- Silent TMC2209 drivers run a 30 hour print quietly
- Fully open source firmware is a real plus for tinkering
- Filament run-out detection and power failure resume
- Lattice glass plate releases parts easily
Cons
- Open frame means no ABS or ASA for reliable results
- Manual bed leveling on a large glass plate takes practice
- 180mm/s top speed makes long prints longer
The LK5 Pro solves a specific problem cheaply: height. Its 400 mm Z axis is longer than the 256 mm class at a fraction of the cost of a large-format machine, which makes it good for tall props, staff shafts and stacked armor pieces that will not rotate to fit.
The dual Z-axis with reinforced diagonal frame bars matters for exactly this use. A tall thin part like a spear haft or a shin guard can visibly wobble on a single-Z machine, and the dual rods here take that out.
Silent TMC2209 drivers are a real quality-of-life feature at 2 AM when a 30-hour print is running in the room where you sleep. Power failure recovery and filament run-out detection are also worth having, because armor prints are long enough that both failures eventually happen.
The honest problem is the open frame. With no enclosure, ABS and ASA are unreliable on this machine, which leaves you with PLA, PETG and TPU. That is fine for lightweight props and first builds; it is not fine for armor meant to take heat and impact.
Manual bed leveling on a large lattice glass plate is the other learning cost. Budget an hour to get it right, and re-check level after any move of the machine.
What open frame actually rules out
Without a chamber, the nozzle and bed cool unevenly and layers can lift at the corners. One cosplayer on the forums notes that open printers can still work for cosplay if you stick to less demanding materials, and that is the right read: treat this as a PLA, PETG and TPU machine.
TPU is the exception that works on open frames because flexible filament is far less prone to warping. If you want rubbery, impact-absorbing gauntlet liners, this machine handles them.
When the height is not worth the compromise
If your parts are armor plates rather than tall props, the 400 mm Z buys you nothing you would use, and you are giving up the enclosure that ABS and ASA need. In that case a used enclosed printer is a better buy.
Skip it entirely for full suits, helmets with tight tolerances, or any multi-day engineering filament job. The 180 mm/s ceiling makes long prints longer than an equivalent job on a faster machine.
5. Creality K2 Pro Combo – Best Mid-Size Enclosed Multi-Color Printer
Creality K2 Pro Combo (A) 3D Printer, Multicolor Color Printing with CFS, 600mm/s High-Speed, Dual AI Camera, Active Chamber Heating, Auto Leveling, Large Build Volume 300×300×300mm
300x300x300mm build volume
Active 60C chamber
CFS multi-color
Quick-swap hotend
Pros
- 300mm cube covers most pauldons and bracers uncut
- Active 60C chamber holds temperature for long ASA jobs
- CFS multi-color handles trim and detail layers
- Hardened steel nozzle and gears for fiber-filled filament
- Quick-swap hotend makes nozzle changes simple
- Package includes 500g of RFID filament and a hardened nozzle
Cons
- Weighs 61.6 pounds
- CFS system adds setup complexity
- 300mm cube still splits a full chest plate
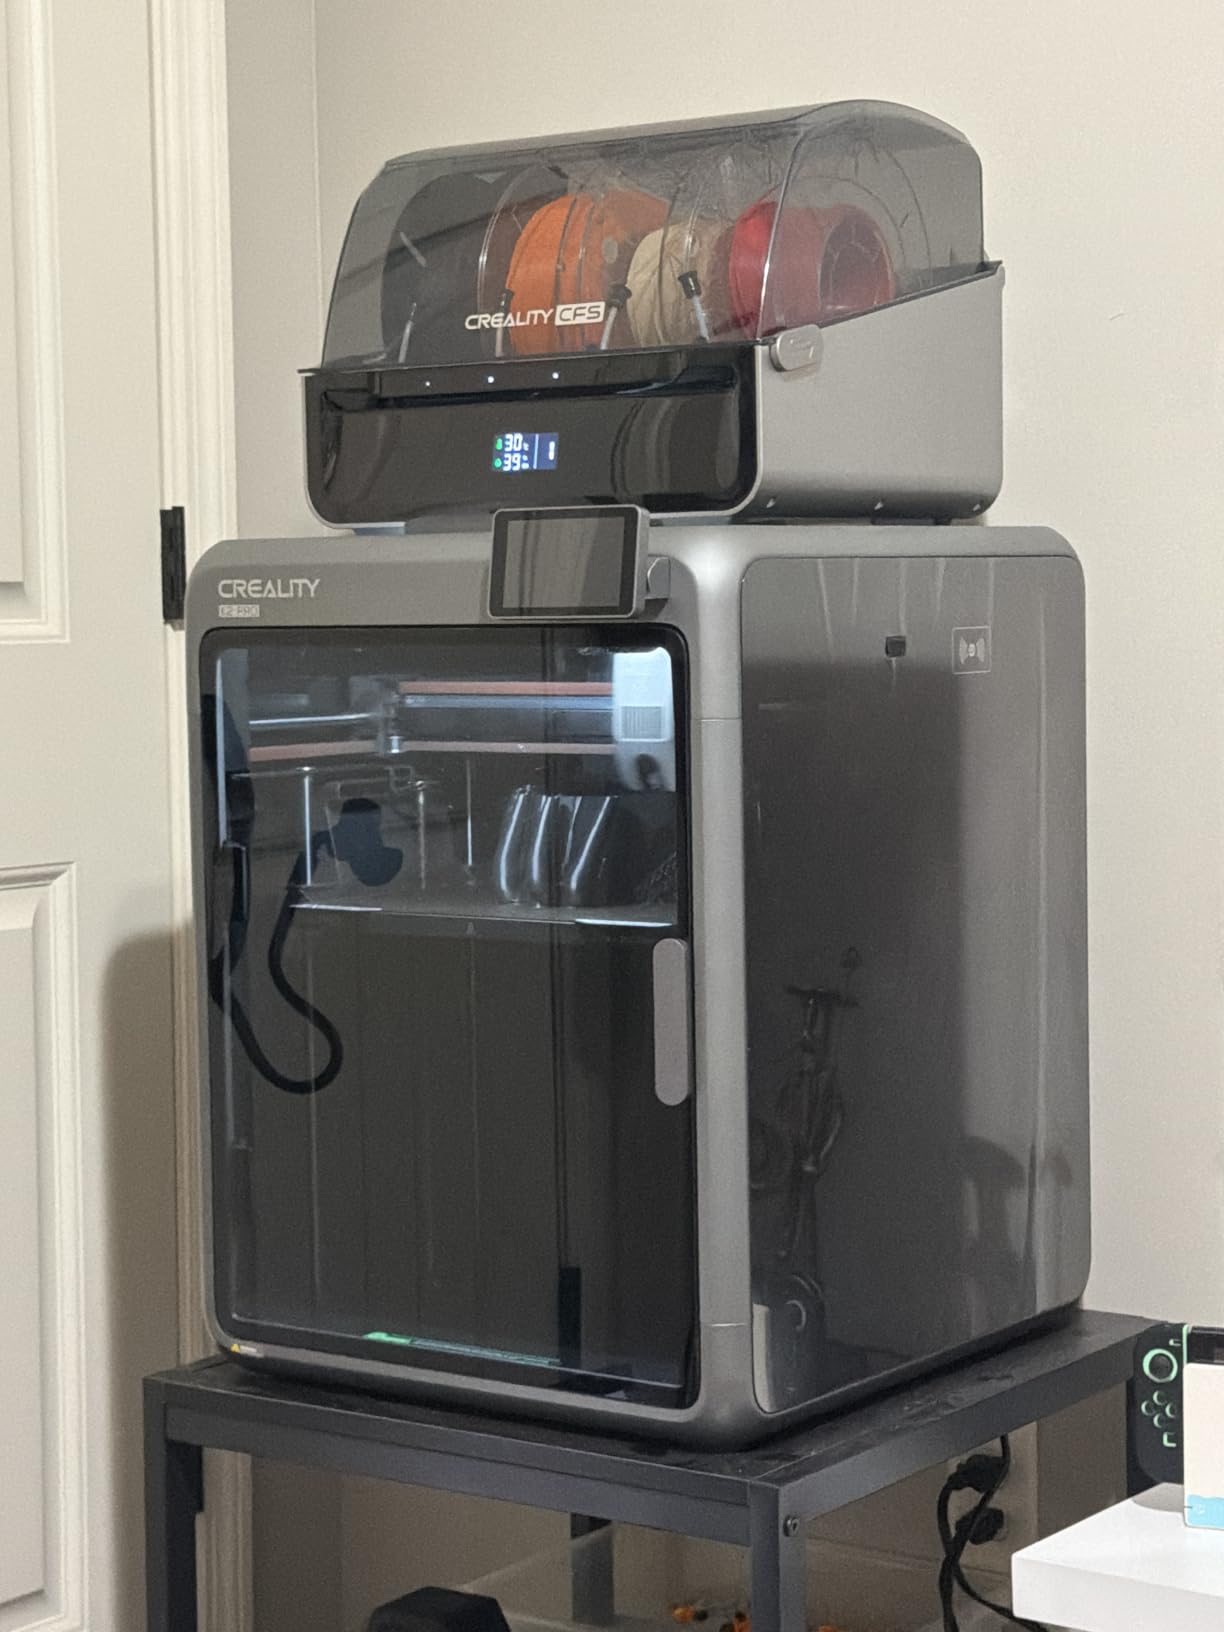
The K2 Pro Combo sits in the gap the K2 Plus leaves: a true cube rather than a tall box, still actively heated, still multi-color. For a cosplayer whose largest piece is a pauldron or a bracer, the 300 mm cube is the practical size.
Active chamber heating at 60°C is what makes ASA viable here. Reviewers point to it as the reason the machine holds quality on long prints, and it is the difference between an enclosed printer that helps and one that merely has walls.
The quick-swap hotend is underrated for cosplay specifically. You will change nozzles more often than a general maker will, moving between a 0.4 mm for details and a 0.6 mm for thick armor walls, and a hotend that swaps in one piece turns that from a rebuild into a minute.
Coming with a hardened steel nozzle and 500 g of RFID filament out of the box means you can start an abrasive filament job without a separate purchase, and the RFID identification ties the spool to the machine’s settings automatically.
Leveling is automatic but probes only sampled areas rather than the whole bed, so very large flat prints can still need a manual check at the corners.
Deciding between this and the larger Creality
Both machines have a CFS color system and an actively heated chamber, so the decision is mostly size. Choose the K2 Pro if your parts fit a 300 mm cube, which covers most shoulders, forearms and helmets at normal adult scaling.
Choose the K2 Plus if you are building a full suit where a chest plate is the limiting dimension, or if you want headroom to scale a design up 20 percent.
When to skip it
If you are not using multi-color at all, the CFS is dead weight and adds complexity reviewers complain about. A single-color enclosed machine in the same class does the same prints with less to go wrong.
Also consider the 61.6 pound weight. This is a machine that needs a permanent home on a bench, and it is not the choice for a small apartment studio.
6. ANYCUBIC Photon Mono M7 MAX – Best Resin Choice for Helmet Detail
ANYCUBIC Photon Mono M7 MAX Resin 3D Printer, 13.6’’ 7K Large Resin Printer
298x164x300mm build volume
13.6 inch 7K LCD
60mm/h resin speed
Temperature controlled vat
Pros
- 7K screen resolves fine detail on visors and mask features
- Anti-aliasing reduces visible layer lines on curved surfaces
- 298x164x300mm volume suits upright helmets and props
- 60mm/h with Intelligent Release 2.0 cuts print time
- LighTurbo light source delivers over 90 percent uniformity
- Tough and flexible resins available for impact parts
Cons
- Resin requires ventilation
- gloves and a wash and cure workflow
- Uncured resin has a strong odor and real handling risk
- XY area is narrower than any FDM printer here
Resin answers a question FDM cannot: surface quality. If the part is a visor, a mask, or a sculpted chest emblem, resin prints smoother than any plastic machine here and needs far less sanding before primer.
The 13.6 inch 7K monochrome screen with LighTurbo 3.0 light source is where that comes from. Seven thousand vertical pixels over 298 x 164 x 300 mm puts very fine detail on a helmet face without any visible stair-stepping.
The 1300 ml vat with dynamic temperature control is what makes big resin prints less wasteful, and auto-fill with one-key recycling means you are not hovering over the machine to top it up. Intelligent Release 2.0 is rated to raise speed substantially over the previous generation.
Tough and flexible resins extend this beyond display pieces. A tough resin visor or a flexible resin trim element can take handling stress that a PLA print of the same shape would crack at.
The safety and workflow costs are real. Resin printing means ventilation, nitrile gloves, a wash station, a cure chamber, and careful disposal of uncured liquid. The odor is noticeable and the material is genuinely irritant to skin.
Resin or FDM for cosplay armor
Use resin for anything smaller than a forearm, or anything whose surface you will see up close in a photograph. A smooth visor and a faceted helmet face in resin will look dramatically better than the same model in FDM.
Use FDM for everything large, everything structural, and anything you might drop at a convention. A full chest plate in resin is heavy, expensive in material, and brittle in ways plastic is not.
The 164 mm XY width is the real constraint here. A helmet prints upright, but a full chest plate does not fit at any scale, so this is a complement to a plastic printer rather than a replacement.
When to skip resin entirely
Skip it if you have no ventilated space and no willingness to change your habits around handling liquid resin. The safety workflow is not optional and it is not something to shortcut.
Also skip it if you plan large props. Resin material cost and post-processing time scale badly for a forearm-sized part, and a plastic printer gets you there faster.
7. Snapmaker U1 – Best for Multi-Material Armor Builds
Snapmaker U1 3D Printer,4-Toolhead with 5s Toolchanger,Multi-Color Printing
270x270x270mm build volume
4 toolheads
5 second tool change
500mm/s CoreXY
Pros
- Four independent toolheads with a 5 second tool change
- Prints rigid and flexible material in the same job
- 5x less filament waste than flushing-based color systems
- Full Spectrum color beyond a standard four color limit
- Supports ABS
- ASA
- PA and PC in a 270mm cube
- Carbon fiber rails and CoreXY for a stable 500mm/s
Cons
- Enclosure top is not included with the machine
- Steeper learning curve than the Bambu ecosystem
- Only 146 reviews since it is a newer model
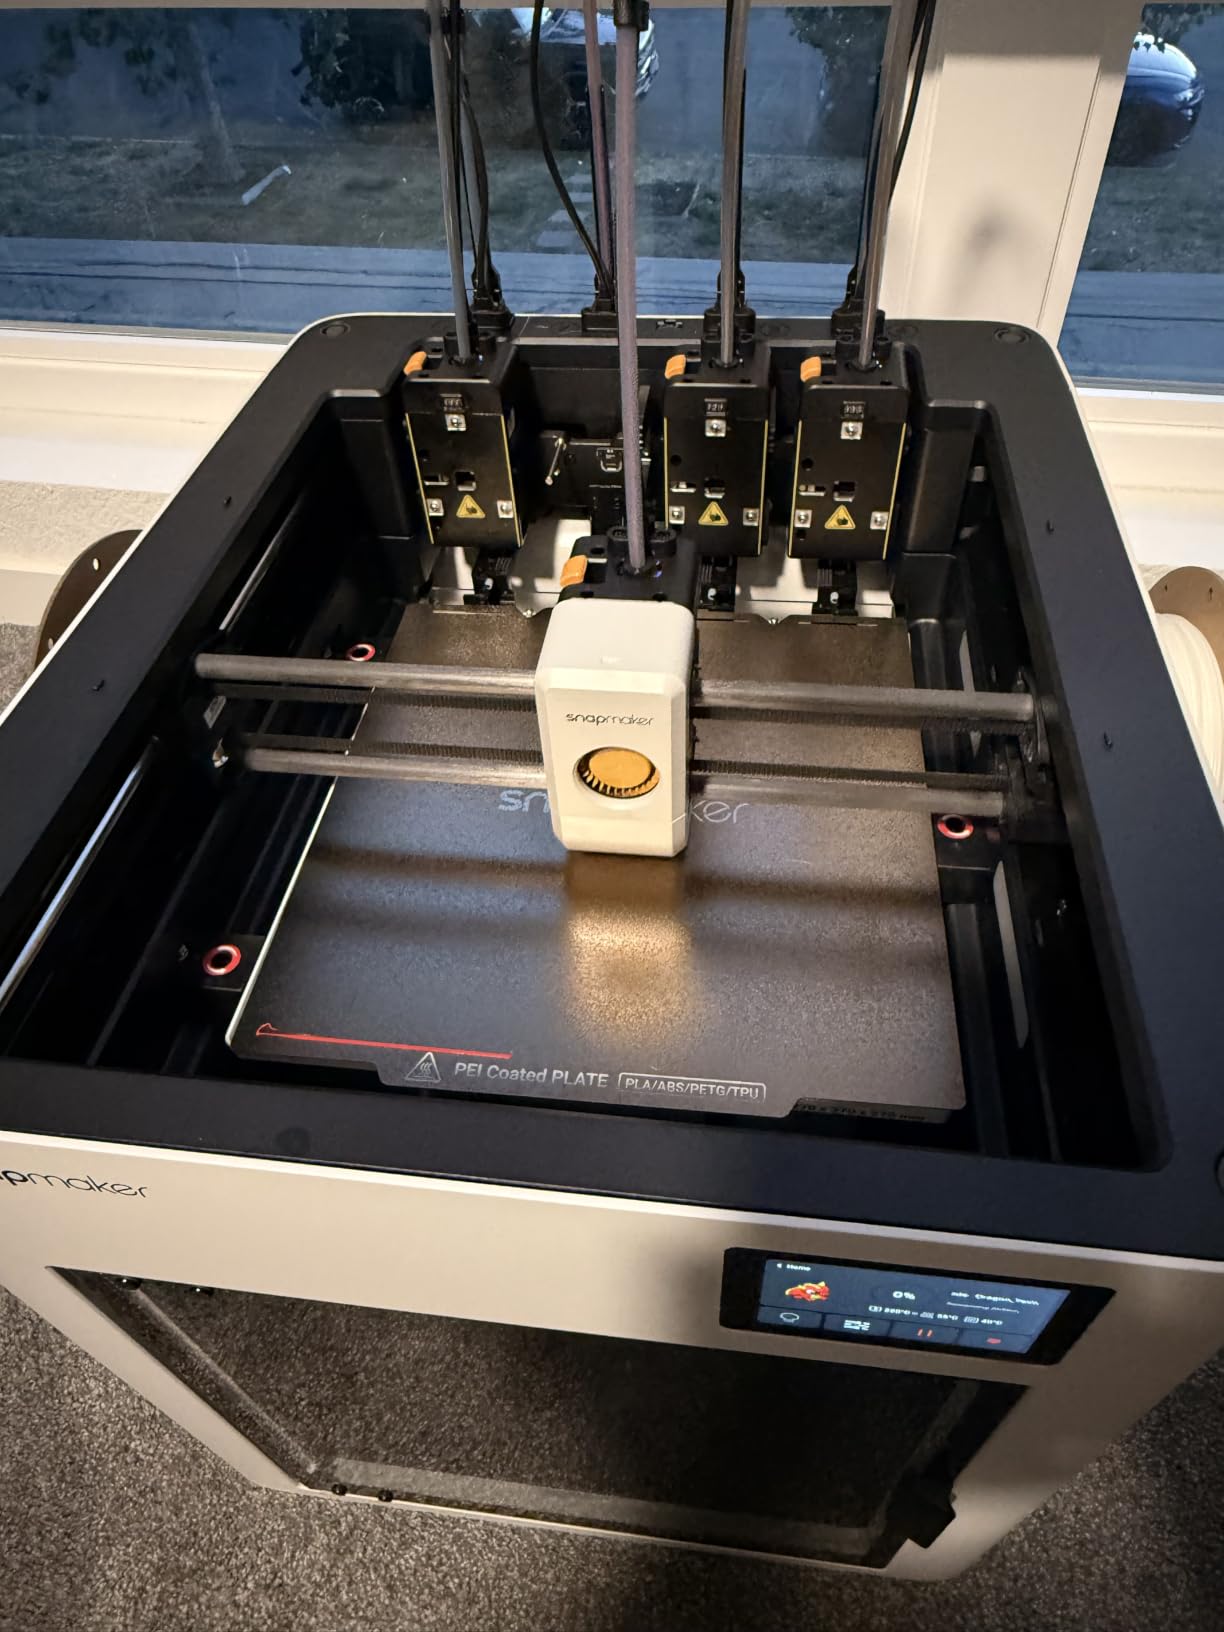
The U1 solves the multi-material problem rather than just the multi-color one. Four independent toolheads means you can print a rigid PETG shell with TPU padding and a dissolvable support material in a single job, with no flushing and no purge tower.
That combination has a direct cosplay application. TPU padding bonded to a rigid plate, or a rigid gauntlet with flexible finger joints printed as one piece, is not possible on a single-nozzle machine without a purge between every change.
The 5 second SnapSwap tool change is validated past a million lock cycles per the manufacturer, and reviewers report the toolhead offset calibration is automatic. Full Spectrum color means you are not limited to a fixed four-color block.
At 500 mm/s with CoreXY and carbon fiber X-axis rails, it prints at a speed class that suits overnight armor jobs. Build volume is 270 mm cube, which fits most helmets, gauntlets and bracers but not a full chest plate.
Two cautions. The enclosure top is a separate purchase, which means out of the box you have partial enclosure and less ABS and ASA margin. And the Snapmaker Orca slicer needs a steeper climb than Bambu’s workflow, since it does not pull directly from MakerWorld.
What true multi-material unlocks for wearability
Comfort is the part of cosplay nobody talks about. A rigid PETG chest piece against a sternum for ten hours hurts, and a TPU underlayer printed in the same job fixes that without a separate glue-up step.
Flexible joints printed alongside rigid fingers is the other use. On a gauntlet, the moving knuckle sections flex with you instead of cracking where you printed them as one rigid shell.
When a single-nozzle machine is enough
If your build is single-material PLA or PETG armor, this feature set is wasted capability and the learning curve is real. A simpler enclosed single-extruder machine prints the same parts with fewer things to configure.
The 146-review count reflects how new this model is. If you want a proven long-term record before committing, the Bambu ecosystem has a much longer track record with cosplay builders.
8. Flashforge Creator 5 Pro – Best for Long Multi-Day Jobs
FLASHFORGE Creator 5 Pro 4-Toolhead 3D Printer, Industrial Multi-Material & Color Printing, 65°C Active Heated Chamber, Near-Zero Waste System, CoreXY 600mm/s Printing
4 toolhead FlashSwap
65C active heated chamber
600mm/s CoreXY
HEPA and carbon filtration
Pros
- 65C active chamber is among the highest here and holds long ABS and ASA prints
- Four toolheads with a 7 second FlashSwap and near-zero waste
- 600mm/s CoreXY on precision linear rails
- Dual HEPA 13 plus activated carbon filtration suits ABS fumes and resin-adjacent spaces
- Automated toolhead offset
- vibration and flow calibration
- Lighter at 39 pounds than other machines in this class
Cons
- Build volume is not clearly specified by the manufacturer
- Thin plastic door panels instead of glass on competing machines
- Flash Studio ecosystem is less mature than Bambu and Orca
The Creator 5 Pro is the machine to consider when your armor prints run for three days and you cannot supervise them. The 65°C actively heated chamber is the highest sustained chamber temperature in this group alongside the QIDI, and it is the number that protects long ABS and ASA jobs from cracking as the room cools.
Filtration is the other differentiator for a bedroom or workshop. Dual HEPA 13 with activated carbon handles styrene emissions from ABS and ASA, and reviewers consistently note the chamber camera with time-lapse for unattended monitoring.
The integrated ultra-rigid architecture is what lets it print at 600 mm/s without ghosting, which cuts the hours off a large print. Automated calibration for toolhead offset, vibration compensation and dynamic flow reduces the manual tuning that multi-tool machines normally demand.
The one thing you should verify before buying is the build volume, because the manufacturer does not state it clearly. Plan to confirm the dimensions against your largest piece before committing, and do not assume it matches the 300 mm class machines it competes with.
The thinner plastic door panels are a downgrade in heat retention compared to glass on competing enclosed machines, and the Flash Studio software ecosystem is newer and less documented.
Why a 65C chamber changes long ABS prints
ABS contracts as it cools. On an unheated or passively enclosed printer, a large part slowly pulls away from the bed and corners lift across a night of printing. Holding the chamber near 65°C keeps the part and the bed close in temperature, so layers stay put.
That is why chamber temperature matters more to armor than to small props. A 90 minute PLA bracket does not care. A 60 hour ASA pauldron very much does.
When to skip it
Skip it if you are uncertain about the build volume, since that is a hard to verify detail on this machine. Also skip if a mature, well-documented software ecosystem matters more to you than peak chamber temperature.
With 131 reviews it is also one of the newer models here, so long-term reliability data is thin compared with the established Bambu and Creality platforms.
9. QIDI Max4 Combo – Best for Full-Size Helmets
QIDI Max4 Combo 3D Printer, 390×390×340mm Build Volume, 65℃ Heated Chamber
390x390x340mm build volume
65C active chamber
800mm/s
Closed-loop XY motors
Pros
- 390x390x340mm plate is the second largest here and fits oversized helmets
- 65C active heated chamber for long ASA and nylon jobs
- 800mm/s with 30000 mm/s2 acceleration on closed-loop motors
- Full-surface silicone heated bed grips parts for easy removal
- AI camera detects print failures unattended
- Reviewers single out responsive customer support
Cons
- Weighs 120 pounds
- Polar Cooler and QIDI BOX are both separate purchases
- Some early quality control issues reported on nozzle and gear channel
The Max4 is built around a single problem: printing a full-size helmet in one piece. Its 390 x 390 x 340 mm plate is the largest by footprint outside the Sovol, and reviewers specifically call it out as a good machine for cosplay helmets.
That footprint matters in a way that raw cubic volume does not. A helmet is wide and shallow, and a plate that measures 390 mm in both XY axes fits one where a 350 mm tall-format box may not, depending on how the model is oriented.
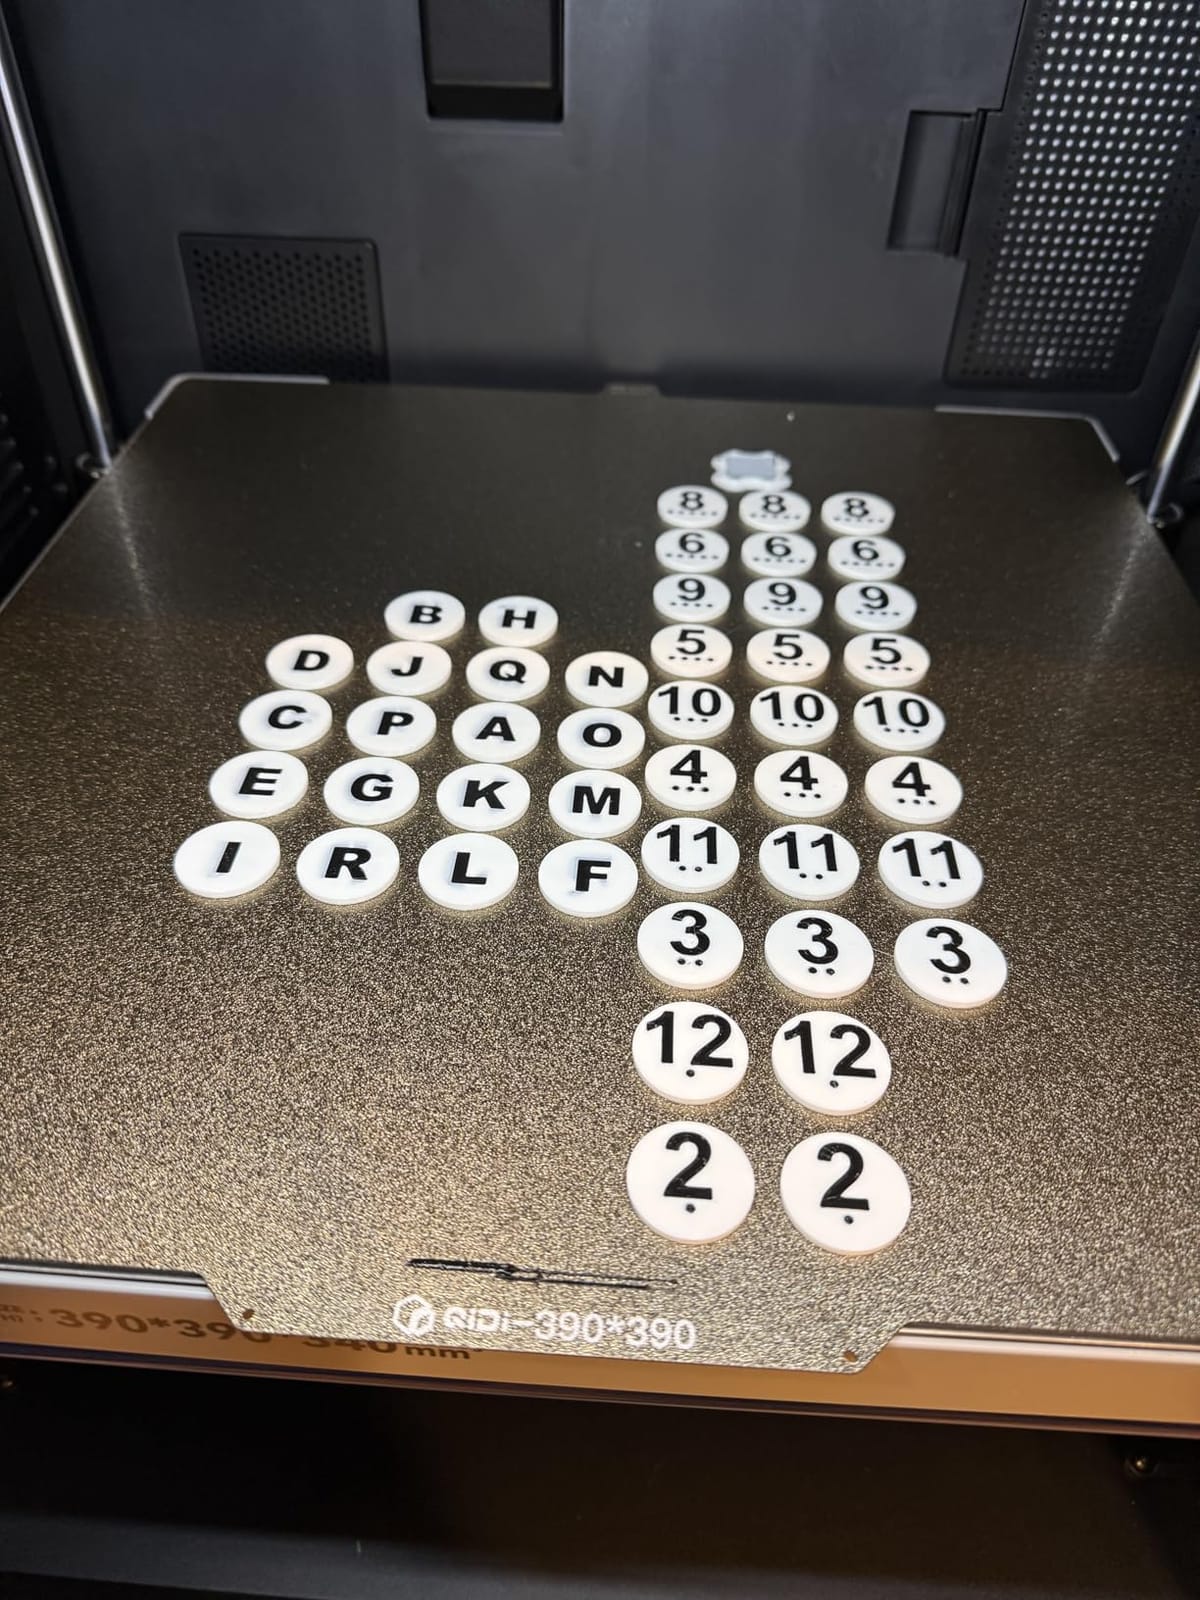
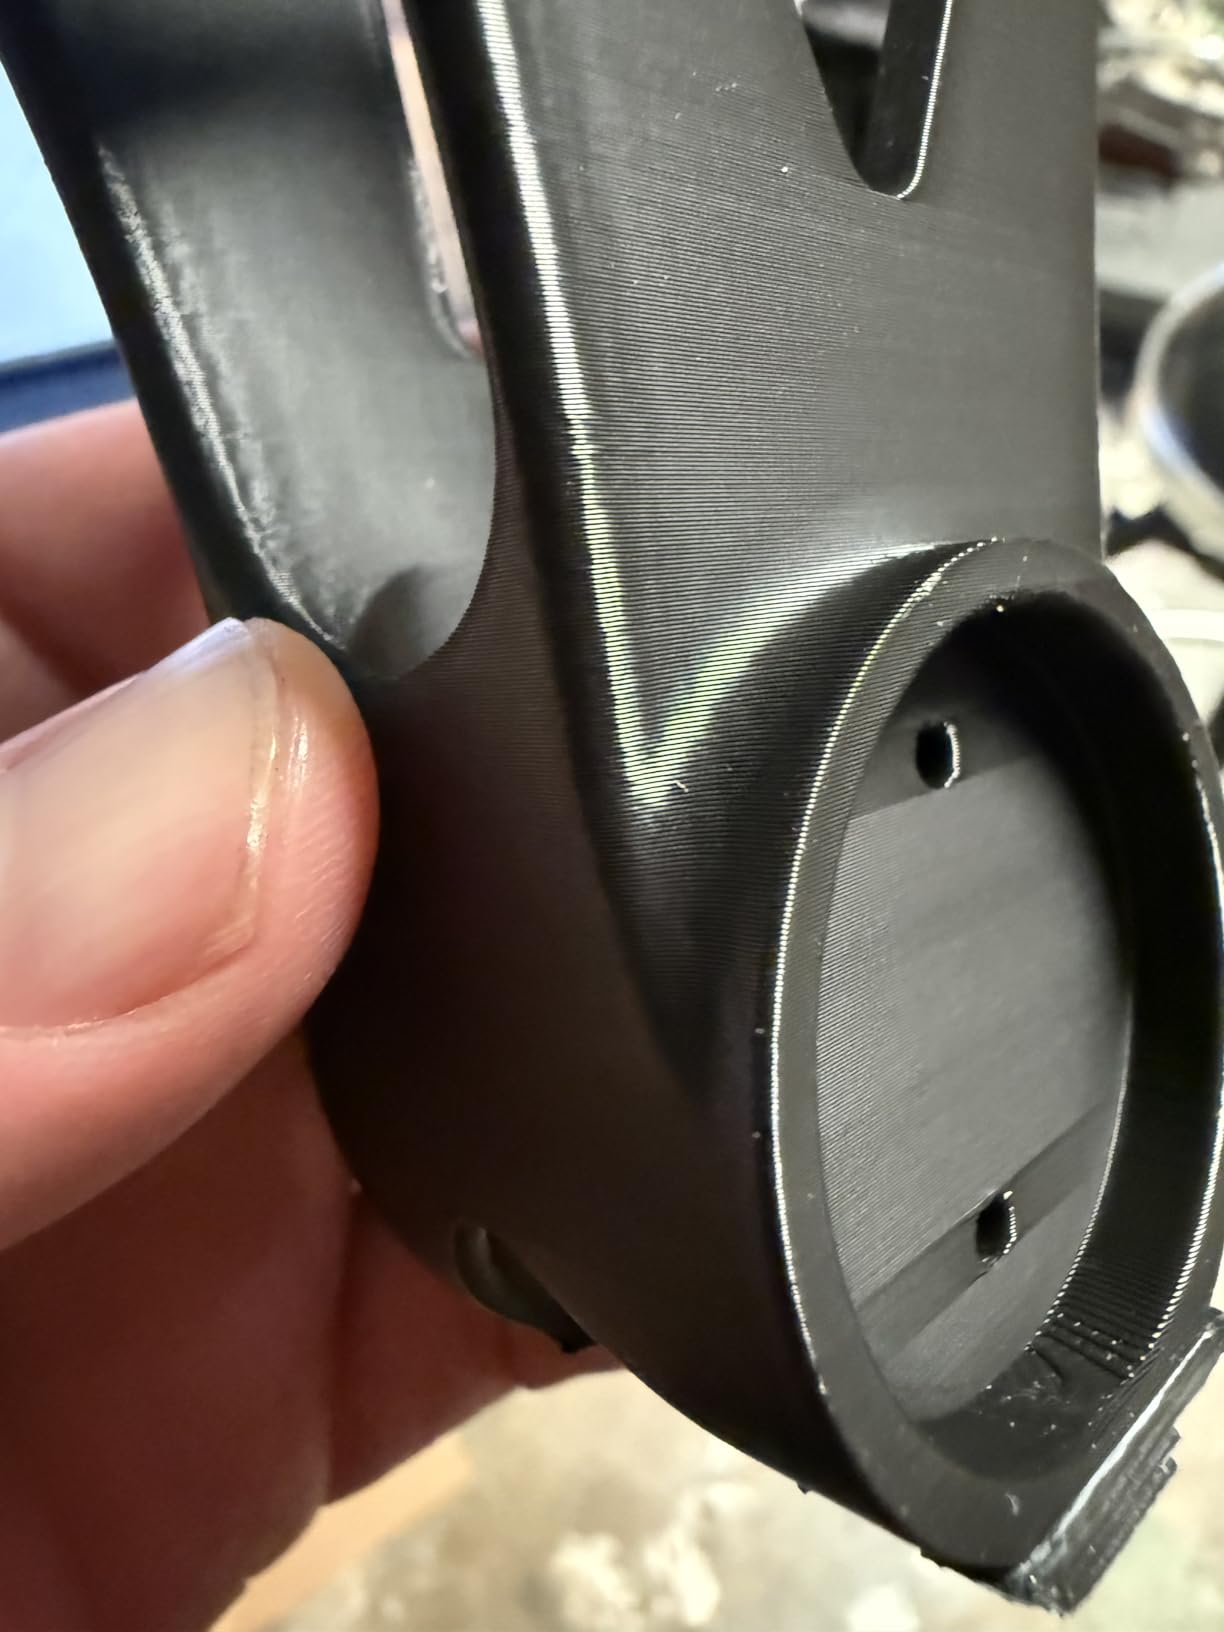
Closed-loop motors on X and Y are an unusual spec at this level and they help with tall or large parts, where a lost step shows up as a shifted layer on a visible surface. The 2 mm lead screw with an anti-backlash nut keeps Z consistent for tall prints.
Customer support comes up repeatedly in reviews as responsive, with owners reporting parts sent quickly. That matters for a machine of this size because a failure mid-project costs you more time than the part itself costs.
Two accessors are separate purchases and change the picture: the Polar Cooler for part cooling and the QIDI BOX for 16-color output. Some reviewers also report software sync issues with the QIDI BOX and a handful of early quality control problems on the nozzle and gear channel.
When 390mm by 390mm beats a taller box
Choose a wide plate when the widest single part is your constraint. Helmets, wide pauldrons, and shield faces are all width-limited rather than height-limited, and a wide square footprint handles them where a tall narrow machine may not.
You also gain the ability to print a helmet and a second component on the same plate, which cuts filament changes and bed level checks across a project.
When the weight ends the decision
At 120 pounds in a 28 x 28 x 30 inch frame, this is a shop machine. If you live in a space where you cannot dedicate a permanent floor-standing bench, the physics rules it out regardless of the specs.
The 30-review count reflects a January 2026 release, so treat early owner reports as the best evidence available and ask about the specific batch you receive.
10. IdeaFormer IR3 V2 Belt Printer – Best for Seamless Prop Weapons
Official IdeaFormer-3D IR3 V2 Conveyor Belt 3D Printer, Infinite Z Axis Continuous Printing Belt Printer Large Format 250×250×∞mm for Cosplay, Prototyping & Production Auto Leveling 400mm/s Speed
250x250xinfinite height
PEI coated metal belt
400mm/s
45 degree gantry
Pros
- Infinite Z height prints a sword or staff in one unbroken length
- No seam or joint anywhere along a long prop
- 45 degree geometry gives support-free overhangs on some shapes
- PEI coated metal belt grips parts well
- Klipper firmware with Fluidd web interface for remote control
- Parts drop off the belt for batch production runs
Cons
- Not a general purpose printer and not beginner friendly
- Models must be designed for belt geometry
- Belt adhesion and belt wear need ongoing attention
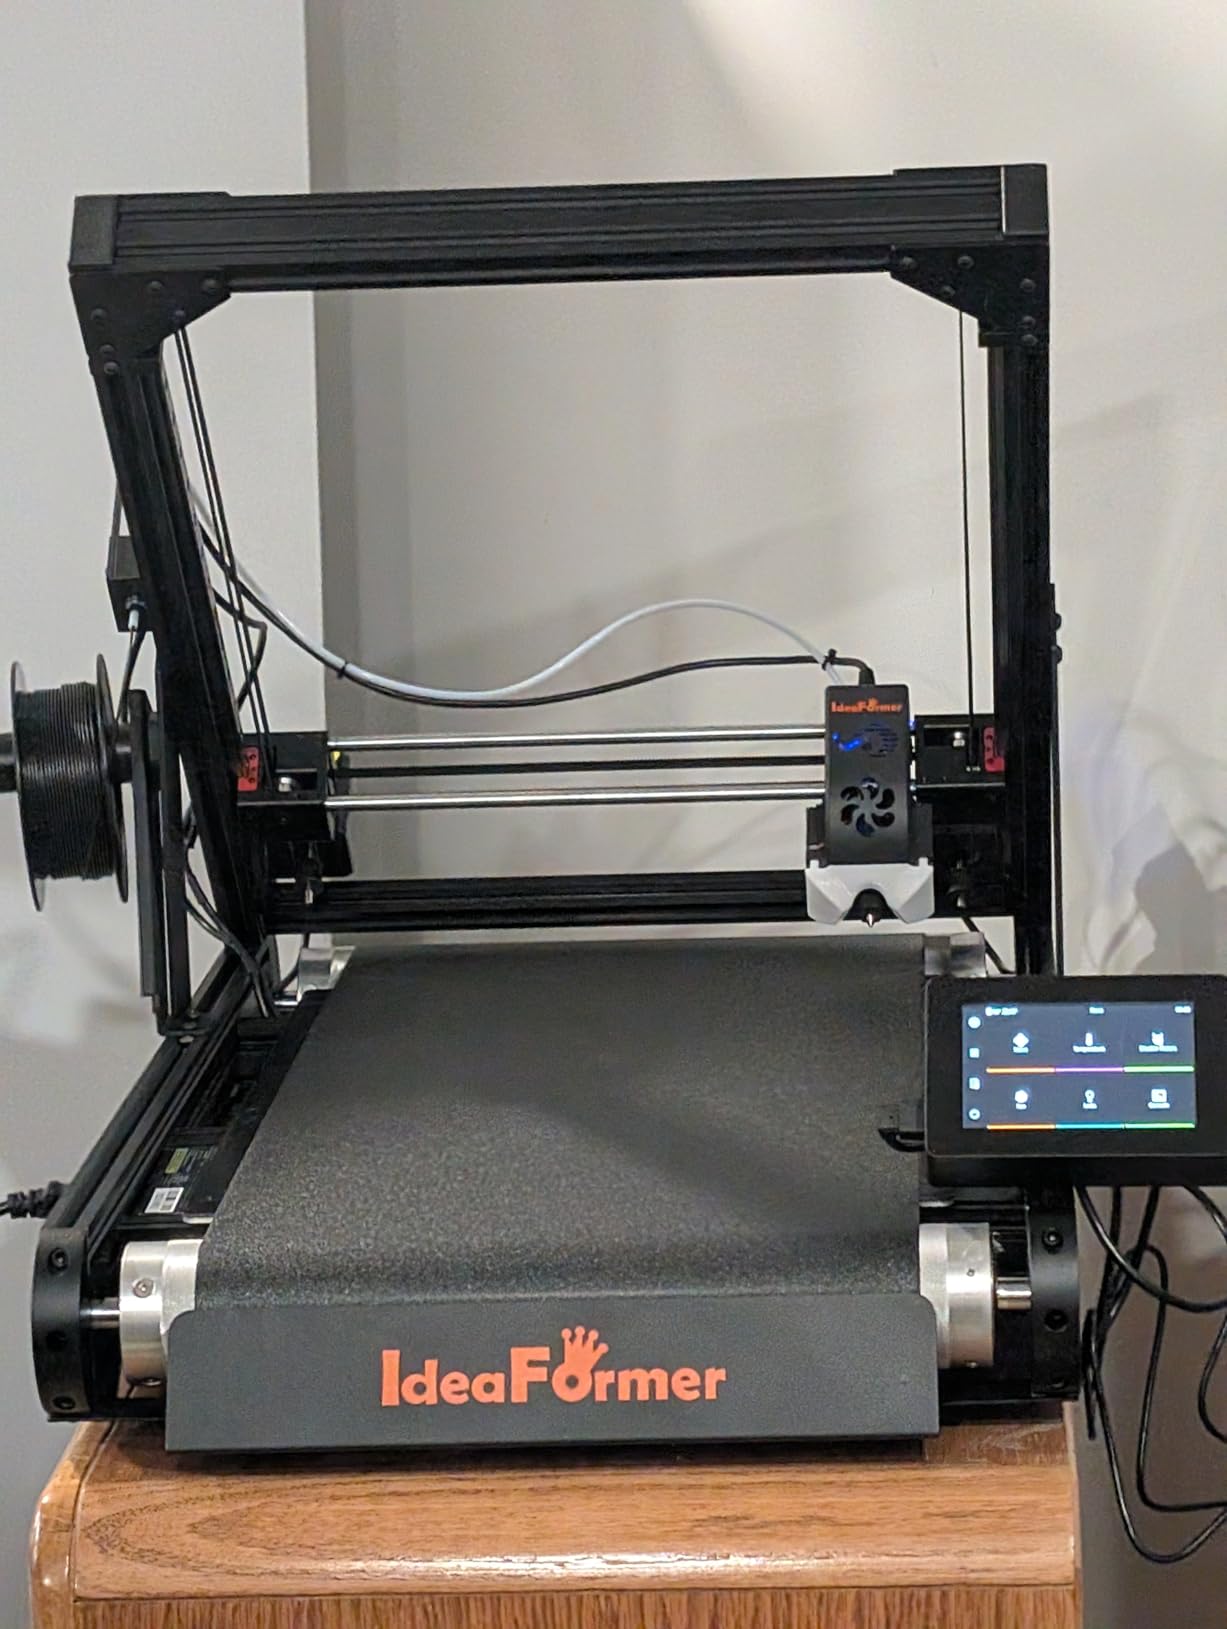
This machine answers the one problem no cube-shaped printer can: a prop that is longer than any Z axis. A conveyor belt carries the part away as it prints, so a sword blade, a spear haft or a staff prints in one continuous piece with no seam, no epoxy, and no filler.
For cosplay props specifically, that is a genuine quality difference. A prop assembled from four printed sections has four weak points and four lines to finish. A single belt-printed part has none.
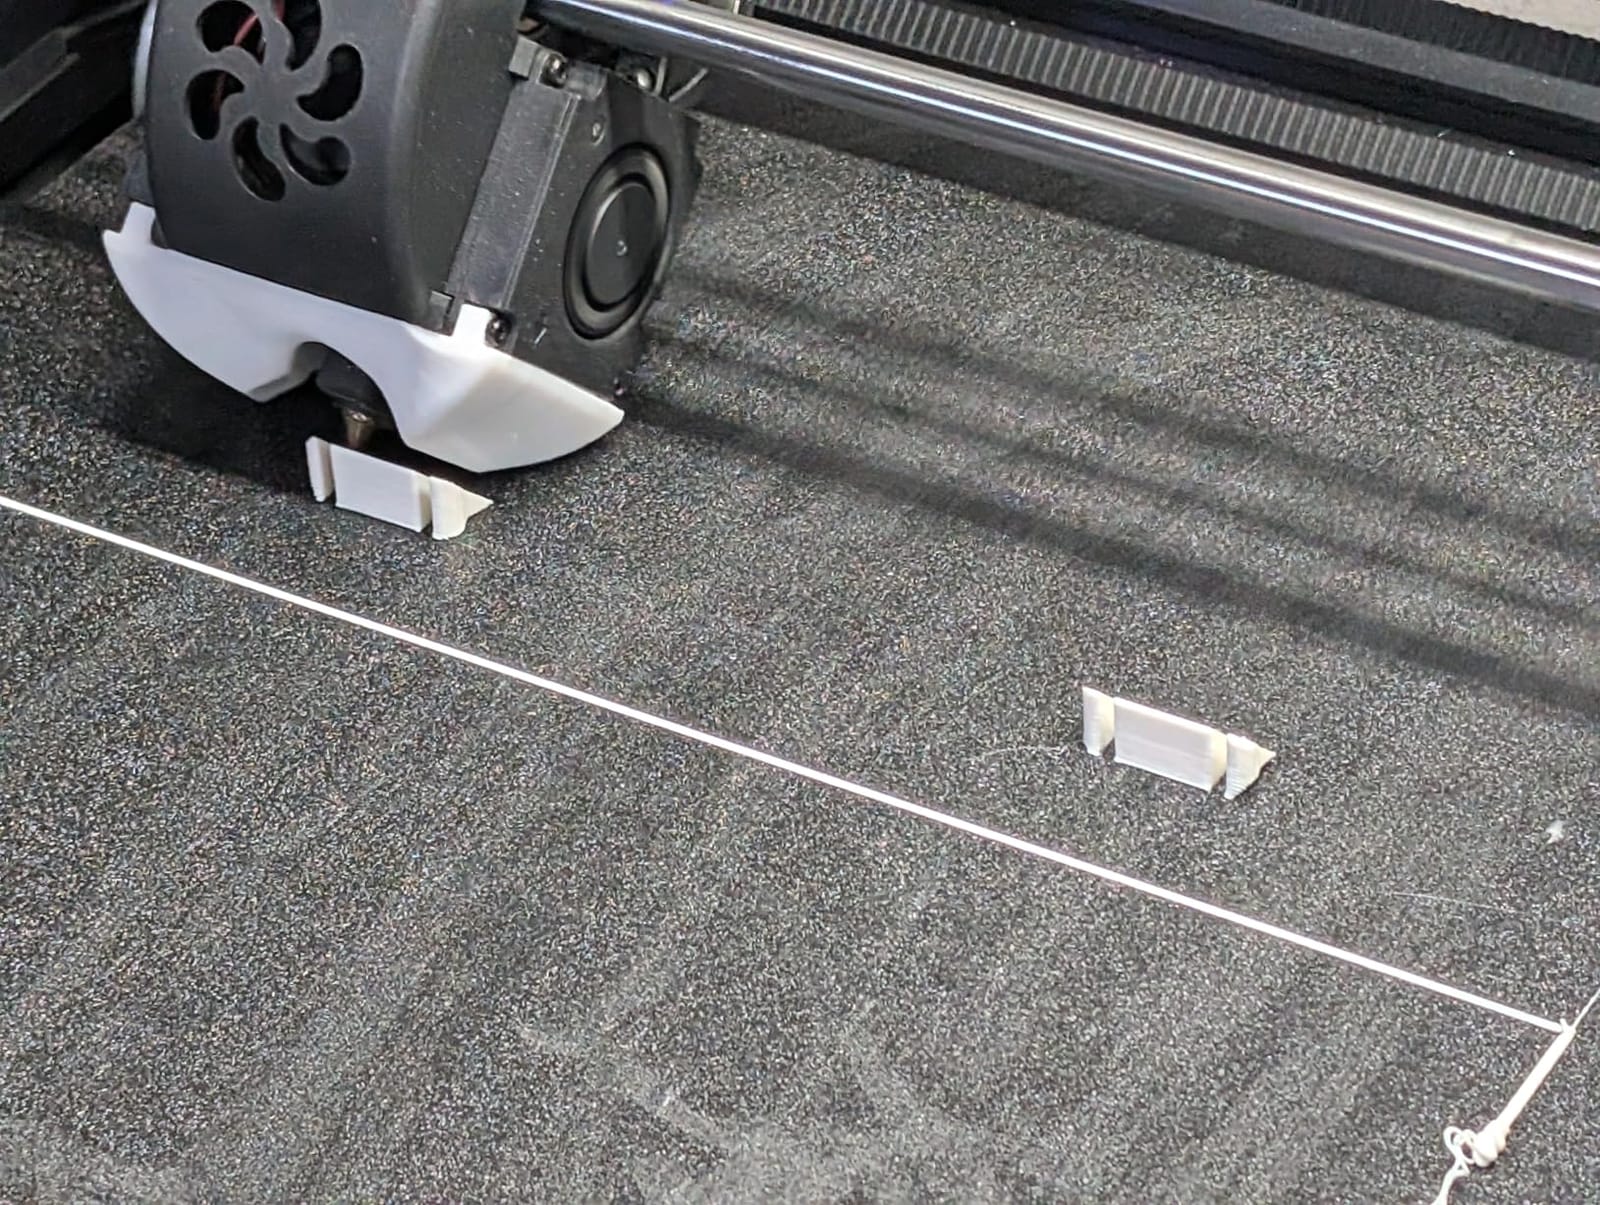
The 45° gantry geometry also produces overhangs that a Cartesian machine would need supports for, and supports on a long prop are a nightmare to remove. Auto-calibration with a Y-offset strain sensor and Klipper firmware keep the nozzle distance right over a 20 hour extrusion.
Batch production is the other angle. Finished parts drop off the belt, so you can print a matching set of blades or a run of identical trim pieces without reloading the bed each time.
The trade-offs are steep and worth stating plainly. This is not a general-purpose machine. Models must be designed for belt geometry, it needs recalibration after any move, and belt adhesion and belt wear are ongoing maintenance items that a normal printer does not have.
Which props justify a belt printer
Long, mostly straight or gently curved weapons are the target: greatswords, spears, staves, scythes, and the long barrels or frames of prop firearms. Anything that reads as one continuous object is where the infinite Z axis pays for itself.
Short, wide, detailed parts are the wrong shape for this machine. A helmet or a chest plate wants a flat bed and a large XY area, and neither is what a belt gives you.
When to skip it
Skip it if this is your first printer. Reviewers consistently describe a steep learning curve, a slicer that takes time to learn, and geometry constraints that will frustrate anyone who wants to print anything at all.
Also skip it if your prop list is mostly armor. A 250 mm square footprint is small for plates, and a standard enclosed printer handles that work with far less fuss.
Enclosed vs Open Frame: Does Your Cosplay Printer Need a Chamber?
You need an enclosed chamber if you plan to print in ABS, ASA, PC or nylon. Those materials shrink as they cool, and on an open frame the corners of a large part lift off the bed partway through a long job. PLA and PETG have low enough shrinkage that an open frame is usually fine.
Forum opinion is genuinely split on this, and one cosplayer argues non-enclosed machines like the Bambu Lab A1 and the Elegoo Centauri handle abrasive filaments such as ABS and ASA acceptably. That is true at moderate part sizes with a brim and a well-tuned bed. The disagreement is really about part size: small ABS brackets forgive you, a full ABS chest plate does not.
An actively heated chamber goes a step further. The Creality K2 Plus and K2 Pro, the Flashforge Creator 5 Pro and the QIDI Max4 hold the chamber at 60 to 65°C, which is what protects a multi-day print. The Bambu P1S Combo is passively enclosed, so it depends on room temperature staying stable overnight.
Our rule of thumb: enclosure is required for ABS and ASA, active heating is required for large parts or cold rooms, and neither matters if you print PLA, PETG or TPU only.
Which Filament to Print Cosplay Armor In
PETG is the best general filament for cosplay armor. It hits the strength and heat balance between PLA and ABS, prints on most machines including open frames, and a hard PETG part flexes slightly on impact instead of snapping like PLA.
PLA and PLA+ are the easiest to print and the best choice for props that will not be heated or dropped. The limitation is brittleness: a PLA piece under stress or heat cracks rather than bends, which is why it is a poor choice for a gauntlet or a knee guard that gets worn hard.
ABS and ASA are the choice for heat and outdoor exposure, and ASA is the better of the two because UV and weather resistance are built in. Both require an enclosed chamber, and a heavily filled ASA chest piece is what eventually survives a summer convention and a car boot in full sun.
TPU is underrated for armor. Hard TPU in the 95A range gives a flexible, tough, comfortable part that absorbs impact and does not crack at a stress concentration, and one forum user recommends it above other options precisely because it is more durable and comfortable to wear. PETG works too if you want less flex.
Nylon and carbon-filled composites are the strongest options and the hardest to print. They need a high nozzle temperature, a hardened steel hotend, and usually an enclosure, and they are worth the effort for impact-critical pieces like shield bosses and weapon hilts.
For multi-material builds, a machine like the Snapmaker U1 prints rigid and flexible in one job, which opens the door to TPU padding on a PETG plate without a separate glue-up step.
How Big a Build Volume Do You Actually Need?
Measure your largest single piece, add 10 mm of clearance on each side, and that is your minimum. A 256 mm cube handles helmets, gauntlets, bracers, pauldrons and belts. A 300 mm cube adds most chest plates and back plates. A 350 mm cube and above starts handling full suit panels and oversized helmets.
One forum commenter recommends aiming for 256 mm or larger, while noting you can always cut a model down and rejoin it to fit a smaller bed. That is the right framing: build volume is a convenience, not a requirement.
The proof is that a full Iron Man suit was once printed in 152 separate pieces on a tiny Up Mini over six months. Enormous cosplay projects have been completed on machines far smaller than anything on this list. Large format saves time and seams; it does not decide whether your suit is possible.
When you do split a model, cut on a line a strap, belt or pauldron cap will cover, align the halves with a printed jig, and glue with two-part epoxy. Then filler, sand, and prime the seam until it disappears.
Slicer Settings That Decide Whether Armor Survives a Convention
Layer height of 0.16 mm is the standard starting point for armor, balancing surface quality against print time on parts measured in tens of hours. Drop to 0.12 mm or lower on a helmet face and leave it at 0.2 mm on a pauldron you will paint.
Set infill to 25 percent or higher, and raise it on impact parts. Wall line count of 3 to 4 is the more important setting for strength because walls carry the load, not infill. Print speed around 30 to 50 mm/s for outer perimeters keeps edges clean.
Use tree supports with supports placed on the inside of the part wherever possible. Internal supports vanish inside the armor; external supports on a visible outer surface are a sanding job you have to complete before primer will ever look right.
Finally, design the joining hardware into the model. Printed-in-place magnets, printed D-rings, printed buckle tongues and printed strap slots turn assembly from glue and hope into a mechanical connection, and they are the single biggest improvement to wearability you can make before you buy a printer.
Frequently Asked Questions
Is there anything illegal to 3D print?
Printing your own cosplay props and armor is legal in most places. Watch three things: trademarks on your model files and paint schemes, replica firearms where your local law restricts them, and copyrighted model files you did not license. At a convention, check the event rules before bringing a prop that reads as a real weapon.
Which filament is better for cosplay armor, PLA or PETG?
PETG for anything wearable. It is tougher than PLA, tolerates heat better, and flexes slightly on impact instead of snapping. PLA and PLA+ are still the right call for props, display pieces and anything that will not be heated or dropped, because they print more easily and finish more cleanly.
How to 3D print cosplay armor?
Six steps: get or model the file, measure your largest piece, pick the filament, slice for strength, print, then post-process. In the slicer use roughly 0.16 mm layer height, 25 percent or higher infill and 3 to 4 walls, place supports inside the part, and print at 30 to 50 mm/s for clean outer edges. Finish with sanding, filler, primer and paint.
What is the best 3D filament to use for printing armor?
Hard TPU in the 95A range is the most underrated option because it is flexible, tough and comfortable to wear. For maximum strength go ASA or ABS in an enclosed printer with a hotend above 280C, and for nylon or carbon composites use a hardened steel hotend. PETG remains the safest general-purpose choice.
Do I need an enclosed 3D printer for cosplay armor?
Only if you plan to print ABS, ASA, PC or nylon. An enclosed chamber is what keeps those materials from lifting and cracking mid-print. PLA, PETG and TPU print reliably on an open frame, and an actively heated chamber adds meaningful protection on large parts printed in a cold room.
Can I print a full suit of cosplay armor on one printer?
Yes, by splitting it. A full Iron Man suit was once printed in 152 separate pieces on a very small printer over six months. Large format printers mainly save you time and visible seams, not feasibility. Cut on lines that a strap or belt will cover, align the halves with a printed jig and glue with two-part epoxy.
The Best 3D Printer for Cosplay Armor in 2026
The Sovol SV08 MAX is the best 3D printer for cosplay armor in 2026, because a 500 mm cube and a 300°C hotend cover the widest range of real builds, from a one-piece chest plate to a full prop weapon, without the splitting and joining that adds seams.
If your parts are smaller and you want color, the Creality K2 Plus Combo handles 16-color scale armor with an actively heated chamber, and the Bambu Lab P1S Combo remains the machine most first-time cosplayers finish a build on. For the long prop weapons that no cube printer can hold, the IdeaFormer belt printer is the specialist answer.
Whichever you pick, check the section on filament before you buy spool. The right machine prints the wrong material badly, and material choice decides whether the finished armor survives a convention floor. Once your build is done, our best cameras for cosplay convention photography covers capturing it properly.