
You set your ISO to 100, dialed in what you thought were the perfect settings, and your footage still looks brighter than it should. This scenario confuses more videographers than almost any other technical issue. I have helped countless creators troubleshoot this exact problem, and the answer almost always comes down to a fundamental misunderstanding of what ISO actually controls. In this guide, I will walk you through every reason your video looks overexposed even with the right ISO, explain the science behind why this happens, and give you actionable fixes you can apply on your next shoot.
The reason why does my video look overexposed even with the right ISO comes down to one critical fact: ISO does not control exposure. ISO controls the brightness of the signal after the sensor has already captured the image. Exposure is controlled by two other settings that work together with ISO to form what we call the exposure triangle. When you understand how these three elements actually interact, the mystery of overexposure disappears entirely.
Table of Contents
Why Does My Video Look Overexposed Even With the Right ISO?
Your video looks overexposed even with the right ISO because ISO does not determine how much light reaches your camera sensor. Aperture and shutter speed control the actual amount of light entering the camera. If your aperture is too wide or your shutter speed is too slow, your footage will be overexposed regardless of your ISO setting. This is the single most important concept to understand when troubleshooting overexposed video.
Think of it like filling a bucket with water. ISO is not the faucet or the hose. ISO is the dial that amplifies the signal after the water is already in the bucket. You can have the lowest ISO setting available, but if your aperture is wide open on a bright day and your shutter speed is too slow, you have already let in too much light before ISO even enters the equation.
This confusion is so common that I see it on videography forums every week. Reddit user Spartacorr shared exactly this frustration, saying his AutoISO raised values unnecessarily high even when exposure was set to negative one EV. Another creator on the Adobe Community forums shot video on an iPhone 11 in 4K at 60 frames per second. The footage looked perfect in the Premiere Pro timeline preview but exported completely overexposed regardless of the export preset used.
The Core Misconception: ISO Controls Brightness, Not Exposure
Most new videographers assume ISO is the primary tool for controlling exposure. This is a logical assumption because photography tutorials often group ISO alongside aperture and shutter speed as part of the exposure triangle. However, the role each component plays is very different. Understanding this difference is what separates random guesswork from confident shooting.
ISO, which stands for International Organization for Standardization (the body that standardized the sensitivity rating), measures how sensitive your camera sensor is to light. When you increase ISO, you are amplifying the electrical signal that the sensor produces after it has captured photons. You are not letting in more light. You are making the existing signal brighter. This is a crucial distinction because it means ISO works after exposure has already happened.
Aperture and shutter speed are the actual exposure controls. Aperture is the physical opening in your lens. A wider aperture (lower f-number like f/1.8) lets in more light. A narrower aperture (higher f-number like f/16) lets in less light. Shutter speed controls how long the sensor is exposed to light. A slower shutter speed like 1/30th of a second lets in more light than a faster speed like 1/1000th of a second.
Here is the practical impact. If you are shooting outdoors at noon with your aperture wide open at f/1.8 and your shutter speed set to 1/30th of a second for a cinematic look, you have already allowed a massive amount of light to hit the sensor. Setting ISO to 100 will not undo that. The damage is done at the aperture and shutter stage. This is why overexposed video despite correct ISO is not just possible, it is expected when aperture and shutter are not properly balanced.
The signal amplification that ISO provides also has a side effect. As you raise ISO, you amplify noise along with the image signal. For video specifically, this means that pushing ISO too high can degrade footage quality even if the brightness appears correct. This is separate from overexposure, but it is another reason videographers should think carefully before reaching for ISO as a fix. A 2026 video production survey found that most professionals keep ISO at the native base value and adjust aperture and shutter speed instead, using ND filters when those controls alone cannot achieve the desired exposure.
The Exposure Triangle for Video
The exposure triangle is the framework photographers and videographers use to understand how aperture, shutter speed, and ISO work together. For video specifically, the triangle has an added layer of complexity because you are not capturing a single moment. You are capturing a sequence of frames over time, and each frame needs consistent, controlled exposure.
Aperture affects two things at once: exposure and depth of field. A wide aperture creates a shallow depth of field, giving you that cinematic look with a sharp subject and blurred background. However, wide apertures let in a lot of light, which can quickly lead to overexposure in bright conditions. Many videographers start with aperture as their creative anchor, choosing the depth of field they want first, then adjusting the other two settings to compensate.
Shutter speed has a specific rule for video that does not apply to still photography. The 180-degree shutter rule states that your shutter speed should be roughly twice your frame rate for natural motion blur. If you are shooting at 24 frames per second, your shutter speed should be 1/48th or 1/50th of a second. At 60 frames per second, aim for 1/120th of a second. This creates motion blur that matches what the human eye expects to see and keeps your footage looking cinematic. Deviating too far from this rule creates jittery or smeared footage that immediately looks wrong to viewers.
ISO sits at the third point of the triangle, and for video it should generally be treated as a last resort adjustment. Set ISO to your camera’s native base value, which is the ISO where the sensor performs with the least amount of noise. This is typically ISO 100, 800, or 1600 depending on your camera. From there, manage exposure through aperture and shutter speed, and use ND filters when you need more control. This workflow keeps your image quality consistent and prevents the noise problems that come with high ISO settings.
The relationship between these three settings is measured in stops. A stop is a doubling or halving of light. Increasing your aperture from f/4 to f/2.8 is one stop more light. Slowing your shutter speed from 1/100th to 1/50th of a second is one stop more light. Raising ISO from 100 to 200 is one stop more light. Understanding stops lets you calculate exposure changes precisely instead of guessing. When you need to compensate for a wide aperture, you can calculate exactly how many stops of light you need to remove with a combination of faster shutter speed, lower ISO, or an ND filter.
Why Your Video Is Overexposed Despite Correct ISO
Your aperture is too wide for the lighting conditions
A wide aperture is the most common culprit. On a bright sunny day, shooting at f/1.8 lets in an enormous amount of light. Even at ISO 100 and 1/50th shutter speed, your footage will be overexposed. This is especially common with cinema lenses that have wide maximum apertures. Creators who want that shallow depth of field look often forget that they cannot shoot wide open in bright sunlight without additional light control. An ND filter is the standard solution here, reducing the amount of light entering the lens so you can keep your creative aperture choice.
Shooting with a shallow depth of field also makes overexposure more likely in specific areas of the frame. When your focus plane is narrow, the out-of-focus background can bloom and blow out highlights more easily. This is one reason many videographers avoid the widest apertures for outdoor shooting unless they are actively managing the exposure with ND filters.
Your shutter speed is too slow for the light level
A slow shutter speed is the second most common cause. If your frame rate calls for 1/50th of a second but you are shooting at 1/25th because you thought it would look smoother, you are letting in twice as much light with every frame. This creates overexposure and also breaks the 180-degree rule, giving your footage a smeared, unnatural appearance. The 180-degree rule exists for a reason, and breaking it to get exposure right is solving the wrong problem. Use aperture, ND filters, or ISO adjustments instead.
Your camera is in Auto ISO mode
Auto ISO sounds convenient, but it is one of the most frequent causes of unexpected overexposure in video. When Auto ISO is enabled, your camera makes its own decisions about sensitivity. The camera’s metering system often prioritizes getting a bright image over maintaining the exposure settings you intended. Many cameras using Auto ISO will raise the ISO well beyond what you would choose manually, resulting in both overexposure and unnecessary noise.
The problem is worse in modes like Program Auto or Aperture Priority where the camera controls both aperture and shutter speed alongside ISO. When the camera has full control of the exposure triangle, it can make combinations that are technically correct for still photography but problematic for video. The Adobe Community forum has multiple threads from users who discovered their camera was silently raising ISO while they believed they had manual control.
You are using the wrong picture profile or color space
Picture profiles and color spaces can make your footage look overexposed even when the actual exposure is fine. If you are shooting in HLG (Hybrid Log Gamma) or an S-Log profile and importing the footage into a Rec.709 timeline without proper interpretation, your footage will appear completely blown out in your editing software. The data is there, but the editor does not know how to display it correctly.
This is the exact issue that affected the Adobe Community user who shot on an iPhone 11 in 4K. The iPhone shoots HLG footage by default, which is an HDR color space designed to preserve highlight detail. When that footage is placed on a standard SDR Rec.709 timeline in Premiere Pro, the editor interprets the signal incorrectly and everything appears brighter and more washed out than it should. The footage itself is not overexposed. The display interpretation is wrong.
The fix is to either tell Premiere Pro to interpret the HLG footage as Rec.709 (which will recover the image) or to shoot in a standard Rec.709 color space if you do not plan to color grade your footage. Most cameras and smartphones now offer both options in their picture profile settings. Choosing the right one for your workflow prevents this type of perceived overexposure entirely.
Your light meter is reading the wrong part of the scene
Camera light meters typically use center-weighted or evaluative metering, which means they average the brightness of the entire frame to determine exposure. If you are shooting a scene with very bright areas and very dark areas, the meter will try to find a middle ground. This often results in the bright areas being overexposed even though the overall meter reading appears correct.
This is especially common in high-contrast scenes. A person standing in front of a bright window, a landscape with a dark foreground and bright sky, or any scene with strong directional lighting can trick the meter. The camera sees the dark foreground and compensates by opening up, which overexposes the bright areas. Using spot metering on your subject’s face, or switching to manual mode and using your camera’s zebra or waveform display, gives you direct control over what parts of the image are clipping.
You are not accounting for the dynamic range of your camera
Every camera has a limited dynamic range, which is the difference between the darkest and brightest parts of the image it can capture simultaneously. Consumer cameras and smartphones have narrower dynamic ranges than professional cinema cameras. If your scene has a brightness range that exceeds your camera’s dynamic range, you will lose detail in either the highlights, the shadows, or both. The result is footage that appears overexposed in the bright areas even though your settings are technically correct.
Log picture profiles and flat profiles are designed to help with this by compressing the dynamic range into a usable range, but they require color grading in post-production to look normal. Shooting in a standard profile without understanding your camera’s limits in high-contrast scenes will produce overexposed highlights that cannot be recovered later. Knowing your camera’s dynamic range and positioning your subjects in areas with manageable contrast is the best prevention.
Step-by-Step Fixes for Overexposed Video
Here is a practical troubleshooting sequence you can follow when your video looks overexposed. I use this order because each step is progressively more involved, and you should try the simplest fix first. Most overexposure problems are solved within the first two steps.
Step 1: Switch to manual exposure mode. Automatic modes make their own exposure decisions that override your ISO setting. In manual mode, you control aperture, shutter speed, and ISO directly. Set your shutter speed according to the 180-degree rule for your frame rate. Set your aperture based on the depth of field you want. Then evaluate whether the exposure is correct.
Step 2: Use your camera’s exposure tools. Turn on zebras, the waveform monitor, or false color display. These tools show you exactly which parts of your image are clipping. Zebras typically display as striped patterns over areas that are over the brightness threshold you set. Waveform monitors show brightness as a waveform trace, letting you see if highlights are pushing past the safe zone. False color maps the brightness to a color scale so clipped areas glow red. These tools give you objective exposure information instead of relying on the camera’s small LCD screen, which often looks brighter than the actual recorded image.
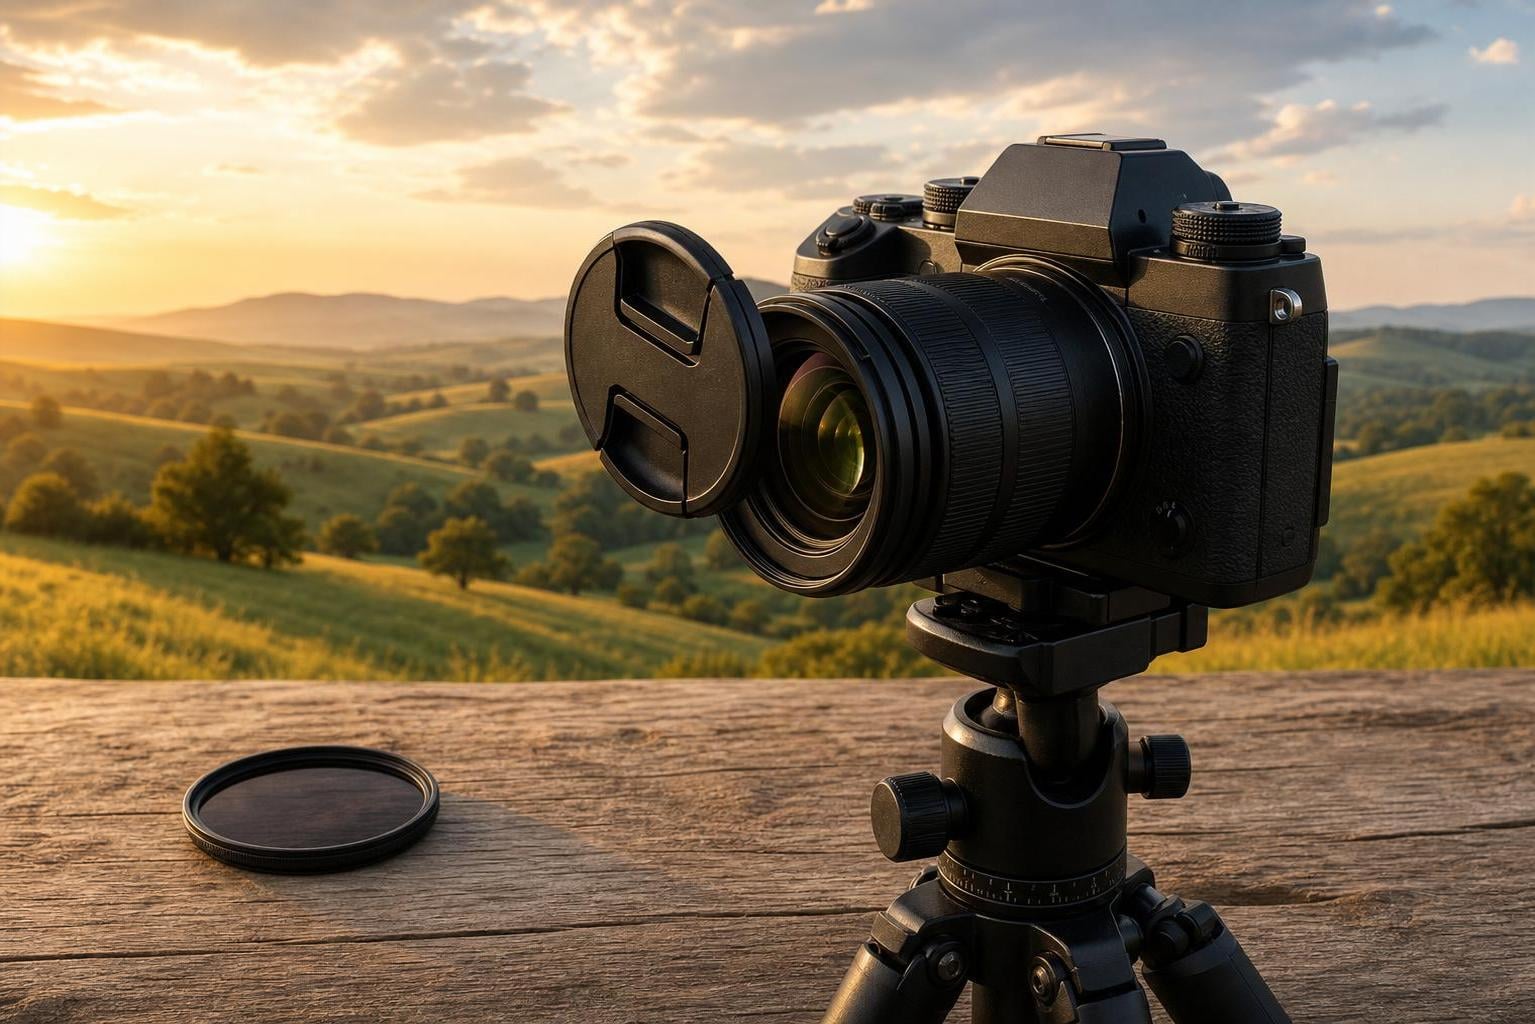
Step 3: Add an ND filter. If your aperture and shutter speed are already where you want them and your footage is still overexposed, add a neutral density filter. ND filters reduce the amount of light entering the lens without affecting your other settings. Variable ND filters are especially useful for video because you can adjust the density on the fly as lighting conditions change. For bright outdoor shooting, a 6-stop ND filter is a common starting point for sunny conditions.
Step 4: Adjust your exposure compensation settings. If you must use a semi-automatic mode like aperture priority, check your exposure compensation setting. Many cameras default to zero compensation, but your camera’s meter may still overexpose the scene. Dialing in negative exposure compensation tells the camera to deliberately underexpose relative to its meter reading, giving you more control.
Step 5: Check your color space and picture profile. If the footage looks correct on your camera’s screen but exports overexposed, the issue is likely a color space mismatch. Check whether you are shooting HLG, S-Log, or another flat profile. Confirm that your editing software is interpreting the footage correctly. In Premiere Pro, you can right-click a clip and set the interpretation to the correct color space. In DaVinci Resolve, the Color Management settings handle this automatically if configured properly.
Step 6: Rescue overexposed footage in post-production. If you have already shot overexposed footage, all is not lost. Minor overexposure can often be reduced in post. In Premiere Pro, use the Lumetri Color effect to lower the Exposure slider and pull back the Highlights adjustment. In DaVinci Resolve, the Color Wheels panel has a Gain offset and the Curves tool lets you pull down specific brightness ranges. For footage with blown highlights where the data is completely clipped, recovery is limited. But for minor overexposure where some data remains in the highlights, post-production can save the shot.
Preventing overexposure before you press record will always produce better results than fixing it afterward. However, knowing the rescue techniques gives you a safety net when things go wrong on set. The best videographers plan their exposure carefully but also know their post-production options when conditions change unexpectedly.
Overexposure Causes and Their Solutions
The table below summarizes the most common causes of overexposed video with correct ISO and their corresponding solutions. This quick reference can help you identify and fix problems faster during production.
Aperture too wide for the lighting conditions: Add an ND filter or narrow your aperture to reduce light intake. This is the first fix to try for outdoor shooting.
Shutter speed too slow for the frame rate: Set your shutter speed to follow the 180-degree rule. For 24fps, use 1/48th or 1/50th. For 60fps, use 1/120th.
Auto ISO overriding your settings: Switch to manual mode entirely. Disable Auto ISO in your camera’s settings menu.
HLG or flat profile causing display issues: Check your editing software’s color management settings. Interpret footage as the correct color space for your timeline.
Light meter reading the wrong part of the scene: Switch to spot metering on your subject or use zebras and waveform monitors for objective readings.
Scene dynamic range exceeds camera capability: Adjust your shooting position or lighting to reduce contrast, or use a flat profile with planned color grading in post.
Best Practices for Preventing Overexposed Video
Building consistent exposure habits eliminates most overexposure problems before they happen. The first habit is to always shoot in manual mode or in a semi-automatic mode with exposure lock engaged. This prevents your camera from silently adjusting settings and producing footage that is brighter or darker than you intended. Many videographers default to manual exposure for video because it gives complete and predictable control over the final image.
Learn to use your camera’s built-in exposure tools. Zebras, waveforms, and false color displays are standard on most modern cameras and are far more reliable than judging exposure on the rear LCD screen. The LCD screen often appears brighter than the actual recorded footage, which is why footage can look fine on camera but come out overexposed in post. Calibrating your eye to these tools takes practice, but it dramatically improves your on-set exposure accuracy.
Carry ND filters as part of your standard kit. Even if you think you will not need them, having them available changes how you approach outdoor shooting. Instead of worrying about overexposure, you can focus on your creative choices for aperture and shutter speed, knowing the ND filter will handle the excess light. Many experienced videographers keep a 3-stop and a 6-stop fixed ND filter plus a variable ND filter in their bag at all times.
Understand your camera’s native ISO and dynamic range limits. Every sensor performs differently at different ISO values. Your camera’s native ISO is where it produces the cleanest signal with the least noise. Above that point, you are amplifying a weaker signal, which adds noise. Below native ISO, you are reducing the signal before amplification, which can also affect image quality. Knowing these boundaries helps you make informed exposure decisions instead of chasing ISO values randomly.
Test your smartphone video settings before important shoots. Smartphone cameras handle exposure very differently than dedicated cameras. They use computational photography techniques that can produce unexpected results, especially in bright conditions. The iPhone overexposure issue in Premiere Pro is a well-documented example of how smartphone color spaces interact poorly with editing software. Testing your workflow ahead of time and understanding your phone’s picture profile options prevents surprises during editing.
Smartphone and iPhone Video Overexposure
Smartphone cameras have improved dramatically for video, but they introduce unique exposure challenges. The iPhone overexposure problem is particularly common for creators who shoot on their phone and edit on a computer. The issue stems from how iPhones process video in the camera app versus how editing software interprets that footage.
When you record video on an iPhone, the camera app applies real-time processing, tone mapping, and color correction before you even see the preview. This processed image looks natural and well-exposed on the phone screen. However, the raw data stored in the video file uses a wider color space like HLG or Dolby Vision. When that file is imported into Premiere Pro, DaVinci Resolve, or Final Cut Pro, the editing software may interpret the color space incorrectly, causing the footage to appear blown out and overexposed.
The fix for iPhone video overexposure in post-production is straightforward once you know the cause. In Premiere Pro, right-click the overexposed clip in the project panel, select Modify, then Interpret Footage, and set the color space to Rec.709. This tells Premiere Pro to display the footage correctly. In DaVinci Resolve, ensure that your project color management is set up properly. If you are using the Color Managed workflow, Resolve should automatically detect the source color space. If not, you can manually assign the input color space to Rec.709 for iPhone footage.
For shooting, many iPhone videographers avoid the issue entirely by switching the camera to record in standard Rec.709 instead of HLG. In the iPhone Settings app, under Camera, then Record Video, you can toggle between different formats. Choosing 4K at 24fps in the standard color space produces footage that behaves predictably in every editing application. This is the best option for creators who do not plan to do extensive color grading and just want footage that looks right the first time they import it.
Android phones have similar color space considerations. Many Android devices shoot in HLG or BT.2020 color spaces for HDR video. The interpretation steps are the same: check your editing software’s color management settings and ensure the source color space matches what the camera recorded. If you are unsure what color space your phone uses, check the camera settings or the phone’s technical specifications. Most manufacturers document this information clearly.
How to Prevent Overexposure When Filming Outdoors
Outdoor filming in bright sunlight is where overexposure problems are most common. The sun produces an enormous amount of light, and even at base ISO your camera can quickly reach its exposure limit if you want to maintain a shallow depth of field or a specific shutter speed. Preventing overexposure outdoors requires a systematic approach to managing the light that reaches your sensor.
Start by evaluating the lighting conditions. Full sun at noon produces roughly 100,000 lux of illuminance. Your camera at ISO 100 with a 6-stop ND filter and a 180-degree shutter speed can handle this comfortably. Without the ND filter, the same setup would overexpose at any aperture wider than f/16, which eliminates your ability to use shallow depth of field. This is why ND filters are considered essential equipment for outdoor videography.
Calculate the ND filter strength you need by checking your camera’s light meter with the ND filter attached. If your camera shows the correct exposure at f/2.8 with a 6-stop ND filter in full sun, you know that filter combination works for those conditions. For partly cloudy conditions, a 3-stop ND filter may be sufficient. Variable ND filters let you fine-tune the density between stops, which is useful when conditions change throughout the day.
Use the histogram on your camera as a backup to your light meter. The histogram shows the distribution of brightness values in your image. If the right side of the histogram is touching or exceeding the edge of the graph, your highlights are clipping and your footage is overexposed. Learning to read the histogram quickly takes practice, but it provides an objective measurement that is not affected by the brightness of your camera’s LCD screen.
Consider your shooting angle relative to the sun. Shooting directly into sunlight creates extreme contrast that will challenge any camera’s dynamic range. Positioning your subject so the sun is behind them (backlighting) or to the side (side lighting) reduces the contrast and gives your camera more manageable exposure values. Using a reflector or fill light on the shadow side of your subject can also bring the overall scene contrast down to a level your camera can handle.
Video Editing Overexposed Footage
If you have already shot overexposed footage, post-production tools can often recover the image or at least reduce the severity of the overexposure. The success of the rescue depends on how severely the footage is overexposed and whether the highlight data still exists in the file.
In Premiere Pro, the Lumetri Color effect provides the tools you need. Reduce the Exposure slider to bring down the overall brightness. Then use the Highlights slider to target only the brightest parts of the image, pulling them down without affecting the midtones. The Whites slider affects a narrower brightness range than the Highlights slider, giving you even more precise control. If your footage was shot in a flat or log profile, you will also want to apply a LUT or manually adjust the contrast and saturation to bring the image back to a normal-looking state.
DaVinci Resolve offers similar controls with more precision. In the Color page, the Gain offset in the Color Wheels panel adjusts the overall brightness. The RGB Curves tool lets you create a custom tonal response that pulls down just the highlights. Resolve also has highlight recovery features in the Color Management settings that can reconstruct some lost highlight detail if the data is still present in the file. This is particularly useful for footage shot in log profiles, which preserve more highlight headroom than standard profiles.
The most important factor in successful overexposure rescue is whether the clipped highlights contain recoverable data. If your camera’s sensor completely clipped the highlights, meaning the brightness exceeded the maximum value the sensor could record, that data is permanently lost. No amount of post-production can recreate information that was never captured. This is why using zebras and waveforms during shooting is so important. If you can see the highlights approaching the clip point, you can adjust your settings before the data is lost.
FAQs
How to fix an overexposed video?
Switch to manual exposure mode and check your shutter speed against the 180-degree rule. Add an ND filter if you need a shallow depth of field in bright conditions. In post-production, use Lumetri Color in Premiere Pro or the Color Wheels in DaVinci Resolve to reduce exposure and pull down highlights. If your footage uses HLG or a flat profile, verify that your editing software is interpreting the color space correctly.
Does ISO affect video quality?
ISO affects video quality when you raise it above your camera’s native base value. Higher ISO amplifies the sensor signal along with any noise present in the image. This can produce visible grain, reduced detail in shadow areas, and color shifts. For the cleanest video quality, keep ISO at the native base setting and control exposure through aperture, shutter speed, and ND filters instead.
Is ISO 400 or 800 better for video?
The better ISO depends on your camera’s native base value. If your camera’s native ISO is 800, then ISO 800 will produce cleaner footage than ISO 400 because the sensor amplifies the signal more efficiently at its native setting. If your camera has a dual native ISO architecture, use the base native value for the cleanest image. Check your camera’s manual for the recommended ISO range.
Is 3200 ISO too high for video?
3200 ISO is not inherently too high for video, but it depends on your camera. Modern cameras with good low-light performance can produce usable footage at 3200 ISO, though you will see more noise than at lower values. Cameras with native ISO around 1600 or 3200 handle these values particularly well. For outdoor shooting in bright light, you should never need to go above your camera’s base ISO. Use ND filters to manage bright conditions instead of raising ISO.
The key to resolving why does my video look overexposed even with the right ISO is to stop thinking about ISO as the exposure control and start managing aperture, shutter speed, and light with ND filters. ISO should be your baseline setting, not your adjustment tool. When you make this shift in how you think about exposure, overexposure becomes a much easier problem to diagnose and fix.
Start by auditing your current shooting habits. Are you in manual mode? Are you using zebras or waveforms? Do you have an ND filter in your kit? Address each of these in order and you will see dramatic improvement in your exposure consistency. The creators who master this workflow produce footage that looks professional and intentional on every shoot, regardless of the lighting conditions they face.