
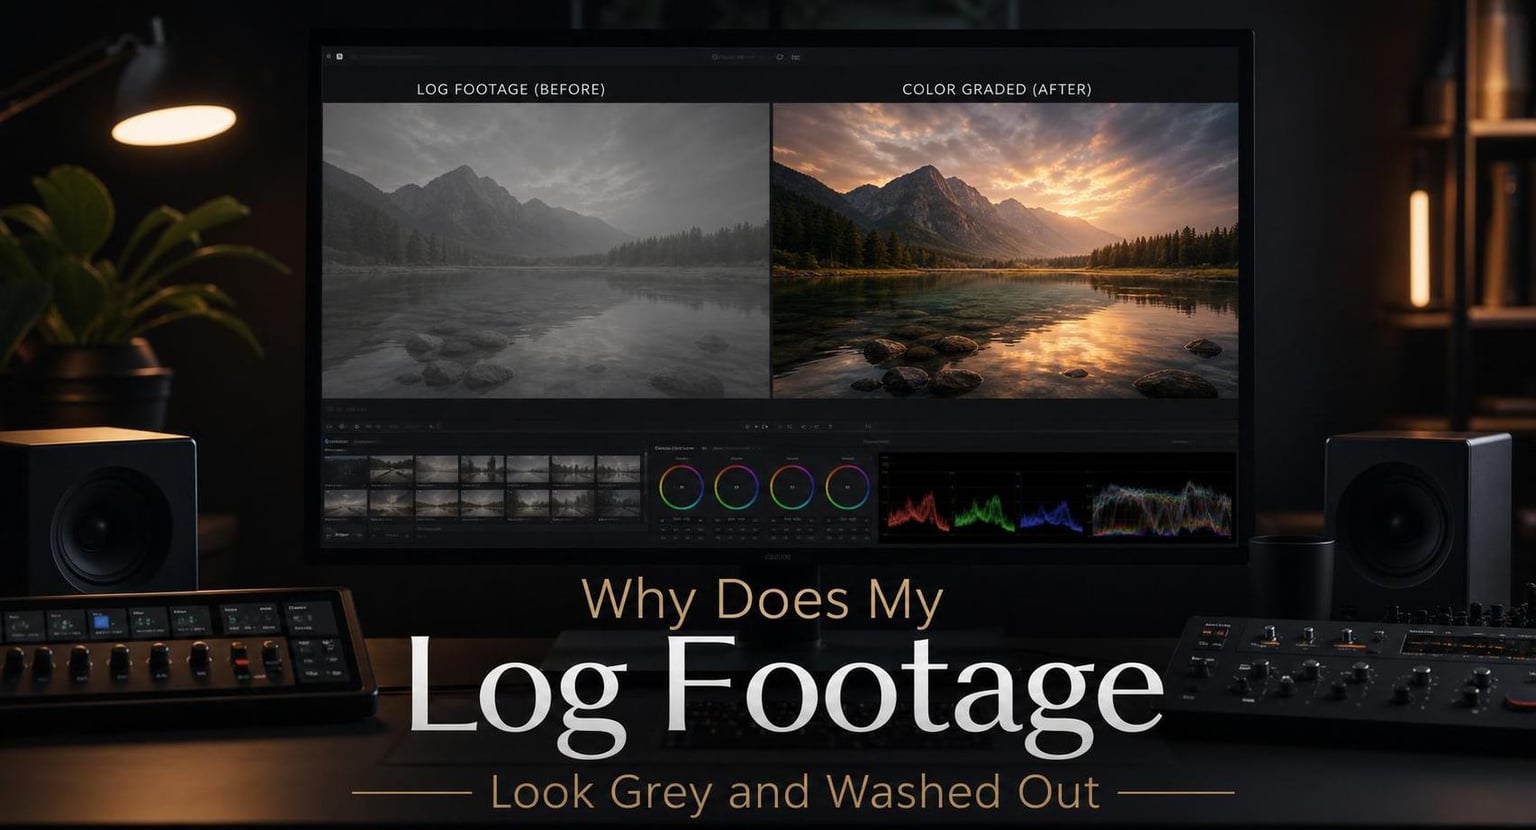
You press the record button on your cinema camera, capture what looks like a stunning sunset on your monitor, then play back the footage and stare at a flat, grey, lifeless image. If this has happened to you, you are far from alone. Thousands of videographers, content creators, and filmmakers experience this exact moment of panic every single day.
Your first instinct is probably that something is wrong with your camera. Maybe the sensor is broken. Maybe you accidentally changed a setting you should not have touched. In reality, your camera is doing exactly what it was designed to do. If you are shooting in a LOG color profile, that grey and washed-out look is not a mistake. It is the entire point.
Understanding why your log footage looks grey and washed out is the first step toward unlocking the creative power of color grading. Once you understand what is happening inside your camera, you stop seeing that flat grey image as a problem and start seeing it as a blank canvas waiting for your creative touch. In this guide, I will walk you through what LOG footage is, why it looks the way it does, how to fix it in post-production, and when you might want to avoid shooting LOG altogether.
Table of Contents
Quick Answer: Why Does My Log Footage Look Grey and Washed Out?
Log footage looks grey and washed out because LOG (logarithmic) color profiles intentionally reduce contrast and mute colors during recording to capture maximum dynamic range across bright highlights and dark shadows. This flat, desaturated image is a deliberate recording strategy that preserves as much visual data as possible for color grading in post-production.
Here is why your footage looks that way:
Contrast is reduced to protect detail in both the brightest and darkest parts of the image, preventing blown-out highlights and crushed shadows.
Colors are muted (desaturated) to provide maximum flexibility for customizing the final look during color grading.
The gamma curve is flattened using a logarithmic encoding that distributes tonal information differently than what your monitor expects to display.
No color science has been applied yet because LOG footage is essentially raw data waiting to be interpreted, not a finished image.
Think of LOG footage like raw dough. It does not look or taste like a finished cake because it is not supposed to. The baking (color grading) comes later.
What Is LOG Footage?
LOG stands for “logarithmic,” and it refers to a specific way that a camera encodes brightness values when recording video. In a standard picture profile, the camera applies a gamma curve that makes the image look immediately pleasing and ready to display. The colors are saturated, the contrast is punchy, and the shadows and highlights sit where you expect them to be. This is the look of Rec. 709, the standard color space used by televisions, monitors, and most consumer video formats.
LOG footage throws that immediate good-looking result out the window. Instead of recording with a standard gamma curve that maps brightness in a way that looks natural to our eyes, LOG applies a logarithmic curve. This curve compresses the brightest and darkest parts of the image into a narrower range of values. The result is an image that appears flat, low in contrast, and visually unappealing when viewed on a standard monitor.
But here is what that flat look actually represents: your camera is capturing significantly more information than a standard profile would. Specifically, LOG footage preserves more detail in highlights that would normally be clipped (blown out) and in shadows that would normally be crushed into solid black. This extra data gives you headroom in post-production to recover detail, adjust exposure, and build a custom look without permanently losing image information.
Camera manufacturers each have their own LOG profiles. Sony uses S-Log2 and S-Log3. Canon has C-Log and C-Log3. Nikon offers N-Log. Panasonic has V-Log. Blackmagic has BMD Film generations. Even Apple joined the party with ProRes Log on the iPhone 15 Pro and newer. All of these work on the same fundamental principle: sacrifice immediate visual appeal for maximum data capture and post-production flexibility.
The key distinction to understand is that LOG footage is not broken, incorrectly exposed, or improperly configured. It is an intermediate format designed to be processed later. Videomaker, an established publication in the video production space, confirms this directly: the first time you play back LOG video, it looks desaturated and flat, and that is exactly how it is supposed to look.
Why Does My Log Footage Look Grey and Washed Out?
The core reason your log footage looks grey and washed out comes down to two deliberate design choices built into every LOG color profile: contrast reduction and color desaturation. Both of these are intentional, and both serve a specific technical purpose.
Contrast Is Reduced to Protect Details
In a standard picture profile, your camera applies a steep contrast curve. Shadows get pushed darker. Highlights get pushed brighter. The image immediately looks dynamic and visually appealing. The problem is that this steep curve also destroys data at both ends of the tonal range. If a bright sky is pushed too hard, the highlights clip to pure white and all texture in the clouds is gone forever. If shadows are pushed too dark, they crush to solid black and all detail in the dark areas is permanently lost.
LOG profiles solve this by flattening the contrast curve. Instead of a steep S-curve that makes shadows dark and highlights bright, LOG uses a gentler, more linear distribution of tonal values. The midtones get pushed toward grey. The highlights get pulled down from white toward grey. The shadows get lifted from black toward grey. Everything moves toward the middle of the tonal range, which is why the entire image looks flat and grey.
This flat distribution preserves detail across a much wider dynamic range than a standard profile could capture. A scene with a bright sky and dark foreground that would normally force you to choose which one to expose correctly can be captured in full detail when shooting LOG, because the compression of tonal values leaves room at both ends.
Colors Are Muted for Maximum Flexibility
The second reason your footage looks washed out is color desaturation. Standard picture profiles apply generous saturation to make colors pop immediately. Red looks red. Blue looks blue. Green grass looks vivid and alive. LOG profiles deliberately strip most of this saturation away, leaving colors looking muted, pale, and grey-leaning.
This desaturation serves a practical purpose. By recording colors in a neutral, low-saturation state, LOG gives the colorist (that is you, in post-production) complete control over how saturated the final image should be. You can push reds warmer, pull blues toward teal, adjust skin tones precisely, and build a specific color palette for your project. If the camera had already baked in heavy saturation, you would have less room to make those adjustments without colors looking unnatural.
Think of it this way. A painter does not start with a canvas that already has colors on it. They start with white and add exactly the colors they want. LOG footage is that white canvas for color grading. Standard footage is more like a paint-by-numbers kit where the colors are already filled in.
Dynamic Range: The Real Reason LOG Exists
Dynamic range is the span between the darkest and brightest values a camera sensor can capture simultaneously while still maintaining usable detail. A camera with a wide dynamic range can capture both a bright sky and a shadowed face in the same frame without losing detail in either. A camera with a narrow dynamic range forces you to choose one or the other.
LOG profiles exist to maximize the usable dynamic range of a camera sensor. By compressing highlight and shadow data into a flatter tonal range, LOG allows the camera to record detail across stops of light that a standard profile would simply clip away. A standard Rec. 709 profile might capture 7 to 9 stops of usable dynamic range. The same camera shooting in LOG can capture 12, 14, or even 16 stops of dynamic range depending on the sensor and LOG profile used.
That extra dynamic range is what makes LOG footage worth the extra work in post-production. It is the difference between recovering a blown-out sky or being stuck with a solid white rectangle where your clouds used to be.
LOG Profiles by Camera Brand
Every major camera manufacturer has their own LOG implementation, and each one has slightly different characteristics, recommended exposure strategies, and matching LUTs. Understanding your specific LOG profile matters because applying a Sony S-Log LUT to Canon C-Log footage will produce incorrect colors and frustrating results.
Sony S-Log2 and S-Log3
Sony offers two LOG profiles. S-Log2 is the older version, introduced with the Sony FS700, and it provides a very flat, very wide dynamic range image. S-Log3 is the newer version, designed to be closer to film scans and easier to grade. Both require careful exposure, and Sony recommends exposing approximately 1.7 to 2 stops brighter than middle grey (a technique called ETTR, or Expose To The Right) to keep shadows clean and reduce noise. S-Log3 records to a specific color space called S-Gamut3.Cine, which is wider than Rec. 709 and needs to be converted during grading.
Canon C-Log and C-Log3
Canon’s original C-Log was designed to be simpler and more forgiving than Sony’s S-Log. It has a built-in look that is not quite as flat as S-Log, making it a popular choice for shooters transitioning into LOG workflows. C-Log3 is the newer version, offering a flatter image with more dynamic range while still being easier to grade than S-Log3. Canon C-Log pairs with the Cinema Gamut or Rec. 709 color space depending on your camera settings.
Nikon N-Log
Nikon’s N-Log is designed specifically for their mirrorless Z-series cameras. It is optimized for a 10-bit color depth and uses a relatively gentle LOG curve that is easier to work with than Sony’s S-Log3. Nikon provides official N-Log LUTs for conversion to Rec. 709, and the profile pairs with the BT. 709 or BT. 2020 color space.
Panasonic V-Log
Panasonic V-Log was originally developed for their VariCam cinema cameras and was later brought to the Lumix mirrorless line. It offers 12 or more stops of dynamic range and uses a curve that Panasonic designed to be consistent with their higher-end cinema cameras. V-Log LUTs are available directly from Panasonic, and the profile pairs with the V-Gamut color space.
Blackmagic BMD Film
Blackmagic Design offers BMD Film (sometimes called BMD Film Gen 5 on newer cameras like the Pocket Cinema Camera 6K Pro). This LOG profile is designed to match the characteristics of film stock and works seamlessly with the built-in color science of DaVinci Resolve, which Blackmagic also develops. BMD Film is one of the more intuitive LOG profiles to grade because the Resolve color page has tools specifically designed for it.
Apple ProRes Log (iPhone 15 Pro and Later)
Apple introduced ProRes Log recording with the iPhone 15 Pro, bringing professional LOG workflows to a smartphone for the first time. iPhone LOG footage looks just as flat and grey as footage from a dedicated cinema camera, and it requires the same LUT application and color grading workflow. Apple provides a specific LUT for converting iPhone LOG footage to Rec. 709, and the results can be impressive when paired with proper exposure techniques.
How to Fix Grey and Washed-Out LOG Footage
Fixing LOG footage involves a two-step process: color correction (making the footage look natural again) and color grading (making it look the way you want creatively). The workflow is similar across all major editing applications, though the specific tools differ slightly. Here is a step-by-step guide to getting your LOG footage looking right.
Step 1: Apply a Camera-Specific LUT
A LUT (Look-Up Table) is a file that contains mathematical instructions for converting color and brightness values from one color space to another. Every camera manufacturer provides official LUTs that convert their LOG footage back to a standard Rec. 709 look. Applying the correct LUT is the fastest way to transform flat, grey footage into something that looks normal.
Apply the LUT that matches your specific camera and LOG profile. Sony provides S-Log3 to S-Cinetone or S-Log3 to Rec. 709 LUTs. Canon has C-Log3 to Rec. 709 LUTs. Panasonic, Nikon, Blackmagic, and Apple all provide equivalent files for their profiles. Using the wrong brand’s LUT will give you inaccurate colors, so always match the LUT to your camera.
Step 2: Perform Basic Color Correction
After applying the LUT, your footage should look closer to normal, but it will rarely be perfect. This is where color correction comes in. Start by adjusting your white balance to ensure neutral colors look correct. Use a white or grey reference in your scene if possible. Next, adjust exposure using your waveform monitor, aiming for skin tones to sit in the correct range (around 60 to 70 IRE on a waveform).
Then adjust contrast to your taste. Add a slight S-curve to your luma channel to give the image more punch without crushing shadows or clipping highlights. Finally, adjust saturation to bring colors to a natural level. The goal of color correction is a clean, neutral, natural-looking image that serves as the starting point for creative grading.
Step 3: Add Your Creative Color Grade
Once your footage is corrected, you can build a creative look. This is where you decide whether your film should have warm orange tones in the highlights and teal shadows (the classic orange-and-teal blockbuster look), or a desaturated, cool look for a moody documentary feel. Use color wheels, HSL qualifiers, and curves to push colors in your desired direction.
Color grading is a creative skill that takes time to develop, but starting from properly corrected LOG footage gives you the most flexibility to experiment. You can always dial back your grade without losing detail because the underlying LOG data preserved a wide dynamic range.
Step 4: DaVinci Resolve Workflow
DaVinci Resolve is the most popular application for LOG color grading, and it has tools specifically designed for the LOG-to-Rec. 709 conversion process. Start on the Color page by applying a Resolve Color Space Transform ( CST) from your camera’s LOG gamma and gamut to Rec. 709. This is more accurate than applying a LUT and gives you precise control over the conversion.
After the CST node, add nodes for white balance correction, exposure adjustment, and your creative grade. If your footage still looks washed out in Resolve, check your project-level color science settings. Go to Project Settings, navigate to Color Management, and ensure your timeline color space is set to Rec. 709-A (for gamma 2.4) or Rec. 709 (Scene). A mismatch between your timeline color space and output color space is one of the most common causes of washed-out footage in Resolve.
Many users on the Blackmagic Design forum and Reddit’s r/davinciresolve report that simply enabling proper color management in Resolve settings fixed their washed-out look instantly. If you are editing ProRes LOG footage from an iPhone or Apple camera, check that your input color space is tagged correctly in the clip attributes.
Step 5: Premiere Pro Workflow
In Premiere Pro, open the Lumetri Color panel and navigate to the Creative tab. Use the Input LUT dropdown to select your camera’s LOG-to-Rec. 709 conversion LUT. Then use the Basic Correction tab to fine-tune white balance, exposure, contrast, and saturation. For more advanced grading, use the Color Wheels and Curves tabs.
Premiere also supports color space overrides. Right-click your LOG clips, select Modify then Interpret Footage, and set the correct color space. This tells Premiere how to interpret your LOG data and prevents the washed-out look that occurs when the application guesses incorrectly.
Step 6: Final Cut Pro Workflow
In Final Cut Pro, select your LOG clips and open the Info inspector. Change the View dropdown to Settings and ensure the Color Space Override is set to your camera’s LOG profile (such as Sony S-Log3 S-Gamut3.Cine or Canon C-Log3). Final Cut will automatically apply the correct conversion in the background. Then use the Color Wheels and Curves adjustments in the Color Inspector to fine-tune and grade your footage.
Common Mistakes to Avoid with LOG Footage
Shooting in LOG adds power and flexibility to your workflow, but it also introduces opportunities for mistakes that can degrade your footage rather than improve it. Here are the most common pitfalls that beginners encounter, drawn directly from questions and complaints we have seen across filmmaking forums and Reddit communities.
Mistake 1: Shooting LOG Without Knowing How to Grade
This is the number one mistake. LOG footage requires color grading to look good. If you shoot LOG and then deliver the footage without grading it, your audience sees a flat, grey, lifeless image. If you do not have the time or skills to color grade your footage, you are better off shooting in a standard picture profile that looks good straight out of the camera.
Mistake 2: Underexposing LOG Footage
LOG footage that is underexposed becomes noisy and grainy very quickly. Because LOG profiles compress shadow detail, underexposing pushes important detail into the noisy lower end of the sensor’s range where it becomes difficult or impossible to recover cleanly. Many experienced LOG shooters use the ETTR (Expose To The Right) technique, intentionally overexposing by 1 to 2 stops and then pulling exposure back down in post-production. This keeps shadow detail clean and reduces noise across the entire image.
Mistake 3: Not Using Monitoring Tools on Set
When your LOG footage looks flat and grey on the camera monitor, it is very difficult to judge exposure by eye. You need objective measurement tools. Use zebras to identify overexposed areas (typically set to 70 IRE for skin tones and 100 IRE for clipping). Use a waveform monitor to see the distribution of brightness values across your frame. Use false color to instantly identify areas that are too bright or too dark. Without these tools, you are guessing, and guessing with LOG footage often leads to badly exposed clips.
Mistake 4: Using the Wrong LUT
Applying a Sony S-Log3 LUT to Canon C-Log footage, or a Panasonic V-Log LUT to Nikon N-Log footage, will produce incorrect colors that look strange and unnatural. Always use the LUT that matches your specific camera brand and LOG profile. If you are not sure which LUT to use, check your camera manufacturer’s website for official downloads.
Mistake 5: Shooting LOG in 8-Bit
LOG footage needs bit depth to work properly. 8-bit video has only 256 levels of brightness per color channel, which is not enough to handle the flat tonal range of LOG without producing banding (visible steps in gradients like skies). If your camera only records 8-bit video in LOG mode, the LOG footage will look worse after grading, not better. LOG should be shot in 10-bit (1,024 levels per channel) or higher whenever possible.
Mistake 6: Color Space Mismatches in Your Editor
If your footage looks correct on your camera but washed out in your editing software, the most likely cause is a color space mismatch. Your editing application needs to know the correct input color space and gamma for your LOG footage, and your timeline and output color space need to be set correctly (typically Rec. 709 for web delivery). Check your project settings and clip attributes to ensure everything is tagged correctly.
When You Should NOT Shoot in LOG?
LOG is a powerful tool, but it is not the right choice for every situation. Many beginners assume that shooting in LOG automatically produces better footage, but this is not true. In certain scenarios, LOG will actually degrade your results.
When You Are Recording in 8-Bit
If your camera only supports 8-bit recording in its LOG mode, skip it. 8-bit LOG footage is prone to banding, posterization, and color artifacts when you try to grade it. You will get better results from a standard picture profile recorded in 8-bit than from a LOG profile that lacks the bit depth to support it.
When You Have No Time for Color Grading
If you are delivering content on a tight deadline with no time for a color grading pass, shoot in a standard profile. Many cameras offer “cinematic” or “vibrant” picture profiles that give you a pleasing look straight out of the camera. This is especially relevant for news, event coverage, and social media content where speed matters more than maximum dynamic range.
When You Are Shooting Run-and-Gun
Fast-paced, unpredictable shooting environments are challenging for LOG because you cannot easily monitor exposure with tools like waveforms and zebras while moving quickly. Standard profiles with their immediate good-looking results are more forgiving in these situations and reduce the risk of badly exposed clips that cannot be salvaged.
When You Want a Specific In-Camera Look
Many cameras offer beautiful built-in looks that rival graded LOG footage. Sony’s S-Cinetone, Canon’s EOS Look files, Fujifilm’s Film Simulations, and Panasonic’s LUT-compatible profiles all deliver finished looks directly from the camera. If one of these matches your creative vision, shooting LOG and grading to achieve a similar result is unnecessary work.
When You Are a Complete Beginner
If you are new to video production, start with standard profiles. Learn exposure, composition, lighting, and storytelling before adding the complexity of LOG workflows. LOG adds at least one extra step (LUT application or color space conversion) to every single clip you edit, and that overhead is not worth it until you understand the fundamentals.
FAQs
Why does log footage look grey?
Log footage looks grey because LOG color profiles intentionally reduce contrast and mute colors to preserve maximum dynamic range across highlights and shadows. The flat, desaturated image is an intermediate format designed to be color graded in post-production, not a finished product. If your log footage does not look grey and flat, your settings may be incorrect.
How to fix a photo that looks washed-out?
To fix washed-out footage, first apply the correct camera-specific LUT to convert your LOG footage back to a standard Rec. 709 look. Then perform basic color correction by adjusting white balance, exposure using a waveform monitor, and contrast with an S-curve. Finally, increase saturation to bring colors to a natural level and apply your creative grade.
Why does log footage look grainy?
Log footage often looks grainy because it has been underexposed. LOG profiles compress shadow detail, so when you underexpose, important image data gets pushed into the noisy lower range of the sensor. To fix this, use the ETTR (Expose To The Right) technique and overexpose by 1 to 2 stops, then pull the exposure back down in post-production for cleaner shadows and less noise.
Why do my iPhone videos look washed-out?
iPhone videos shot in Apple ProRes Log mode look washed out for the same reason cinema camera LOG footage does: the profile deliberately reduces contrast and saturation. Apply Apple’s official Log-to-Rec. 709 LUT in your editing software to restore natural colors. If you are not shooting in ProRes Log, check that HDR is turned off, as HDR video can appear washed out on non-HDR displays.
Why does log footage look flat?
Log footage looks flat because the logarithmic gamma curve distributes brightness values more evenly across the tonal range instead of applying the steep contrast curve used by standard profiles. This flattens shadows, midtones, and highlights toward a uniform grey, which preserves detail across a wider dynamic range but requires color grading to restore visual depth and contrast.
Conclusion
Understanding why your log footage looks grey and washed out transforms a moment of panic into a sign that your camera is working correctly. That flat, desaturated image is not a mistake. It is a deliberate recording strategy that preserves maximum dynamic range, protects detail in highlights and shadows, and gives you complete creative control in post-production.
The fix is straightforward once you know the process. Apply your camera’s matching LUT, perform basic color correction, then build your creative grade. Use monitoring tools on set to expose correctly, shoot in 10-bit whenever possible, and always use the correct LUT for your specific camera brand. If you are just starting out, there is no shame in shooting standard profiles until you are ready for the LOG workflow.
LOG footage is a tool, not a requirement. Use it when you need maximum dynamic range and post-production flexibility. Use standard profiles when speed and simplicity matter more. Either way, that grey image on your monitor is the beginning of your creative process, not the end of it.