
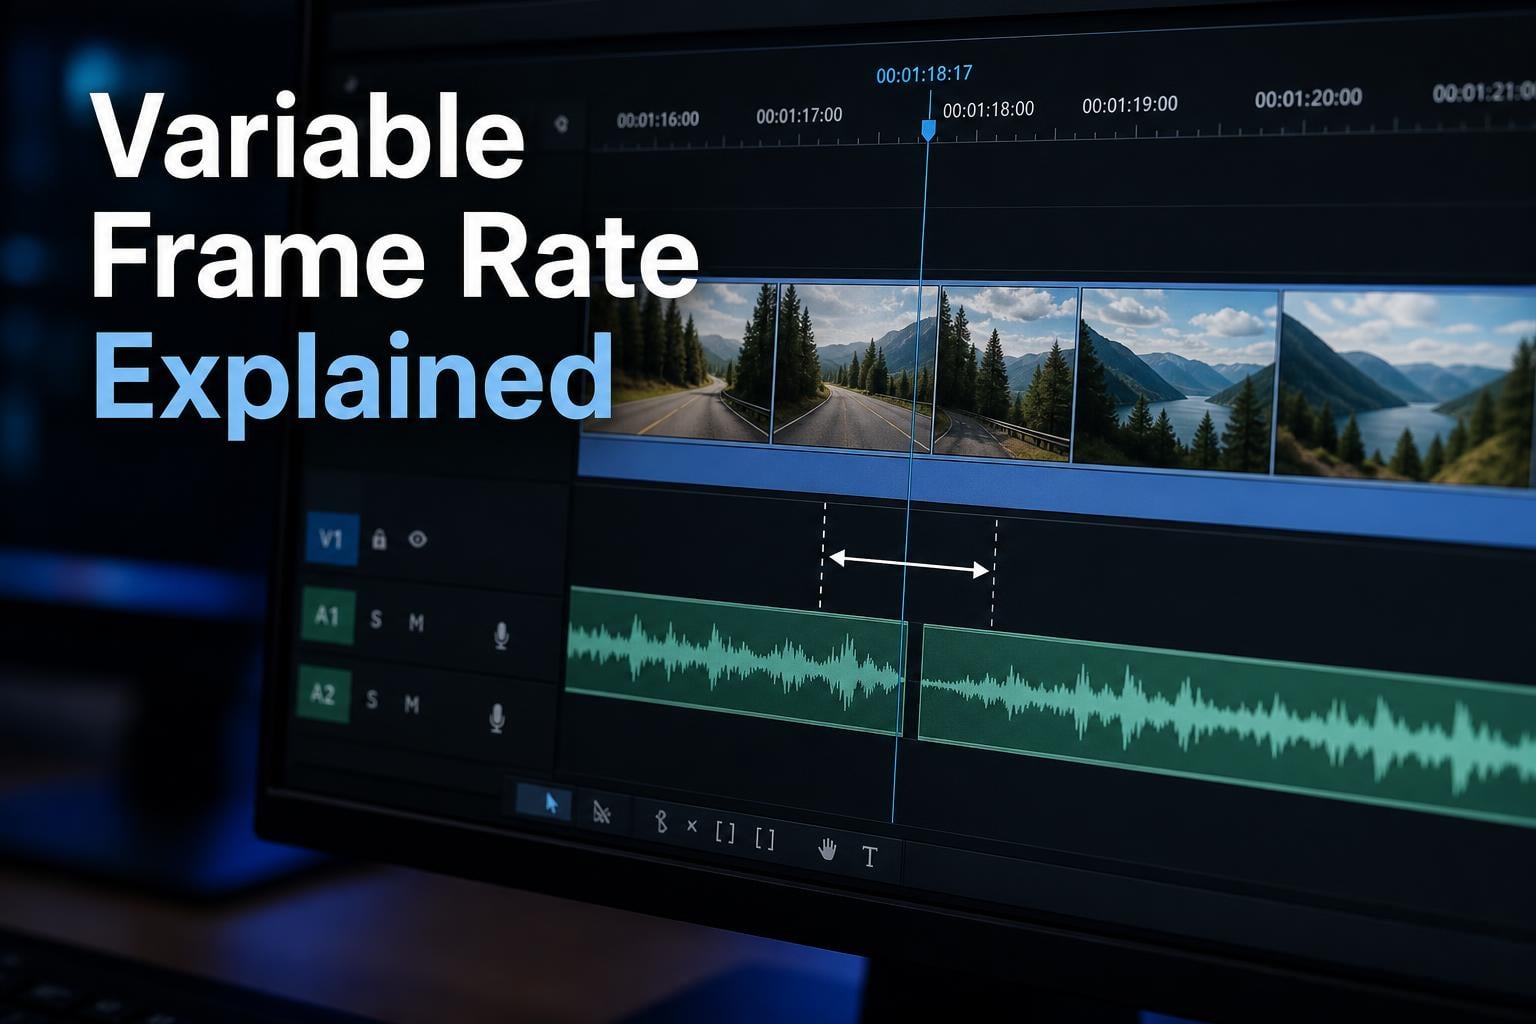
You import your footage into your editor, start cutting, and somewhere around the five-minute mark you notice it. The lips do not match the words. The audio drifts further out of sync with every passing minute. By the end of a 30-minute clip, the delay is unbearable. If this sounds familiar, you are almost certainly dealing with variable frame rate audio sync drift.
Our team has spent years helping video editors, content creators, and educators troubleshoot this exact problem. The frustration is real. You recorded something important, the footage looks fine in a media player, but the moment it hits your timeline everything falls apart. The good news is that once you understand what variable frame rate (VFR) is and how it interacts with your audio, the fix becomes predictable.
In this guide, we will walk you through what variable frame rate is, the technical reason it wrecks audio sync, how to check whether your footage has VFR, and multiple ways to fix it using tools like HandBrake, FFmpeg, and built-in features in popular editing software. We will also cover how to prevent the problem at the recording stage so you never have to deal with audio desync again.
Table of Contents
Variable Frame Rate Audio Sync: The Short Answer
Variable Frame Rate (VFR) is a video encoding method where the number of frames per second changes dynamically throughout the recording. Instead of capturing a steady 30 frames every single second, a VFR file might capture 32 frames in one second, then 27 in the next, then 30, then 29. This variability is invisible during normal playback in a media player like VLC, but it causes chaos in video editing software.
The reason variable frame rate audio sync problems occur is that audio and video use different timing mechanisms. Audio is recorded at a fixed sample rate (typically 44,100 or 48,000 samples per second) and does not change. Video frames, however, arrive at irregular intervals in a VFR file. When your editing software tries to lock these two clocks together, the mismatch accumulates. A few frames of drift per minute becomes seconds of offset over a long recording.
The fix is straightforward in most cases: convert your VFR footage to Constant Frame Rate (CFR) before editing. Tools like HandBrake and FFmpeg can re-encode your file so every second contains the same number of frames, which allows your editor to keep audio and video perfectly aligned. We will cover the exact steps below.
What Is Variable Frame Rate (VFR)?
Variable Frame Rate, usually abbreviated as VFR, is a method of encoding video where the frame rate is not fixed. In a standard video file, you might expect 30 frames per second (FPS) consistently. That means every second of video contains exactly 30 frames, no more and no less. This is called Constant Frame Rate, or CFR.
VFR takes a different approach. Instead of capturing a fixed number of frames per second, the recording device adjusts the frame rate based on what is happening on screen. If the scene is relatively static (think a talking-head video where barely anything moves), the device might drop the frame rate to 24 or even 20 FPS to save storage space. When motion increases, it bumps the frame rate back up to 30 or higher.
This approach is highly efficient for storage. A VFR file can be significantly smaller than a CFR file of the same duration because fewer frames are stored during low-motion moments. That is why smartphones, webcams, screen recording software, and streaming platforms all default to VFR. They are optimizing for bandwidth and storage, not for downstream editing compatibility.
The problem is that video editing software was designed around the assumption of constant frame rate. When your NLE (non-linear editor) imports a clip, it calculates the timebase, which is the expected interval between frames. If those intervals are irregular, the editor cannot accurately place each frame on the timeline. The video duration that the editor calculates differs from the actual duration of the audio, and sync drift begins.
VFR vs CFR: What is the Difference?
The difference between variable frame rate and constant frame rate comes down to consistency. Constant Frame Rate (CFR) means every second of your video contains the same number of frames. If you shoot at 30 FPS CFR, second one has 30 frames, second two has 30 frames, and the final second has 30 frames. The spacing between frames is perfectly uniform.
Variable Frame Rate (VFR) allows the frame count per second to fluctuate. One second might contain 31 frames, the next might contain 28, and the one after that might have 30. Over the course of a minute, the average might still work out to roughly 30 FPS, but the individual seconds vary wildly.
For playback in a media player, this difference is usually invisible. Players like VLC and QuickTime can handle VFR because they read the timestamp embedded in each frame and display it at the right moment. But editing software works differently. It assigns each frame a position on the timeline based on a fixed interval. When that interval is not actually fixed, frames end up in the wrong place relative to the audio.
Here is a quick way to think about it: CFR is like a metronome that ticks at a perfect, unchanging rhythm. VFR is like a metronome that speeds up and slows down. Your audio is always following the steady rhythm. If your video follows the unsteady one, the two will eventually be out of step.
Why Variable Frame Rate Wrecks Audio Sync
This is the question that most guides gloss over. They tell you VFR causes audio sync drift but never explain the actual mechanism. Let us fix that, because understanding the root cause helps you choose the right fix and avoid wasting time on solutions that will not work.
The Timestamp Mismatch Problem
Every frame in an MP4 file has a timestamp called a Presentation Timestamp (PTS). This timestamp tells the player exactly when to display that frame. In a CFR file, the PTS values are evenly spaced. Frame 1 might have a PTS of 0 milliseconds, frame 2 is at 33.3 ms, frame 3 is at 66.6 ms, and so on. Each frame arrives exactly 33.3 milliseconds after the previous one.
In a VFR file, those PTS values are irregular. Frame 1 might be at 0 ms, frame 2 at 31 ms, frame 3 at 67 ms, frame 4 at 98 ms. The gaps between frames vary because the recording device was dropping or adding frames dynamically. When a media player reads these timestamps, it simply displays each frame at the time indicated by its PTS. The video looks smooth because the player respects the irregular timing.
Your audio, however, does not have variable timestamps. Audio is recorded as a continuous stream of samples at a fixed rate. At 48,000 Hz, the audio device captures exactly 48,000 samples per second, every second, without variation. The audio timeline is perfectly linear and uniform.
The Audio Clock vs Video Clock Conflict
When your editing software imports a clip, it needs to reconcile the video timeline and the audio timeline onto a single editing timeline. For CFR footage, this is trivial. The editor knows that every frame represents exactly 1/30th of a second, and it places audio samples at corresponding positions. The two clocks are in perfect agreement.
With VFR footage, the editor faces a dilemma. Some NLEs attempt to read the PTS values and place frames at their correct positions. Others ignore the PTS irregularity and assume a fixed frame rate, which means they misplace frames. Either way, the result is that the video duration as calculated by the editor differs from the audio duration.
Over a short clip, the difference might be only a few milliseconds. But over a 30-minute or 60-minute recording, the cumulative drift can reach several seconds. We have seen cases where a 2-hour seminar recording ended up with audio that was 8 to 10 seconds out of sync by the end. That is not a subtle problem you can ignore.
The Timebase and Drift Accumulation
The timebase is the fundamental timing unit your editing software uses for the timeline. When you set a sequence to 30 FPS, the editor divides each second into 30 equal slots and expects one frame per slot. VFR footage violates this expectation because some seconds contain more frames than slots and others contain fewer.
The editor handles this by either dropping frames (when there are too many) or duplicating frames (when there are too few). This process is invisible to you as an editor, but it means the video is being subtly stretched or compressed relative to the audio. Each adjustment is tiny, but they accumulate. By minute 10, you might notice a slight echo. By minute 20, the lip sync is clearly off. By minute 40, the audio is playing words while the video shows a completely different moment.
This is why simply nudging the audio track a few frames to the left or right does not work. The drift is not a constant offset. It grows over time. You would need to stretch or compress the audio continuously, which is essentially what VFR-to-CFR conversion does at the encoding level.
Which Devices and Apps Record in Variable Frame Rate?
If you are wondering whether your recordings might have VFR, the answer depends on what you used to capture them. VFR is extremely common in consumer devices and software, particularly anything designed for efficiency rather than professional video production.
Smartphones and tablets are the biggest source of VFR footage. Both iPhone and Android devices default to variable frame rate for video recording because it saves storage space and battery life. The phone reduces the frame rate during low-motion scenes and increases it during high-motion scenes automatically. Most users have no idea this is happening.
Webcams are another major culprit. Popular models like the Logitech C920 and similar devices often produce VFR output, especially when connected via USB where bandwidth fluctuates. If the USB bus is busy or the computer is under load, the webcam drops frames to compensate, creating variability in the frame rate.
Screen recording software frequently produces VFR files. OBS Studio, QuickTime screen recording on Mac, Windows Game Bar, and Camtasia can all output VFR depending on your settings. The recording software adjusts the frame rate based on system performance and what is happening on screen.
Zoom and video conferencing platforms record meetings in VFR by default. Zoom specifically uses variable frame rate to manage bandwidth during calls. When someone is speaking but not moving much, Zoom drops the frame rate. This is why Zoom recordings are one of the most common sources of audio sync complaints from podcasters and educators.
Streaming platform downloads from Facebook Live, YouTube Live, and similar services almost always use VFR. The platform encodes the stream at a variable rate to match network conditions, and that variability is baked into the downloaded file. Users on forums report that Facebook Live downloads are among the hardest VFR files to fix.
Action cameras like GoPro can also produce VFR in certain modes, particularly when recording at high frame rates or when the SD card write speed is insufficient. Slow SD cards cause dropped frames that create the same symptoms as VFR even if the camera was technically set to CFR.
How to Check If Your Video Has Variable Frame Rate?
Before you spend time converting files, you should confirm that VFR is actually the problem. There are several free tools that can detect variable frame rate, and the process takes less than a minute once you know what to look for.
Method 1: MediaInfo (Recommended for Most Users)
MediaInfo is a free, open-source tool available for Windows, Mac, and Linux. It reads the metadata of your video file and displays detailed information about the encoding. Download it from the official MediaInfo website, install it, then drag and drop your video file into the application.
Look for the “Frame rate” field and the “Frame rate mode” field. If the frame rate mode says “Variable,” your file has VFR. If it says “Constant,” you are dealing with CFR and the audio sync issue has a different cause. MediaInfo will also show you the minimum and maximum frame rates in a VFR file, which gives you a sense of how severe the variability is.
Method 2: VLC Media Player
If you already have VLC installed, you can check for VFR without installing additional software. Open your video in VLC, then go to Window, then Media Information (or press Command-I on Mac, Ctrl-I on Windows). Go to the Codec Details tab and look for the frame rate information.
VLC will show you the declared frame rate of the file. However, VLC does not always clearly distinguish between VFR and CFR, so this method is less reliable than MediaInfo. Use it as a quick check, but confirm with MediaInfo if you are unsure.
Method 3: FFprobe (For Power Users)
If you are comfortable with the command line, FFprobe gives you the most detailed VFR analysis. FFprobe is part of the FFmpeg toolkit. Run the following command to check frame rate mode:
ffprobe -v quiet -select_streams v:0 -show_entries stream=r_frame_rate,avg_frame_rate -of default=noprint_wrappers=1 input.mp4
If the r_frame_rate and avg_frame_rate values differ significantly, your file has variable frame rate. The r_frame_rate shows the most common frame rate, while avg_frame_rate shows the average across the entire file. A large gap between the two indicates VFR.
How to Fix Variable Frame Rate Audio Sync Issues?
Once you have confirmed that your footage has variable frame rate, the fix is to convert it to constant frame rate before importing it into your editor. There are several ways to do this, and we will cover the most reliable methods. Each has its strengths, so choose the one that fits your workflow and technical comfort level.
Fix 1: Convert VFR to CFR Using HandBrake
HandBrake is the most widely recommended tool for VFR-to-CFR conversion, and for good reason. It is free, open-source, and available on Windows, Mac, and Linux. The interface is approachable even if you have never re-encoded a video before. Here is the step-by-step process:
Step 1: Download and install HandBrake from the official website (handbrake.fr). Open the application and drag your VFR video file into the window.
Step 2: In the Summary tab, make sure the output format is set to MP4 (not MKV). MP4 is the most widely compatible container for video editing software.
Step 3: Go to the Video tab. Under “Framerate,” select the frame rate that matches your original footage. If your video was recorded at approximately 30 FPS, select 30. If it was 24 FPS, select 24. Matching the original average frame rate minimizes quality loss.
Step 4: This is the most important step. Right below the Framerate dropdown, you will see “Framerate Mode.” Change this from “Variable” to “Constant.” This tells HandBrake to re-encode the video with a fixed frame rate, duplicating or dropping frames as needed to maintain consistency.
Step 5: In the Video Encoder section, select H.264 (x264) for maximum compatibility. Set the quality to around RF 20 to 22 for a good balance between quality and file size. Lower RF values mean higher quality but larger files.
Step 6: In the Audio tab, make sure the audio is set to pass-through or AAC encoding at the original sample rate (typically 48 kHz). Do not change the audio sample rate during conversion.
Step 7: Choose a destination file path at the bottom of the window, then click “Start Encode.” The process may take several minutes depending on the length and resolution of your video.
Once HandBrake finishes, import the new file into your editor. The audio should now stay perfectly in sync for the entire duration of the clip.
Fix 2: Convert VFR to CFR Using FFmpeg
If you prefer the command line or need to batch-process multiple files, FFmpeg is the most powerful option. It is what HandBrake uses under the hood, but running it directly gives you more control and faster processing for large files.
First, install FFmpeg on your system. On Mac, use Homebrew: brew install ffmpeg. On Windows, download the binary from ffmpeg.org. On Linux, use your package manager.
To convert a VFR file to CFR at 30 FPS, run this command:
ffmpeg -i input.mp4 -r 30 -vsync cfr -c:v libx264 -preset medium -crf 20 -c:a aac -b:a 128k output.mp4
Here is what each flag does. The -r 30 flag sets the output frame rate to 30 FPS. The -vsync cfr flag forces constant frame rate output, which is the key setting. The -c:v libx264 flag uses the H.264 encoder for compatibility. The -crf 20 flag sets quality (lower is higher quality). The audio is re-encoded to AAC at 128 kbps.
For a 24 FPS source, simply change -r 30 to -r 24. For 60 FPS footage, use -r 60. Always match the output frame rate to the average frame rate of your original footage to avoid unnecessary frame interpolation.
If you want to batch-process an entire folder of VFR files, you can write a simple shell script loop. FFmpeg handles long files more reliably than HandBrake for recordings over one hour, and it provides better error reporting if something goes wrong during conversion.
Fix 3: Use Premiere Pro Interpret Footage Feature
Adobe Premiere Pro has gotten better at handling VFR over the years, but it still struggles with severe variability. If your VFR is mild (the frame rate fluctuates by less than 1 FPS), you might be able to fix it directly in Premiere without re-encoding.
Right-click your clip in the Project panel, select “Modify,” then “Interpret Footage.” In the dialog that appears, check the “Assume this frame rate” option and enter the average frame rate of your footage. If MediaInfo reports the average as 29.97, enter 29.97. This tells Premiere to treat the clip as if it were recorded at that frame rate consistently.
Be aware that this method works for mild VFR but will not fix severe drift. If the frame rate varies by more than 2 to 3 FPS across the file, you need to re-encode with HandBrake or FFmpeg instead. Interpret Footage adjusts how Premiere reads the file, but it cannot fix the underlying timestamp irregularities.
Premiere also has a “Preserve Audio Sync” option that appears when you import VFR footage. If you see the warning “Variable Frame Rate Detected,” click the option to preserve audio sync. Premiere will attempt to compensate internally, though results are inconsistent for long clips.
Fix 4: DaVinci Resolve VFR Workflow
DaVinci Resolve handles VFR somewhat differently from Premiere. When you import a VFR clip, Resolve reads the presentation timestamps and attempts to place frames accurately. For mild VFR, this works reasonably well. For severe VFR, you will still experience drift.
The most reliable approach in Resolve is to convert your footage to CFR before importing it, just as with Premiere. However, if you must work with VFR directly, you can right-click the clip, select “Clip Attributes,” and manually set the frame rate. This forces Resolve to treat the clip at a fixed rate, similar to Premiere’s Interpret Footage function.
Resolve users on the Blackmagic Design forum report that audio creeps out of sync very quickly with VFR clips, especially when the clip is long. Our recommendation is to always convert to CFR for Resolve projects, as its VFR compensation is less robust than Final Cut Pro’s.
When HandBrake Fails: Damaged Timestamps
This is a scenario that no competitor covers, and it is one of the most frustrating experiences for editors. You run your VFR file through HandBrake, set everything correctly, import the result into your editor, and the audio is still out of sync. What went wrong?
In some cases, the original recording has damaged or corrupted timestamps. This happens frequently with Facebook Live downloads, Zoom recordings that were interrupted, or recordings from devices that experienced power or connectivity issues mid-recording. When timestamps are corrupted, HandBrake reads them incorrectly and produces a CFR file where the video and audio are still misaligned.
If HandBrake does not fix your sync issue, try FFmpeg with the -async 1 flag, which forces audio resynchronization during encoding:
ffmpeg -i input.mp4 -r 30 -vsync cfr -async 1 -c:v libx264 -crf 20 -c:a aac output.mp4
If that still does not work, you may need to extract the audio and video separately, then manually align them in your editor. Use FFmpeg to extract just the audio: ffmpeg -i input.mp4 -vn -c:a copy audio.aac. Then import the re-encoded CFR video and the extracted audio separately, and align them by eye using a clapper or hand clap at the beginning of the recording.
This manual approach is tedious but it is the only reliable fix for severely damaged VFR files. We have seen cases where this was the only option after every automated method failed.
How to Prevent VFR Audio Sync Issues When Recording?
The best fix for variable frame rate audio sync problems is to never create VFR files in the first place. Every recording tool that produces VFR has settings that can force CFR output. Taking a few minutes to configure these settings before you record will save you hours of troubleshooting later.
Zoom: Enable CFR Recording
Zoom is one of the most common sources of VFR audio sync complaints. Fortunately, Zoom has a built-in setting to fix this. Open Zoom, go to Settings, then Recording. Look for the option that says “Optimize for third-party video editor” and enable it. This setting forces Zoom to record in a format that is more compatible with video editing software.
When this option is enabled, Zoom records in CFR and wraps the file in a format that editors can handle without drift. If you regularly edit Zoom recordings, this single setting change will eliminate the vast majority of your sync problems.
OBS Studio: Set CFR Output
In OBS Studio, go to Settings, then Output. Set the Output Mode to Advanced, then go to the Recording tab. Under Video Settings, find the “Rate Control” option and set it to CBR (Constant Bitrate). Then look for the “Keyframe Interval” and set it to 2 seconds. Most importantly, ensure your recording format is set to MP4 or MKV with CFR encoding.
If you record in MKV (which OBS recommends for crash safety), you can remux to MP4 after recording using OBS’s built-in File, Remux Recordings feature. The remuxed file will maintain CFR if your recording settings were configured correctly.
Smartphone: Use a Third-Party Camera App
The native camera apps on both iPhone and Android default to VFR for video. To force CFR on a smartphone, you need a third-party camera app. On iOS, apps like FiLMiC Pro or MoviePro allow you to set a fixed frame rate. On Android, Open Camera and Cinema FV-5 offer similar CFR options.
If you must use the native camera app, at least lock the frame rate in settings. On iPhone, go to Settings, Camera, Record Video, and select a specific frame rate rather than leaving it on Auto. This does not guarantee CFR, but it reduces the variability.
Webcam: Use Dedicated Capture Software
If you record with a webcam, avoid using the default Windows Camera app or QuickTime, as both can produce VFR. Instead, use OBS Studio or a dedicated capture tool that lets you specify CFR output. Connect your webcam, add it as a video source in OBS, and configure the output settings as described above.
Also make sure your USB connection is stable. USB webcams are prone to frame drops when the bus is congested, which creates VFR-like symptoms even if the camera is technically set to CFR. Use a direct USB port on your computer rather than a hub, and avoid connecting other high-bandwidth USB devices during recording.
SD Card Speed Matters
If you record to an SD card (action cameras, dedicated cameras), use a card with a fast write speed rating. An SD card that is too slow causes the camera to drop frames, which produces the same audio sync drift as VFR. Look for cards rated UHS-I U3 or V30 at minimum, which guarantee a minimum write speed of 30 MB/s.
Adobe community experts have confirmed that a slow SD card is a frequent hidden cause of sync drift that users mistakenly attribute to VFR. If your footage is technically CFR but you still experience drift, check your SD card speed before blaming the recording format.
How Different Editing Software Handles VFR
Not all editing software handles variable frame rate the same way. Some have built-in compensation, others fail silently, and a few have improved significantly in recent versions. Here is a comparison of the major NLEs as of 2026.
Final Cut Pro handles VFR the best of any major editor. When you import a VFR clip, Final Cut automatically analyzes the file and adjusts the timeline to accommodate the variable timing. Most users report that audio stays in sync without any manual intervention. This is one of the advantages of editing in the Apple ecosystem, since iPhones produce VFR and Final Cut is designed to work with that footage natively.
Adobe Premiere Pro has improved its VFR handling over the years but still struggles with severe variability. It shows a “Variable Frame Rate Detected” warning on import and offers a “Preserve Audio Sync” option. For mild VFR, this works. For files with significant frame rate variation or long recordings, you will still need to convert to CFR before editing.
DaVinci Resolve has the weakest VFR handling of the three. Users on the Blackmagic Design forum consistently report audio drift issues with VFR clips, even short ones. Resolve reads PTS values but does not compensate well for irregular timing. Always convert to CFR before importing into Resolve.
iMovie shares Final Cut Pro’s rendering engine and handles VFR similarly well. If you are editing on a Mac and want a free option, iMovie is a solid choice for VFR footage from iPhones and iPads.
Lightworks and Avid Media Composer both expect CFR and do not handle VFR well. If you use either of these, you must convert your footage to CFR before importing. There is no workaround.
FAQs
Why does my audio keep going out of sync?
Your audio keeps going out of sync because your video was likely recorded in Variable Frame Rate (VFR), where the frame rate fluctuates throughout the recording. Editing software expects a constant frame rate, so the mismatch between the irregular video timing and the fixed audio sample rate causes progressive drift. Convert your footage to Constant Frame Rate (CFR) using HandBrake or FFmpeg before editing to fix the issue.
How to fix audio delay sync?
To fix audio delay sync caused by VFR, first check your file with MediaInfo. If the frame rate mode says Variable, convert the file to CFR using HandBrake (set Framerate Mode to Constant) or FFmpeg (use the -vsync cfr flag). Re-import the converted file into your editor and the audio should stay aligned for the full duration of the clip.
How to fix desynced audio?
To fix desynced audio, identify whether the source is VFR by checking with MediaInfo or FFprobe. If VFR is confirmed, convert to CFR with HandBrake or FFmpeg. If the audio is still out of sync after conversion, the original timestamps may be corrupted. In that case, extract the audio separately with FFmpeg, convert the video to CFR, then manually align them in your editor using a sync reference like a hand clap at the start.
What causes audio video sync problems?
Audio video sync problems are most commonly caused by Variable Frame Rate (VFR) recordings, where the frame rate changes dynamically during recording. Other causes include slow SD cards that drop frames, mismatched audio sample rates (such as 29.97 vs 30 FPS), USB webcam bandwidth issues, and corrupted timestamps from interrupted or streamed recordings. Diagnosing the specific cause determines which fix will work.
Wrapping Up
Variable frame rate audio sync drift is one of the most frustrating problems in video editing, but it is also one of the most fixable once you understand the root cause. VFR footage has irregular frame timestamps that conflict with the fixed audio sample rate, causing progressive drift that gets worse over time. The solution is to convert your footage to constant frame rate before editing.
Use MediaInfo to diagnose the problem, HandBrake or FFmpeg to convert VFR to CFR, and configure your recording devices to output CFR in the first place. If you found this guide helpful, the best thing you can do is adjust your recording settings today so you never have to deal with audio desync on a future project again. What Is Variable Frame Rate and Why Does It Wreck Audio Sync is a question with a clear answer once you know where to look and what to fix.