
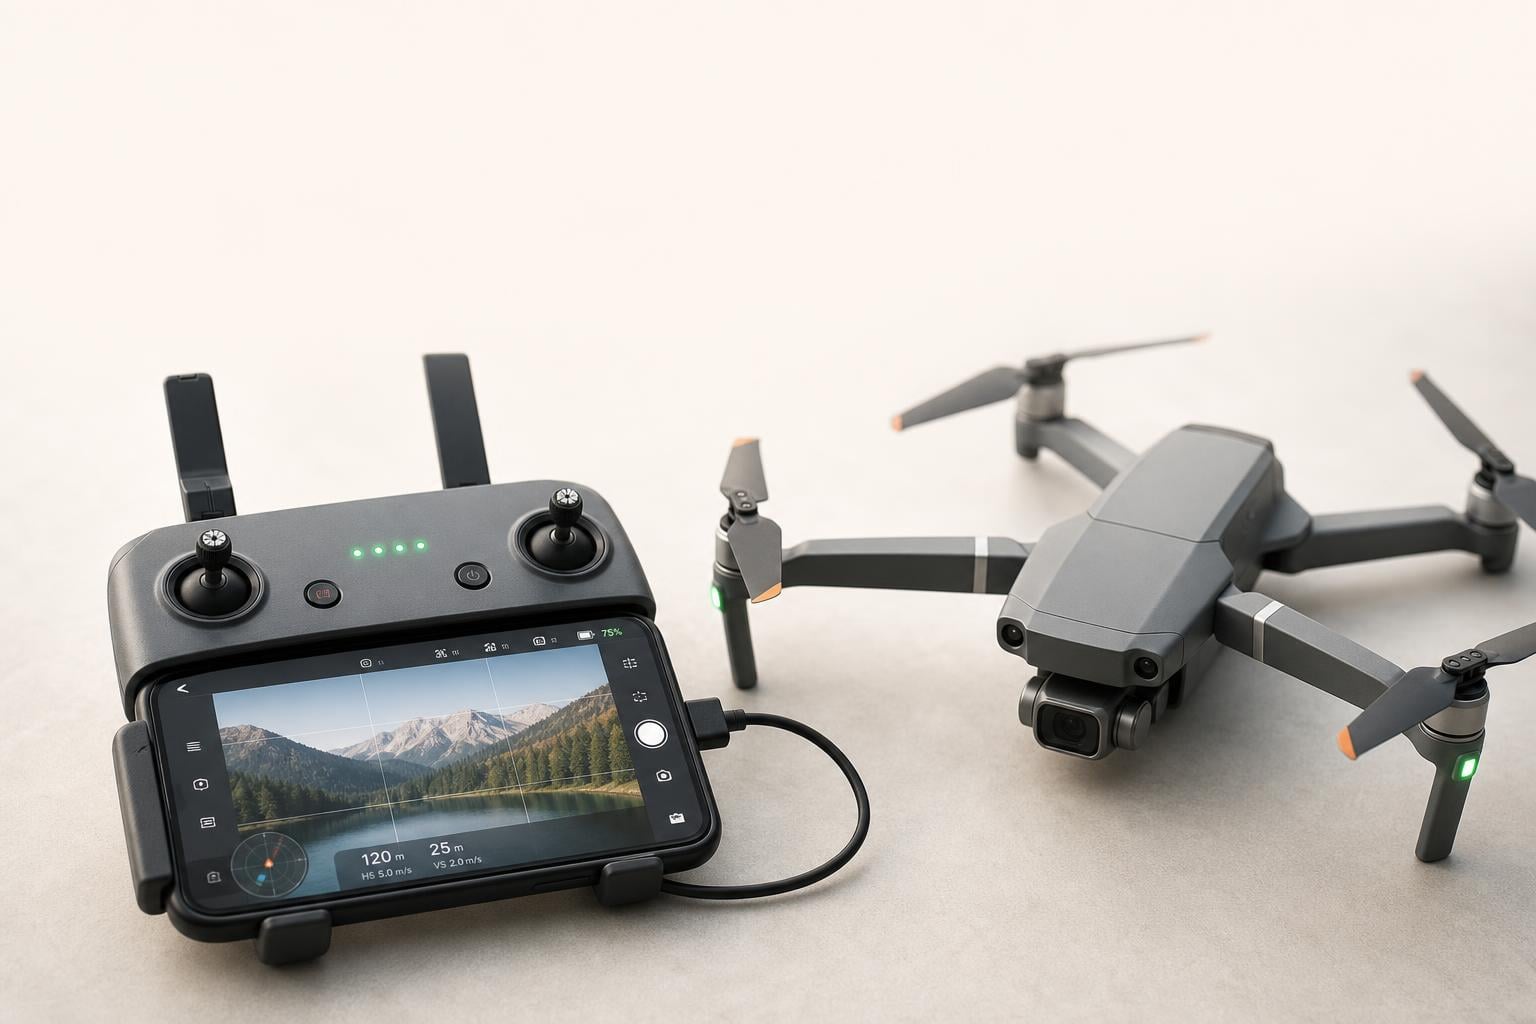
If you are staring at your drone and controller wondering why they refuse to talk to each other, you are not alone. Drone controller not connecting is one of the most common issues pilots face, whether you are flying a DJI Mini, an FPV racing drone, or a budget E88 model. The good news is that about 90% of connection problems come down to five simple fixes that take under 10 minutes to work through.
Our team has spent years flying, repairing, and troubleshooting drones across every category. We have dealt with DJI controllers that refuse to pair after firmware updates, FPV flight controllers that will not bind in Betaflight, and budget drones with cryptic LED codes that make zero sense without a manual. This guide pulls together everything we have learned into one systematic troubleshooting resource.
Here is what we will cover: a quick fix checklist that solves the majority of issues, detailed troubleshooting sections for each root cause, manufacturer-specific guidance for DJI, Autel, FPV, and budget drones, plus an LED light code reference and a pre-flight checklist to prevent problems before they happen.
Whether your drone will not connect after a crash, after an update, on an iPhone, or on an Android device, you will find the answer here. Let us get your drone back in the air.
Table of Contents
Quick Fix Checklist: The 5 Fixes That Solve 90% of Connection Issues
Before diving into detailed troubleshooting, work through this checklist. These five steps resolve the vast majority of drone controller pairing issues. Start at the top and work your way down.
1. Check both batteries. Make sure both the drone battery and the controller battery are charged above 50%. Low battery is the single most common cause of connection failures. A battery showing 30% may not deliver enough voltage to power the communication module reliably. For DJI drones, press the power button on the battery once to check the LED charge level without turning the drone on.
2. Power on in the correct sequence. Most drones require you to turn on the controller first, then the drone. Powering them on in the wrong order can prevent the binding handshake from completing. Turn on the remote controller, wait 5 seconds, then power on the drone.
3. Re-pair or rebind the devices. If the controller and drone have lost their pairing data, they will not connect regardless of battery level. Enter pairing mode on both devices and let them re-establish their link. We walk through the exact steps for DJI, Autel, and budget drones later in this guide.
4. Update firmware on both devices. Firmware mismatches between the drone and controller are a frequent cause of connection failures, especially after an update on one device but not the other. Open your manufacturer app (DJI Fly, Autel Explorer, etc.) and check for pending updates on both the aircraft and the remote controller.
5. Move away from interference sources. WiFi routers, Bluetooth devices, power lines, and metal structures all emit signals that can disrupt the 2.4 GHz frequency most drone controllers use. Walk at least 20 feet away from any wireless equipment and try connecting again in an open area.
Did all five steps fail? Do not worry. The rest of this guide covers every possible cause in detail, from USB cable issues to physical antenna damage to FPV-specific Betaflight problems.
Why Won’t My Drone Connect to the Controller? Understanding the Root Causes
To troubleshoot effectively, it helps to understand how drones and controllers actually communicate. Most consumer drones use radio frequency signals in the 2.4 GHz or 5.8 GHz bands. The controller acts as a transmitter, sending control commands to a receiver inside the drone. For this to work, both devices must be on the same frequency, running compatible firmware, and paired through a process called binding.
Binding is a one-time setup where the controller and drone exchange encrypted pairing codes. Once bound, they remember each other and should reconnect automatically on future power-ups. However, binding data can be lost after a firmware update, a factory reset, a crash, or simply due to a low-power memory corruption.
Some drones, particularly budget models like the Ruko F11 or the Bwine F7, use WiFi instead of radio frequency for their controller connection. WiFi controllers pair differently and have their own set of failure points, including WiFi channel congestion and SSID broadcast issues. We cover WiFi-specific troubleshooting in the budget drone section.
The key takeaway is this: for a connection to work, you need adequate power, compatible firmware, a clear signal path, intact hardware on both ends, and valid binding data. When any one of these fails, you get a connection error. The sections below address each one systematically.
Battery and Power Issues: The Number One Cause of Connection Failures
If we had to bet on the cause of any random drone connection failure, we would put our money on batteries. Every experienced drone pilot has been burned by this one. The drone battery may power the motors and lights but still fail to supply enough voltage to the communication module.
Drone Battery Problems
A drone battery showing 30% or lower charge may not deliver sufficient voltage for the receiver module to function properly. The drone might light up and appear ready, but the communication hardware simply cannot maintain a stable link. Always charge your drone battery to at least 50% before attempting to pair.
Degraded batteries are a sneakier problem. Over time, lithium polymer batteries lose their ability to hold a charge. A degraded battery might show 50% on the indicator but drop voltage dramatically under load. If your drone powers on, shows lights, but will not connect, and the battery is more than a year old with heavy use, battery degradation could be the culprit.
For DJI drones specifically, you can check battery health in the DJI Fly app under battery settings. Look for the cycle count and overall health percentage. If the cycle count exceeds 200 or the health drops below 80%, replacement should be your first troubleshooting step.
Controller Battery Problems
The controller needs adequate power too. Most modern controllers have built-in rechargeable batteries, but some budget drones still use AA or AAA batteries in the remote. Alkaline batteries degrade quickly in cold weather and under the power draw of continuous signal transmission.
If your controller uses replaceable batteries, try a fresh set of high-quality alkaline or rechargeable NiMH batteries. If it has a built-in battery, charge it fully before troubleshooting. A controller at 15% charge may power on and display normally but lack the output power to maintain a strong signal.
The Power-On Sequence
This trips up more beginners than any other issue. Most drones are designed to pair with the controller in a specific sequence: controller first, drone second. If you power on the drone first, it may enter its connection search window and time out before you can turn on the controller.
The standard sequence is: turn on the remote controller, wait for it to fully boot (usually 5 to 10 seconds, indicated by a steady LED or a beep), then power on the drone. The drone will search for its bound controller and connect within 10 to 20 seconds.
Some manufacturers reverse this sequence or have a different pairing protocol. When in doubt, check your manual for the exact power-on order. If you cannot find the manual, try both sequences and see which one works.
Re-Pairing and Rebinding Your Drone to the Controller
When a drone and controller lose their binding data, they need to be re-paired. This is a common fix after firmware updates, crashes, or extended periods of inactivity. The rebinding procedure varies significantly between manufacturers, which is why so many pilots struggle with it.
How to Rebind a DJI Drone
DJI drones use the DJI Fly app for the binding process. First, connect your mobile device to the controller via USB cable. Open the DJI Fly app and wait for it to recognize the controller. Then power on the drone. In the app, go to Settings, select Controller Settings, and choose Link Remote Controller. The app will walk you through the specific button combination for your model.
For most DJI models, the linking button is inside the battery compartment or on the side of the drone. Press and hold it for 3 to 5 seconds until the drone’s LED starts flashing. The controller and drone will exchange pairing codes and the LED will turn solid when binding is complete.
How to Rebind an Autel Drone
Autel drones use a similar app-based process through the Autel Explorer app. Power on the controller and connect your phone. Open the app, navigate to Settings, then Remote Controller, and select Pair. Press and hold the binding button on the drone (usually located near the battery or under a small cover) until the LED changes pattern.
How to Rebind a Budget Drone
Budget drones like the E88, Holy Stone, or Eachine models typically use a manual binding procedure without an app. Here is the general process: turn on the drone, then turn on the controller. Move the left joystick (throttle) all the way up, then all the way down. The drone’s LED should flash rapidly and then turn solid, indicating a successful bind.
This up-down throttle method works for many budget drones, but some require a different sequence. Common alternatives include holding the pairing button on the controller, toggling the power switch rapidly, or holding both joysticks inward. If the standard method fails, look up the specific model’s binding procedure.
How to Reset a Drone Controller
If rebinding does not work, a factory reset of the controller may be necessary. This clears all stored pairing data and settings, returning the controller to its out-of-box state. For DJI controllers, the reset option is in the DJI Fly app under Controller Settings, then Advanced, then Reset Controller. For budget drones, the reset usually involves a pinhole button on the back of the controller or a specific button combination held during power-on.
After a factory reset, you will need to rebind the controller to the drone from scratch. Make sure you have your binding procedure ready before resetting.
Firmware Updates and Software Compatibility
Firmware is the internal software that runs your drone and controller. When the firmware versions on the two devices are mismatched, they may not be able to communicate. This is a frequent issue after updating one device but forgetting to update the other.
Why Firmware Mismatches Break Connections
Manufacturers release firmware updates to add features, fix bugs, and patch security vulnerabilities. These updates sometimes change the communication protocol between the drone and controller. If the drone is running firmware version 2.1 and the controller is still on version 1.8, they may speak different languages and fail to pair.
This problem is especially common after automatic updates. If your drone updated its firmware overnight via WiFi but your controller did not, you may wake up to a connection failure with no obvious cause.
How to Update Firmware
For DJI drones, connect your mobile device to the controller, open the DJI Fly app, and check for updates in the main screen or under Settings. The app will show pending updates for both the aircraft and the remote controller. Install all available updates, making sure both devices update to compatible versions.
For other manufacturers, the process is similar: use the official app (Autel Explorer, Holy Stone, etc.) to check for and install updates. Some budget drones require you to download firmware files to an SD card and insert it into the drone for the update to run.
Always update firmware before a flight session, not right before you need to fly. Updates can take 15 to 30 minutes, and occasionally they fail and need to be restarted. If you update in the field, you may lose valuable flying time.
Connection Issues After a Firmware Update
If your drone stopped connecting immediately after a firmware update, you are not alone. This is one of the most common complaints on drone forums. The usual fix is to rebind the controller to the drone after the update. The update may have reset the pairing data, requiring a fresh binding procedure.
If rebinding does not work, try downgrading the firmware to the previous version. Some updates introduce bugs that break connectivity. DJI Fly app allows firmware rollback through the settings menu. Other manufacturers may require you to contact support for rollback instructions.
Signal Interference: WiFi, Bluetooth, and Physical Barriers
Drone controllers use radio frequencies that can be disrupted by other wireless devices. Understanding what causes interference helps you diagnose connection problems that only happen in certain locations.
WiFi and Bluetooth Interference
Most drone controllers operate on the 2.4 GHz frequency band. Unfortunately, so does almost every other wireless device in your home and neighborhood. WiFi routers, Bluetooth headphones, wireless cameras, baby monitors, and microwave ovens all emit signals on or near 2.4 GHz. In a dense urban environment, the 2.4 GHz band is incredibly crowded.
If your drone connects fine outdoors in an open field but struggles at home, WiFi interference is the likely cause. Move away from routers, turn off nearby Bluetooth devices, and try connecting again. Some newer drones and controllers support 5.8 GHz or dual-band operation, which significantly reduces interference.
To check if interference is the problem, try connecting in a different location. If the drone pairs perfectly in an open park but fails at home, you have confirmed environmental interference as the cause.
Physical Barriers and Distance
Radio signals cannot pass through metal, concrete, or thick walls. If you are trying to bind your drone indoors, the walls of your house are attenuating the signal. Even standing behind a car or a metal fence can cause problems during the initial pairing process.
Always perform the initial binding procedure outdoors in an open area with clear line of sight between the controller and drone. Once paired, the signal is more resilient, but the initial handshake needs a clean signal path.
Distance also matters. During binding, keep the drone within 3 feet of the controller. Some controllers have a short-range pairing mode that only works at close proximity. If you are standing 20 feet away during the binding process, it may fail silently.
Electromagnetic Interference
Power lines, cell towers, radio antennas, and industrial equipment generate electromagnetic fields that can disrupt drone controller signals. If you consistently lose connection in a specific area, look around for high-voltage power lines or communication towers nearby. These are common sources of intermittent signal loss.
USB Cables and Physical Connections
Here is a problem that catches almost everyone off guard: the humble USB cable. Many drone controllers connect to a mobile device via USB, and a faulty or low-quality cable can prevent the connection from establishing.
Data Cables vs Charge-Only Cables
Not all USB cables are created equal. Some cables only carry power and cannot transmit data. These are called charge-only cables, and they will not work for drone controller connections. If you grabbed a random cable from your drawer and the controller will not connect to your phone, this is the first thing to check.
Data cables have additional pins inside the connector that handle data transmission. A charge-only cable looks identical but lacks these pins. The only way to tell them apart is to test with a known data cable or look for a data transfer symbol on the packaging.
Cable Quality and Wear
Even data cables can fail. Cheap, frayed, or worn cables cause intermittent data drops that mimic connection problems. One pilot shared a story about losing half an hour of good light on a shoot because a cheap, frayed cable was causing intermittent data drops between the controller and phone.
Always use the cable that came with your drone controller. If you need a replacement, buy a high-quality cable from a reputable brand. The few dollars you save on a cheap cable are not worth the troubleshooting headache.
Port Damage and Poor Contact
The USB ports on controllers and mobile devices can accumulate dust, lint, or sustain physical damage. A bent pin inside a port can cause intermittent connections. Inspect both the controller port and your device port with a flashlight. Clean out any debris gently with a wooden toothpick or compressed air.
If the port feels loose when you plug in the cable, the connector may be worn. This is more common on older devices. Try wiggling the cable gently to see if the connection establishes momentarily, which confirms a port issue.
Mobile Device and App Issues: iOS vs Android
Many drone controllers rely on a connected smartphone or tablet to display the camera feed and access settings. If the mobile device is the weak link in the chain, your drone may not connect properly. iOS and Android each have their own quirks that can cause problems.
iPhone and iPad Connection Issues
iPhone users frequently encounter connection problems due to Apple’s Lightning or USB-C cable authentication. Apple uses a proprietary authentication chip in its cables, and some non-certified cables will not transmit data properly. Always use an Apple-certified cable or the one that came with your drone.
iOS can also block the DJI Fly app from accessing the connected device. When you first connect your iPhone to the controller, iOS may prompt you to trust the device. If you dismiss this prompt or it does not appear, the app will not recognize the controller. Go to Settings, then Privacy and Security, then scroll down to verify that the DJI Fly app has permission to access connected devices.
If the DJI Fly app will not open after connecting, try force-closing the app and reopening it with the controller connected. Sometimes the app needs to detect the controller during launch to initialize properly.
Android Connection Issues
Android devices have more variability in USB standards, which means more potential for compatibility issues. Some Android phones use USB-C, others use Micro-USB, and the USB OTG (On-The-Go) mode may need to be enabled in settings for the phone to recognize the connected controller.
On Android, the DJI Fly app may require specific permissions including location, camera, and nearby devices. If any of these permissions are denied, the app may fail to connect to the controller. Go to Settings, then Apps, then DJI Fly, then Permissions, and make sure all permissions are granted.
Some Android phones have aggressive battery optimization that kills background processes. If the DJI Fly app keeps disconnecting, add it to the battery optimization exception list so the system does not terminate it while you are flying.
Wrong App or Outdated App Version
Using the wrong app is surprisingly common. DJI has multiple apps (DJI Fly, DJI GO 4, DJI Assistant) for different drone generations. If you download the wrong one, it will not recognize your controller. Check your drone’s manual for the correct app.
Outdated app versions can also cause connection failures after a firmware update. Always update the app to the latest version from the App Store or Google Play before troubleshooting further.
Physical Damage Inspection: Antennas, Ports, and Water Damage
If you have worked through all the software and power issues without success, physical damage may be the cause. Drones and controllers take abuse: crashes, drops, rain, and dust all take a toll on hardware.
Antenna Damage
The antenna is the most fragile and most important component for wireless communication. One pilot discovered that a drone would not connect, and after checking everything else, noticed one of the tiny antenna pins inside the controller’s port was slightly bent. Straightening the pin with fine tweezers restored the connection immediately.
Inspect the antenna on both the drone and the controller. Look for bent pins, cracked housings, or missing antennas. On the drone, the antennas are usually integrated into the landing gear or the body. On the controller, they are typically the two fold-down elements on top. If an antenna is physically damaged, the controller may appear to function but fail to establish a stable link.
Port and Connector Damage
Crashes can damage internal connectors. If your drone stopped connecting after a crash, even a minor one, a connector inside the drone may have come loose. The communication module is often connected to the main board via a small ribbon cable or plug. A hard landing can jolt this connection loose.
Opening the drone to inspect internal connectors is possible for experienced users, but it will void your warranty. If your drone is under warranty, contact the manufacturer for a repair instead.
Water Damage and Corrosion
If your drone has been exposed to rain, snow, or high humidity, water may have infiltrated the electronics. Water damage causes corrosion on circuit boards and connectors, which can prevent the communication module from functioning. Signs of water damage include visible corrosion on exposed metal contacts, intermittent operation that worsens over time, and a faint smell of electronics burning.
If you suspect water damage, remove the battery immediately and let the drone dry completely in a bag of silica gel or rice for 48 hours. Do not attempt to power it on while wet, as this can cause short circuits that permanently destroy the electronics.
Understanding Drone Controller LED Light Codes
Drone controllers and drones use LED lights to communicate their status. Understanding these light codes can save you hours of troubleshooting by pointing directly to the problem.
Common LED Patterns and Their Meanings
While exact codes vary by manufacturer, most drones follow similar patterns. A solid green light typically means the drone is connected and ready to fly. A flashing green light usually means the drone is in pairing mode and searching for the controller. A solid red light often indicates an error, such as a failed connection or low battery. A flashing red light typically means a critical error requiring immediate attention.
Yellow or orange lights usually indicate a warning state, such as GPS signal being weak or the battery dropping below a safe threshold. Blue lights on some models indicate that the drone is in WiFi mode rather than radio frequency mode.
DJI LED Codes
DJI drones use a specific LED pattern system. Fast yellow flashing means the drone is warming up. Slow green flashing means GPS is locked and the drone is ready to fly. Alternating red and green means the drone is in beginner mode with distance limits active. Solid red means a critical error such as a compass error or IMU failure.
Budget Drone LED Codes
Budget drones like the E88 and Holy Stone models use simpler light codes. Rapidly flashing lights usually mean the drone is in pairing mode. Solid lights mean it is connected. If the lights continue flashing rapidly and never turn solid, the pairing has failed and you should try the rebinding procedure.
One confusing scenario reported frequently on Reddit: the controller has solid green lights but the drone still will not respond. This typically means the controller believes it is connected, but the drone is not receiving commands. The usual causes are signal interference, a firmware mismatch, or a damaged antenna on the drone side.
FPV and Betaflight Drone Controller Troubleshooting
FPV (First Person View) drones have a completely different control architecture than consumer camera drones. If you are flying an FPV drone and it will not connect to your radio controller, the troubleshooting steps are different from what works for a DJI drone.
Betaflight USB Connection Issues
Many FPV pilots use Betaflight to configure their flight controllers. If Betaflight will not connect to your flight controller via USB, the most common cause is a driver problem. Windows requires the correct Zadig or STM32 USB driver for Betaflight to recognize the flight controller. Without the proper driver, the flight controller shows up as an unknown device and Betaflight cannot communicate with it.
To fix this, download the Zadig driver tool, select your flight controller from the device list, and install the WinUSB driver. After installation, restart Betaflight and it should connect. On Mac, Betaflight usually connects without additional drivers.
Also check that you are selecting the correct COM port in Betaflight. The flight controller may appear on a different port number than expected. Try each available port from the dropdown if the default does not work.
Binding an FPV Radio to a Receiver
FPV drones use external radio receivers from brands like FrSky, FlySky, or ExpressLRS. The binding procedure depends on the receiver brand. For FrSky receivers, press and hold the bind button on the receiver while powering on the flight controller. The receiver LED will start flashing, indicating it is in binding mode. Then put your radio transmitter into bind mode through its menu.
For ExpressLRS receivers, the binding process uses a WiFi-based passphrase method. Power on the receiver, connect to its WiFi hotspot, and enter the binding phrase that matches your radio transmitter. ExpressLRS has become increasingly popular for its long range and low latency, but the initial setup is more complex than traditional receivers.
Common FPV Connection Pitfalls
A Reddit user in the FPV subreddit struggled for hours trying to connect an Emax Tinyhawk 2 Freestyle to a Taranis controller. The issue turned out to be that the receiver and transmitter were on different firmware versions of the same protocol. Even within the same brand, protocol version mismatches can prevent binding. Always update both the radio and the receiver to the same protocol version before attempting to bind.
Budget Drone Controller Fixes: E88, Holy Stone, Eachine, and More
Budget drones under $100 have their own set of connection quirks. These drones often use simplified communication protocols and cheaper components, which means more frequent connection failures and less documentation to help you fix them.
The Throttle Stick Binding Method
Most budget drones use a manual binding method involving the throttle stick. The standard procedure is: power on the drone, power on the controller, push the left throttle stick fully up, then fully down. The drone should respond with a beep or an LED change indicating the bind was successful.
This method works for the E88, Holy Stone HS series, and many Eachine models. If it does not work on your specific drone, try the reverse: power on the controller first, then the drone, then perform the throttle stick sequence.
WiFi Controller Pairing for Budget Drones
Some budget drones use WiFi instead of radio frequency for their controller connection. These drones create a WiFi hotspot that your phone or controller connects to. If the WiFi controller will not pair, try these steps: power on the drone, go to your phone’s WiFi settings, look for the drone’s SSID (usually starting with the drone model name), and connect to it.
Once connected to the drone’s WiFi, open the manufacturer app and the connection should establish automatically. If you cannot find the drone’s SSID in your WiFi list, the drone’s WiFi module may be malfunctioning. Power cycle the drone and check again.
SD Card Issues on WiFi Drones
Here is a surprising fix discovered by Ruko drone users: an incompatible SD card can prevent the WiFi controller from pairing. The drone’s communication module shares resources with the SD card reader, and a faulty or incompatible card can cause a conflict that breaks the WiFi connection. If your WiFi drone will not pair, try removing the SD card entirely and connecting again.
Once connected, you can reinsert the SD card. If the connection drops when you insert the card, replace it with a compatible model from the manufacturer’s recommended list.
Common E88 Drone Controller Problems
The E88 drone is one of the most popular budget drones, and its controller connection issues are well-documented in forums. The most common problem is that the drone’s LED keeps flashing rapidly and never turns solid, indicating a failed bind. The fix is usually to power cycle both devices, ensure the batteries are fresh, and perform the throttle stick binding sequence slowly and deliberately.
If the E88 still will not connect after multiple attempts, the controller itself may be defective. Budget drone quality control is inconsistent, and controller defects are not uncommon. Contact the seller for a replacement if the drone is under warranty.
Pre-Flight Checklist: How to Prevent Connection Issues
The best troubleshooting is preventing the problem in the first place. A simple pre-flight routine can eliminate 95% of connection failures and save you from wasted trips to the flying field.
Before leaving home: Charge both the drone battery and the controller battery to full. Check for firmware updates in the manufacturer app and install them. Test the connection indoors by powering on both devices and confirming they pair before you pack up.
At the flying site: Power on the controller first, wait for it to fully boot, then power on the drone. Wait for the solid green LED indicating a successful connection before taking off. Keep the controller antennas pointed toward the drone and maintain line of sight at all times.
Environmental checks: Look around for WiFi routers, cell towers, and high-voltage power lines. If flying in an urban area, be prepared for more interference than in rural settings. Avoid flying near large metal structures, which can reflect and block radio signals.
Habit building: Make this checklist a routine before every single flight session. The pilots who never have connection issues are the ones who never skip these steps. It takes 5 minutes and saves hours of frustration.
When to Seek Professional Help or Replace Your Controller
If you have worked through every troubleshooting step in this guide and your drone still will not connect, you may be dealing with a hardware failure that requires professional repair. Here are the signs that you have exhausted DIY options.
If the drone or controller has visible physical damage such as a cracked circuit board, bent antenna pins that cannot be straightened, or water corrosion on the internals, professional repair or replacement is your best path forward. Opening the devices yourself risks further damage and voids any remaining warranty.
If the controller powers on and the app recognizes it, but the drone never responds regardless of distance, battery level, or interference conditions, the drone’s receiver module may have failed. This component is difficult to replace without specialized soldering equipment.
Contact the manufacturer’s support team with your specific model number and a description of the problem. DJI, Autel, and other major brands offer repair services, often with flat-rate pricing for common issues. Budget drone manufacturers may offer replacements under warranty rather than repairs.
If your drone is out of warranty and the repair cost exceeds the value of the drone, replacement may be the more economical choice. Use the troubleshooting steps in this guide to confirm that the problem is hardware-related before spending money on a new device.
FAQs
Why is my drone not responding to the remote?
Your drone may not respond to the remote due to low battery on either device, a lost pairing between the controller and drone, firmware mismatch after an update, signal interference from WiFi or Bluetooth, or physical damage to the antenna or communication module. Start by checking both batteries are above 50%, power on the controller first then the drone, and if that fails, rebind the devices using the manufacturer’s pairing procedure.
How do I reset a drone controller?
To reset a drone controller, open the manufacturer app (DJI Fly, Autel Explorer) and navigate to Controller Settings, then Advanced, then Reset Controller. For budget drones without an app, look for a pinhole reset button on the back of the controller or hold the power button and pairing button simultaneously for 10 seconds. After a reset, you will need to rebind the controller to your drone from scratch.
How to pair a drone to its controller?
To pair a drone to its controller, first charge both devices above 50%. Power on the controller, wait 5 to 10 seconds, then power on the drone. For DJI drones, use the DJI Fly app to select Link Remote Controller and follow the on-screen instructions, pressing the binding button on the drone. For budget drones, power on both devices and push the throttle stick fully up then fully down. The drone LED should turn solid when pairing is complete.
Why can’t I connect my drone to my phone?
Your drone may not connect to your phone due to a charge-only USB cable that cannot transmit data, an outdated or wrong app version, denied app permissions on iOS or Android, or a damaged USB port on either device. Use the original cable that came with your drone, ensure you have the correct manufacturer app installed and updated, grant all requested permissions, and clean the USB port of any debris.
Why isn’t my drone connecting to the controller?
Your drone is not connecting to the controller most likely because of insufficient battery charge, incorrect power-on sequence, lost binding data, a firmware mismatch between the two devices, or signal interference from nearby WiFi and Bluetooth sources. Work through the five-step quick fix checklist: charge both batteries, power on controller first then drone, rebind the devices, update firmware on both, and move to an open area away from wireless interference.
How to put drone in pairing mode?
To put a drone in pairing mode, power on the drone and look for a small binding button, usually located inside the battery compartment or on the side of the drone body. Press and hold the button for 3 to 5 seconds until the drone LED starts flashing rapidly. For budget drones without a binding button, power on both the drone and controller, then push the left throttle stick fully up and fully down to trigger automatic pairing.
Conclusion
When your drone will not connect to the controller, the problem almost always comes down to one of five things: low battery, incorrect power-on sequence, lost binding data, firmware mismatch, or signal interference. Work through the quick fix checklist first, because those five steps resolve the vast majority of connection issues in under 10 minutes.
If the quick fixes do not work, move systematically through the detailed troubleshooting sections. Check your USB cable, inspect for physical damage, update the app on your phone, and verify that your specific drone model does not have a unique binding procedure. For FPV pilots, make sure your Betaflight drivers and protocol versions are aligned. For budget drone owners, try the throttle stick binding method and check for SD card conflicts.
The most important takeaway is this: always test your connection at home before heading to the flying field. A 5-minute pre-flight check saves hours of frustration and ensures your flying time is spent actually flying. Build the habit, and you will rarely face a connection failure when it matters.
We hope this guide helped you figure out why your drone will not connect to the controller. If you are still stuck after working through every step, reach out to the manufacturer support team with your specific model and the symptoms you are seeing. They can provide model-specific diagnostics that go beyond what any general guide can cover.