
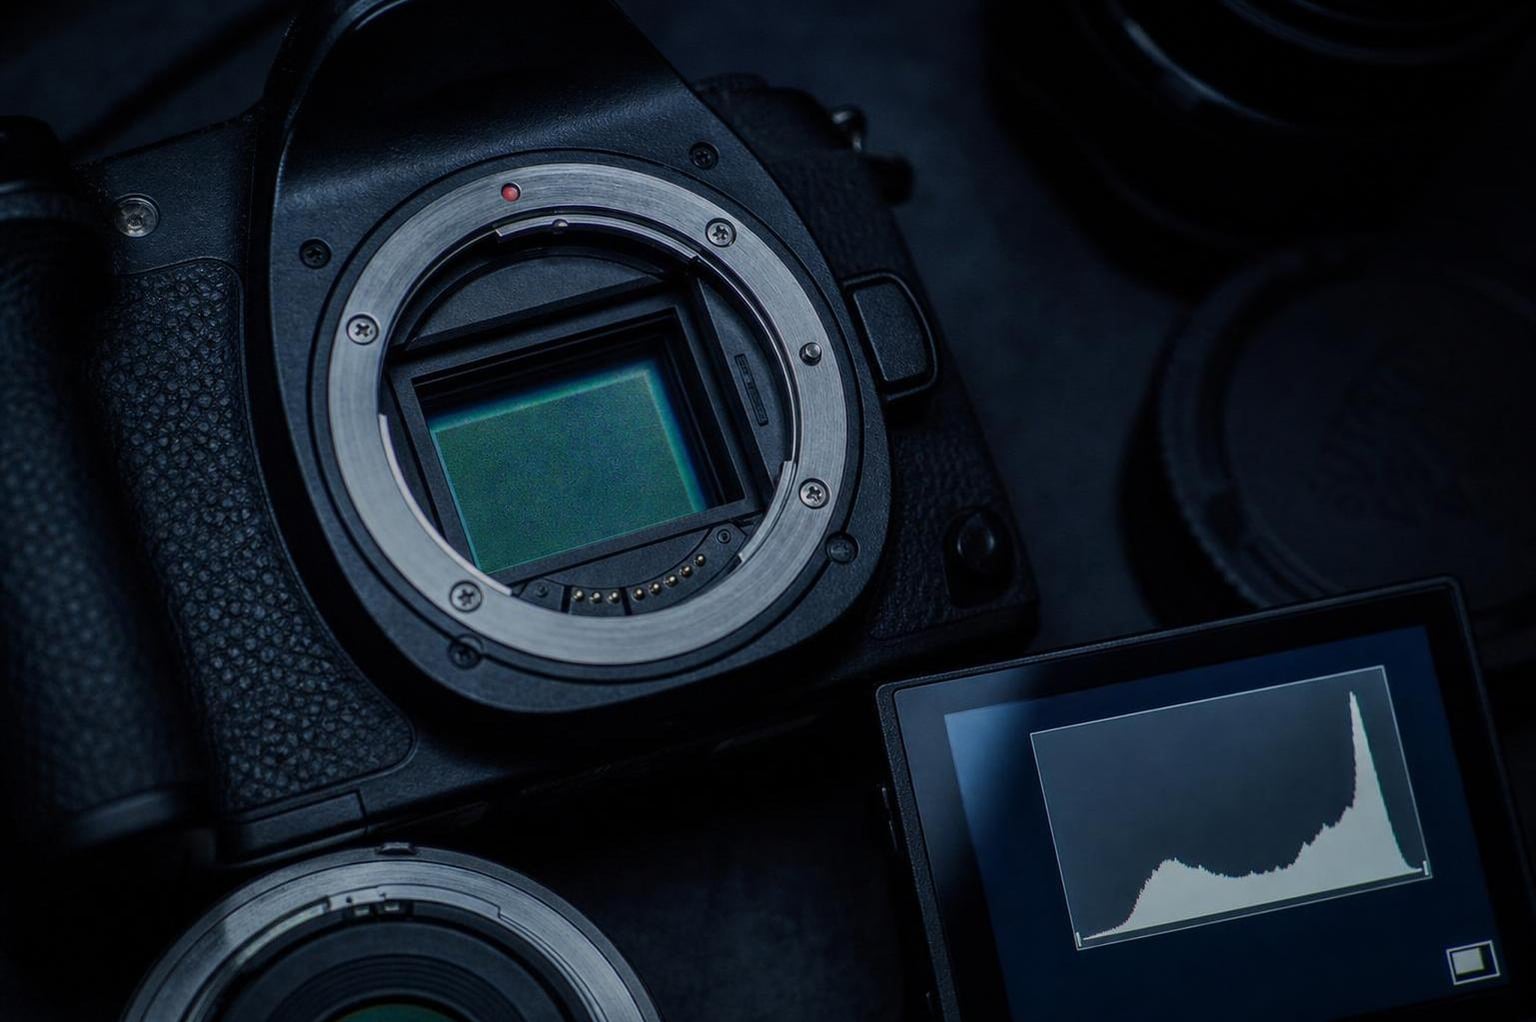
You cranked your ISO up to 3200 to capture that dimly lit dinner scene, and when you zoomed in on the back of your camera, the image looked like it was sprinkled with sand. We have all been there. The grainy, speckled texture ruining an otherwise great shot is one of the most frustrating experiences in photography, especially when you are trying to figure out why raising ISO makes your photos grainy and how to minimize it.
The confusion is completely understandable. Every beginner tutorial tells you to keep your ISO low to avoid noise, but nobody explains what is actually happening inside your camera when you push that setting higher. Even worse, the advice to avoid high ISO at all costs leads many photographers to underexpose their images, which ironically creates far more grain than simply using a higher ISO in the first place.
In this guide, we are going to break down exactly what grain is, why it appears when you raise ISO (and why ISO is not actually the villain you think it is), and walk through practical techniques you can use today to keep your images clean and sharp. We will cover everything from in-camera settings to post-processing fixes in Lightroom, plus a few approaches most photography guides completely skip.
Table of Contents
The Quick Answer
Raising ISO makes your photos grainy because it amplifies the electrical signal from your camera sensor, and when there is not enough light hitting the sensor, that amplification boosts both the image data and the random background noise together. The real culprit is not the ISO setting itself but the lack of light that forced you to raise ISO in the first place. A correctly exposed photo at ISO 6400 will almost always look cleaner than an underexposed photo shot at ISO 200 and brightened later.
What Grain (Noise) Actually Is in Digital Photography
Before we can talk about why raising ISO makes photos grainy and how to minimize it, we need to understand what grain actually is. In film photography, grain refers to the physical clumps of silver halide crystals that form the image. In digital photography, the speckly texture we call grain is more accurately called noise, and it comes from electrical fluctuations in your camera sensor.
Think of your camera sensor as a grid of millions of tiny light-collecting buckets. Every pixel on the sensor is one bucket, and each bucket collects photons (particles of light) during the exposure. When enough photons fill the bucket, the camera reads that as a bright pixel. When very few photons arrive, the bucket is nearly empty, and the camera has to work harder to figure out what the actual light level was.
That uncertainty is where noise comes from. The sensor electronics produce a small amount of random electrical signal even when no light is present, and this random variation is what you see as grain. When the real light signal is strong, the noise is invisible because it is dwarfed by actual image data. When the light signal is weak, the noise becomes a much larger percentage of what the sensor records, and suddenly it is all you can see.
There are two main types of digital noise you will encounter. Luminance noise appears as randomly bright and dark pixels and looks similar to traditional film grain. Color noise, also called chroma noise, shows up as random patches of red, green, blue, or magenta pixels and is generally considered more objectionable than luminance noise. Understanding the difference matters because they require different approaches in post-processing, which we will cover later.
Why Does Raising ISO Make Photos Grainy — The Real Science
Here is where most photography guides get the story slightly wrong. They tell you that high ISO causes grain, as if turning up the ISO dial somehow sprinkles noise onto your image. That is not quite how it works. To understand why raising ISO makes photos grainy and how to minimize it, we need to look at what happens at the sensor level.
ISO does not change how much light your sensor collects. Only aperture and shutter speed control how many photons actually reach the sensor during an exposure. What ISO does is amplify the signal that the sensor already recorded. It is like turning up the volume on a radio: the music gets louder, but so does the background hiss and static. The ratio of music to static has not changed; you have just made everything louder.
This brings us to one of the most important concepts in understanding image noise: the signal-to-noise ratio, or SNR for short. The signal is the actual light information your sensor captured. The noise is the random variation in the sensor electronics and in the arrival of photons themselves. When the signal is strong (lots of light), the SNR is high, and noise is barely visible. When the signal is weak (very little light), the SNR is low, and noise dominates.
There are actually two distinct sources of noise that contribute to what you see in your photos. Shot noise is caused by the random way photons arrive at the sensor. Light is not a smooth, even stream; it arrives in individual packets, and at low light levels the randomness of those arrivals becomes noticeable. Shot noise is a fundamental property of light itself and cannot be eliminated by any camera technology.
Read noise is the electronic noise added by the sensor and the camera’s processing circuitry when it reads the data from each pixel. Read noise varies between camera models and has been steadily reduced in newer sensors, which is why modern cameras handle high ISO so much better than models from a decade ago.
When you raise ISO, you are typically shooting in low light, which means fewer photons are reaching the sensor. Fewer photons means higher shot noise relative to the signal. The ISO amplification makes the existing signal and noise both louder, but it does not create new noise. The grain was already there in the data; ISO just made it more visible. This is why the common advice to simply lower your ISO is incomplete. If you lower ISO but do not compensate by adding more light (through wider aperture, slower shutter, or actual light sources), you end up with a weaker signal and the same or worse noise problem.
At very high ISO settings, typically above 6400 on most consumer cameras, additional degradation occurs. The camera’s analog-to-digital converter has to work with a heavily amplified signal, which can introduce its own artifacts. Dynamic range decreases, meaning you lose detail in both highlights and shadows. Colour depth also suffers, resulting in less accurate and more muddy colours. This is why ISO performance is described in terms of a trade-off: you gain brightness at the cost of image quality.
The Underexposure Trap: Why Low ISO Can Produce More Grain
This is the single most misunderstood concept in photography, and it is the reason so many beginners end up with frustratingly grainy images. A photo shot at ISO 200 but underexposed by two stops will have significantly more visible noise after you brighten it in post-processing than a photo shot at ISO 800 with correct exposure. Multiple photographers across Reddit, DPReview, and Cambridge in Colour forums have confirmed this through side-by-side testing.
The reason comes back to signal-to-noise ratio. When you underexpose at a low ISO, you are capturing fewer photons than the scene actually contains. The signal is weak, and the noise is relatively strong. When you then brighten that image in Lightroom or Photoshop, you are amplifying both the weak signal and the noise together. The noise that was hiding in the shadows gets dragged into visibility, and it looks terrible.
One Reddit user on r/SonyAlpha put it perfectly: “Bringing up the shadows in an underexposed image will often produce more apparent noise than shooting a properly exposed image at a higher ISO.” Another photographer on r/photography added: “If you shoot underexposed, grain can be present if you are pushing the picture brighter in Lightroom.”
The practical takeaway is this: correct exposure matters more than low ISO. If the choice is between underexposing at ISO 400 to avoid noise or exposing correctly at ISO 1600, choose the higher ISO every time. The grain from a properly exposed high-ISO image is manageable and can be reduced in post-processing. The grain from a brightened underexposed image is baked into the shadows and is much harder to remove cleanly.
This is also why shooting RAW is so important for noise management. JPEG files apply noise reduction and compression in-camera, which discards image data permanently. RAW files preserve all the data your sensor captured, giving you far more flexibility to manage noise in post-processing without destroying image detail.
How to Minimize Grain: Before and During Shooting
Now that we understand why raising ISO makes photos grainy and how to minimize it at a conceptual level, let us walk through the practical steps you can take before and during your shoot to keep noise under control. The key is to maximize the amount of light reaching your sensor so you never need to push ISO as high in the first place.
Follow this camera settings priority order to minimize grain in any shooting situation:
Step 1: Set your shutter speed first. Determine the slowest shutter speed you can use without introducing motion blur or camera shake. For handheld shooting, the general rule is to use a shutter speed at least as fast as the reciprocal of your focal length (for example, 1/100s for a 100mm lens). If your subject is moving, you may need a faster shutter speed to freeze action. A Reddit user on r/canon offered this advice: “Bottom line, worry about shutter speed first. Get it fast enough to freeze your motion.”
Step 2: Open your aperture as wide as possible. Set your aperture to the widest setting (lowest f-number) your lens allows and that gives you acceptable depth of field for your subject. A wide aperture like f/1.8 or f/2.8 lets in dramatically more light than f/5.6 or f/8, which means you can keep your ISO lower. Every full stop of aperture doubles the light reaching the sensor.
Step 3: Raise ISO only as a last resort. Once you have optimized shutter speed and aperture, raise ISO only enough to achieve a correct exposure. Do not try to keep ISO artificially low at the expense of proper exposure. Remember, underexposure is worse than high ISO.
Step 4: Add light whenever possible. Before reaching for the ISO dial, look for ways to add actual light to your scene. Move your subject closer to a window, turn on room lights, use a reflector to bounce existing light, or add an external flash. Even a small increase in ambient light can let you drop ISO by one or two full stops.
Step 5: Shoot in RAW format. Always shoot RAW when you are concerned about noise. RAW files contain all the data captured by your sensor, giving you maximum flexibility for noise reduction in post-processing. JPEG files discard data and apply irreversible in-camera noise reduction that can look smeared and unnatural.
Step 6: Use your camera’s base ISO whenever lighting allows. Base ISO (typically ISO 100 or 200 depending on your camera) produces the cleanest images with the maximum dynamic range and colour depth. When you have plenty of light, there is no reason to deviate from base ISO. Check your camera manual to find its specific base ISO, as some sensors have a native ISO that differs from the lowest available setting.
Step 7: Use exposure bracketing for tricky scenes. In high-contrast lighting where getting correct exposure across the entire frame is difficult, shoot multiple exposures at different brightness levels and blend them later. This technique, called exposure blending or HDR, lets you capture clean shadow detail without pushing ISO extremely high.
ETTR (Exposing to the Right) Explained
One of the most powerful techniques for minimizing grain is called Exposing to the Right, or ETTR. This approach involves intentionally exposing your image slightly brighter than what looks correct on your camera’s LCD, pushing the histogram data toward the right side (the highlights) without clipping. ETTR works because it maximizes the amount of light data your sensor captures, which improves the signal-to-noise ratio throughout the image.
Here is how to use ETTR step by step:
1. Take a test shot at your chosen aperture and shutter speed settings, letting the camera’s meter determine ISO.
2. Check the histogram on your camera’s LCD. Do not rely on the image preview alone, because LCD brightness can be misleading. The histogram gives you an accurate read of how light is distributed across your image.
3. Gradually increase exposure (by widening aperture, slowing shutter, or raising ISO) until the histogram data pushes toward the right edge without touching it. If the graph is piling up against the right wall, you are clipping highlights, which means losing detail in bright areas permanently.
4. Use your camera’s highlight warning, commonly called blinkies, to check for overexposure. Blinkies flash areas of the image that have lost detail due to clipping. Adjust exposure until the blinkies just disappear or only appear in truly unimportant areas like specular reflections.
5. In post-processing, pull the exposure back down to the correct brightness. Because you captured more light data, the shadows in your final image will be significantly cleaner than if you had exposed normally.
The key caveat with ETTR is that it requires shooting in RAW. JPEG images do not contain enough data to recover from intentional overexposure. Also, ETTR works best in controlled situations where your subject is not moving quickly and you have time to evaluate the histogram. For fast-paced shooting like sports or wildlife, it may be impractical.
When to Accept Grain (and When It Adds Character)
Not all grain is bad. In fact, grain has been used intentionally in photography and filmmaking for decades to add texture, mood, and a sense of authenticity to images. The question of when to accept grain versus when to fight it depends on your subject, your artistic vision, and where the image will be displayed.
For documentary, street, and event photography, a bit of grain is often preferable to missing the shot entirely. If the choice is between capturing a fleeting moment at ISO 6400 or losing it because you refused to raise ISO above 800, always take the shot. A grainy photo of a meaningful moment is infinitely more valuable than a clean photo of nothing.
Black and white photography embraces grain particularly well. Converting a noisy colour image to black and white can transform distracting colour noise into pleasing luminance texture that looks intentional and cinematic. Many film photographers deliberately use high-ISO film stocks like Tri-X 3200 for exactly this effect.
For portraits, product photography, and commercial work where clean, smooth tones are expected, grain is less desirable. In these cases, invest the effort in proper lighting, stabilization, and noise reduction. But do not let the pursuit of zero noise prevent you from taking photos in challenging conditions. As one DPReview forum user noted: “Adding grain to images is a great way to make them look less processed, less digital and more film-like.”
Post-Processing: How to Fix Grainy Photos in Lightroom?
Even with the best in-camera techniques, some situations demand high ISO and will produce noise. The good news is that modern post-processing software offers powerful noise reduction tools. Here is a step-by-step workflow for reducing grain in Adobe Lightroom or Camera Raw without making your images look like plastic.
Step 1: Start with luminance noise reduction. In the Detail panel of Lightroom’s Develop module, find the Luminance slider under Noise Reduction. The Lightroom Queen community recommends starting at around 30 to 40 for moderately noisy images. Push the slider up gradually while watching a 100% zoom view of your image. Stop when the luminance grain becomes unobtrusive but before fine detail starts to smear.
Step 2: Adjust the Detail slider. The Detail slider, found beneath Luminance, controls how much fine texture the noise reduction preserves. Higher values keep more detail but leave more noise visible. Lower values produce smoother results but can look artificially soft. A starting point of 40 to 50 works well for most images.
Step 3: Set the Contrast slider. The Contrast slider under luminance noise reduction adjusts how much contrast is preserved in the denoised areas. Higher values keep more contrast but can reintroduce noise-like texture. Start at 0 and increase only if the image looks too flat after noise reduction.
Step 4: Address color noise. Move to the Color slider and increase it until random patches of red, green, or blue pixels disappear. Color noise is almost always undesirable, unlike luminance noise which can look film-like. A setting of 25 to 50 handles most colour noise without affecting the actual colours in your image.
Step 5: Avoid over-smoothing. The most common mistake in noise reduction is pushing sliders too far, which makes skin, fabric, and other textures look waxy and artificial. If skin looks like plastic, you have gone too far. It is almost always better to leave a little visible grain than to over-smooth and lose the natural texture of your subject.
Step 6: Apply selective noise reduction. For maximum image quality, apply noise reduction selectively rather than globally. In Lightroom, use the Adjustment Brush or radial and gradient filters to apply heavier noise reduction to smooth areas like skies and backgrounds, while leaving fine detail areas like eyes, hair, and fabric relatively untouched.
Beyond Lightroom, specialized noise reduction tools like DxO PureRAW, Topaz DeNoise AI, and ON1 NoNoise AI use artificial intelligence to reduce noise while preserving detail more effectively than traditional algorithms. These tools can rescue images that would otherwise be unusable, though they come at an additional cost.
Mobile and iPhone Photography: Why Your Phone Photos Get Grainy
One topic that almost no photography guide addresses is why photos taken on your phone look grainy, especially indoors or at night. The same principles that apply to dedicated cameras apply to smartphones, but with some important differences.
Phone cameras have tiny sensors compared to DSLRs and mirrorless cameras. A smaller sensor has smaller pixels, which collect fewer photons and have a lower signal-to-noise ratio. This means phone cameras inherently produce more noise in low light than larger cameras, regardless of the ISO setting.
When you shoot in dim conditions, your phone automatically raises its effective ISO and applies aggressive computational noise reduction. This is why night photos from phones often look smooth and grainy at the same time: the phone is smoothing over noise, which can create a watercolour-like effect where fine detail is lost entirely.
To reduce grain on your phone photos, start by adding more light. Move closer to a light source, turn on overhead lights, or use your phone’s flash sparingly. Avoid using digital zoom in low light, as it crops into the sensor and makes noise more visible. If your phone has a dedicated night mode, use it: these modes take multiple exposures and blend them computationally, producing cleaner results than a single high-ISO shot.
For the cleanest possible phone photos, consider shooting in RAW if your phone supports it. Many modern smartphones offer a RAW or Pro mode that lets you control ISO and shutter speed manually. Shooting RAW on your phone gives you the same post-processing flexibility as a dedicated camera, letting you manage noise yourself rather than relying on the phone’s sometimes heavy-handed processing.
FAQs
How to make high ISO less grainy?
To make high ISO images less grainy, expose correctly rather than underexposing, use the ETTR (exposing to the right) technique to maximize light data, shoot in RAW format, and apply luminance noise reduction in Lightroom starting at 30-40. Adding light to your scene through flash or repositioning your subject near a window also lets you lower ISO significantly.
Why are my photos grainy when my ISO is low?
Photos shot at low ISO can still appear grainy if they are underexposed. When you brighten an underexposed image in post-processing, the noise hidden in the shadows becomes visible. A correctly exposed photo at ISO 1600 will almost always look cleaner than an underexposed photo at ISO 200 that has been brightened later.
Why is higher ISO more grainy?
Higher ISO amplifies the signal from the camera sensor, but it also amplifies the random background noise present in the sensor electronics. The grain appears because high ISO is typically used in low light situations where fewer photons reach the sensor, creating a lower signal-to-noise ratio. The lack of light, not the ISO number itself, is the root cause of the noise.
How to reduce grainy effects on pictures?
Use Lightroom or Camera Raw luminance noise reduction starting at 30-40 for moderate noise, then address color noise with the Color slider at 25-50. Avoid over-smoothing by stopping before skin and fine details look plastic. For best results, shoot in RAW so you have maximum data to work with, and apply noise reduction selectively using adjustment brushes rather than globally.
Conclusion
Understanding why raising ISO makes your photos grainy and how to minimize it comes down to one core principle: light is everything. Grain is not caused by the ISO setting itself but by the lack of light that forced you to raise ISO in the first place. The noise exists because fewer photons reached your sensor, and the amplification simply made that noise more visible.
The most important takeaway is this: never sacrifice correct exposure for the sake of keeping ISO low. A well-exposed photo at ISO 3200 will always look cleaner than an underexposed photo at ISO 200 that you try to rescue in post-processing. Master the settings priority of shutter speed, then aperture, then ISO, learn the ETTR technique, shoot in RAW, and use selective noise reduction in Lightroom. Your images will be dramatically cleaner, and you will never again be afraid to raise ISO when the situation demands it.