
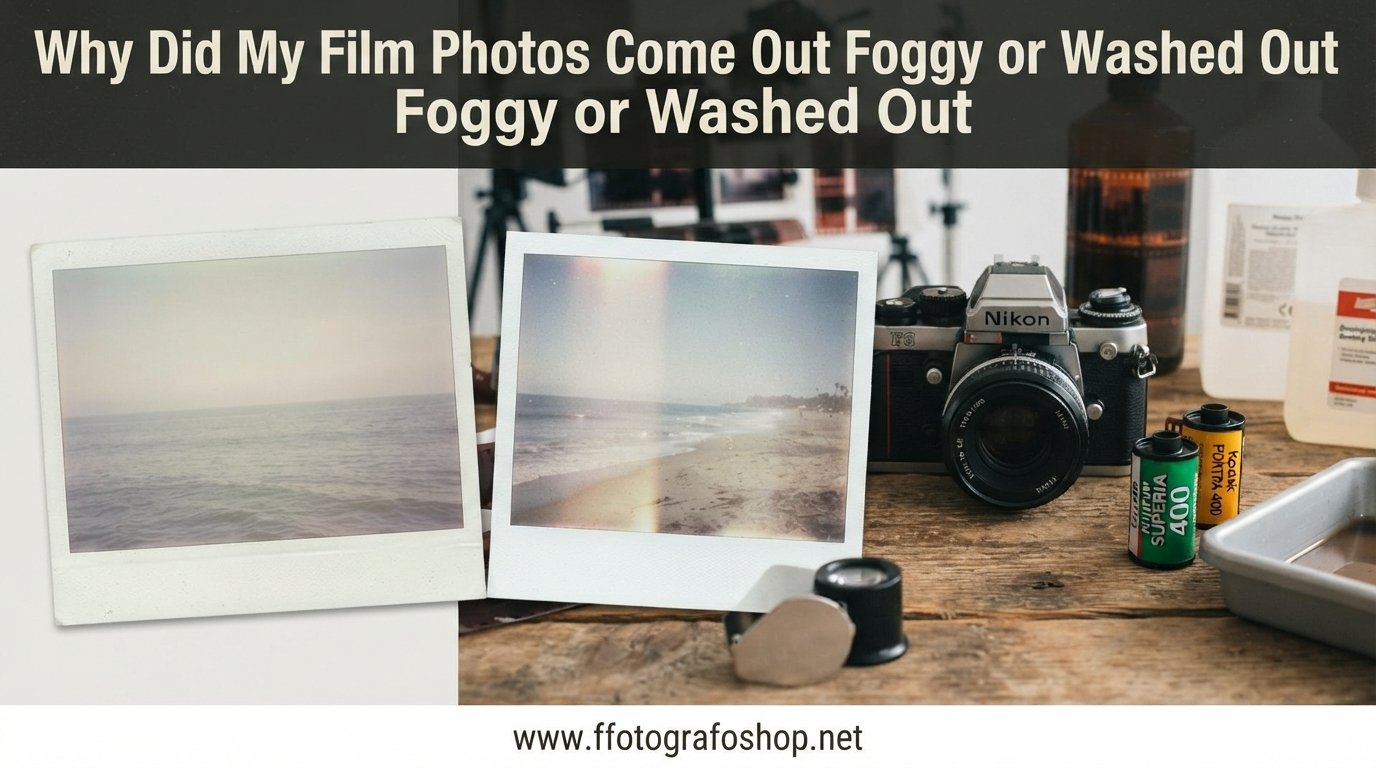
There is nothing quite like the disappointment of picking up your developed film roll, excited to see the shots you carefully composed, only to find every frame looking milky, hazy, or completely blown out. If you are asking yourself why your film photos came out foggy or washed out, you are far from alone. This is one of the most common frustrations film photographers face, especially in their first year of shooting.
The good news is that foggy and washed out film photos almost always trace back to a identifiable cause. Overexposure is the leading reason, but light leaks, camera fogging, scanner problems, lab errors, and even condensation can all contribute. Once you understand what each issue looks like, diagnosing the problem becomes straightforward.
I have spent years shooting 35mm film across everything from vintage point-and-shoots to manual SLRs, and I have made every mistake in this guide at least twice. In this article, we will walk through each cause of foggy or washed out film photos, how to identify which one is affecting your shots, and what you can do to prevent it from happening on your next roll.
Table of Contents
Quick Diagnosis: Where to Start Looking
Before diving into detailed explanations, use this quick symptom guide to narrow down your problem. The appearance of your film photos holds strong clues about what went wrong.
If your photos are uniformly bright and pale with blown highlights: You are dealing with overexposure. The most likely culprits are a faulty light meter, incorrect ISO setting, or an automatic camera struggling with backlit scenes.
If your photos are dark, muddy, or flat with low contrast: Underexposure is the probable cause. Your film did not receive enough light, often due to shooting in dim conditions with slow film or a meter reading too high.
If you see bright streaks, orange bands, or light patches on frame edges: Light leaks are the issue. Your camera body has worn seals or a loose back door letting stray light hit the film.
If your images have a milky, low-contrast haze across the entire frame: This points to camera fogging from lens haze, fungus, condensation, or veiling flare from shooting toward bright light sources.
If your negatives look properly exposed but scans still look flat: The problem is likely scanner or lab related, not your photography. Budget scanning services often produce low-contrast results.
Overexposure: The Most Common Culprit for Washed Out Film Photos
Overexposure is the number one reason film photos come out looking washed out. When too much light reaches the film, the negative becomes excessively dense. During scanning or printing, this dense negative translates to bright, pale images with detail lost in the highlights.
Color negative film has considerable latitude for overexposure, often tolerating two or three stops of extra light. Slide film is far less forgiving, with maybe half a stop of margin before highlights blow out completely. If you are shooting slide film and seeing washed out results, overexposure is almost certainly the cause.
Automatic point-and-shoot cameras are frequent offenders here. Many older models rely on light meters that drift out of calibration over decades of use. A meter that reads one or two stops high will consistently overexpose every shot. Forum users on r/AnalogCommunity frequently report that cameras like the Pentax Espio series develop this exact problem as they age.
Backlit scenes also trick automatic cameras. When bright sky or a window dominates the frame, the camera meters for the bright area and overexposes your subject. This is why faces often disappear into white blobs when shooting toward the sun without exposure compensation.
To check whether overexposure is your problem, look at your negatives directly. If the emulsion side looks very dark and dense compared to properly exposed film, too much light hit the film. The fix involves either recalibrating how you use the camera or having the meter serviced.
Underexposure: When Film Comes Out Flat and Foggy
Underexposure might seem like it would produce dark photos, and it does, but the appearance often surprises people. Underexposed film photos frequently look foggy rather than simply dark. This happens because the shadow areas contain almost no image information, leaving a flat, muddy appearance with visible grain and lack of detail.
Underexposed negatives look very thin and clear when held to light. The scanner struggles to pull any image data from them, resulting in flat, low-contrast scans that look hazy and washed out even though the actual problem was too little light, not too much.
Several situations commonly cause underexposure. Shooting ISO 100 or 200 film indoors without flash almost guarantees it. Using an old camera whose meter reads low is another frequent cause. Film loaded with the wrong ISO setting, perhaps because the DX code reader on an automatic camera malfunctioned, will systematically underexpose or overexpose the entire roll.
The Sunny 16 rule remains a reliable backup when you suspect your meter is lying. On a sunny day, set your aperture to f/16 and your shutter speed to the reciprocal of your film ISO. If your camera suggests something dramatically different, your meter likely needs attention.
Light Leaks: The Orange Streak Problem
Light leaks produce some of the most distinctive and recognizable film defects. Instead of a uniform haze, you see bright orange or red streaks, bands across frames, or glowing patches concentrated along the edges of the image. These occur when stray light enters the camera body through gaps in worn or degraded seals.
Foam light seals around the camera back door degrade over time. Cameras from the 1980s and 1990s are prime candidates for seal failure, as the foam turns to sticky tar or crumbles into dust. If your camera has not been serviced in the last decade, assume the seals need replacing.
Identifying a light leak is straightforward. The streaks and patches appear in consistent positions across multiple frames because the light enters through the same gap each time. The intensity varies depending on how long light hit that spot and how bright the ambient light was.
Replacing light seals is one of the most cost-effective repairs for a film camera. DIY seal kits are inexpensive and there are detailed tutorials for nearly every popular camera model. Alternatively, any camera repair technician can replace seals quickly. If you suspect a leak, load a roll of cheap film, take the camera into bright sunlight without shooting, and check if streaks appear on the developed roll.
Camera Fogging: Internal Haze and Condensation
Camera fogging covers several internal issues that reduce contrast and create a milky appearance across your photos. Unlike light leaks, fogging tends to affect the entire frame uniformly rather than producing streaks or bands.
Lens haze is a common cause. Internal lens elements can develop a cloudy film over time, especially in lenses stored in humid environments. This haze scatters light as it passes through the lens, lowering contrast and creating that washed out look even when exposure is technically correct.
Lens fungus produces similar symptoms. Fungal growth inside lens elements appears as web-like patterns when you shine a flashlight through the lens. Once fungus etches the glass coatings, the lens requires professional cleaning or replacement. Storing lenses with silica gel packets in dry conditions prevents fungal growth.
Condensation is an underdiscussed but very real cause of foggy photos. Moving a camera from an air-conditioned room to warm, humid outdoor air causes moisture to condense on lens elements instantly. Photographers on r/filmphotography report this problem frequently during summer shoots. The solution is simple: let your camera acclimate to ambient temperature for 15 to 20 minutes before shooting.
Veiling flare from shooting directly toward bright light sources also creates a hazy, low-contrast appearance. This is optical, not mechanical, but the result looks identical to fogging. Using a lens hood and avoiding shots pointed at the sun reduces veiling flare significantly.
Scanner and Lab Issues: When the Film Is Fine
Sometimes your photography is perfectly fine and the problem lies entirely in how the film was scanned or developed. This is frustrating because the issue is entirely outside your control, but recognizing it saves you from endlessly troubleshooting your technique.
Budget scanning services often produce flat, low-contrast scans. High-volume labs run scanners on automated settings that prioritize speed over quality. A properly exposed negative can look washed out simply because the scanner operator did not adjust exposure or contrast settings for your specific roll.
If your scans look flat but your negatives appear properly exposed when held to light, the lab is the problem. Requesting rescan services or switching to a lab that offers higher resolution scanning with individual attention can make a dramatic difference. Many photographers are shocked by how much better their shots look when scanned properly.
Scanner dust and debris also create cloudy spots and haze on individual frames. Professional labs use digital ICE technology to remove dust automatically during scanning, but budget options may skip this step. If your photos have consistent cloudy spots in the same position across multiple frames, scanner glass needs cleaning.
Development errors are rarer but do happen. Underdevelopment produces thin, flat negatives similar to underexposure. Overdevelopment creates dense negatives similar to overexposure. If every roll from a particular lab comes back looking off, try a different lab and compare results.
How to Prevent Foggy or Washed Out Film Photos
Prevention is always more effective than trying to salvage damaged shots. The following steps address the most common causes of foggy and washed out film photos systematically.
1. Test your camera’s light meter regularly. Compare your camera’s meter reading against a light meter app on your phone or a dedicated handheld meter. If readings differ by more than half a stop, have the meter serviced. This single step eliminates the most common source of exposure problems.
2. Replace light seals on older cameras. Any camera over 15 years old likely needs new seals. Check the foam around the back door and the mirror bumper seal in SLRs. Crumbling or sticky foam means replacement is overdue.
3. Store film properly. Keep film in a refrigerator for long-term storage and let it warm to room temperature before loading. Expired film produces reduced contrast and color shifts that mimic foggy results. Use film within its expiration date whenever possible.
4. Inspect lenses for haze and fungus. Shine a flashlight through each lens and look for cloudiness or web patterns. Have affected lenses cleaned professionally before shooting with them. Dirty lens elements also reduce contrast, so clean front and rear elements regularly with proper lens cleaning tools.
5. Let your camera acclimate to temperature changes. When moving between air-conditioned interiors and warm outdoor environments, keep the camera in its bag for 15 minutes before shooting. This prevents condensation from forming on lens elements.
6. Choose your lab carefully. If scans consistently look flat, request a rescan or try a different lab. Ask whether they use digital ICE dust removal and whether scans are adjusted individually or run on batch settings. Mail-order labs with strong reputations often outperform local one-hour services for scan quality.
7. Use exposure compensation for difficult lighting. Backlit scenes, snow, sand, and bright beaches all fool camera meters. Dial in positive exposure compensation of one to two stops for backlit subjects. For snow and sand scenes, meter from a gray card or your hand to get accurate readings.
8. Shoot a test roll when using new equipment. Before trusting a new camera or lens for important shots, run a roll of film through it in controlled conditions. Note your exposure settings for each frame and compare with the developed results. This reveals meter accuracy, light tightness, and lens quality before you rely on the equipment.
9. Use a lens hood consistently. Lens hoods block stray light from hitting the front element at angles, reducing veiling flare and improving contrast. They also protect the lens from bumps and scratches. There is almost no downside to using one.
10. Keep film away from X-ray machines. Airport carry-on X-ray scanners are generally safe for film below ISO 800, but checked baggage scanners are far more powerful and will fog film. Never pack film in checked luggage, and request hand inspection for higher ISO films when traveling.
FAQs
Why do my film photos look washed out?
Film photos look washed out most commonly because of overexposure, where too much light reaches the film and creates a dense negative that scans as bright and pale. Other causes include failing light meters in older automatic cameras, shooting backlit scenes without exposure compensation, or receiving flat low-contrast scans from a budget lab.
Why is my film coming out foggy?
Foggy film is typically caused by camera fogging from lens haze, fungus, condensation, or veiling flare from shooting toward bright light. Light leaks through worn camera seals also create foggy streaks and patches. If the entire roll has a uniform milky haze, inspect your lens elements and check that camera seals are intact.
Why did my film photos come out blurry?
Blurry film photos usually result from focus errors, camera shake at slow shutter speeds, or subject movement. Automatic point-and-shoot cameras can misfocus in low light. Using a faster shutter speed, ensuring autofocus locks properly, or switching to manual focus with zone focusing techniques resolves most blurriness issues.
Why are my pictures coming out cloudy?
Cloudy film photos can stem from condensation on the lens when moving between temperature extremes, scanner dust on lab equipment, lens haze or fungus, or low-quality development. If negatives look properly exposed but scans appear cloudy, the scanner or lab is likely responsible. Request a rescan or try a different lab.
Conclusion: Systematic Troubleshooting Saves Film
Foggy or washed out film photos feel discouraging, but they almost always point to a fixable problem. By examining your negatives directly, checking for consistent patterns across frames, and testing your light meter against a known reference, you can identify whether the issue stems from exposure, camera hardware, environmental conditions, or lab quality.
Start with the quick diagnosis checklist, address the most likely cause first, and shoot another test roll to verify your fix. Film photography rewards patience and systematic problem solving. Once you understand why your film photos came out foggy or washed out, your next roll will be dramatically better.