
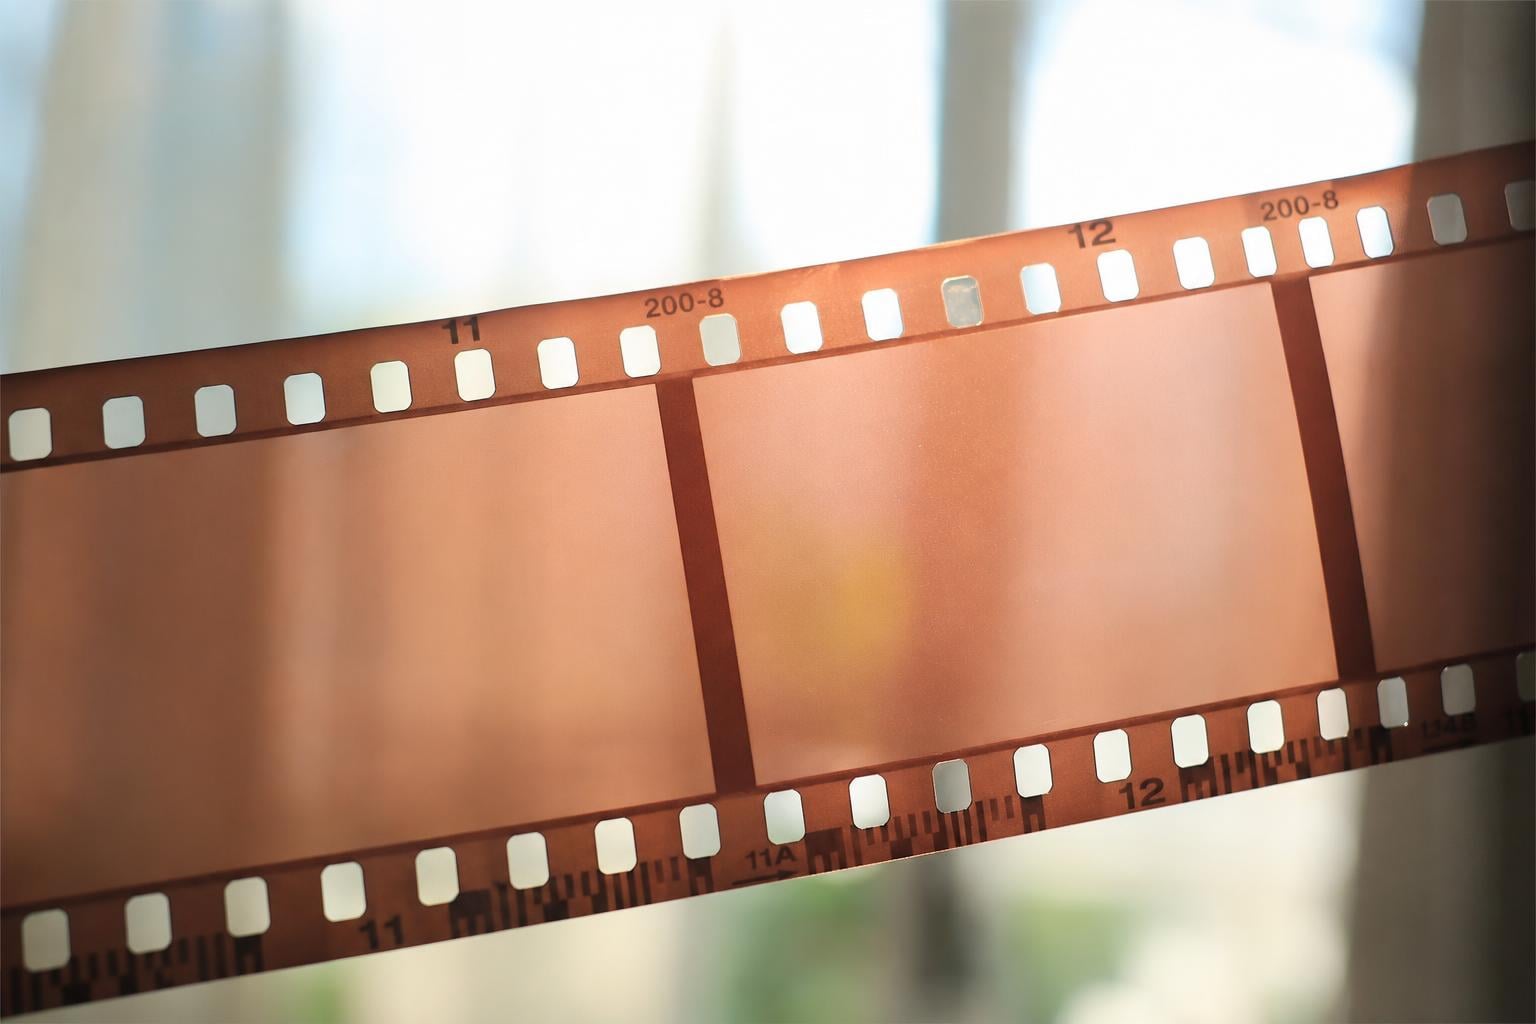
Getting a blank roll of film back from the lab is one of the most gut-wrenching moments in photography. You spent time composing shots, waited weeks for development, and now you are staring at a strip of clear or black plastic with nothing on it. We have been there, and so has nearly every film photographer who has ever picked up a camera.
Film negatives come back completely blank for two main reasons: the film was never exposed to light at all (resulting in completely clear negatives), or the film was exposed to far too much light (resulting in completely black or opaque negatives). Figuring out which scenario happened to you is the first step toward preventing it from happening again.
In this guide, we will walk you through every possible cause of blank film negatives. You will learn how to read your film’s edge markings to diagnose the problem yourself, how to test your camera shutter, and how to tell whether the issue is with your camera or your lab. By the end, you will know exactly what went wrong and how to fix it.
Table of Contents
Two Main Scenarios: Clear vs Black Negatives
When film negatives are blank, they fall into one of two categories. Each one points to a completely different root cause, and identifying which one you have narrows your troubleshooting immediately.
Completely clear negatives mean the film never recorded any image at all. The emulsion was never struck by light through the lens, so there is nothing to develop. This almost always points to a camera problem or a loading error.
Completely black or opaque negatives mean the film was exposed to too much light. Every frame was flooded with light, either from a shutter that stayed open too long, a light leak, or the camera back being opened prematurely. This can be a camera issue or user error.
There is one quick test that tells you which scenario you are dealing with. Hold your negative strip up to a light source. If you can see right through it like plain plastic, your film was never exposed. If the frames are dark and dense, blocking most light, your film was overexposed.
Film Border Analysis for Self-Diagnosis
This is the single most useful diagnostic technique that almost no one talks about. The borders and edge markings on your film contain critical clues about what went wrong. Learning to read them can save you from blaming yourself, your camera, or your lab unfairly.
Every roll of 35mm film has manufacturer-printed edge markings along the borders. These include the brand name, film type, frame numbers, and a bar code. These markings are exposed onto the film during manufacturing, not during your shoot. They develop regardless of whether your camera worked properly.
What Edge Markings Tell You
If your edge markings are crisp and visible but the frames are clear, the film was developed correctly. The problem is 100% in your camera or your loading technique. The lab did nothing wrong, and the film chemistry worked as intended.
If your edge markings are missing or extremely faint and the entire strip is clear, the development process failed. This could mean exhausted developer chemicals, incorrect processing temperature, or a lab error. In this case, the issue is not your camera at all.
If your edge markings are visible but the frames are entirely black, your camera let in too much light. The film was processed fine, but something went wrong during exposure.
If everything is black, including the borders and edge markings, the film was likely fogged. This happens when the film canister was exposed to light before or during loading, or the camera back was opened while film was still loaded.
Checking Frame Numbers
The frame numbers printed along the film rebate (the unexposed border area) tell you whether your film advance mechanism was working. If you see frame numbers 1 through 36 in sequence, the film advanced correctly through the camera. If the numbering stops or repeats, the film did not advance properly.
A common issue is the film slipping off the take-up spool after the first few frames. In this case, you might see frame numbers 1 through 3 and then nothing. The film stopped advancing because it was never properly secured when loaded.
Scenario 1: Completely Clear Negatives (Film Never Exposed)
Clear negatives are the most common type of blank film. The film physically never received any light through the lens. Here are the three main causes.
Film Loading Failure
This is the number one cause of clear negatives, especially for beginners. When you load film into a camera, the leader must be properly inserted into the take-up spool and the sprocket teeth must engage the film perforations. If the film is not caught by the take-up spool, it simply sits in the canister and never advances past the shutter.
You might have wound the advance lever and taken 36 shots, but the film never actually moved. The frame counter ticked up, making you think everything was working. When you finished the roll and rewound it, you were actually just spinning an empty take-up spool.
This happens frequently with cameras that use a slot-type take-up spool rather than a multi-sprocket design. The film leader can slip out easily if it is not inserted deeply enough. Forum photographers on r/AnalogCommunity report this as the most common cause of blank rolls among first-time film shooters.
One way to prevent this: after loading and closing the camera back, gently turn the rewind knob clockwise until you feel slight resistance. Then advance one frame. If the rewind knob rotates as you advance, the film is properly loaded and moving.
Shutter Not Opening
If the film was loaded correctly and advanced through the camera, but the shutter never opened, every frame will be clear. The shutter is the mechanical curtain that allows light to reach the film for a precise duration. If it stays closed, no light gets through.
Shutter failure can happen due to sticky shutter blades, a broken shutter spring, electronic malfunction, or oil on the shutter curtains. Older cameras that have been sitting unused for years are particularly prone to this. The lubricants dry out or gum up, causing the blades to stick.
Leaf shutters (found in many point-and-shoot and medium format cameras) can seize completely when the grease hardens. Focal plane shutters (found in SLRs) can develop tears or timing issues that prevent the curtain from opening at all.
Film Advance Not Engaging
Sometimes the film is loaded and the shutter fires, but the film never advances to the next frame. You take 36 photos but they all land on the same spot of film. When developed, you might see one heavily overexposed frame and nothing else, or you might see nothing at all if the shutter failed on that single frame too.
This is often caused by worn sprocket teeth, a disengaged advance mechanism, or a broken connection between the advance lever and the film transport. It is less common than loading failure but does happen, especially with older cameras.
How to Test Your Camera Shutter?
If you suspect your shutter is not working, you can test it at home without any special equipment. This simple procedure takes five minutes and can confirm whether your camera is the culprit.
Step 1: Remove the lens from your camera (for SLRs) or open the camera back. For point-and-shoot cameras, you will need to open the back door.
Step 2: Look at the shutter mechanism from the front of the camera. On an SLR with the lens removed, you are looking at the focal plane shutter at the back of the mirror box. On a camera with the back open, look at the shutter from the film plane side.
Step 3: Set the camera to a slow shutter speed, such as 1/15 or 1/30 of a second. Point the camera at a bright light source like a window or lamp.
Step 4: Fire the shutter while watching it. You should see the shutter curtains or blades open and close visibly. At slow speeds, the opening will be obvious and you should be able to see light passing through.
Step 5: Repeat at several different shutter speeds. At 1 second, the shutter should stay open for a full second. At 1/500, it will be a quick flash. If the shutter does not open at any speed, your camera needs repair. If it opens at slow speeds but not fast ones, the timing mechanism may be faulty.
Step 6: For leaf shutter cameras (where the shutter is inside the lens), open the back, set a long exposure, and fire while looking through the lens from the back. You should see the blades open and close in the lens elements.
If the shutter test reveals that the shutter is not firing, do not shoot another roll until the camera has been serviced. Continuing to shoot will only produce more blank rolls and wasted money.
Scenario 2: Completely Black Negatives (Film Overexposed)
Black or opaque negatives are the opposite problem. Instead of no light, the film received way too much light. Every frame is flooded and dense, with no usable image data. Here are the main causes.
Camera Backdoor Opened Prematurely
This is the most heartbreaking cause. You finished shooting your roll, and instead of rewinding the film completely into the canister, you opened the camera back while the film was still exposed. Light flooded every frame instantly.
This mistake is incredibly common. The rewind crank may have stopped turning, leading you to believe the film was fully rewound. Or you simply forgot to rewind before opening the back. Either way, the result is a fully fogged roll with dark, opaque frames.
Always rewind until you hear or feel the film leader release from the take-up spool. Then turn the crank a few more times to ensure the film is fully inside the canister. If you are unsure, rewind more rather than less.
Shutter Stuck Open
If the shutter sticks in the open position, every frame gets a massive dose of light. The shutter opens for your exposure but fails to close, flooding the frame. This is different from a shutter that does not open at all (which causes clear negatives).
Stuck-open shutters are often caused by sluggish shutter blades that move too slowly to close in time. At faster shutter speeds, the blades may not close at all. At slower speeds, they might close but only after several seconds of extra exposure.
Light Leaks
A light leak in the camera body can slowly fog the film as it advances through the camera. Seals around the camera back door degrade over time, especially on cameras from the 1970s and 1980s. The foam turns to sticky tar and gaps form where light can enter.
Light leak damage often looks different from a fully fogged roll. You might see orange streaks or bands across frames rather than uniformly black negatives. But severe leaks can produce entirely opaque strips if the film sat in the camera long enough between shots.
Lab Development Errors
Sometimes the problem is not with you or your camera at all. Labs can make mistakes too. While professional labs have quality control procedures, errors still occur. Here is when to suspect a lab issue.
If the edge markings are missing or very faint alongside clear frames, the development chemicals may have been exhausted or improperly mixed. The developer was not strong enough to bring out the images. This is a lab responsibility issue.
If the film was run through the wrong process (for example, C-41 film run through E-6 chemistry), the results will be completely blank or grossly discolored. This is rare at professional labs but can happen at high-volume drugstore or big-box store processors.
Film that was not agitated properly during development can have uneven patches. Some frames might develop while others remain blank. If you see a pattern of alternating developed and blank frames, ask your lab about their agitation procedure.
Temperature errors can also cause blank or underdeveloped film. If the developer was too cold, the reaction proceeds too slowly and images do not form properly. Professional labs maintain strict temperature control, but home developers sometimes cut corners.
The best way to determine lab fault is to check the edge markings. If they are present and clear, the lab did its job correctly. If they are absent on a clearly developed strip, contact your lab about a potential processing error.
Other Factors: ISO Settings, Expired Film, and Push Processing
A wrong ISO setting on your camera can cause severe underexposure, but it rarely causes completely blank negatives. Setting ISO too high (for example, 3200 on a 400-speed film) underexposes by three stops. You will get very thin, faint negatives, but usually not totally clear ones.
Expired film can lose sensitivity over time, producing faint or fogged negatives. Film stored in hot conditions degrades faster. However, expired film rarely produces completely blank results unless it was stored in extreme heat for many years or was decades past its expiration date.
Push processing introduces risk. When you shoot a 400-speed film at 1600 and ask the lab to push two stops, you are asking the developer to compensate for significant underexposure. If the push is miscalculated or the film was already underexposed beyond what pushing can recover, you may get very thin or blank negatives. Forum photographers note that Fomapan 400 pushed to 1600 is particularly risky for blank rolls.
Prevention Checklist
Run through this checklist before every roll to minimize your chances of blank film.
Confirm the film leader is firmly secured in the take-up spool before closing the camera back.
Check that the rewind knob rotates when you advance the film after loading.
Set the correct ISO on your camera before shooting the first frame.
Test fire the shutter at a slow speed before loading film to confirm it opens and closes.
Inspect light seals around the camera back for signs of degradation.
Rewind the film completely before opening the camera back, and turn the crank a few extra times.
Use fresh film stored in cool conditions for important shoots.
Ask your lab about their quality control if you consistently get blank rolls.
Frequently Asked Questions
Why did my roll of film come back blank?
Your roll of film came back blank because either the film was never exposed to light (completely clear negatives) or it was overexposed to too much light (completely black negatives). The most common cause is a film loading error where the film was not properly secured to the take-up spool, so it never advanced through the camera even though you took all your shots.
Why are my film photos blank?
Blank film photos happen when the camera shutter does not open, the film is not loaded correctly, the camera backdoor was opened prematurely, or there was a lab development error. Check your edge markings first: if they are visible but frames are clear, the problem is your camera. If edge markings are also missing, the development process may have failed.
How can I tell if my film was never exposed versus a lab error?
Check the edge markings and frame numbers printed along the film border. If the edge markings are crisp and readable but your frames are clear, the lab developed the film correctly and the problem is with your camera. If the edge markings are missing or extremely faint along with clear frames, the development chemistry failed and the lab is responsible.
Why is my roll of film completely clear with no images?
Completely clear film means no light reached the emulsion during exposure. The most common causes are improper film loading (the film never advanced through the camera), a shutter that failed to open, or the film advance mechanism not engaging. Test your shutter by removing the lens, setting a slow speed, and firing while watching the shutter blades.
What causes blank film negatives after development?
Blank film negatives after development are caused by camera loading errors, shutter malfunctions, opening the camera back prematurely, light leaks, wrong ISO settings, severely expired film, push processing failures, or lab errors such as exhausted developer chemicals or incorrect processing temperature. Examining the edge markings on your film is the fastest way to narrow down the cause.
Conclusion
Film negatives that come back completely blank are almost always caused by one of two things: the film never received any light through the lens, or it received far too much. By checking your edge markings, testing your shutter, and reviewing your loading technique, you can pinpoint exactly what went wrong and prevent it from happening again.
The next time you wonder why your film negatives are blank, start with the edge marking test. It takes ten seconds and immediately tells you whether the problem is in your camera or at the lab. Then work through the causes in this guide, one by one, until you find your answer.