
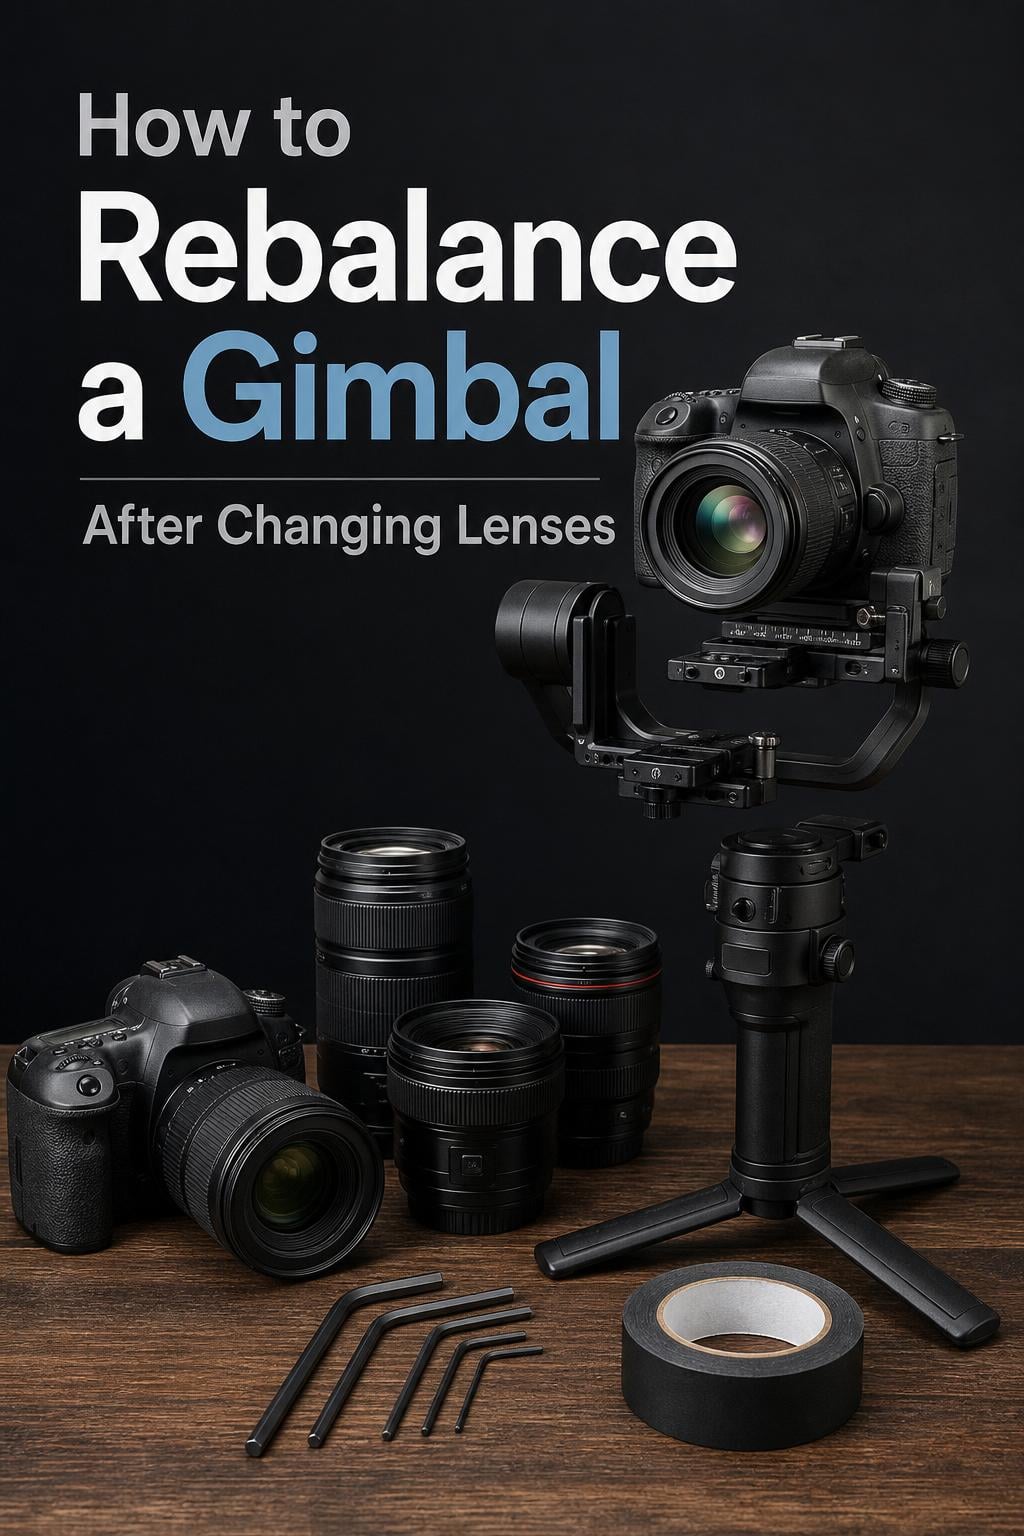
Every time you swap a lens on your gimbal, the center of gravity shifts. That shift throws off all three axes, and if you power on without fixing it, the motors strain, the battery drains faster, and your footage comes out looking like you were recording during an earthquake. Learning how to rebalance a gimbal after changing lenses is the single most important skill separating smooth, professional footage from unusable shaky clips.
I have spent years shooting weddings, wildlife, and live events with motorized gimbals from DJI, Zhiyun, and Moza. In that time, I have balanced hundreds of lens combinations under pressure, sometimes in the dark, sometimes with 300 guests waiting for the next shot. This guide distills everything I have learned into a clear, repeatable process that works across gimbal brands and camera setups.
Whether you just bought your first gimbal or you are a working professional looking to speed up your lens-swap workflow, you will find actionable steps here. We will cover the why, the how, and the shortcuts that save precious seconds when time matters most.
Table of Contents
Quick Answer: Do You Have to Rebalance a Gimbal Every Time You Change Lenses?
Yes. You must rebalance your gimbal after changing lenses. Different lenses have different weights and lengths, which shifts your camera’s center of gravity. A balanced gimbal should hold any position you place it in without drifting, and that only happens when all three axes are properly adjusted to the new weight distribution.
The full rebalancing process involves adjusting three axes in order: tilt, roll, and pan. You slide each axis arm forward or backward until the camera stays perfectly still when you let go. Expect the process to take 2 to 5 minutes once you are experienced, or 10 to 20 minutes your first few times.
If you are shooting an event and only have seconds, you can sometimes get away with a partial rebalance (adjusting tilt and roll while leaving pan on a “good enough” setting), but your motors will work harder and your battery will drain faster as a result.
Why Rebalancing Is Necessary After Changing Lenses
A motorized gimbal works by using brushless motors to keep your camera level on three axes of movement. Those motors are designed to correct for small, unexpected movements, not to constantly fight against gravity. When your camera is properly balanced, the motors barely have to work, and the gimbal essentially floats the camera in place.
Every lens has a different weight and physical length. Switching from a compact 50mm f/1.8 prime to a heavier 24-70mm f/2.8 zoom can add several hundred grams of weight, and that weight sits further forward from the camera mount. This shifts the entire center of gravity, meaning the camera now wants to tilt forward under its own weight.
When the gimbal is unbalanced, three things happen immediately. The motors work overtime to hold the camera in position, which drains the battery dramatically faster (sometimes cutting battery life in half). The motors also introduce micro-vibrations as they fight against the weight imbalance, which shows up as jitter in your footage. And over time, the constant strain can reduce the lifespan of the gimbal motors.
I learned this the hard way on a wedding shoot several years ago. I swapped from a 35mm prime to a 70-200mm zoom and powered on without rebalancing because I was in a rush. Within 20 minutes, my DJI RS gimbal battery was dead, and my footage from the first dance had a visible high-frequency shake. After that experience, I never skipped rebalancing again, no matter how tight the timeline.
The center of gravity is the key concept here. Think of it as the imaginary point where all the weight of your camera and lens combo is concentrated. The gimbal needs that point to sit directly at the intersection of its three axes. Move the center of gravity by changing the lens, and you need to move the axes to find it again.
What Each Axis Does
The tilt axis controls up and down camera movement (pitch). It is usually the first axis you balance because it is the most affected by lens weight changes. If your camera nose-dives forward or tilts backward when you let go, the tilt axis needs adjustment.
The roll axis controls side-to-side tilting (the camera leaning left or right). This is the second axis to balance. An unbalanced roll axis causes the camera to slowly lean to one side, which is especially noticeable during walking shots.
The pan axis controls left and right rotation (yaw). This is the third and final axis. While it is the least affected by lens changes in terms of weight, an unbalanced pan axis causes the camera to slowly drift left or right on its own, making smooth panning shots difficult.
Tools and Preparation Before You Start
Before you begin rebalancing, gather a few items and set up your workspace properly. Having everything ready makes the process faster and prevents frustration.
First, you need a stable surface to mount the gimbal while you work. A heavy C-stand or a sturdy tripod with a gimbal mount accessory works well. The gimbal needs to be completely still while you make micro-adjustments, so avoid trying to balance it while holding it in your hand.
Make sure the gimbal is powered off before you start. This is a safety rule mentioned by DJI in their official support documentation, and it applies to every motorized gimbal brand. Balancing while the motors are active can damage the gimbal or cause it to jerk unexpectedly.
Have your counterweights nearby if you are switching to a significantly lighter or heavier lens. Most gimbals come with counterweights, and third-party options are available for niche setups. A small Allen key or adjustment tool is usually needed to slide axis arms and tighten them in place.
If you use accessories like ND filters, lens hoods, or external microphones, attach them before balancing. Every gram of additional weight changes the balance point, so you want the camera fully rigged in its shooting configuration before you start adjusting axes.
How to Rebalance a Gimbal After Changing Lenses: Step-by-Step Guide
Here is the exact step-by-step process I follow every time I change lenses on a motorized gimbal. This method works for DJI Ronin series, Zhiyun Crane, Moza Air, and most other three-axis motorized gimbals on the market in 2026.
Step 1: Power Off and Mount the Camera
Turn off the gimbal completely. If your gimbal has a lock switch on any of the axes, engage the locks to prevent the camera from swinging while you work. Mount the camera onto the quick-release plate and slide it into the gimbal’s camera mount, but leave the plate slightly loose so you can slide it forward and backward.
Position the camera roughly centered on the plate to start. The lens should be pointing forward, and the camera body should sit in its normal upright shooting position. If you use an Arca-Swiss compatible plate, this step is faster because you can clamp the camera in quickly.
Step 2: Balance the Tilt Axis (Pitch)
The tilt axis is the arm that controls the camera tilting up and down. Start here because it is the most sensitive to lens weight changes. Loosen the tilt axis adjustment and slide the camera forward or backward along the plate until the camera stays level when you let go.
Here is the test: tilt the camera straight down at a 45-degree angle, then let go. If the camera swings back up, it is back-heavy and you need to slide it forward. If the camera drops further down, it is front-heavy and you need to slide it backward. Make small adjustments and test again each time.
When the camera holds its position at any angle you place it without drifting, the tilt axis is balanced. Tighten the tilt axis lock. This step typically takes the longest because it requires the most precision, especially with heavy zoom lenses.
Step 3: Balance the Roll Axis
The roll axis controls the camera leaning side to side, like a motorcycle leaning into a turn. Loosen the roll axis adjustment knob and grip the camera by the lens. Tilt the camera to one side about 30 degrees and let go.
If the camera rolls back to level on its own, the roll axis is top-heavy and you need to lower the camera on the roll arm. If the camera continues rolling further away from level, it is bottom-heavy and you need to raise the camera slightly. Adjust the roll arm height up or down and test again.
When the camera holds at any roll angle without drifting, the roll axis is balanced. Lock the adjustment. The roll axis is often quicker to balance than the tilt axis because lens changes affect it less dramatically, but do not skip it. An unbalanced roll axis causes a slow lean that ruins footage.
Step 4: Balance the Pan Axis
The pan axis controls the camera rotating left and right horizontally. Loosen the pan axis adjustment and position the camera so the lens points straight forward. Let go of the camera and watch what happens.
If the camera slowly pans to the left or right on its own, the pan axis needs adjustment. Slide the pan axis arm forward or backward along its rail until the camera holds its horizontal position without drifting. Test by panning the camera 90 degrees to the left and letting go. If it stays, you are balanced.
Lock the pan axis when the camera holds at any rotation angle. The pan axis is the least affected by lens changes, so sometimes it requires only a small nudge from its previous position. However, if you switched between a very light and very heavy lens, expect more adjustment here too.
Step 5: Power On and Test
With all three axes balanced and locked, power on the gimbal. Let it initialize fully (usually 5 to 10 seconds). The gimbal should hold the camera steady without any motor strain sounds. If you hear a loud humming or buzzing from the motors, something is still off and you should power down and recheck.
Grip the gimbal handle and move the camera through its full range of motion. Tilt up and down, roll slightly side to side, and pan left and right. The gimbal should respond smoothly and return to its default position without overshooting or oscillating. If everything feels smooth, you are ready to shoot.
One final check: start recording and walk around for 30 seconds while monitoring the footage on your screen. Look for any micro-jitters or drifts. Catching issues now saves you from discovering them in post-production.
Quick Rebalancing Workflow for Event Shooters
Event shooters face a unique challenge. At a wedding or party, you might need to switch lenses multiple times during the event, and you rarely have 5 minutes to spare. Forum users on Reddit and videography groups frequently ask about the fastest way to rebalance during a shoot, so here is the workflow I use.
The key is preparation. Before the event, balance your gimbal with each lens you plan to use. Then mark the exact positions of each axis arm with a piece of tape or a silver marker. When you swap lenses during the event, you can slide each axis directly to its pre-marked position instead of searching for balance from scratch.
Some shooters use a “middle ground” balance. If you are switching between two lenses of similar weight, you can find a compromise balance point that works acceptably for both. The gimbal motors will work slightly harder than a perfect balance, but for short clips between full rebalances, this trade-off is often worth it.
A Reddit user shooting a party with a DJI RS3 Mini described switching between a 50mm f/1.8 and an 18-50mm f/2.8 and needing to rebalance on the fly in a dark, crowded room. The solution that worked for them was pre-marking positions and practicing the swap at home until they could do it in under 2 minutes by feel alone.
If you shoot events regularly, consider investing in two gimbals, one balanced for each lens. This eliminates rebalancing entirely but obviously adds cost and weight to your kit. For most shooters, pre-marked positions plus practice is the practical answer.
Tips for Faster Rebalancing
Beyond the basic step-by-step process, several techniques and accessories can dramatically reduce your rebalancing time. These are tips I have picked up from years of shooting and from the experiences shared by working videographers in online communities.
Use an Arca-Swiss compatible quick-release plate system. Arca-Swiss is a standardized clamping system that lets you snap a camera on and off the gimbal in seconds. Once you set the balance for a specific lens and mark the plate position, you can swap lenses, snap the camera back to the marked spot, and be close to balanced immediately. Multiple forum users praise Arca-Swiss standardization as a game-changer for frequent lens changes.
Mark your positions. Whether you use gaffer tape, a paint pen, or dedicated marking rings on your gimbal arms, recording the exact position for each lens combination saves enormous time. Experienced operators I know keep a small reference card taped to their gimbal case listing positions for their most-used lens setups.
Use weighted tape for micro-adjustments. A creative solution shared in photography forums involves applying small strips of weighted tape (or magnetic counterweights) to the lens hood to fine-tune balance. One wildlife photographer used this trick when transitioning from a heavy Sigma 60-600mm to a lighter 600mm f/4 PF lens. The weighted tape, covered with a LensCoat, allowed precise balance adjustments without moving the camera on the plate.
Practice with purpose. Set up your gimbal, deliberately unbalance it, and time yourself rebalancing. Your first attempt might take 15 minutes. After 20 practice rounds, most operators get it under 3 minutes. The motion becomes muscle memory, which is essential when you are rebalancing in low light at a busy event.
Consider a sidekick or offset gimbal head. For wildlife photographers using large telephoto lenses on manual gimbal heads, a Sidekick attachment (which converts a ball head into a gimbal head mounted on the right side) frees up the left hand for camera operation. This solves the “hand crunch” problem where your adjustment hand and camera control hand compete for the same space.
Common Mistakes and Troubleshooting
Even with the right process, things go wrong. Here are the most common rebalancing mistakes and how to fix them. These issues come up repeatedly in videography forums, and most have simple solutions once you know what to look for.
Mistake 1: Balancing Axes in the Wrong Order
Always balance in the correct order: tilt first, then roll, then pan. Each axis affects the others, so adjusting pan first means you will have to redo it after fixing tilt. If your gimbal is not balancing no matter what you do, start over from the tilt axis with everything loosened.
Mistake 2: Forgetting to Power Off
Never balance with the gimbal powered on. The motors actively resist movement, which makes it impossible to feel the true balance point. You might think the camera is balanced when actually the motors are holding it in place. Power off, balance by feel, then power on to test.
Mistake 3: Not Accounting for Zoom Lens Weight Shift
Zoom lenses change their center of gravity as you zoom in and out. A lens balanced at 24mm might be noticeably front-heavy at 70mm because the internal glass elements move forward. The solution from DJI’s official guidance: balance the lens at the focal length you plan to shoot at most. If you need to zoom during a shot, accept that balance will shift slightly at the extremes of the zoom range.
Mistake 4: Ignoring Small Accessory Weight
An ND filter might weigh only a few grams, but at the front of a long lens, that weight acts like a lever and shifts balance significantly. A forum user on DPReview specifically asked about this problem, noting that adding an ND filter threw off their balance every time. The solution: always attach all accessories before balancing, not after.
Troubleshooting: Why Is My Gimbal Not Balancing?
If your gimbal refuses to balance despite following all steps, check these common culprits. The camera might be mounted off-center on the plate (check lateral positioning). The lens might be too heavy for the gimbal’s payload capacity (check manufacturer specs). The axis arms might be reversed or installed incorrectly (consult your gimbal’s manual). Or the gimbal motors themselves might need calibration through the manufacturer’s app.
Troubleshooting: How to Fix Shaky Gimbal Footage
If your footage is shaky despite seeming balanced, the issue is usually one of three things. The balance might be close but not precise enough (motors handle micro-corrections poorly when already fighting a weight imbalance). The gimbal’s motor strength setting might be too low for your camera and lens combo (increase motor power in the app). Or you might be walking with a stiff body, which transfers vibrations directly to the gimbal (practice the “ninja walk” with bent knees and heel-to-toe rolling).
When You Can Skip Rebalancing (and When You Absolutely Cannot)
Not every lens change requires a full rebalance. Understanding the threshold for when rebalancing is necessary versus when the gimbal motors can compensate saves time in the field. Here is the practical guidance that no competitor currently provides clearly.
You can generally skip full rebalancing when the weight difference between your old and new lens is under 50 to 75 grams. At that level, the gimbal motors can absorb the difference without straining noticeably. This might apply when switching between two similar primes, like a 35mm and a 50mm of the same series.
You absolutely must rebalance when switching between lens types (prime to zoom, wide-angle to telephoto) or when the weight difference exceeds 100 grams. The motor strain at that point is significant enough to cause battery drain, motor noise, and footage jitter. When in doubt, spend the 3 minutes to rebalance properly.
Adding an ND filter or polarizer is a gray area. A slim ND filter adds very little weight, but on a long telephoto lens, even a small weight at the front element has an outsized effect on balance. My rule: if the lens is over 100mm in focal length, rebalance after adding any filter.
Switching between portrait and landscape orientation always requires rebalancing. DJI specifically notes this in their support documentation: after switching between horizontal and vertical shooting modes, you must readjust the balance on all three axes. The weight distribution changes dramatically when you rotate the camera 90 degrees.
FAQs
How to rebalance a gimbal?
To rebalance a gimbal, power it off and mount your camera with the new lens attached. Balance the tilt axis first by sliding the camera forward or backward until it holds position at any angle. Then balance the roll axis by adjusting the camera height on the roll arm until it stops leaning. Finally, balance the pan axis by sliding the pan arm until the camera holds its horizontal rotation. Test by powering on and moving through the full range of motion.
Why is my gimbal not balancing?
Your gimbal may not balance because you are adjusting axes in the wrong order (always do tilt, then roll, then pan), balancing while the gimbal is powered on, mounting the camera off-center on the plate, exceeding the gimbal payload capacity, or having accessories like ND filters attached after balancing instead of before.
How to straighten a gimbal?
To straighten a gimbal, first check that the roll axis is properly balanced. If the camera leans to one side, adjust the roll arm height until the camera stays level. If the camera tilts forward or backward, adjust the tilt axis position. Also verify that your gimbal is calibrated correctly through the manufacturer app, as miscalibrated motors can cause the camera to sit at an angle.
How to fix shaky gimbal footage?
To fix shaky gimbal footage, first verify that all three axes are precisely balanced with the motors off. If balance is correct, increase the motor strength setting in the gimbal app to match your camera and lens weight. Also check that your firmware is up to date, and practice walking with bent knees and a heel-to-toe rolling gait to minimize body vibrations transferred to the gimbal.
Conclusion
Learning how to rebalance a gimbal after changing lenses is a non-negotiable skill for anyone serious about stable footage. The process is straightforward: power off, balance tilt, balance roll, balance pan, power on, and test. Once it becomes muscle memory, you can complete a full rebalance in under 3 minutes.
The shortcuts that matter most are pre-marking your axis positions for each lens, using Arca-Swiss quick-release plates for faster mounting, and always attaching accessories before you start balancing. Skip these and you will waste time; use them and lens changes become a minor pause rather than a production delay.
Start by practicing the full rebalancing process at home with your most-used lens combinations. Time yourself, mark your positions, and build the muscle memory now so that when you are on a shoot with seconds to spare, your hands already know what to do.