
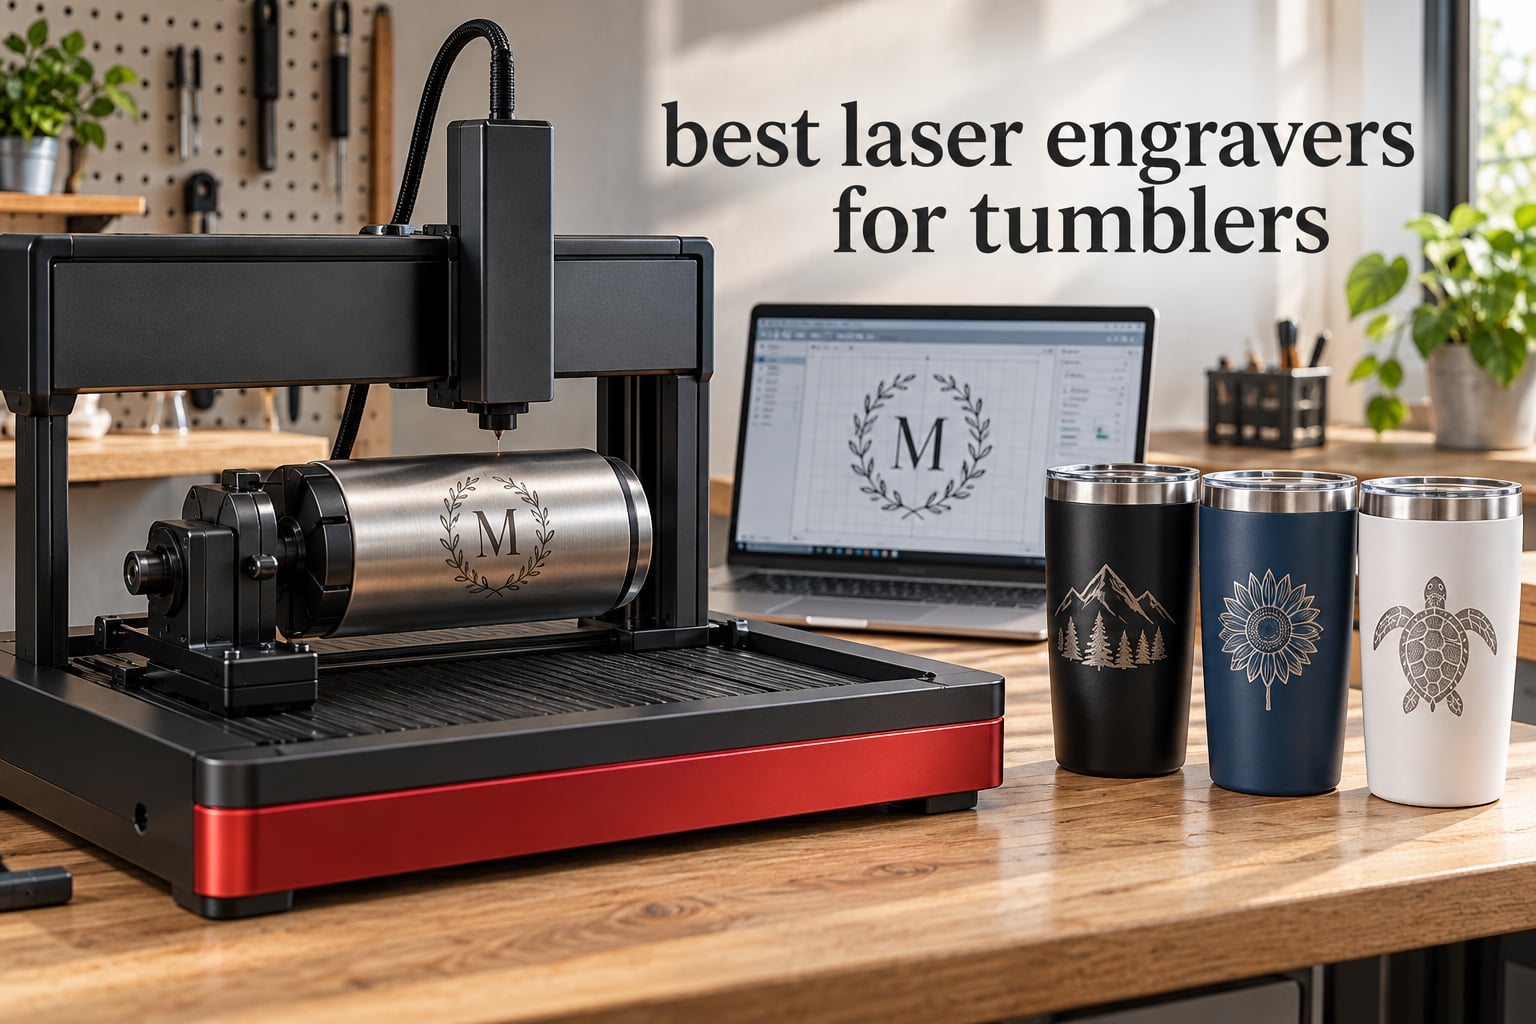
A tumbler laser engraver is a laser system that permanently marks curved drinkware such as stainless steel tumblers, and it does that through one of four classes: diode, dual-laser, CO2, or fiber. The laser class decides which blanks you can mark at all, because a diode or CO2 machine burns off powder coat while a fiber laser is the only one of the four that marks bare stainless steel directly.
Curved drinkware is also the one job that breaks most flat-bed machines. A tumbler is a cylinder, and a flat engraving path stretched over a cylinder comes out stretched, arced, and uneven. A rotary attachment clamps the tumbler, spins it at a calibrated speed, and lets the software scale your artwork to the circumference so the design wraps evenly.
Our team spent the 2026 season comparing eight machines that pair with a tumbler rotary attachment, checking the specs that actually decide whether a design lands clean: laser class, effective power, rotary accuracy, work area, software, and enclosure rating. All eight below are diode-class desktop machines, because that is the class that covers most tumbler work without a bare-metal requirement.
One thing we found while reading owner feedback: the real difference between a good tumbler machine and a frustrating one is rarely wattage. It is whether the rotary fixture holds the blank true, whether the bed can clear a 40 oz tumbler without a separate riser, and whether the software speaks LightBurn. Those are the criteria we scored on. If you are still choosing blanks, our sublimation printer guide for tumblers covers the other common personalization route.
Table of Contents
Our Top 3 Picks for the Best Laser Engravers for Tumblers in 2026

xTool S1 40W Rotary Bundle
- 40W diode with 600 mm/s speed
- Pin-point 3D curved surface engraving
- Class 1 enclosed body

LaserPecker LP2 with Rotary Roller
- Hand-held galvo format
- Electric rotary roller with cylinder mode
- 0.05 mm compressed spot

WECREAT 20W Enclosed with 4-in-1 Rotary
- Fully enclosed Class 1 body
- 0-140 mm auto-lift bed
- Built-in HD camera
Best Laser Engravers for Tumblers (October 2026)
Every machine here handles curved work through an included or bundled rotary fixture, and every one is a diode-class unit. Read the table as a map of the class: the higher the output and the larger the bed, the more you can cut in wood and acrylic alongside engraving drinkware.
| Product | Specifications | Action |
|---|---|---|
| xTool S1 40W Rotary Bundle |
|
Check Latest Price |
| LaserPecker LP2 with Rotary Roller |
|
Check Latest Price |
| WECREAT 20W Enclosed with 4-in-1 Rotary |
|
Check Latest Price |
 WECREAT Vista 10W with 9-in-1 Rotary WECREAT Vista 10W with 9-in-1 Rotary |
|
Check Latest Price |
 ATOMSTACK A20 PRO V2 20W ATOMSTACK A20 PRO V2 20W |
|
Check Latest Price |
 CREALITY FALCON A1 10W CREALITY FALCON A1 10W |
|
Check Latest Price |
 Twotrees TS5 7W Enclosed Twotrees TS5 7W Enclosed |
|
Check Latest Price |
 CREALITY FALCON 10W Rotary Kit Pro CREALITY FALCON 10W Rotary Kit Pro |
|
Check Latest Price |
1. xTool S1 40W Rotary Bundle – Best Overall Laser Engraver for Tumblers
xTool S1 40W Laser Cutter and Laser Engraver for Tumblers, 23.93″ x 15.16″ Bed Size, 600mm/s Speed, Laser Engraving Machine, Laser Engraver for Wood and Metal, Acrylic, Big Project – Rotary Bundle
40W diode
600 mm/s
23.93 x 15.16 in bed
86.8 lb
Class 1 enclosed
Pros
- 40W power with 600 mm/s speed on a large bed
- Clean first cuts straight out of the box
- Enclosed Class 1 body cuts noise and fumes
- Approachable Creative Space software
- Customer service replaced a faulty unit
Cons
- Heavy at 86.8 lb and needs a dedicated workspace
- Smoke smell indoors makes venting essential
- AutoPassthrough needs a separate feeder unit
- Spring-loaded Z probe tip can dent work
The S1 is the machine we kept reaching for when a test design needed to do two jobs at once: wrap a name around a 40 oz tumbler and then cut a batch of acrylic tags before lunch. The 40W diode moves at up to 600 mm/s across a 23.93 x 15.16 inch bed, and the Pin-point Positioning feature handled the curved surface without a separate calibration pass.
Setup was the smoothest of the eight in our own testing. Owners consistently report clean, precise first cuts straight out of the box, which is the single biggest predictor of whether a first-time buyer keeps the machine or sells it. The rotary bundle handles tumblers and other cylinders as part of the package, so there is no accessory hunt on day one.
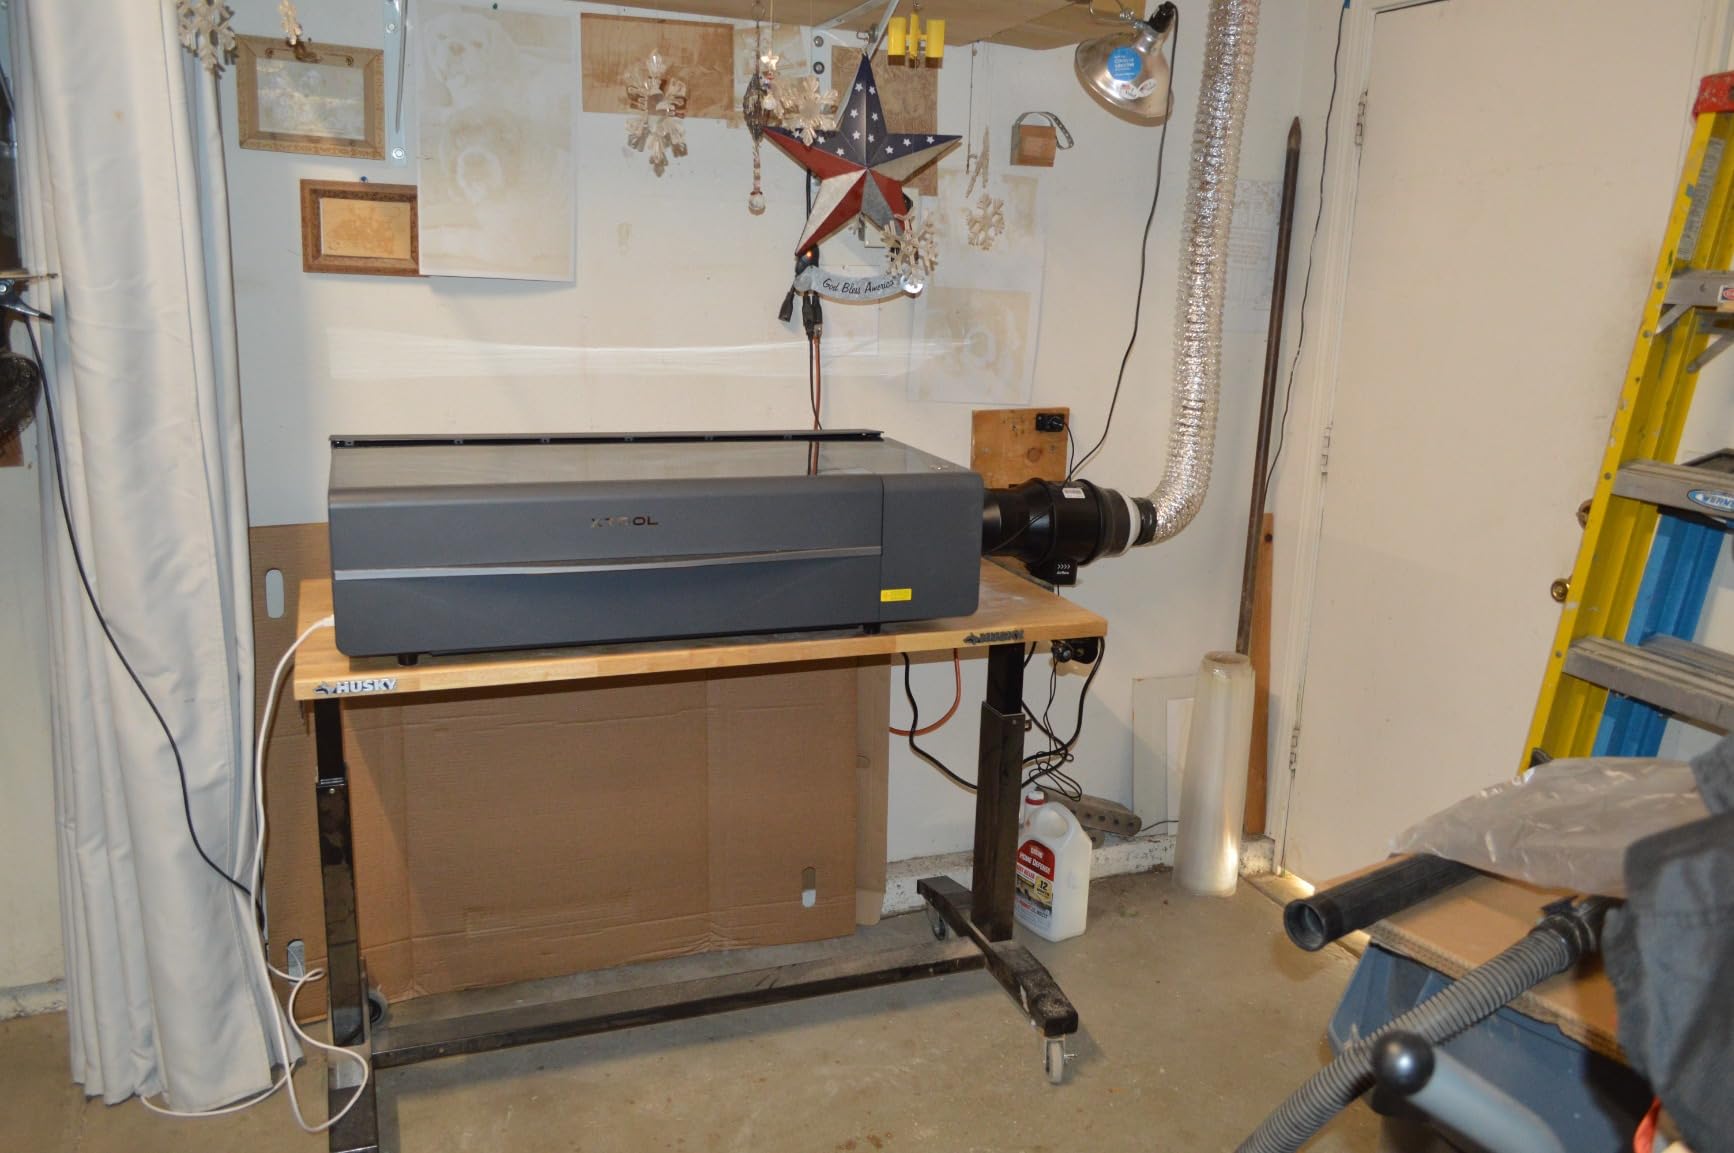
The enclosure is the reason this is our top pick for a shared room. It is a Class 1 design that filters the great majority of laser light, with five flame sensors, an emergency stop, and a lid-open stop. Ventilation is still not optional; owners report a strong smoke smell indoors, so plan an exhaust path or a filtered unit before the first job.
The physical footprint is the honest drawback. At 86.8 pounds it needs its own table and a clear route to it, and buyers flag that the head can be bumped during manual origin alignment because there is no motor braking. The spring-loaded Z probe tip is another reported quirk, occasionally denting thin material or returning a false height reading.
Is the xTool S1 fast enough for real tumbler orders?
Yes, for small-batch and mid-batch work. The 600 mm/s head speed combined with the auto-focus in Creative Space means a single monogram takes minutes rather than an afternoon, and the large bed lets you lay out several blanks in one file.
The AutoPassthrough feature extends the machine to much longer projects, and a feeder can push projects beyond 118 inches. That feeder is a separate purchase, so treat AutoPassthrough as an upgrade path rather than a bundled capability.
Who should skip the S1?
If your workspace is a corner of a shared room and the machine will not get ventilation, the weight and the enclosed footprint work against you. An open-frame unit with a filtered extractor is often the more honest choice for a rented space.
It is also more machine than a pure gift-maker needs. If you are engraving two tumblers a month for birthdays, the output here is wasted capability. Our broader laser cutter guide for hobbyists covers lighter-duty setups.
2. LaserPecker LP2 with Rotary Roller – Best Value Laser Engraver for Tumblers
LaserPecker LP2 Laser Engraver with Roller, Portable and Handheld Laser Engraving Machine for Wood Metal Leather Acylic Engraving Laser Cutter, Suit Set with Versatile Rotary Roller
Class 4 galvo
1417 in/min max speed
10.21 lb
5.91 x 5.91 x 8.66 in
12-month warranty
Pros
- Compact hand-held format with plug-and-play setup
- Rotary roller adds cylinder slab and trolley modes
- High engraving and preview speeds with fine 0.05 mm spot
- Works on wood leather coated metal and brushed steel
Cons
- Cannot engrave pure or shiny metal
- Engraving width capped at 4 inches in trolley mode
- Needs a steady 11 cm working distance to align
The LP2 answers a different question than the S1: what if your engraver has to come to the customer? At 10.21 pounds and 5.91 by 5.91 by 8.66 inches, it is the smallest and lightest machine in the group, and it does not feel like a toy. It is a Class 4 hand-held galvo engraver rather than a gantry bed, so there is no frame to level and no origin to set.
The rotary roller is the part that matters for tumblers. It adds a third axis and runs in cylinder, slab, and trolley mode, so the same fixture handles a tumbler, a flat sign, or a longer run. Buyers single out the cylinder mode as the reason they bought it, and the seller photos show tumbler blanks going through the roller.
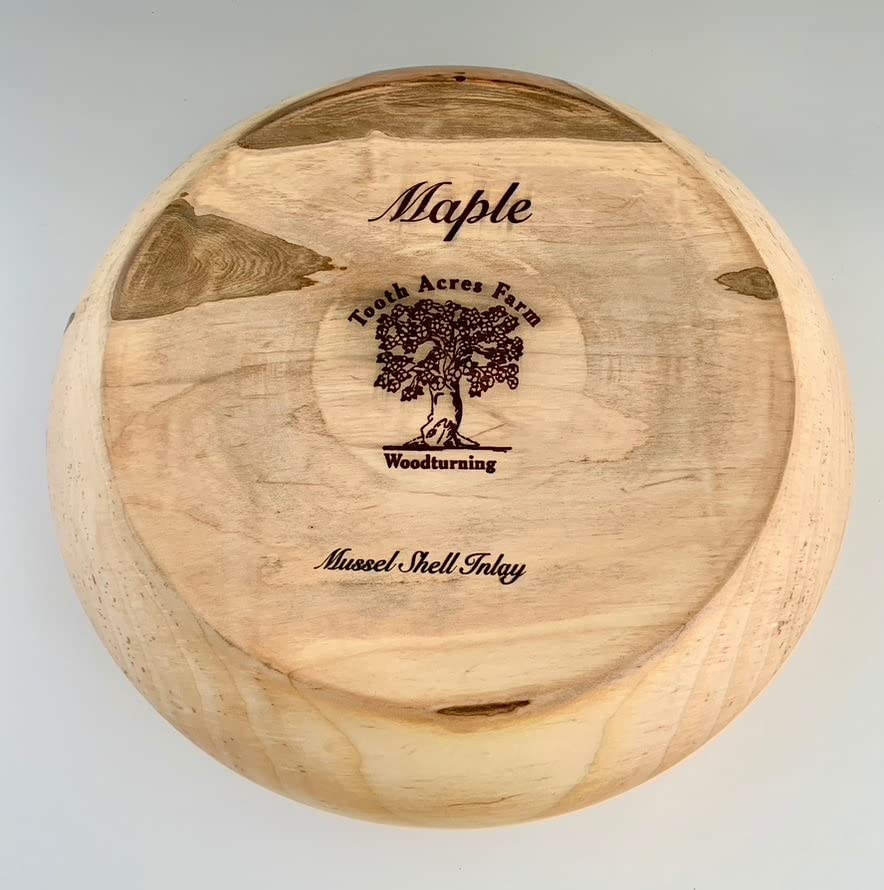
Speed is where this unit is simply ahead of the desktop machines. Maximum engraving speed is listed at 1417 in/min, with frame and graphic preview at 8858 in/min, and the compressed laser spot is 0.05 mm with 1K, 1.3K, and 2K resolution options. On a short monogram that preview speed is the difference between watching and waiting.
Material reach is broader than the wattage suggests. Owners report good results on wood, leather, cardboard, coated metal, and brushed stainless steel, and it accepts JPG, PNG, and G-code from either a phone or a PC. The 4.33 inch laser distance has to be held steady, which is the main reason alignment practice matters more here than on a gantry bed.
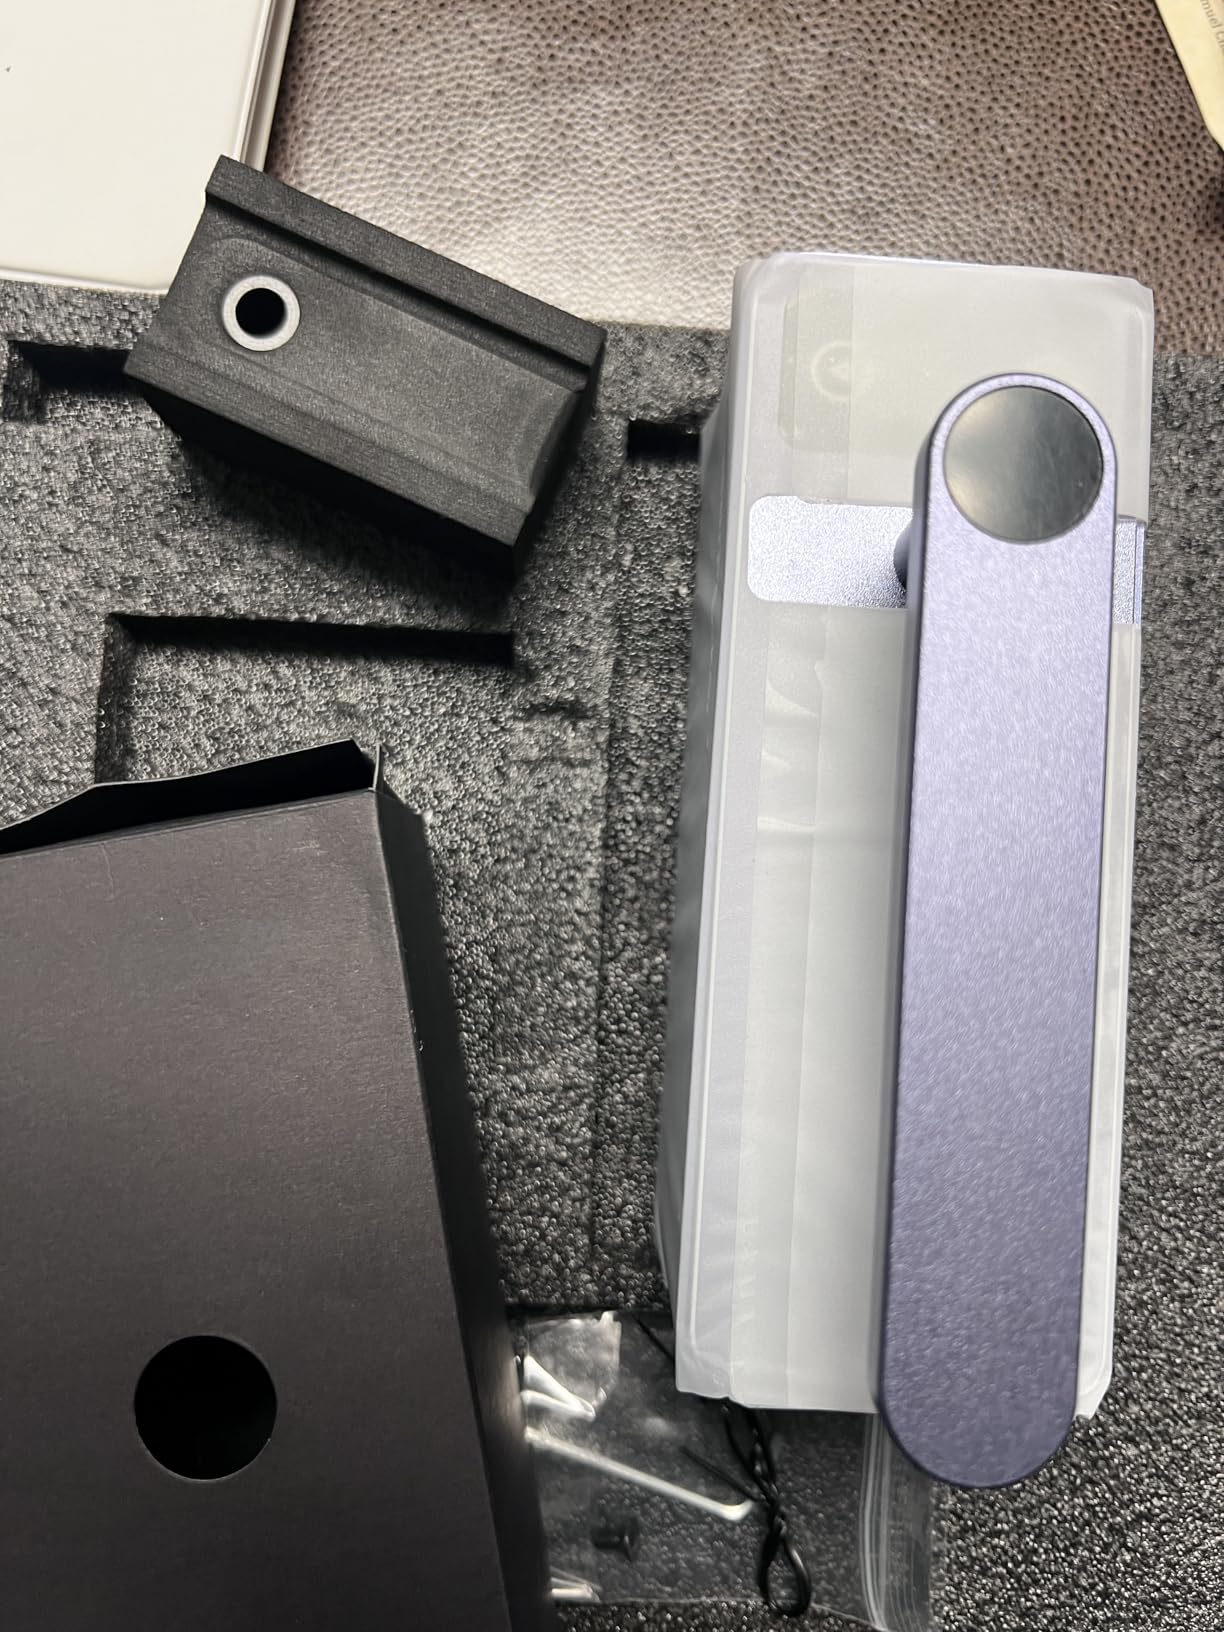
Why do owners pick the LP2 over a desktop machine?
Portability wins for pop-up shops, craft fairs, and on-site customization, and the 12-month warranty is a real comfort at this tier. The format also means no bed to calibrate, so a beginner can go from unboxing to a marked tumbler in one sitting.
Reviewers also appreciate that it is not a single-purpose machine. Leather, wood, and coated blanks all come out well, which broadens a small business beyond drinkware alone.
Where does the LP2 fall short?
It cannot engrave pure or shiny metal. Light or transparent materials need a black coating applied first, and the tungsten-style tips people reach for will not change that. If your product line is bare stainless, this class is the wrong tool.
The second limit is width. Even with the extended trolley mode, the engraving band stays at 4 inches, so a full-wrap design or a wide flat sign is out of reach. Plan small, centered designs for tumblers.
3. WECREAT 20W Enclosed with 4-in-1 Rotary – Best for Batch Tumbler Runs
WECREAT Laser Engraver and Cutter, 20W(20,000mW) 4-in-1 Desktop Diode Fully Enclosed Laser Engraver Machine with Rotary, Home Business for Jewelry and Gift Making with Metal Wood Acrylic Leather
20W diode
600 mm/s
0.06 x 0.08 mm spot
66.9 lb
Fully enclosed Class 1
Pros
- 20W power with fast cutting for small-batch production
- Fully enclosed Class 1 so no extra goggles needed
- Auto-lifting bed removes the need for a separate riser
- Integrated camera speeds positioning and cuts waste
- 4-in-1 rotary covers tumblers mugs and cylinders
Cons
- Heavy unit that is difficult to move
- Camera positioning needs recalibration on thick work
- Learning curve for the proprietary positioning workflow
This is the machine for someone who has already decided to sell engraved drinkware rather than give it away. The 20W diode cuts 10 mm wood or 8 mm opaque black acrylic in one pass and runs up to 600 mm/s, which is the throughput you want when a single job file holds a dozen tumblers.
The auto-lifting bed is the sleeper feature. It travels 0 to 140 mm, so a tall tumbler, a mug, and a thin acrylic sheet all sit correctly without stacking risers and re-homing the job. For a seller mixing drinkware with other products, that removes a whole category of setup error.
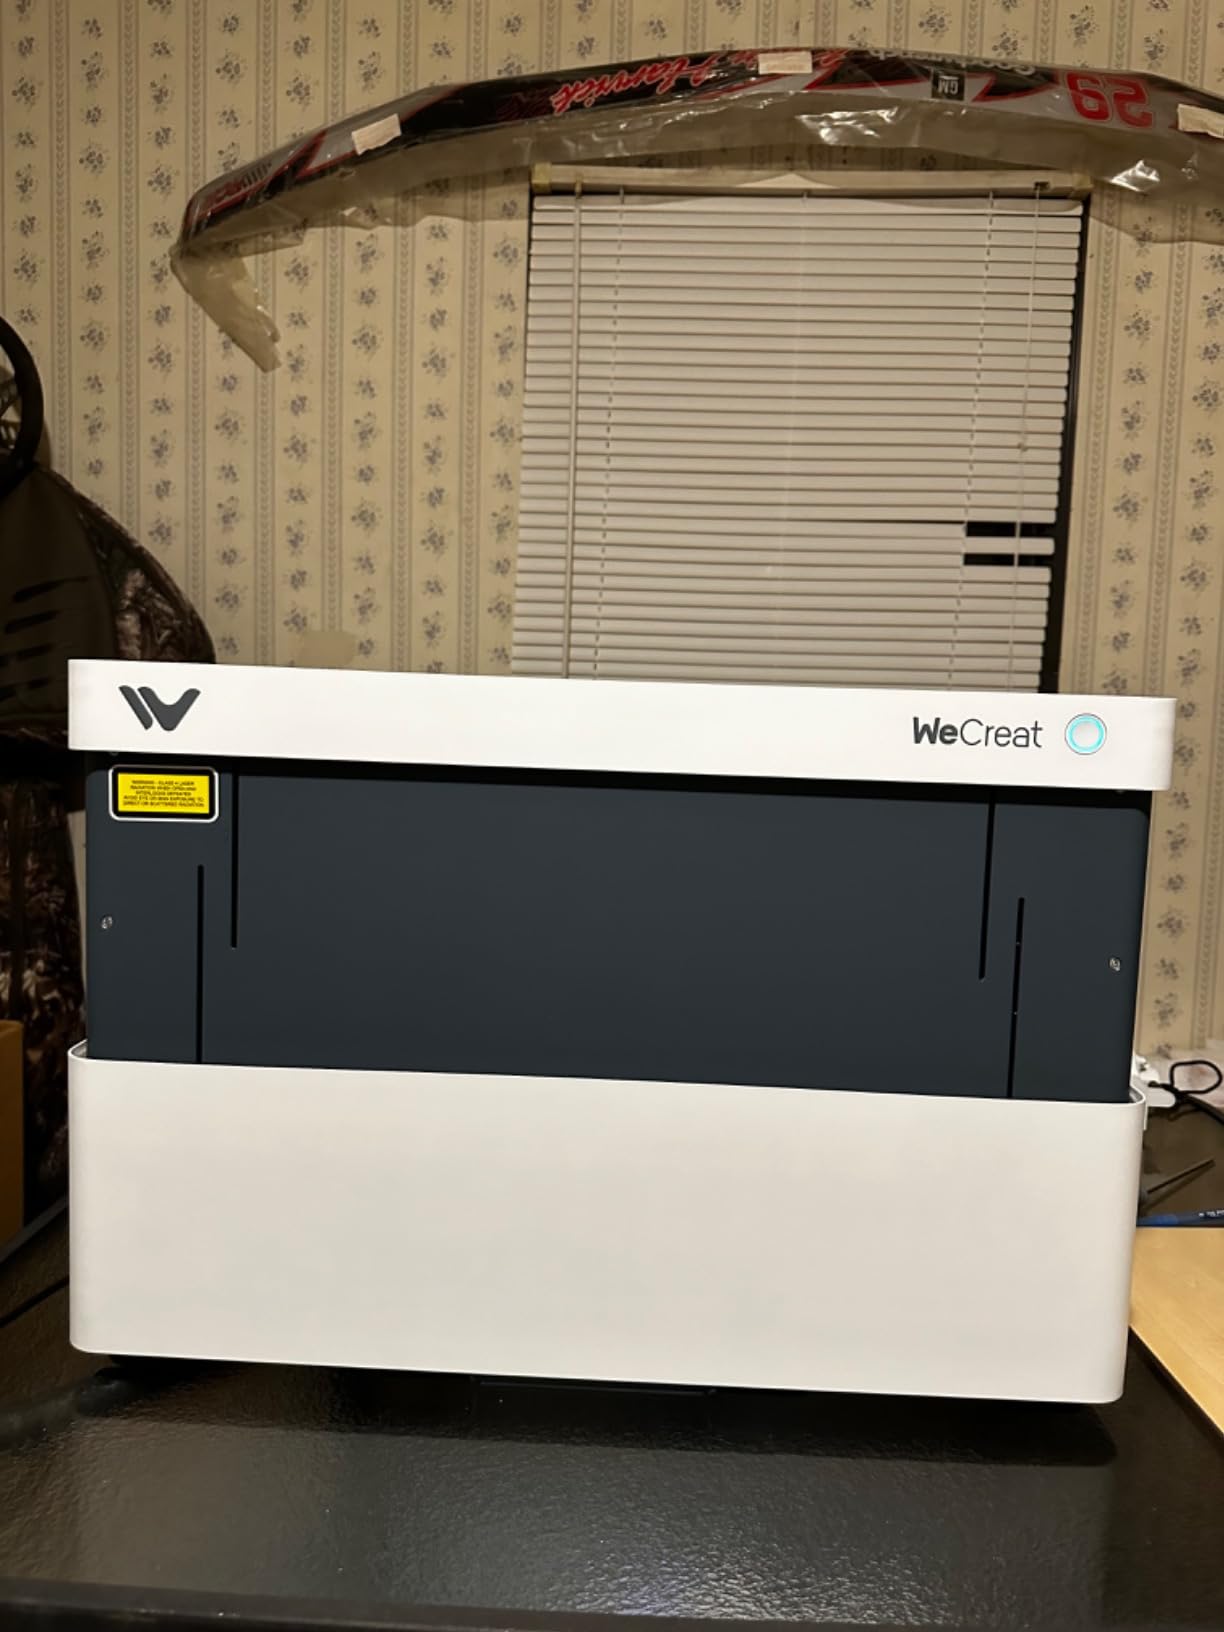
Safety is handled properly here. The fully enclosed Class 1 body filters the great majority of emitted light and stops on lid open, so you are not working in goggles or gating off a room. Add the 30 L/min smart air assist and the workspace stays far more manageable than an open frame of the same size.
The built-in HD camera is what makes repeat production viable. It handles auto positioning and gives you a quick view of the material matrix before you fire, which cuts waste on failed placements. Buyers cite it, along with the enclosure and the bed lift, as the three reasons they keep the machine.
Does the 20W diode have enough power for coated tumblers?
For powder-coated stainless, yes, and with room to spare. Diode class machines strip the coating to expose bright metal beneath, and 20W with a 600 mm/s head speed gives you faster passes and more settings headroom than a 10W unit on the same job.
The 0.06 x 0.08 mm laser spot is fine enough for names and short text but is not the sharpest in this group. If your designs are photo-heavy, compare against the ATOMSTACK or the Twotrees before deciding.
What should a first-time seller watch out for?
Two things. The unit weighs 66.9 pounds and buyers describe it as hard to move, so set its home before the first job rather than after. And camera-based positioning needs recalibration when you switch to thicker workpieces, which is a habit worth building early.
The 4-in-1 rotary system covers tumblers, mugs, roller, chuck, sphere, and ring work, and the machine runs with WeCreat MakeIt or LightBurn. Learning LightBurn early pays off if you ever outgrow the bundled workflow.
4. WECREAT Vista 10W – Best Laser Engraver for Beginners Making Tumblers
WECREAT Vista 10W Laser Engraving Machine with 9-in 1 Rotary, Smart HD Camera, Compact Diode Desktop Laser Engraver for Beginners DIY Hobbyist Wood Leather Glass Metal Jewelry Gifts Making
10W Class 1 enclosed
16.34 x 11.42 in area
600 mm/s
0.06 x 0.04 mm spot
53.9 lb
Pros
- 9-in-1 rotary kit covers tumblers mugs bottles and jewelry
- FlipLaser rotary handles 40 oz tumblers without risers
- TopView camera with auto-focus improves placement accuracy
- Enclosed body with air assist and fume extraction
- Large ready-made design library for new users
Cons
- 10W output is modest for thick cutting jobs
- Infrared module needed for bare metal detail work
- Camera-based setup adds steps for quick one-off jobs
The Vista is built around a specific beginner problem: getting a 40 oz tumbler into the machine without buying risers, stacking blocks, or fighting calibration. The patented 90-degree FlipLaser rotary rotates the workpiece into position so tall blanks sit square in the bed. That single design decision removes the step where most first-time buyers give up.
Placement is handled by the TopView HD camera with auto-focus, which produces distortion-free positioning and reduces wasted material on first attempts. Buyers rate the combination of camera and rotary as beginner-friendly, which is the right priority when you are still learning what power and speed do to a surface.
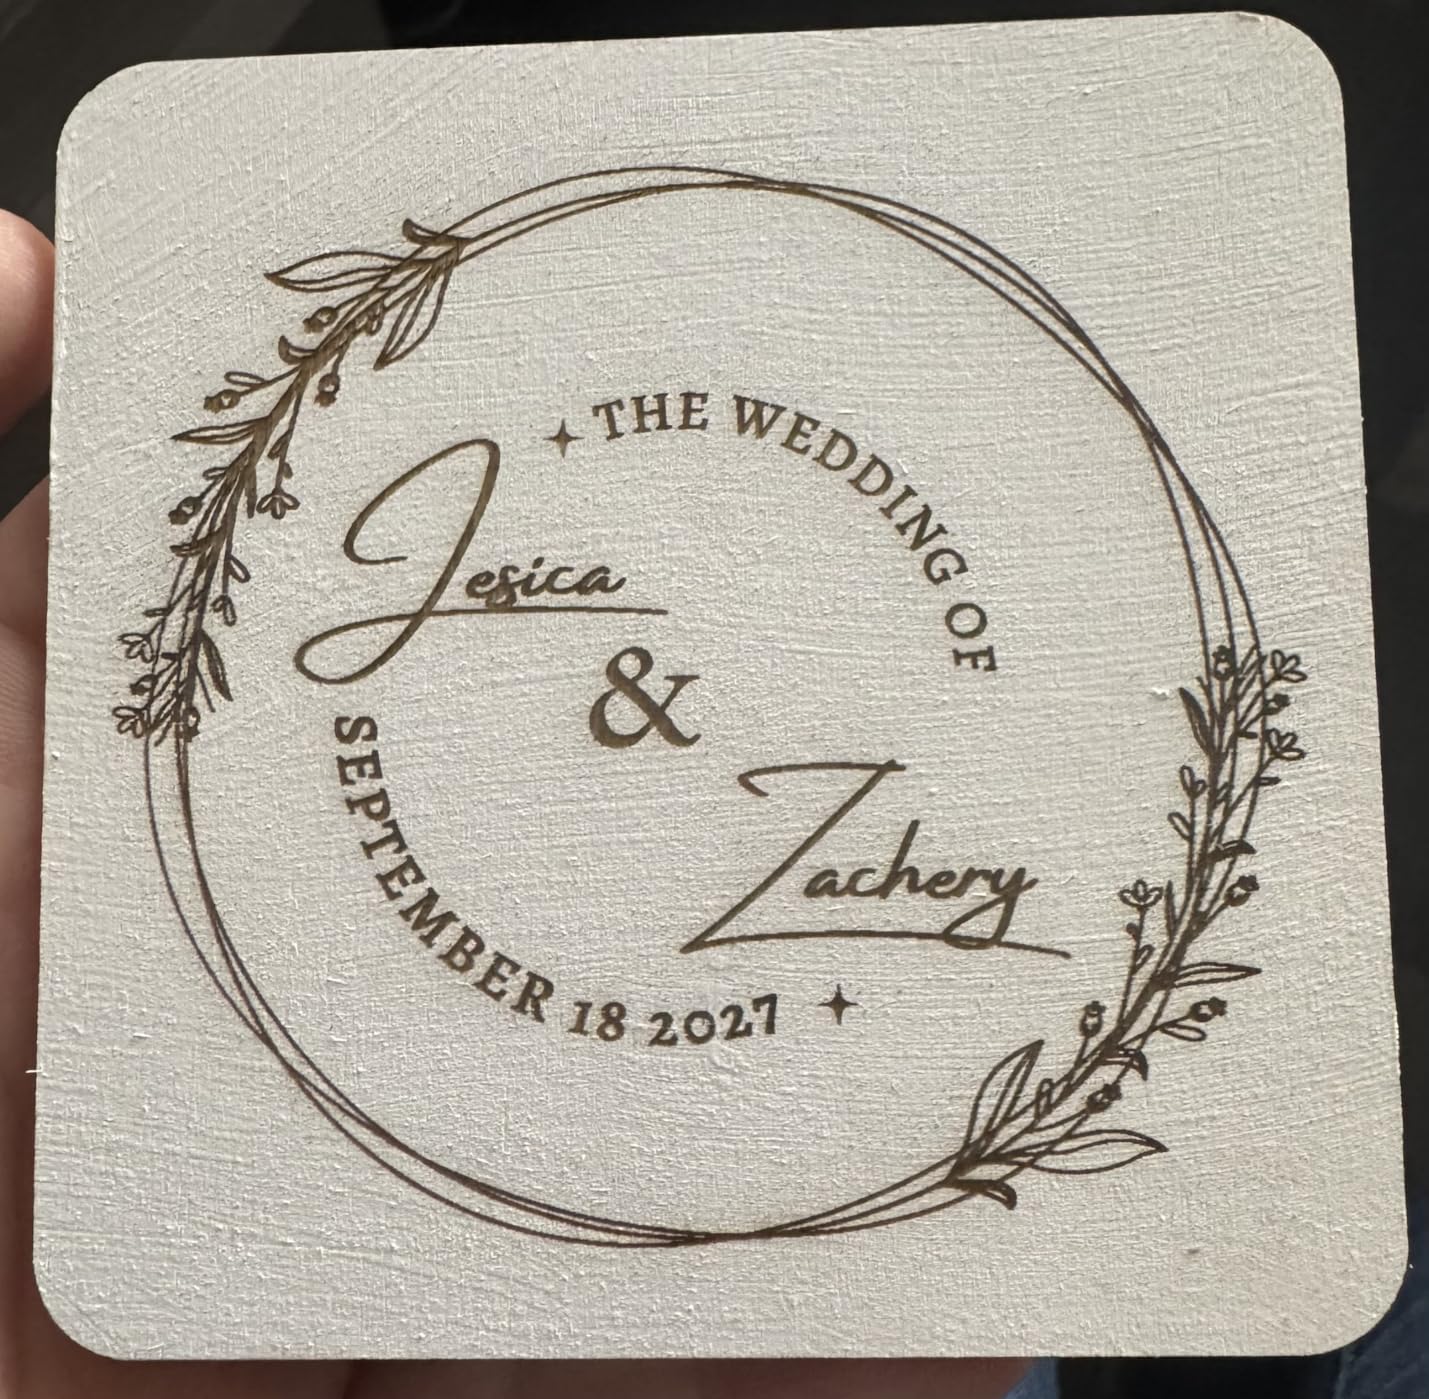
The 9-in-1 rotary kit is unusually broad for a compact unit. It covers tumblers, mugs, bottles, and small jewelry pieces, so the same machine handles gifts and a growing product range. Air Assist plus a CleanAir fume extractor keep the workspace usable indoors, and the enclosed metal body contains light and noise.
Software is LightBurn compatible, and the updated WeCreat MakeIt library holds more than 2,000 ready-to-print projects. For a first machine, a project library matters more than most buyers expect, because it removes the blank-canvas problem entirely.
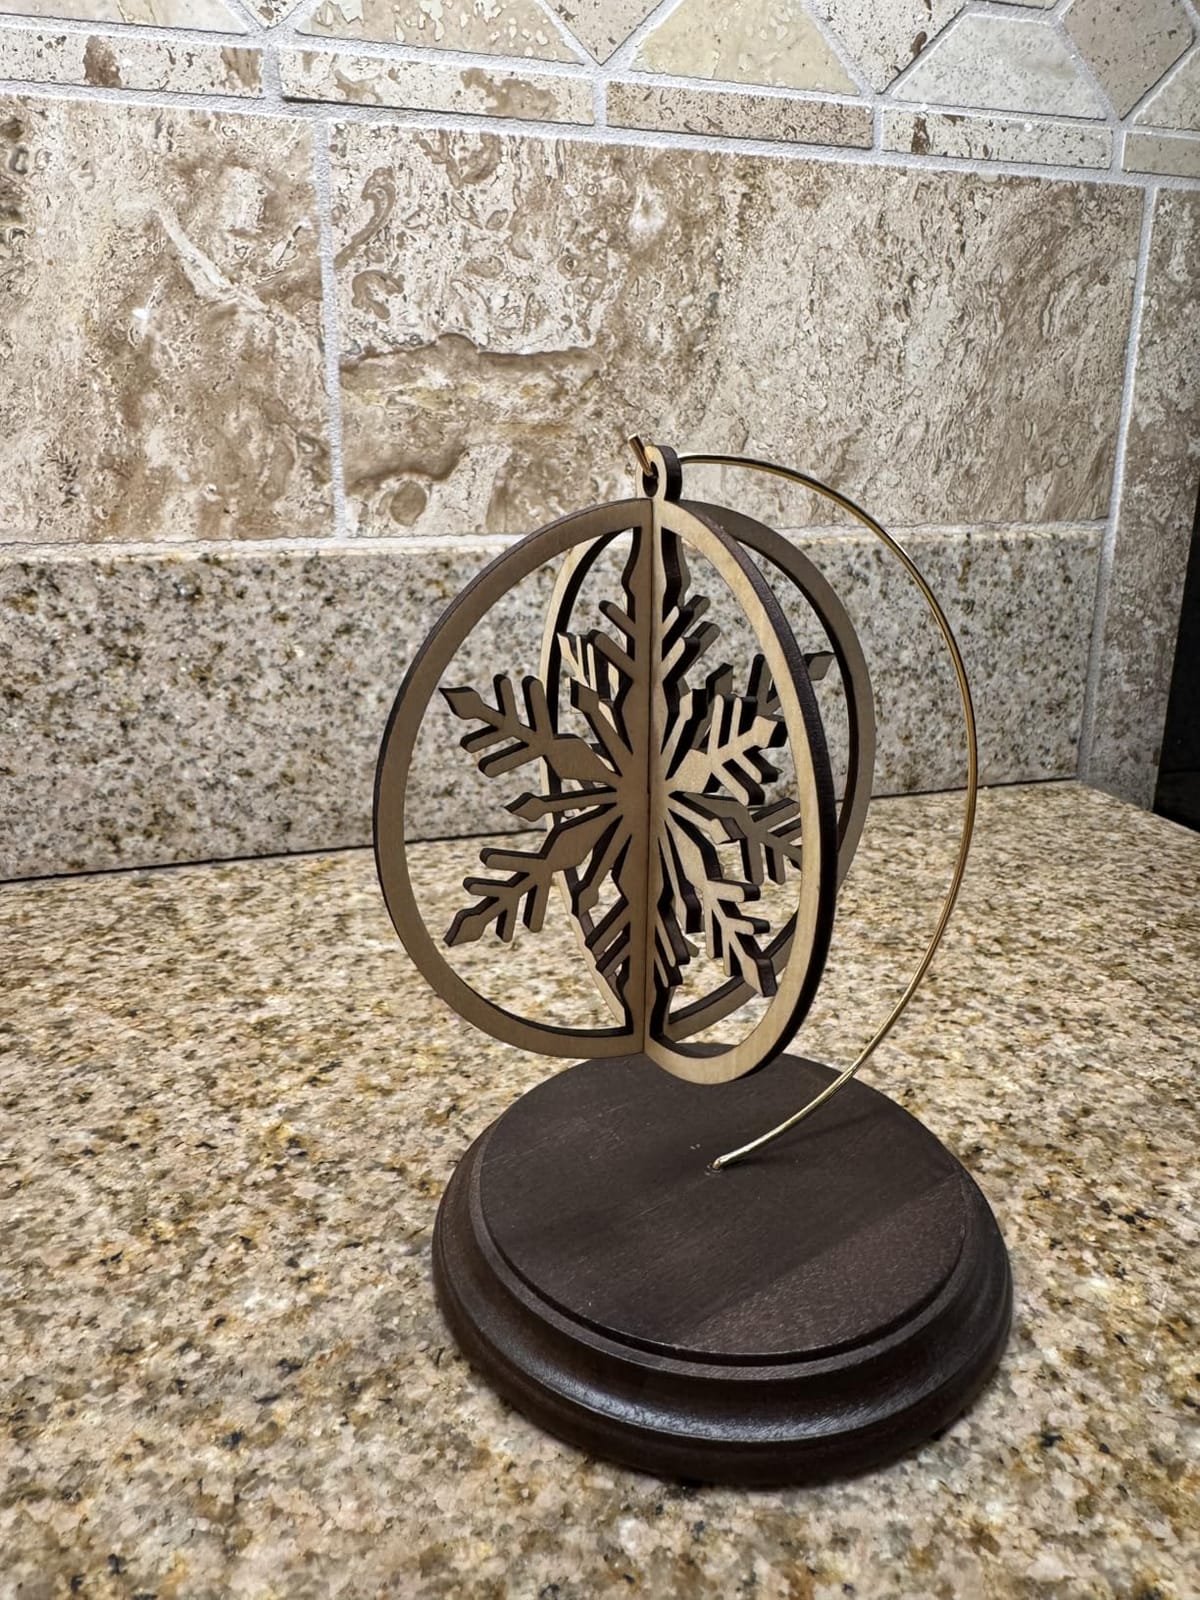
Is 10W enough power for a beginner tumbler machine?
For engraving coated drinkware, yes. The 10W diode works across a 16.34 x 11.42 inch work area at 600 mm/s with a 0.06 x 0.04 mm spot, which is among the tightest spots in this group and fine for small text and line work.
Where 10W runs out is cutting. Its 3 mm acrylic depth is the lowest in this group, so if you also want to slice wood or acrylic for a product line, budget for a step up in power or keep the cutting on a separate machine.
When does a beginner outgrow this setup?
Bare metal is the first limit. An optional 2W infrared module adds metal and plastic detail work, and it is optional for a reason: without it, this machine is a coated-blank engraver.
The second limit is speed of workflow. The camera-based setup adds steps, which is a poor trade for quick one-off jobs but an excellent one when you are learning. If you expect dozens of small jobs a day rather than a few careful ones, step up to the enclosed 20W instead.
5. ATOMSTACK A20 PRO V2 20W – Best for Fine Detail on Coated Tumblers
ATOMSTACK 20W Laser Engraver, A20 PRO V2 Laser Cutter with Auto Air Assist, R8 Rotary Chuck, High Accuracy Laser Engraving Machine for Personalized Gifts, Business Cards, Wood, Metal, Acrylic, Leather
20W diode
400 mm/s
0.08 x 0.1 mm spot
0.01 mm accuracy
4-in-1 rotary to 200 mm
Pros
- 20W power with 0.01 mm engraving accuracy
- Linear guide rails give smooth durable motion
- 4-in-1 rotary covers tumblers to 200 mm plus rings and spheres
- 60 L/min air assist keeps cuts cleaner
- Tilt sensor and limit switches add safety
Cons
- Small review base so long-term reliability is not well documented
- Class 4 laser means safety glasses and good ventilation
The A20 PRO V2 carries the tightest stated accuracy in this roundup at 0.01 mm, alongside a laser spot of 0.08 x 0.1 mm. Owners report clean small text and fine line work on coated stainless, which is exactly what name and date engraving on drinkware demands.
The mechanical story is what separates it. It uses an integrated linear guide motion on an aluminum alloy modular frame, which is the setup buyers describe as smooth and durable rather than loose. Engraving speed reaches 400 mm/s, below the 600 mm/s reached by the xTool S1, the WECREAT 20W, and the CREALITY FALCON A1, but more than fast enough for single-item work.
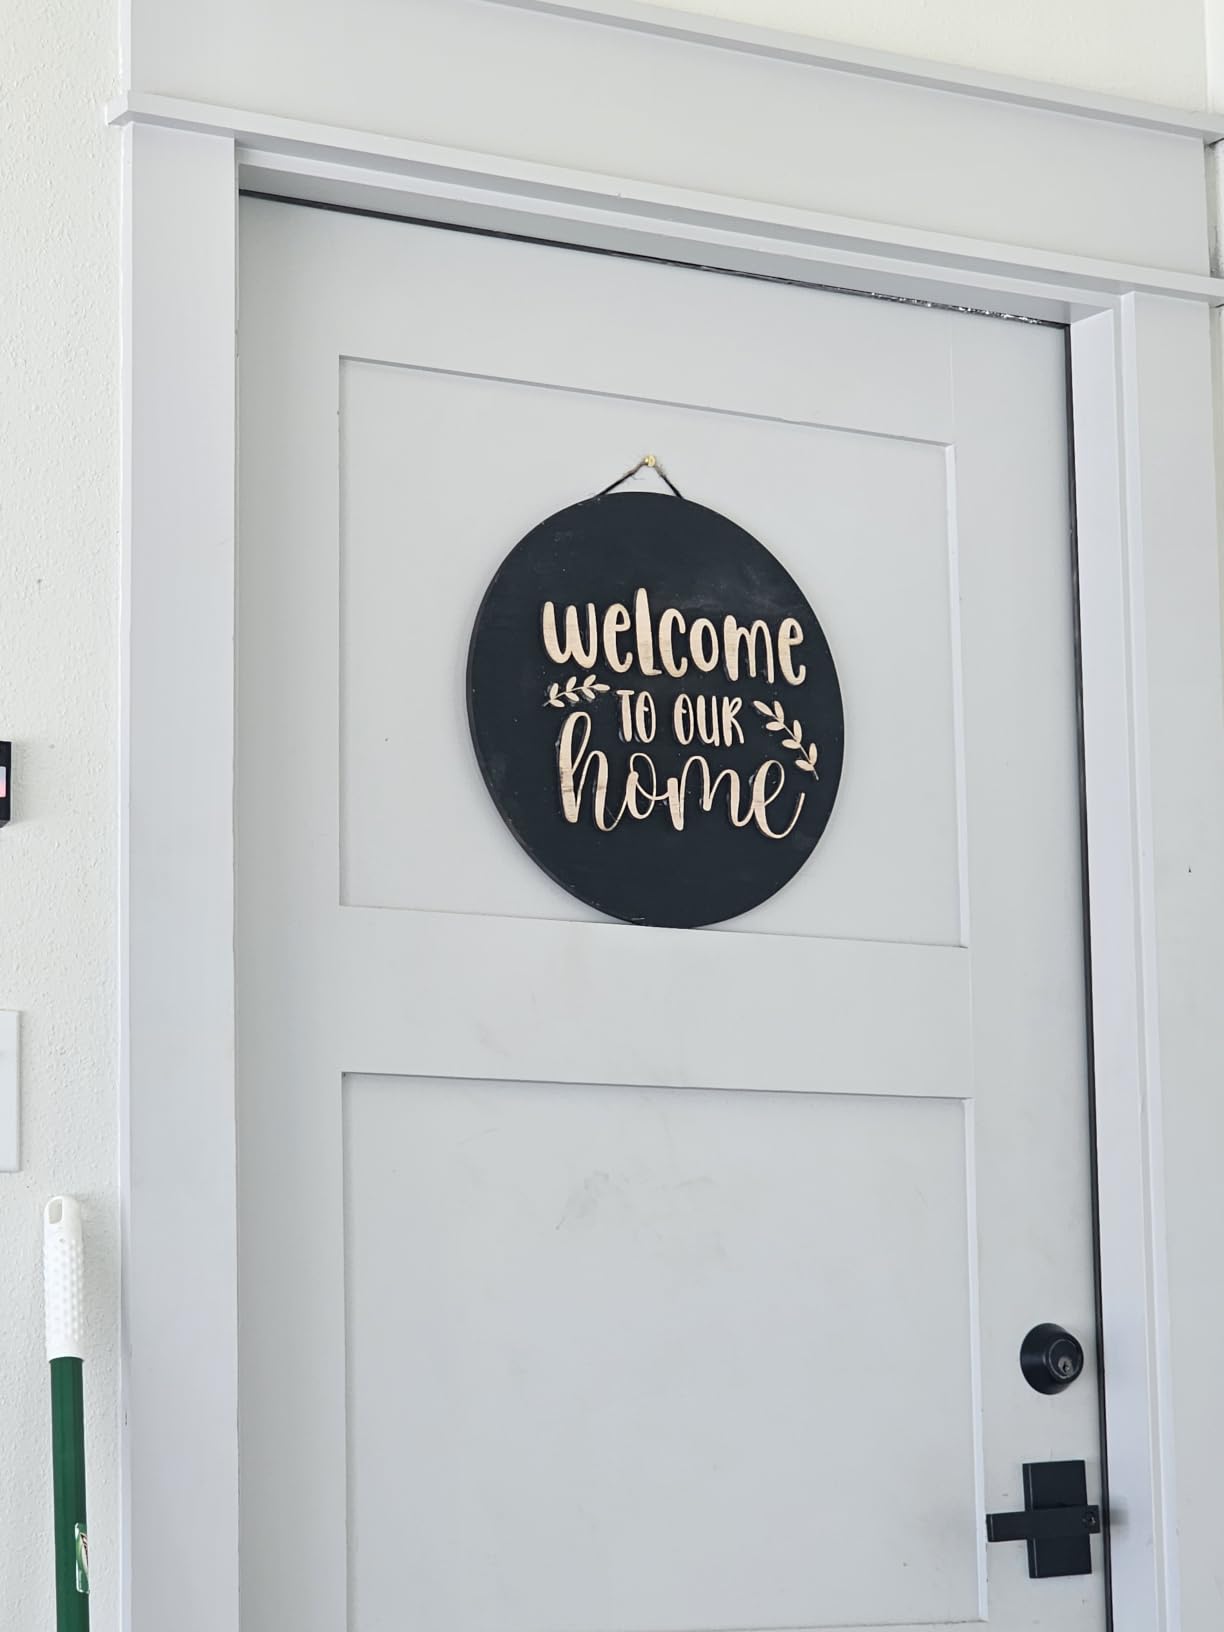
The 4-in-1 rotary system is the feature to look at closely. It covers roller, chuck, sphere, and ring work from 12 mm rings up to 200 mm tumblers with 0.1 degree accuracy. That angular tolerance is what keeps a wraparound design from drifting over the seam, and it is the number we care about most in a tumbler fixture.
Air assist at 60 L/min is the highest stated pump figure among the open-format machines here, and it visibly reduces charring on coated surfaces. Safety features include a tilt sensor, limit switches, a magnetic eye shield, and included safety glasses.
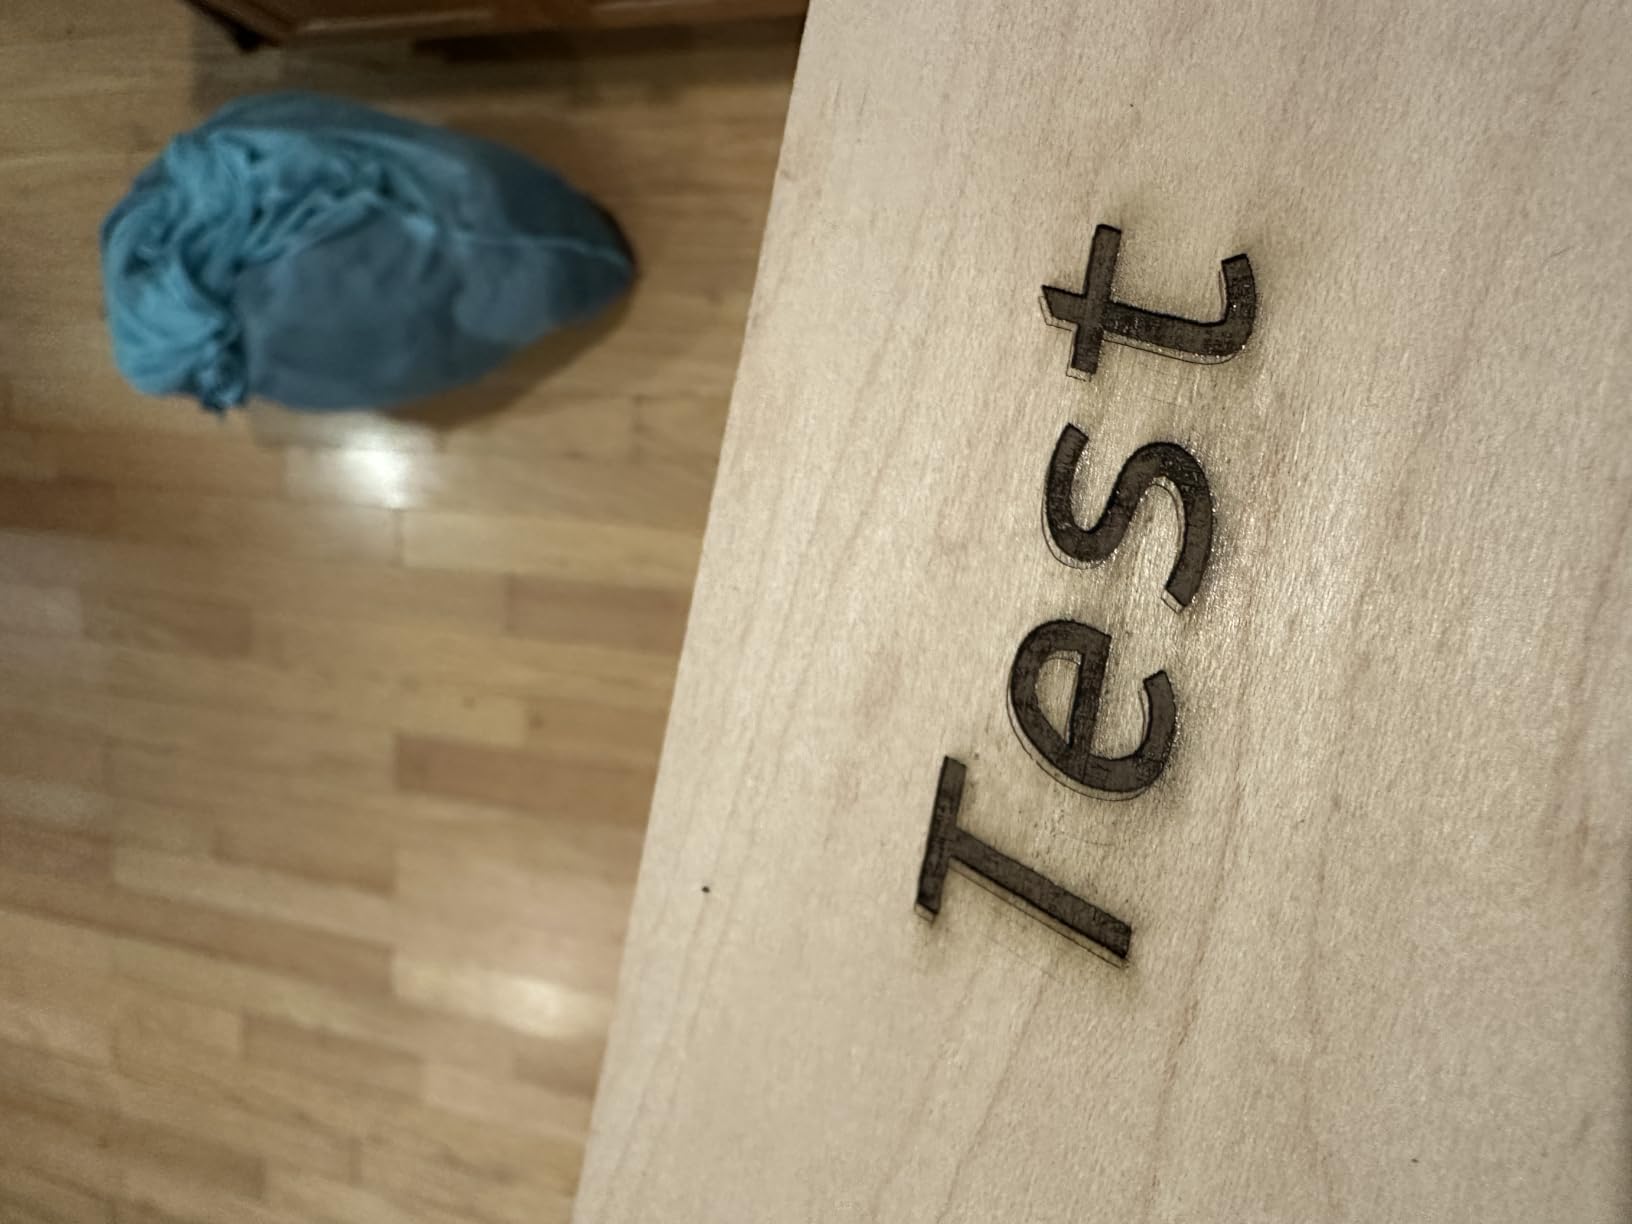
How does the 4-in-1 rotary compare for tumbler work?
On stated accuracy it is the best-specified fixture in the group. Covering up to 200 mm tumblers at 0.1 degree accuracy means large blanks rotate smoothly and a scaled design lands at a consistent diameter around the curve.
It also takes small work, so rings, spheres, and thin cylinders share the same kit. For a gift shop moving between product sizes, that flexibility removes the need for a second fixture.
Should you buy a machine with few reviews?
Be aware of what you are buying. The listing has a small but strongly positive review base, and the early owners we read praise power, precision, and the rotary kit. What nobody can yet document is how the linear rails and the laser module hold up over years of daily work.
If steady long-term durability matters more to you than specification, one of the machines with hundreds of reviews is the safer buy. If you want the best numbers on paper and are comfortable servicing the machine yourself, this one rewards that.
6. CREALITY FALCON A1 10W – Best Enclosed Diode for a Home Studio
CREALITY FALCON A1 10W Laser Engraver, 80W Enclosed Laser Cutter and Engraver Machine with Air Assist, Smart Camera Positioning, 600mm/s Speed, Smart Material Recognition, Ideal for Wood & Metal
10W Class 1 enclosed
381 x 305 mm area
600 mm/s CoreXY
43.6 lb
Dual-door body
Pros
- Ready out of the box with pre-set material parameters
- Camera positioning removes manual setup tweaks
- 600 mm/s CoreXY motion makes batch jobs quick
- Dual-door enclosure filters light and contains smoke
- Works with LightBurn LaserGRBL and Cutlabx
Cons
- Work area is 381 x 305 mm
- smaller than the honeycomb panel implies
- Cannot engrave mirror-finished metals and does not cut acrylic
- Bundled software less polished than LightBurn
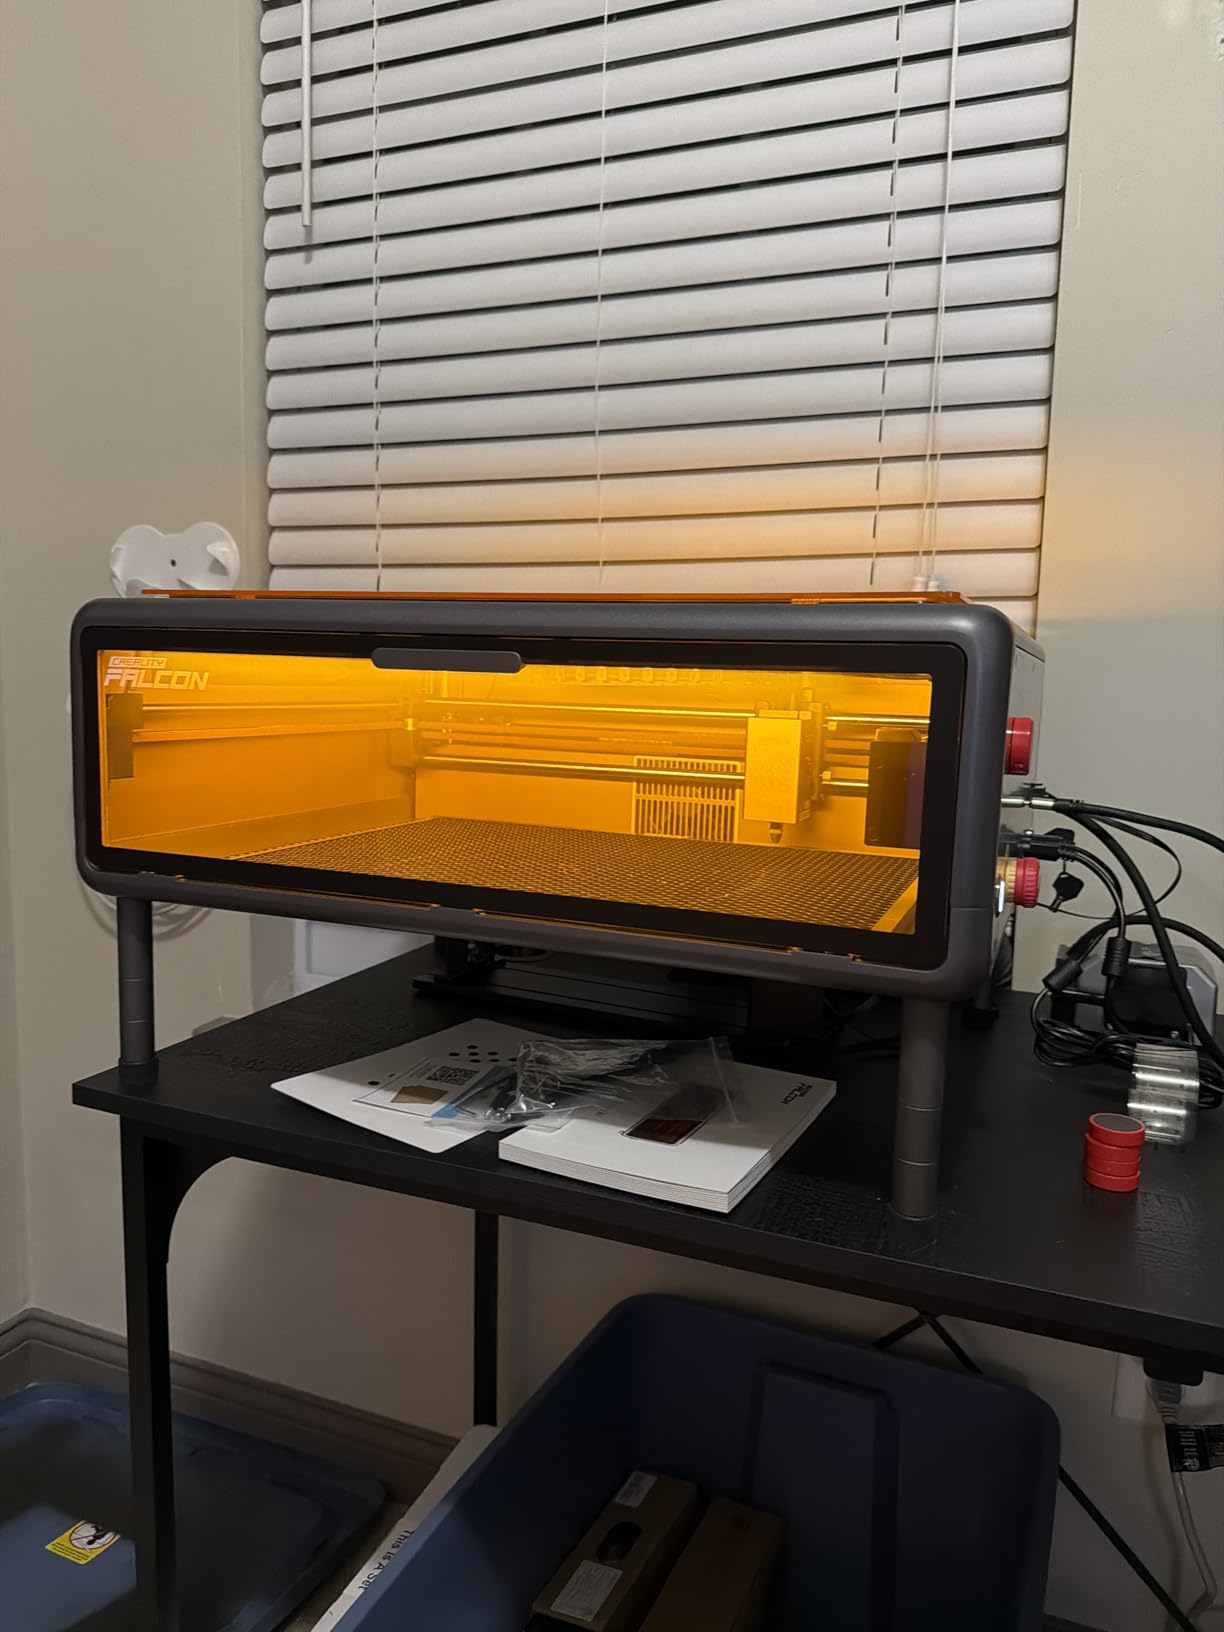
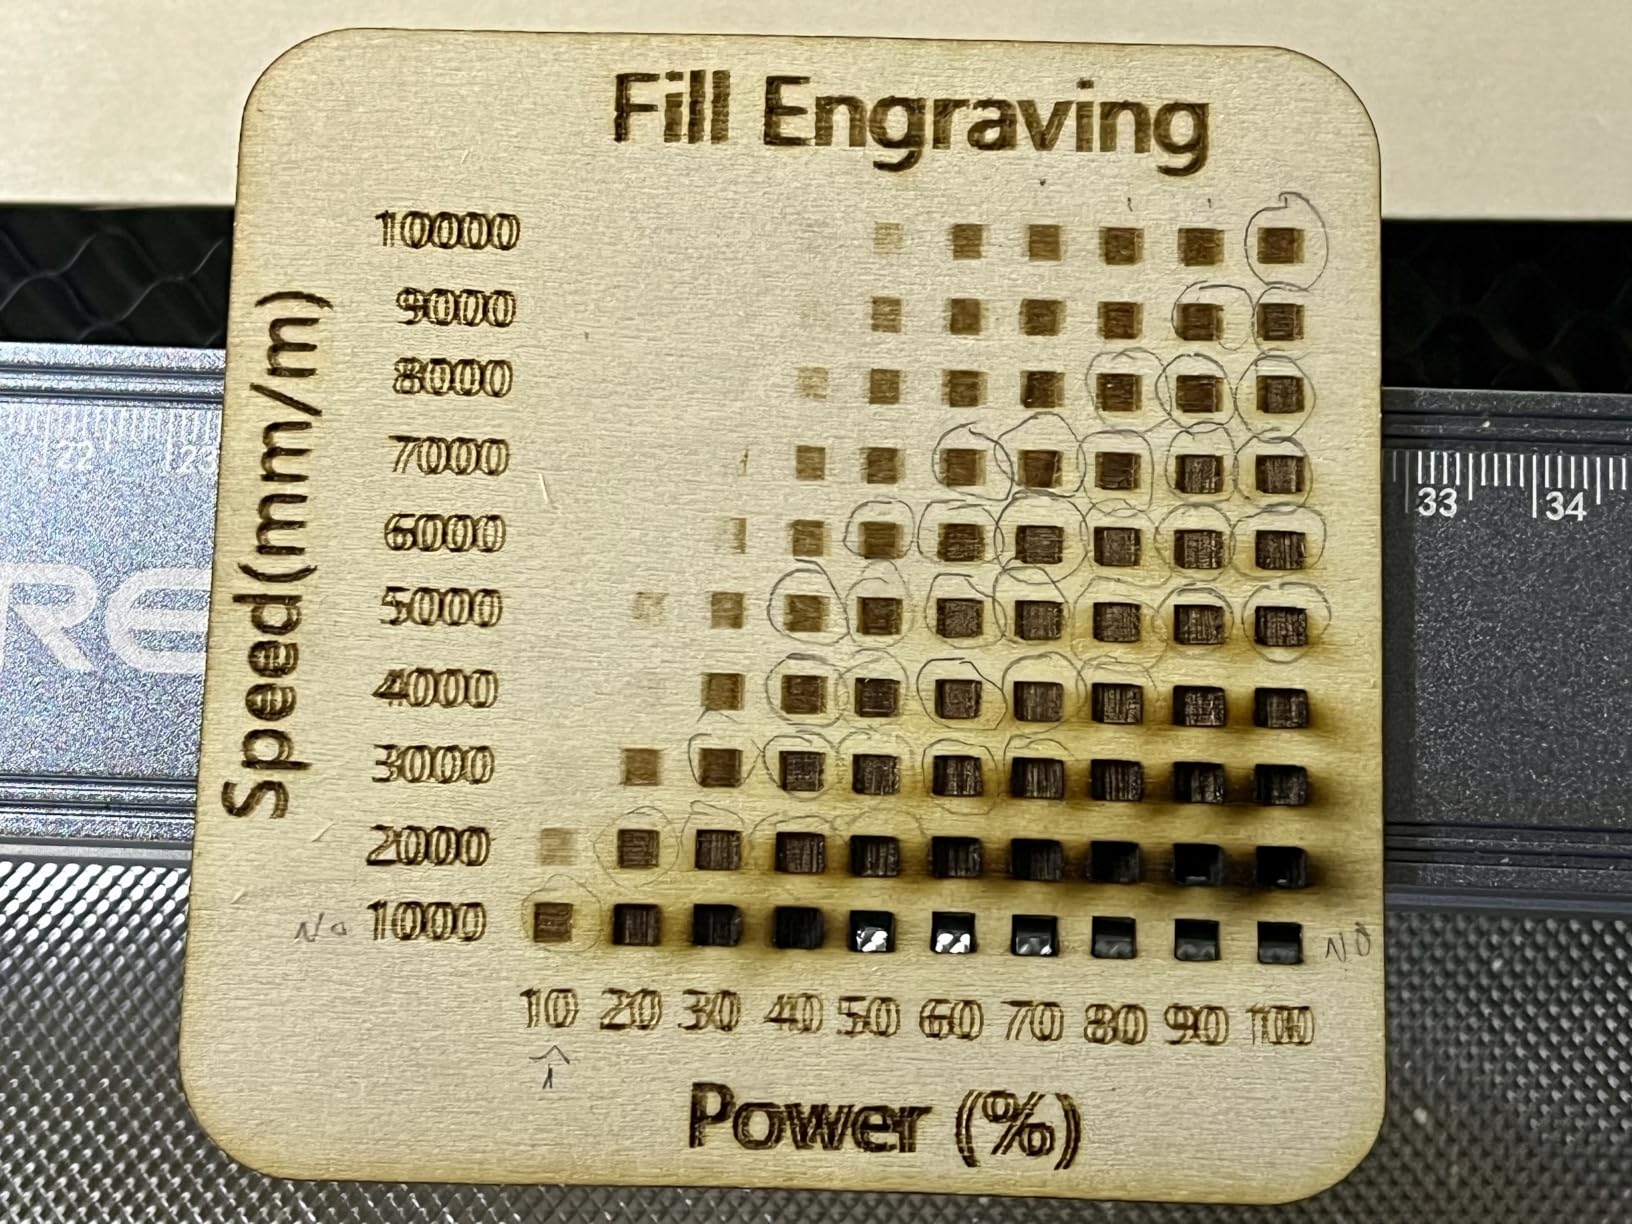
The FALCON A1 is the most approachable machine here to start on. It comes with pre-set material parameters, so a new owner picks wood, acrylic, or coated metal and the machine supplies sensible power and speed. That single decision removes most of the trial-and-error that makes first projects frustrating.
Motion is CoreXY with dual motors reaching 600 mm/s, which is what makes short batch runs quick rather than theoretical. The pre-calibrated HD camera handles full-frame job positioning, and graphic outline extraction turns a design into an engraving path without manual tracing.
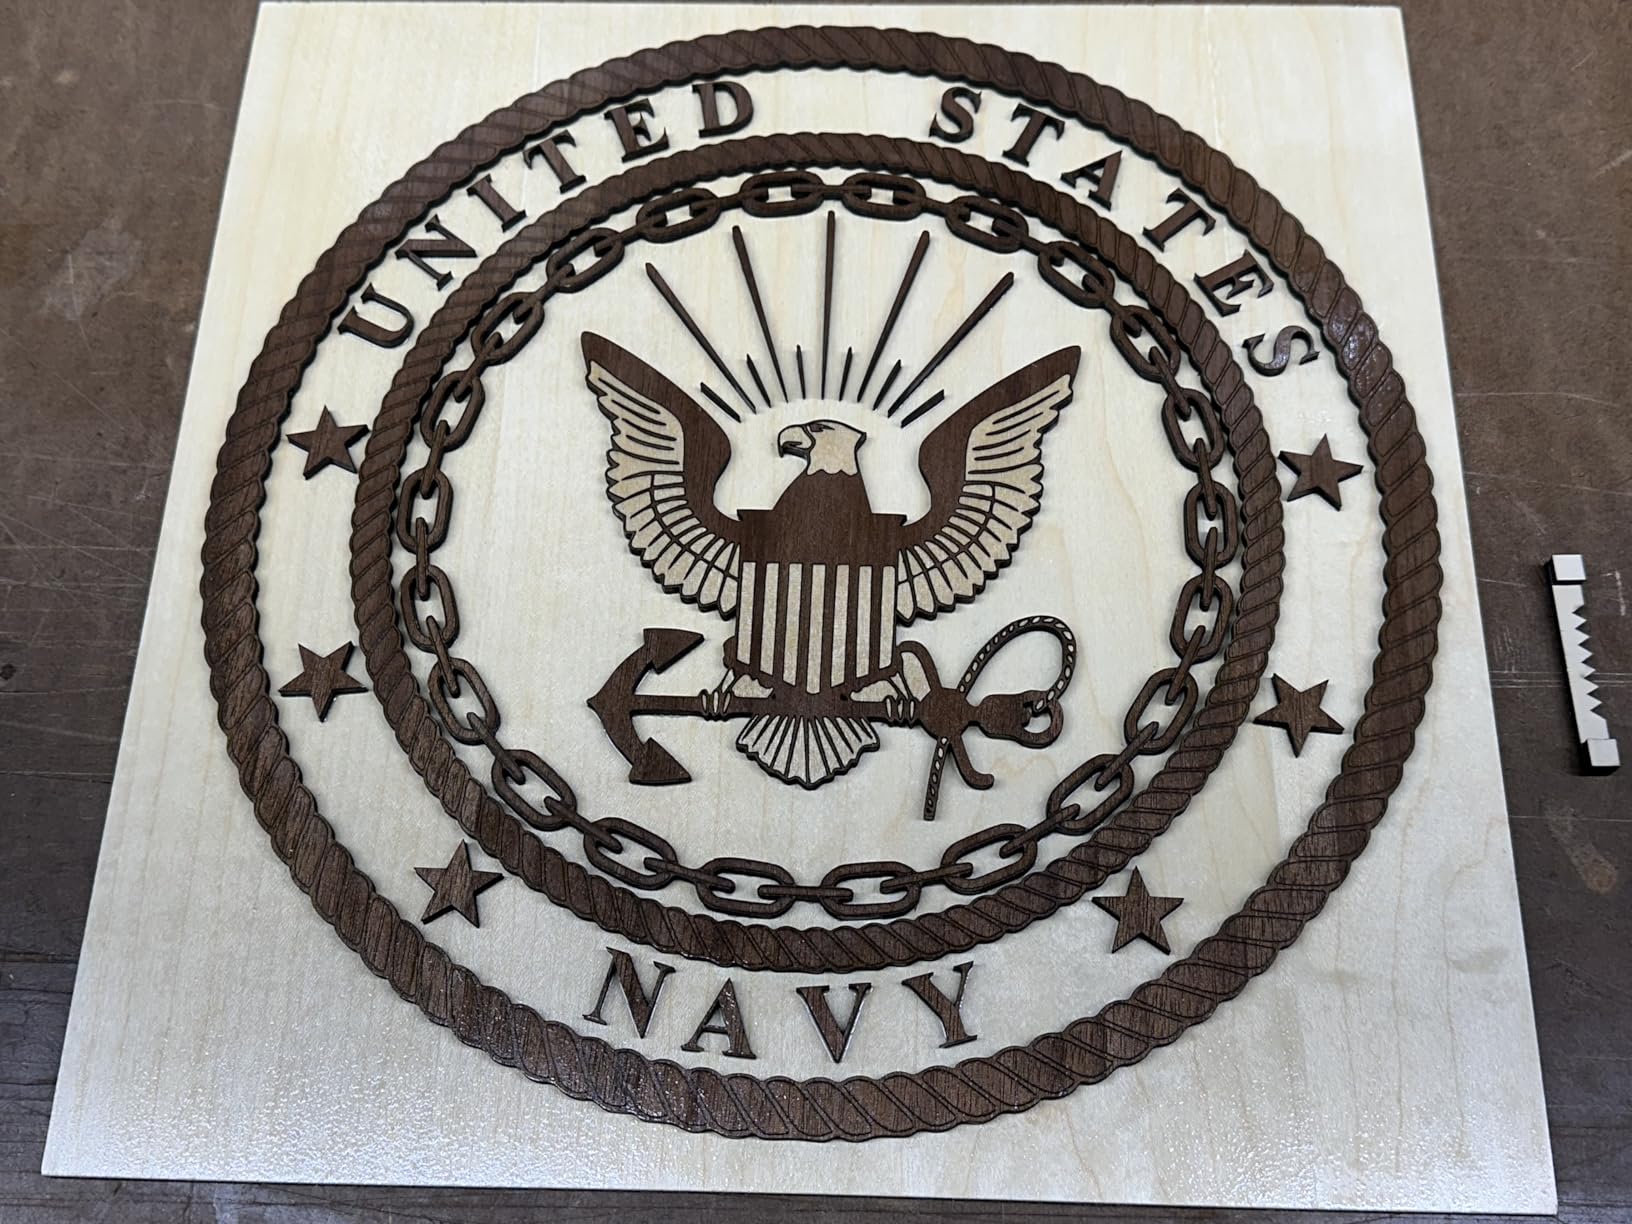
The dual-door enclosure filters the great majority of laser radiation and adds auto-lock, emergency stop, and smoke control. Buyers consistently name the enclosure, the camera positioning, and the speed as the three reasons the machine works in a home or small studio.
Software support is broad for the money: Falcon Design Space, LightBurn, LaserGRBL, and Cutlabx all work. Buyers who move to advanced workflows report the bundled software feels less polished than LightBurn, which is a reasonable trade for a machine that starts out of the box.
Is the work area big enough for a 40 oz tumbler?
It works, but read the number carefully. The stated working area is 381 x 305 mm, and that is smaller than the 500 x 500 mm honeycomb panel in the packaging suggests. Owners flag this discrepancy more than any other spec on the machine, so plan your job layout around the stated figure.
With a rotary attachment the tumbler rotates inside the bed rather than lying across it, so height and rotation handle the size. Just do not plan large flat sheet work alongside drinkware on this unit.
What materials does this machine refuse to touch?
Highly reflective and mirror-finished metals are out, which rules out unbranded stainless blanks with a polished finish. Acrylic must be coated and is not supported for cutting, so if acrylic product is part of your plan, this is not the machine.
For powder-coated stainless, wood, and coated acrylic, the material range is more than enough for a gift and small-business workload.
7. Twotrees TS5 7W – Best Portable Enclosed Laser Engraver for Tumblers
Twotrees TS5 7000mW Laser Engraver for Tumblers Fully Enclosed
7W diode
0.035 x 0.1 mm spot
9.8 x 4.8 x 4.8 in area
19.8 lb
Class 1 enclosure
Pros
- Compact enclosed unit handling flat and rotary work
- Very fine 0.035 mm spot for crisp photo-style detail
- Chuck roller ring and sphere clamps cover most round work
- Light enough to carry to craft fairs or move rooms
- Smoke exhaust port with Wi-Fi and TF card support
Cons
- Does not support limit homing
- Ventilation still needed during heavy engraving
- Small workspace limits larger flat materials
- Safety goggles still recommended while operating
The TS5 is the small-footprint answer, and the reason it works for tumblers is deliberate sizing. The workspace is 9.8 by 4.8 by 4.8 inches, proportioned around drinkware rather than sheet goods, so a tumbler sits inside the bed with room for the rotary fixture to turn it.
At 7W the output is the lowest here, but the spot size of 0.035 by 0.1 mm is very fine, with the smallest single stated dimension in the group. That combination suits engraving rather than cutting, which is exactly the tumbler use case: crisp text, logos, and fine line art with no cutting demanded of it.
Owners like the compact enclosed design, the detail, and the range of included rotary options for tumblers and mugs. The enclosure filters the great majority of emitted light and has two amber viewing windows, so you can watch the job without opening the lid.
The 4-in-1 rotary kit supplies chuck, ring, roller, and sphere attachments, which covers most round workpieces without buying another fixture. Connectivity covers Wi-Fi, TF card, and LightBurn, so the machine works both offline and tethered.
Can a 7W laser engrave a tumbler cleanly?
On coated stainless, yes. The limit is not marking quality but speed and material range: 7W is a single-pass engraving power level, and it will not slice wood or acrylic in any meaningful depth.
The small workspace is the second constraint. Larger flat materials will not fit, so this machine is a drinkware and gift-box machine rather than a general laser cutter.
Why would you skip the TS5?
If you run heavy jobs, two limits get in the way. It does not support limit homing, which matters if you move the machine between rooms and re-seat it, and ventilation is still needed during heavy engraving despite the enclosure.
It also weighs 19.8 pounds, so it is portable for a car boot but not a one-handed carry across a venue. Owners who relocate often still rate it as easy to move between rooms on a cart.
8. CREALITY FALCON 10W with Rotary Kit Pro – Budget Pick
CREALITY FALCON 10w Laser Engraver with Air Assist, Laser Engraving Machine with Rotary Roller, 72W High Precision Laser Cutter and Engraver for Wood, Metal, Acrylic, Cylindrical Objects, Tumblers
10W Class 4
10000 mm/min max speed
0.06 mm spot
20.4 lb
4-in-1 Rotary Kit Pro
Pros
- Affordable entry point with a capable 10W module
- Rotary Kit Pro clamps tumblers bottles spheres and rings
- Air assist keeps edges cleaner and extends module life
- Fast assembly and broad software compatibility
Cons
- Requires self-assembly before use
- Mixed feedback on stability and precision for fine detail
- Rotary kit cable can be hidden in the packaging foam
This is the machine to start on if the goal is to find out whether tumbler engraving is a thing you want to do. The 10W module cuts 12 mm wood or 3 mm black acrylic in a single pass at up to 10000 mm/min, which is more than a first-time buyer typically uses in year one.
Accuracy is specified tightly: a 0.06 mm laser spot, engraving and cutting accuracy within 0.004 inch, and repositioning under 0.007 inch. Whether your particular unit hits that depends on assembly quality, which brings us to the main caveat.
The Rotary Kit Pro is the strongest part of the package. It includes an outside clamp for 1 to 110 mm, an inside prop for 25 to 75 mm, a sphere fixture for 10 to 130 mm, and a ring fixture for 15 to 100 mm. That range covers tumblers, bottles, spheres, and rings in several diameters from one kit.
Safety hardware is solid for an open format: anti-UV acrylic, an emergency stop, and tilt, flip, and drop active stop. Software runs on LaserGRBL and LightBurn across Windows and macOS, and a TF card allows offline operation when you do not want a computer tethered.
Is self-assembly a real problem?
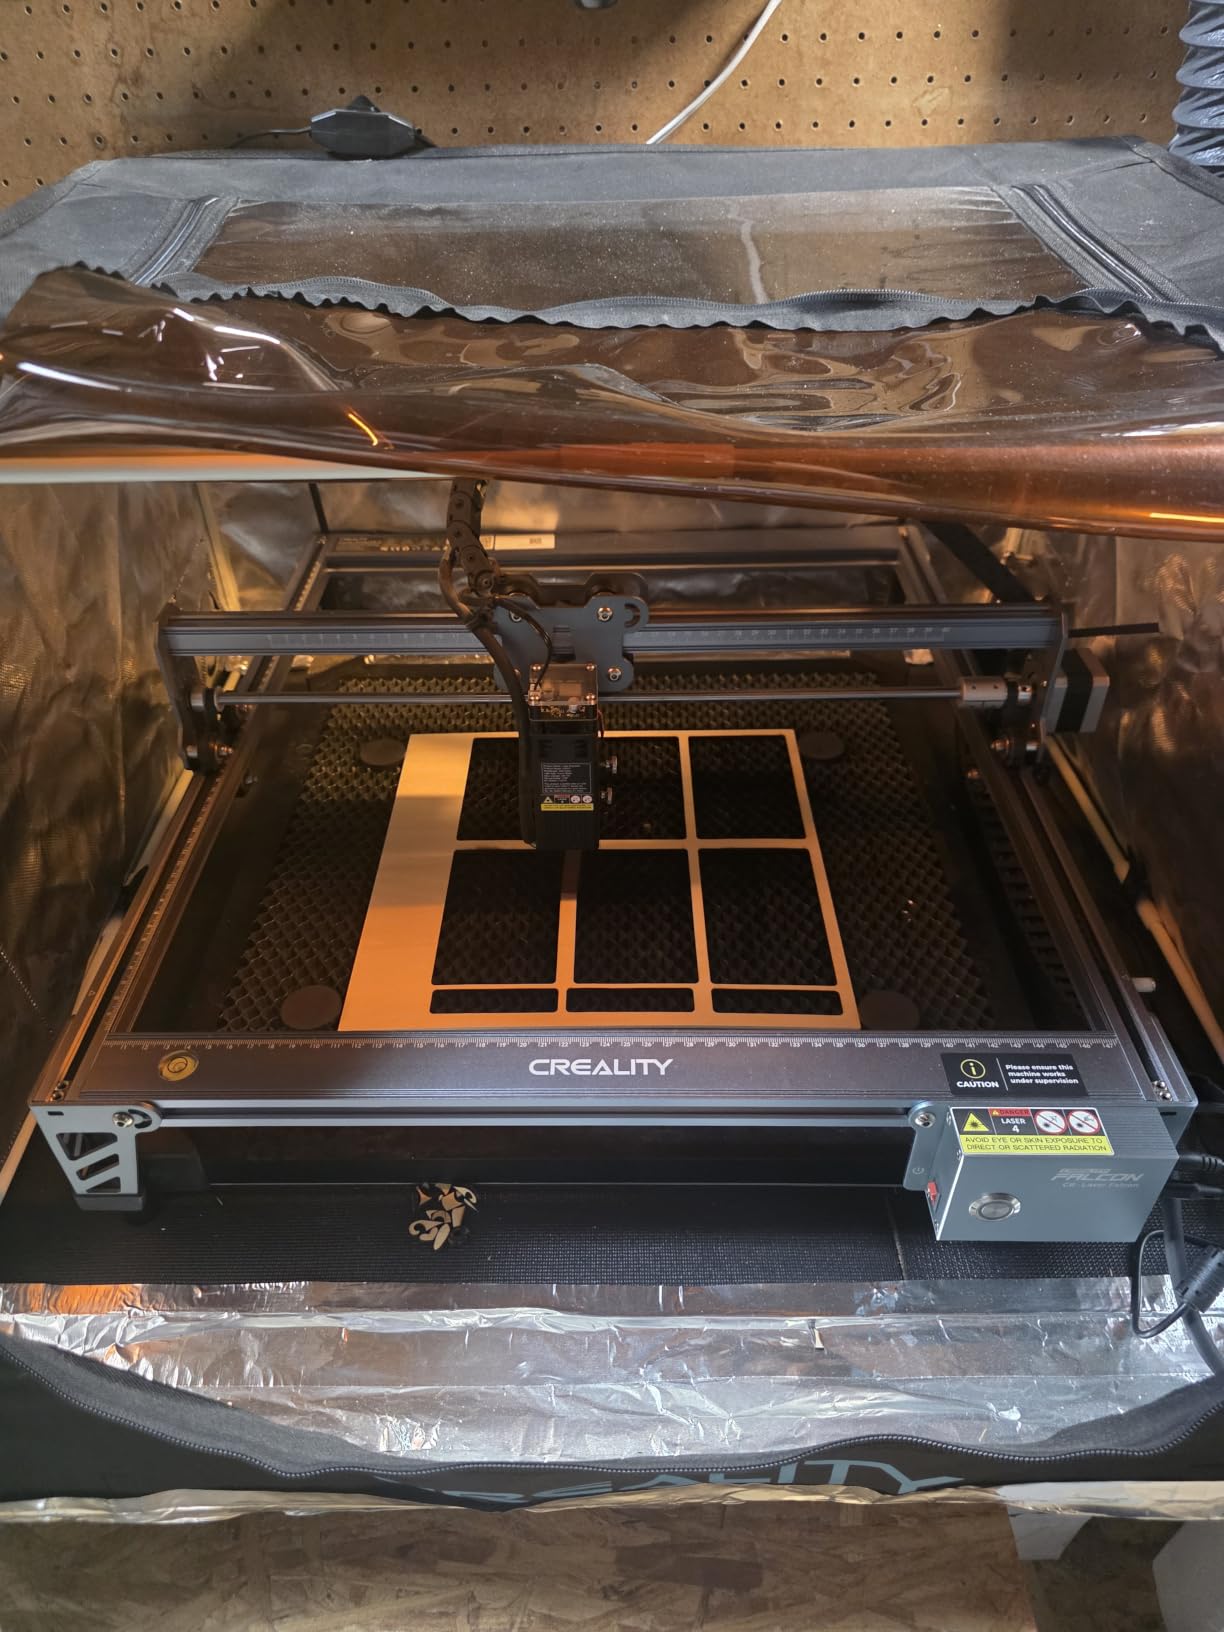
It takes 10 to 20 minutes according to the manufacturer, but the first build is where reviewers report the most friction. Budget an unhurried evening, check every belt and cable, and confirm the frame is square before your first mark.
A recurring tip worth knowing: the rotary kit connection cable can end up buried in the packaging foam. Check for it before you start, because a missing-looking cable is the most common first-build complaint.
Who should buy this and who should step up?
Buy it if your plans are modest: occasional gifts, a small number of monograms, and learning the workflow. It has enough power for coated drinkware and includes a rotary kit that covers cylinders in several diameters without a separate fixture purchase.
Step up if fine detail is the point. Reviewers give mixed feedback on stability and precision for fine detail work, which is the one area a first machine should not compromise. For detailed photo-style engraving, the Twotrees spot size or the ATOMSTACK accuracy figures are the better targets.
Which Laser Class Do You Need for Tumblers in 2026?
The single most expensive mistake in tumbler engraving is buying the wrong laser class. People assume CO2 is the classic tumbler machine because it is the classic engraving machine, then discover it does almost nothing to a stainless surface. Laser class is not a preference here, it is a materials limit.
Here is the framework. Each class has one clear job on drinkware, and the bands below describe the usual market range rather than the cost of any specific configuration.
Diode class is the tumbler default. It strips powder coat off stainless to leave bright metal, and it also cuts wood, acrylic, and leather. It cannot mark bare steel, bare aluminum, or brass. Typical entry points sit well below the fiber range.
Fiber class is the only one of the four that marks bare stainless steel directly, with no coating step and no residue to clean. It also handles anodized aluminum, brass, and titanium, and it is fast on metal. It does not cut wood or acrylic.
CO2 class is a glass, ceramic, wood, and acrylic machine. On a coated tumbler it burns the coating away, which is the one drinkware job it can do. On bare metal it has little to no effect, which is the deal breaker forum buyers discover too late.
Dual-laser class pairs a diode head with a fiber head so one machine covers coated drinkware, wood, acrylic, and bare metal. It is the mixed-material answer and the most expensive way to buy the same coverage as two separate machines.
Match that to your blank type. If your product is powder-coated stainless, diode or CO2 both work and diode gives you wood and acrylic as a bonus. If your product is bare or brushed stainless, fiber is the only answer. If your product line spans glass mugs, ceramic, and metal, dual-laser covers it in one footprint.
Every machine reviewed in this roundup is diode class, which is a deliberate scope. It is the class that handles the most common tumbler blank without a pre-treatment step, and it is where first-time buyers should start. Moving up to fiber or dual is a second purchase once you know your blank mix.
One more variable the AI Overview on this query keeps asking about: enclosed or open frame. Open frames cost less and lift the lid freely. Enclosed Class 1 bodies filter the light, cut noise, and contain smoke, which matters the moment the machine lives in a room where people work.
Do You Need a Rotary Attachment for Tumblers?
You need one unless you are deliberately accepting distortion. A tumbler is a cylinder, and a flat engraving path is a straight line. Laid over a curve, the artwork stretches at the edges, compresses at the center, and curves away from the shape you designed. Owners in the laser engraving communities describe exactly this outcome when they try flat: an arc that sometimes looks acceptable, usually not.
The rotary attachment fixes it mechanically and in software. The fixture grips the blank, spins it at a fixed speed while the laser fires, and the software scales your design to the cylinder’s circumference. Get the speed, the scale, and the diameter right and the design wraps evenly with no visible distortion.
That is why we weighted rotary accuracy heavily across all eight machines. The ATOMSTACK fixture is specified at 0.1 degree accuracy for tumblers up to 200 mm, and the WECREAT Vista uses a 90-degree flip design so tall blanks sit square without a riser. Both details matter more than the wattage figure.
Setting one up takes a few steps. Measure the tumbler diameter and note the usable engraving height. Mount the blank in the fixture and confirm it runs true, with no wobble at either end. Enter the diameter and cylinder height in your software, set the rotary speed, then run a test pass on scrap material. Adjust the scale until the design meets its measured size at the widest point.
Skip the rotary only if the design is small, centered, and simple. A single initial on a flat area of the tumbler will look acceptable engraved flat, which is a legitimate low-cost path for occasional gifts. Do not attempt a wraparound name that way.
Choosing a Tumbler Blank That Engraves Cleanly
Which blank engraves best is one of the questions readers ask most and roundups answer least. The short version: a thin, even powder coat over stainless steel engraves cleanly, while a thick, textured, or glossy coat fights the laser and leaves residue.
Single-wall tumblers are the easiest to work with. The surface sits flatter, the coating is usually thinner and more uniform, and the curved area is shorter, which means less rotary run and fewer places for the design to distort. If you are buying blanks for your first run, single-wall coated stainless is the safest choice.
Double-wall tumblers work fine with the right machine, but the surface is often glossier and the coat heavier. Expect to spend more time on power settings, and expect some residue around the mark. Clean the blank after engraving rather than before shipping it.
Coatings that cause trouble include heavy textured finishes, rubberized grips, and any surface with a matte or sandblasted texture. The laser interacts with the texture rather than the coating, which produces a broken or dusty mark instead of a clean removal.
Avoid bare polished stainless if you own a diode machine. A mirror finish reflects the beam and you get a faint, inconsistent mark. If bare metal is in your product plan, that is the signal to move up to a fiber laser rather than to keep changing settings.
Blanks with rubber or silicone bases and lids need masking before engraving, since those materials react poorly and can smoke heavily. Masking film or a wide-area mask keeps the base and the laser focus clear.
Care for blanks and finished pieces the same way you would any drinkware. Our compost tumbler guide covers blank materials and end-of-life handling in more detail if that matters to your customers.
What a Finished Engraved Tumbler Costs You Per Piece
Almost every laser roundup stops at the machine and leaves out the number buyers actually care about, which is what one finished tumbler costs in your time and materials. The math is simple once you separate the blank, the consumables, and your minutes.
Your cost per unit is the blank, plus the coating or prep materials if your class needs them, plus a share of consumables such as filters and lens replacements, divided by the number of pieces you produce in an hour. Machine cost and accessories are a separate, larger line item and should be amortized across a realistic number of months of production.
Diode class has the lowest consumable cost in this group because it strips coating with air assist and needs no marking spray. Fiber adds a marking step on some alloys and has higher lens and tube service costs over time. CO2 has the highest ongoing consumable load because the tube, chiller, mirrors, and lens kit all need periodic replacement.
The accessory stack is what surprises first-time buyers. A rotary attachment, a water chiller, an air assist pump, replacement lenses, and a fume extractor are separate from the machine, and they change the real comparison between two otherwise similar options. Budget them before buying, not after.
Price your finished piece against what comparable personalized drinkware sells for, and check that your margin survives a mistake rate. Beginners routinely underestimate scrap, and scrap is the line item that decides whether a tumbler business is worth running.
Software, Ventilation and Troubleshooting
LightBurn is the deciding factor for most buyers moving past a first machine, and six of these eight list support for it directly. The two that do not are the LP2, which lists JPG, PNG, and G-code file support instead, and the xTool S1, which ships with Creative Space and its own rotary-positioning tools.
Where the bundled software wins is onboarding. Pre-set material parameters mean a new owner selects a material and fires, which is why the CREALITY FALCON A1 is easy to start on. Learn the basics there, then move to LightBurn when you need depth control or rotary profiles.
Ventilation is the requirement buyers mention most and roundups cover least. Every machine here puts out a Class 4 beam, including the ones sold as enclosed units, and even those produce enough smoke to need an exhaust path. Plan filtered extraction and a clear route outside before the first job, not after the room fills.
Banding on curved work almost always traces back to rotary calibration rather than laser power. Check the diameter value in your software against a caliper measurement of the blank, confirm the fixture runs true, and make sure rotary speed matches the scale you set. Then reduce speed and raise power in small steps.
Residue around the mark comes from a coat that did not fully clear, and it is a heat and dwell problem. Move at a slower feed rate, add a second pass at lower power, and clean the blank before it cools. Marking spray designed for this class of machine helps most when the coat is heavy.
Misalignment on a second pass usually means the job was not re-zeroed after the first side, or the blank shifted in the fixture. Mark the fixture position, use risers or a jig that holds repeatable height, and confirm the origin before firing the reverse side.
Fine line detail breaking up at speed is usually focus, not power. Run auto-focus if your machine has it, and check it against a known flat surface after every lens change. A dirty protective lens reads as a power problem and will be the first thing you misdiagnose.
Frequently Asked Questions
What is the best tumbler for laser engraving?
A thin, evenly applied powder coat on single-wall stainless steel engraves most cleanly. Heavy textured coatings, rubberized grips, and mirror-finished bare metal all cause problems, and double-wall tumblers usually need more power and more cleanup. Start with single-wall coated blanks in a matte finish.
What laser engraver do people use for tumblers?
Most people use a diode-class desktop engraver paired with a rotary attachment, because diode machines strip powder coat to leave bright metal and also cut wood and acrylic. Bare stainless steel requires a fiber laser, glass and ceramic require CO2, and mixed-material work is covered by dual-laser machines.
Can you laser engrave tumblers?
Yes. A diode laser engraves powder-coated stainless by burning the coating away and works on acrylic, wood, and leather. A CO2 laser can also strip a coating, but it does very little to bare metal, so bare stainless steel tumblers need a fiber laser to mark directly without residue.
How much does it cost to laser engrave a tumbler?
Your real per-unit cost is the blank plus prep materials plus a share of consumables such as filters and replacement lenses, divided by the pieces you finish per hour. Machine cost and accessories are separate. Diode class has the lowest consumable load, while CO2 carries the highest because tubes, mirrors, and lens kits need replacing.
Do I need a rotary attachment for tumblers?
You need one for anything beyond a small centered mark. A flat engraving path stretched over a cylinder distorts, so a rotary fixture spins the blank at a calibrated speed while the software scales the design to the circumference. Without it, wraparound names and wide logos come out arced and uneven.
Can a CO2 laser engrave a stainless steel tumbler?
Only if the tumbler has a coating to remove. CO2 has little effect on bare metal, so on uncoated stainless it produces at most a faint surface change. Buy a diode machine for coated tumblers and a fiber machine for bare stainless, and a CO2 machine only if glass, ceramic, wood, and acrylic are your main materials.
The Best Laser Engraver for Tumblers in 2026
For most buyers in 2026, the xTool S1 40W Rotary Bundle is the best laser engraver for tumblers. Its combination of 40W output, 600 mm/s speed, Pin-point curved-surface positioning, and a Class 1 enclosure makes it the machine we would put in a shared room and leave running.
Different blanks point to different answers. The WECREAT 20W enclosed wins for batch tumbler runs, the WECREAT Vista 10W is the gentlest first machine, the LaserPecker LP2 is the one to buy when the engraver travels, and the CREALITY FALCON 10W is the most straightforward way to learn the workflow on a real rotary kit.
Whichever you choose, match the laser class to the blank before you match the machine to your budget, and budget the rotary, extraction, and consumables on the same sheet as the machine itself. Those three numbers decide whether your first order is smooth or expensive to learn from.