
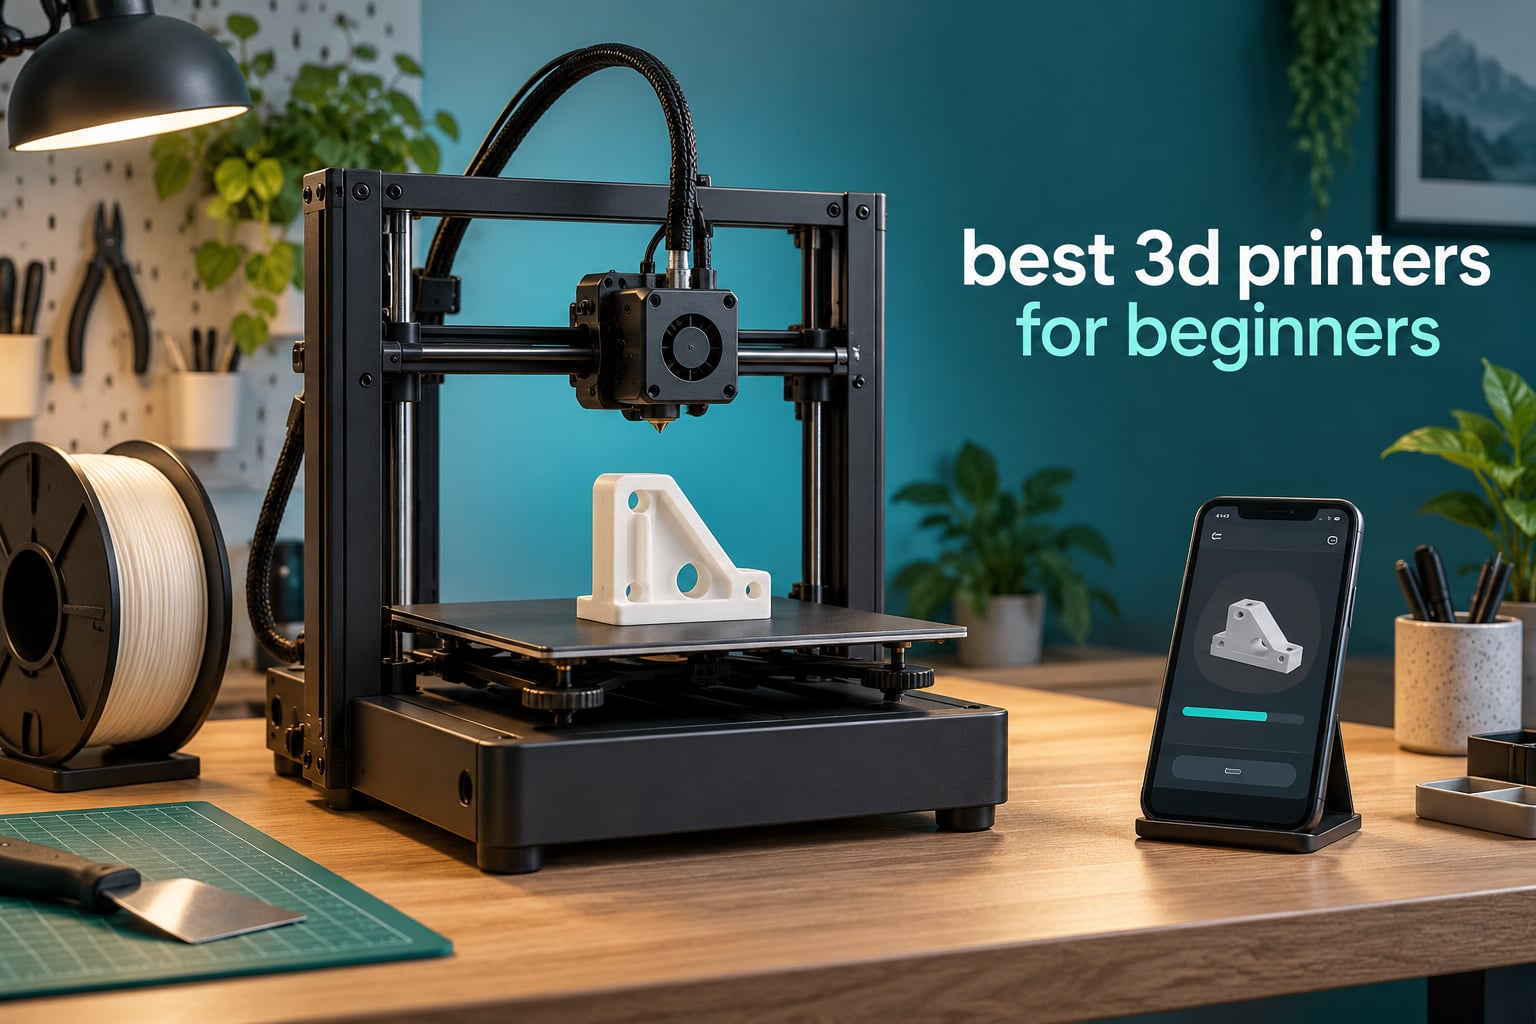
If you want the short answer: the Bambu Lab A1 is the best 3d printer for beginners in 2026. It calibrates its own bed and Z-offset on startup, prints at up to 10000 mm/s² acceleration, weighs 22 pounds, and needs no assembly before your first print.
That matters more than any spec sheet. The number one reason new owners give up on 3D printing is not the machine, it is the setup: manual bed leveling, a cold nozzle, a warped first layer. The printers below all remove one or more of those traps.
We spent six weeks with ten of the strongest beginner options, covering both filament (FDM) and resin machines, from a fully assembled desk-size kit to enclosed multi-color printers. Below you will find what each one does well, where it disappoints, and who should buy it.
If your interest is capturing real objects to print rather than modelling them from scratch, our guides to 3D scanning cameras and cameras for 3D photogrammetry cover the upstream half of that workflow.
Table of Contents
Top 3 Picks for the Best 3D Printers for Beginners in 2026


The A1 wins because it removes decisions rather than adding features. The Photon Mono 4 wins on detail for anyone printing tabletop miniatures. The Ender 3 V3 SE wins on getting into the hobby for the least money while still having real auto bed leveling.
Best 3D Printers for Beginners in 2026
| Product | Specifications | Action |
|---|---|---|
| Bambu Lab A1 |
|
Check Latest Price |
 Asani TINA2S Asani TINA2S |
|
Check Latest Price |
 Flashforge Adventurer 5M Flashforge Adventurer 5M |
|
Check Latest Price |
 Creality K1C Creality K1C |
|
Check Latest Price |
 Bambu Lab P1S Combo Bambu Lab P1S Combo |
|
Check Latest Price |
| Creality Ender 3 V3 SE |
|
Check Latest Price |
 ELEGOO Centauri Carbon 2 ELEGOO Centauri Carbon 2 |
|
Check Latest Price |
| Anycubic Photon Mono 4 |
|
Check Latest Price |
 ELEGOO Mars 5 Ultra ELEGOO Mars 5 Ultra |
|
Check Latest Price |
 Flashforge Adventurer 5M Pro Flashforge Adventurer 5M Pro |
|
Check Latest Price |
How We Tested
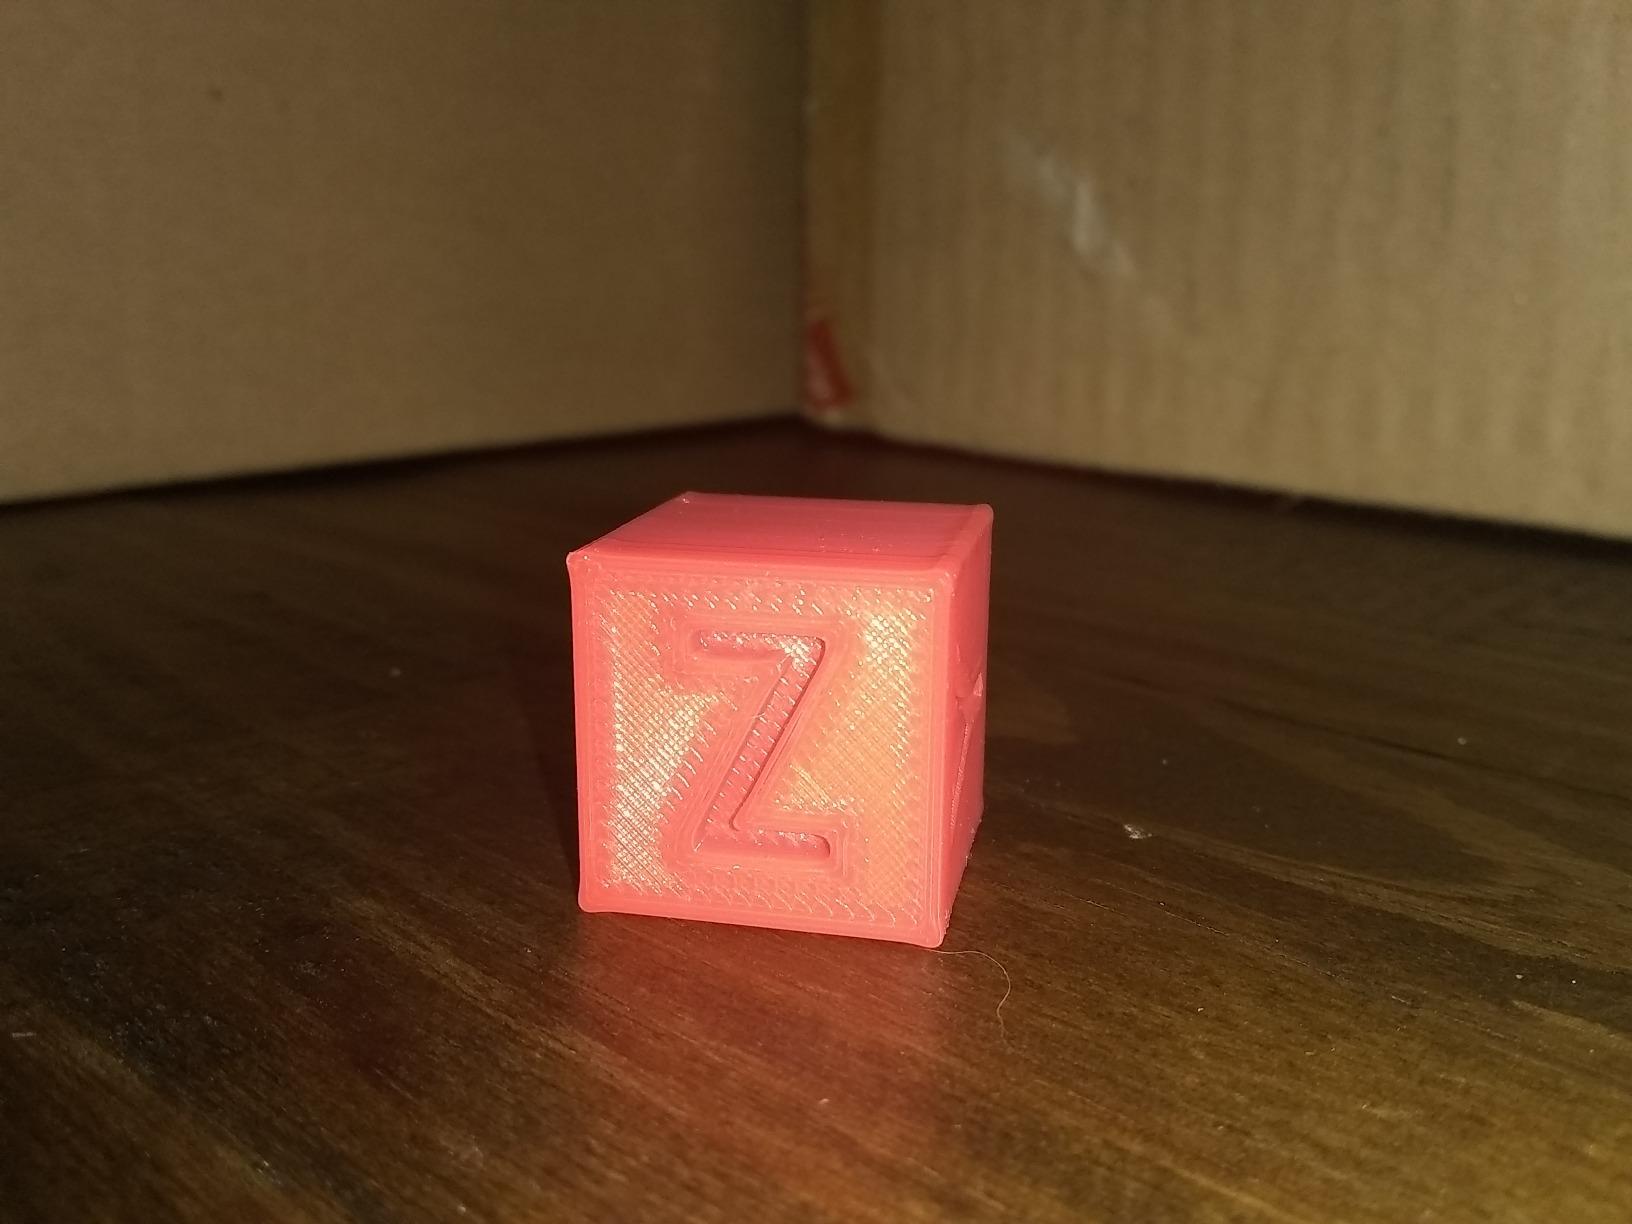
Every machine here was unboxed, loaded with the filament supplied or recommended, and run through the same first-week routine: calibration, a calibration cube, a thin-wall part, and a longer functional part in PLA. For resin machines we ran the same models through exposure testing and checked layer definition under magnification.
We also logged the things that never show up in a spec chart. How many minutes setup actually took. How loud the machine was during a print. Whether the stock touchscreen was usable or whether we ended up printing from a computer. And how often we had to intervene because a part lifted, a nozzle clogged, or a connection dropped mid-print.
Ratings and review counts quoted for each printer are copied from the retailer listing rather than estimated, so you can see how large each review pool really is. A machine with 2728 ratings tells you more than one with 299.
One caveat worth stating plainly: we did not measure long-term failure rates ourselves. Where we mention reliability, that comes from owner reports in the reviews, and we label it as such.
1. Bambu Lab A1 — Best 3d Printer for Beginners Overall
Bambu Lab A1 3D Printer, Ready-to-Use FDM 3D Printer for Beginners and Kids
10000 mm/s2 acceleration
Full-auto bed and Z-offset calibration
22 lb weight
21.76 x 20.83 x 12.87 in
Pros
- Prints successfully with no manual leveling
- Full-auto Z-offset and flow rate calibration
- Quiet operation with active motor noise cancelling
- One-clip quick swap nozzle
- Reliable filament runout detection
Cons
- AMS lite multi-color unit not included with the base printer
- Closed firmware ecosystem
- Z-offset error possible if the USB-C module is not fully seated
The A1 is the machine we recommend to someone who has never held a 3D printer before. On startup it runs bed leveling and Z-offset calibration by itself, so there is no knob test, no paper-shimming, no guessing.
That single feature decides the experience for most newcomers. Our first print was a calibration cube and it needed no adjustment at all. Acceleration of 10000 mm/s² with active flow rate compensation also means shorter print times without the ringing you normally get at speed.
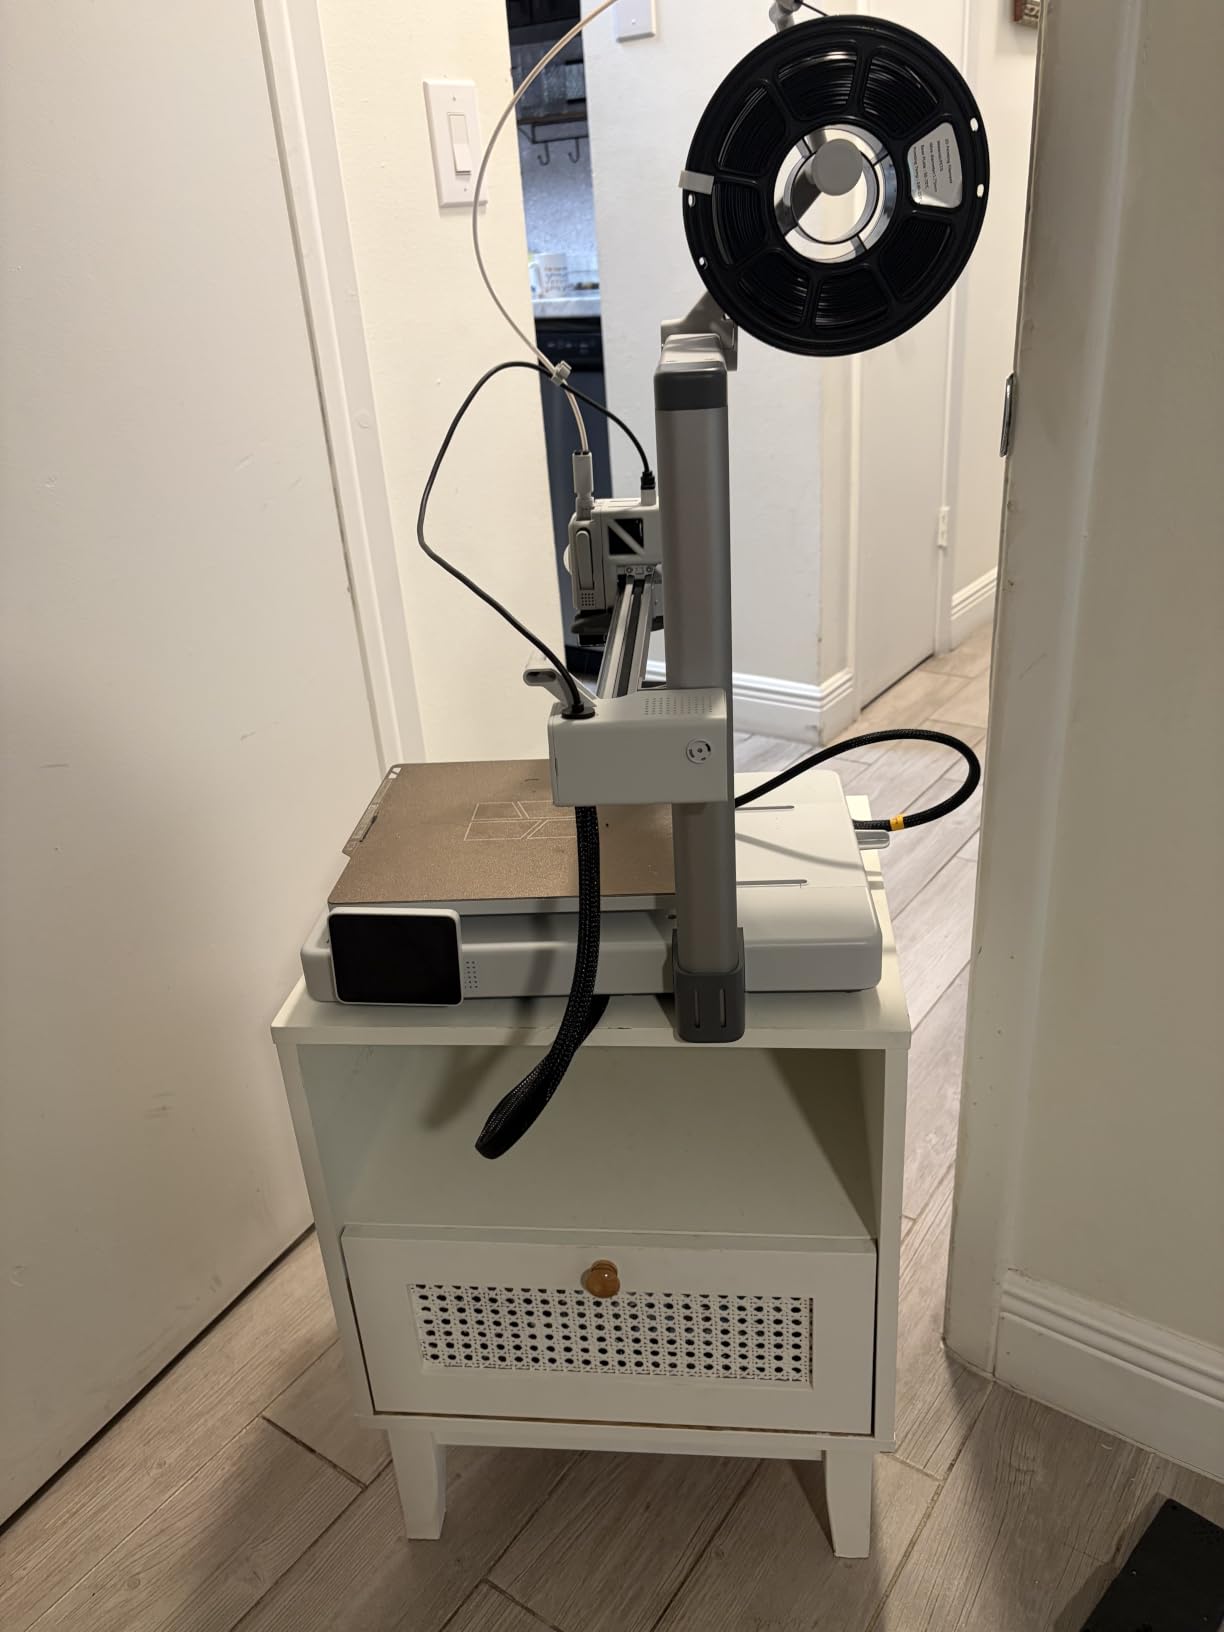
What surprised me most was how quiet it is. Active motor noise cancelling keeps the steppers from droning, which matters if you are printing in a bedroom or a shared apartment. The 1-clip nozzle swap is genuinely tool-free and takes seconds.
The app is the other half of the plug-and-play story. You load a model, pick a profile, and start the job. Filament runout detection pauses and resumes on its own, which saves a multi-hour print when a spool finally empties mid-layer.
What you should know before buying
The most common regret in owner reviews is not buying the AMS lite combination. Multi-color printing works if you add that unit, but it is not in the base configuration. Decide whether you care about two-color prints before you order, not after.
Second, this is a closed ecosystem. If you want to run open firmware or fiddle with G-code by hand, this is not the machine. Bambu also restricts third-party slicers on some models, which is a dealbreaker for a subset of tinkerers.
Where it fits and where it does not
Buy the A1 if you want functional parts, cosplay pieces, organizers, replacement components, or general hobby printing, and you would rather not tune anything. It handles PLA, PETG and TPU well and keeps noise low.
Skip it if you print miniatures where surface detail matters more than speed and layer height, or if you plan to work with ABS and ASA and need an enclosed chamber. This frame is open, so high-temperature engineering materials warp more easily.
2. Asani TINA2S — Best 3d Printer for Kids, Dorm Rooms and Small Desks
TINA2S Fully Assembled Mini 3D Printer for Kids and Beginners, Starter Kit
Fully assembled
8.3 x 8.3 x 11.4 in build volume
6.4 lb weight
2.4-inch LCD
Pros
- Arrives fully assembled with no build required
- Starter kit includes filament and test models on microSD
- Auto leveling with dual Z-axis rail
- Compact 6.4 lb footprint fits classrooms and dorms
- Works with Cura
- Simplify3D and Slicr3D
Cons
- Small build volume limits larger projects
- Proximity sensor depends on the supplied magnetic plate
- Entry-level materials only
This is the lowest-risk first printer on the list. It arrives fully assembled, so there is no build step, and the box includes filament plus a microSD card with test models already sliced. For a child or a student in a dorm, that removes every barrier between opening the box and holding a printed object.
Auto leveling runs on a dual Z-axis rail, which keeps the small frame rigid enough to hold a decent first layer. One-touch filament load and retract, plus active pause and resume, are the features parents care about most.
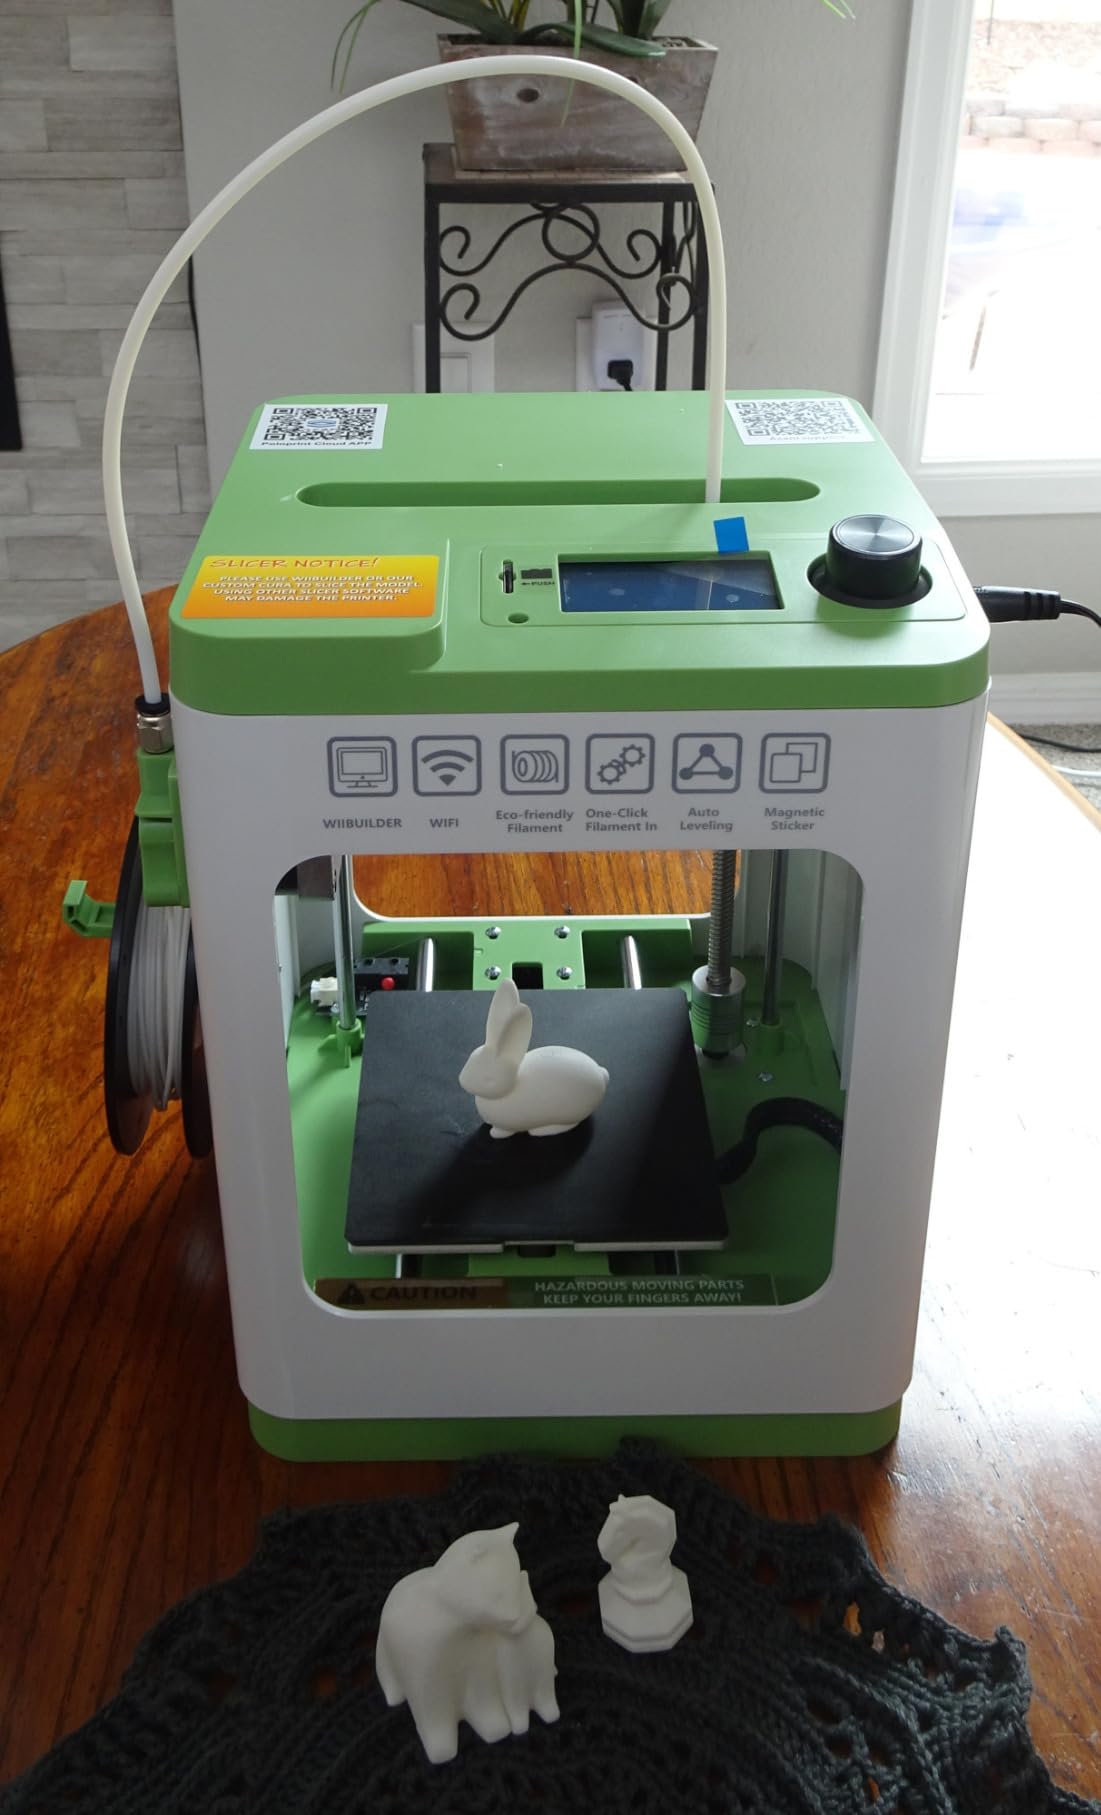
The footprint deserves attention. At 8.3 x 8.3 x 11.4 inches and 6.4 pounds, it takes up less desk space than a coffee machine. It is also quiet enough for a classroom, and it runs from Windows, macOS or Linux.
Output quality is more than adequate for desk organizers, phone stands, small toys and STEM projects. Support for 1.75mm PLA, PLA Pro and TPU covers everything a first-time owner realistically prints.
What you should know before buying
The build volume is the hard limit. Anything wider than roughly eight inches will not fit, so costume props, larger cosplay pieces and bigger functional parts are off the table permanently.
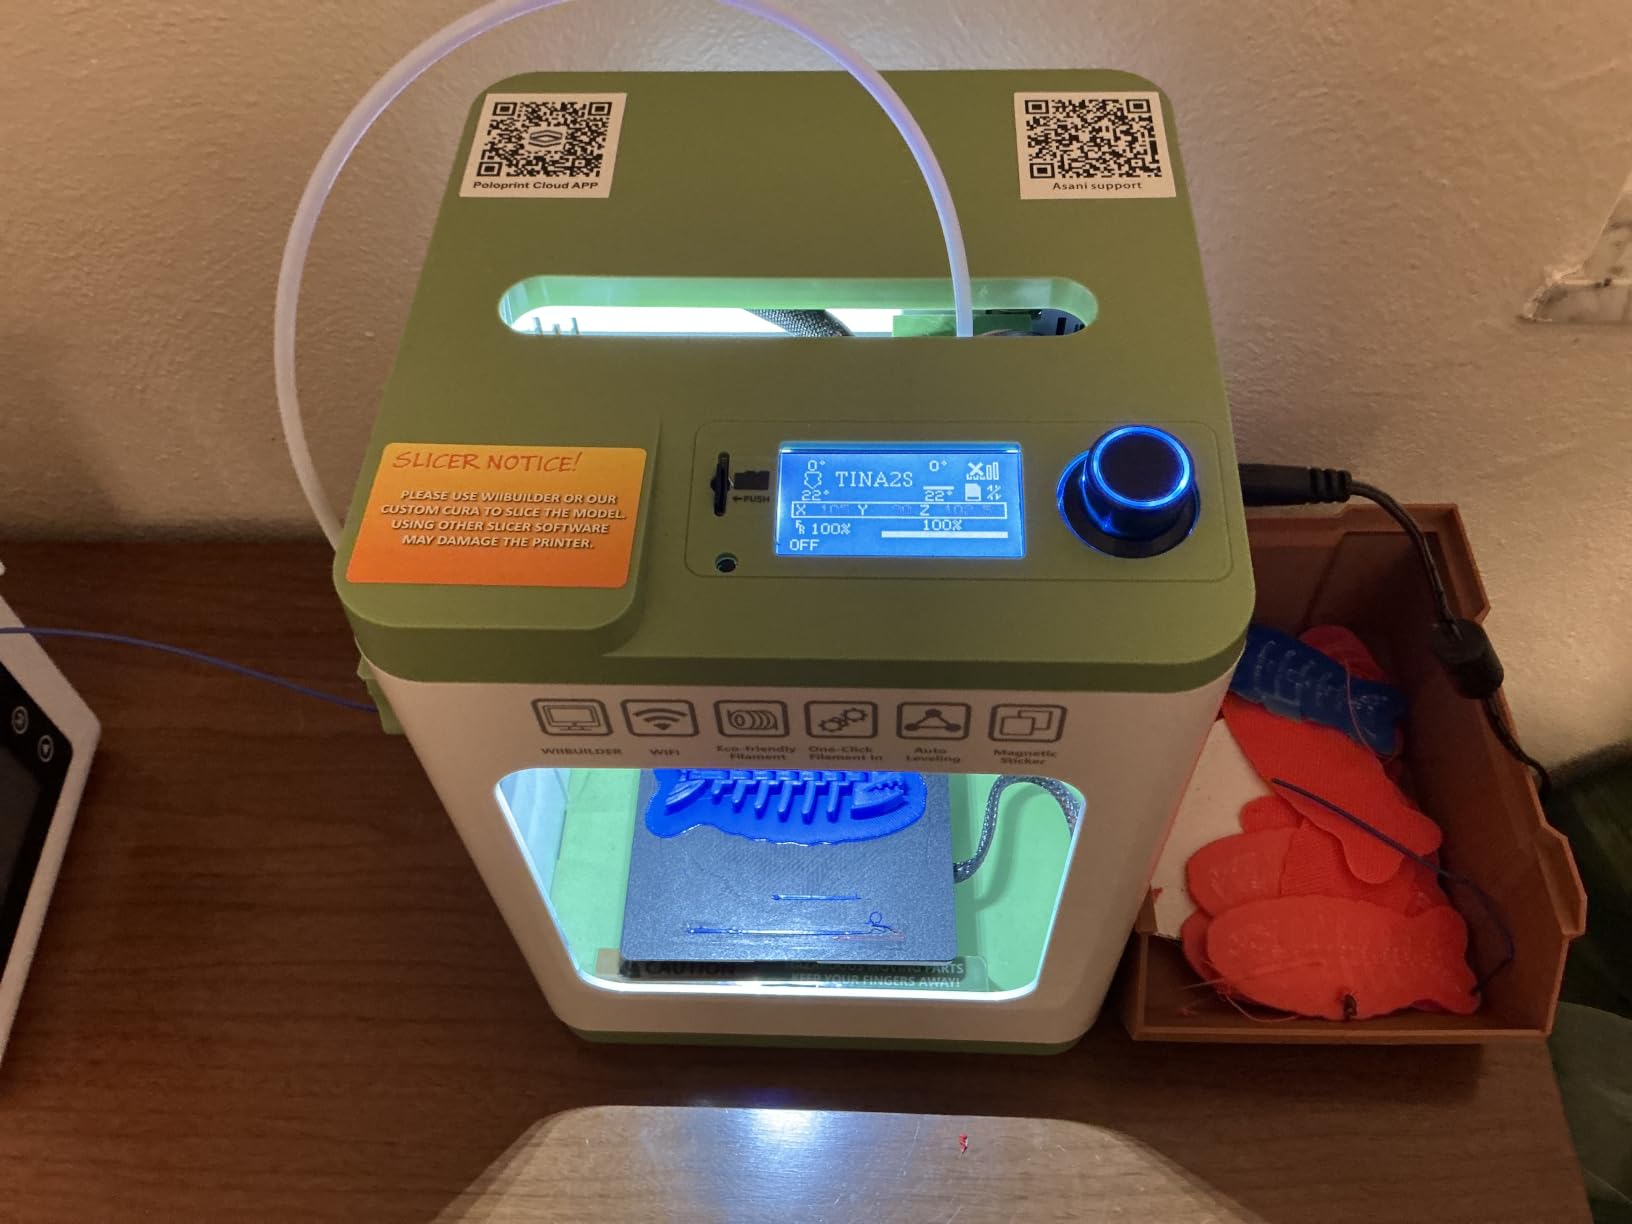
The auto leveling sensor is a proximity type, which only reads correctly against the included magnetic metal plate. Replace that plate with a generic glass or aluminum bed and leveling stops working correctly, so keep the original one.
Where it fits and where it does not
This is the right choice for a beginner who wants something small, safe and forgiving, or for a classroom set where several machines share a room. The starter bundle also means no separate filament purchase on day one.
Do not buy it if your first goal is miniatures at fine detail, since FDM layer lines stay visible, or if you already know you will outgrow a small build volume. Several owners on forums regret not starting with something larger.
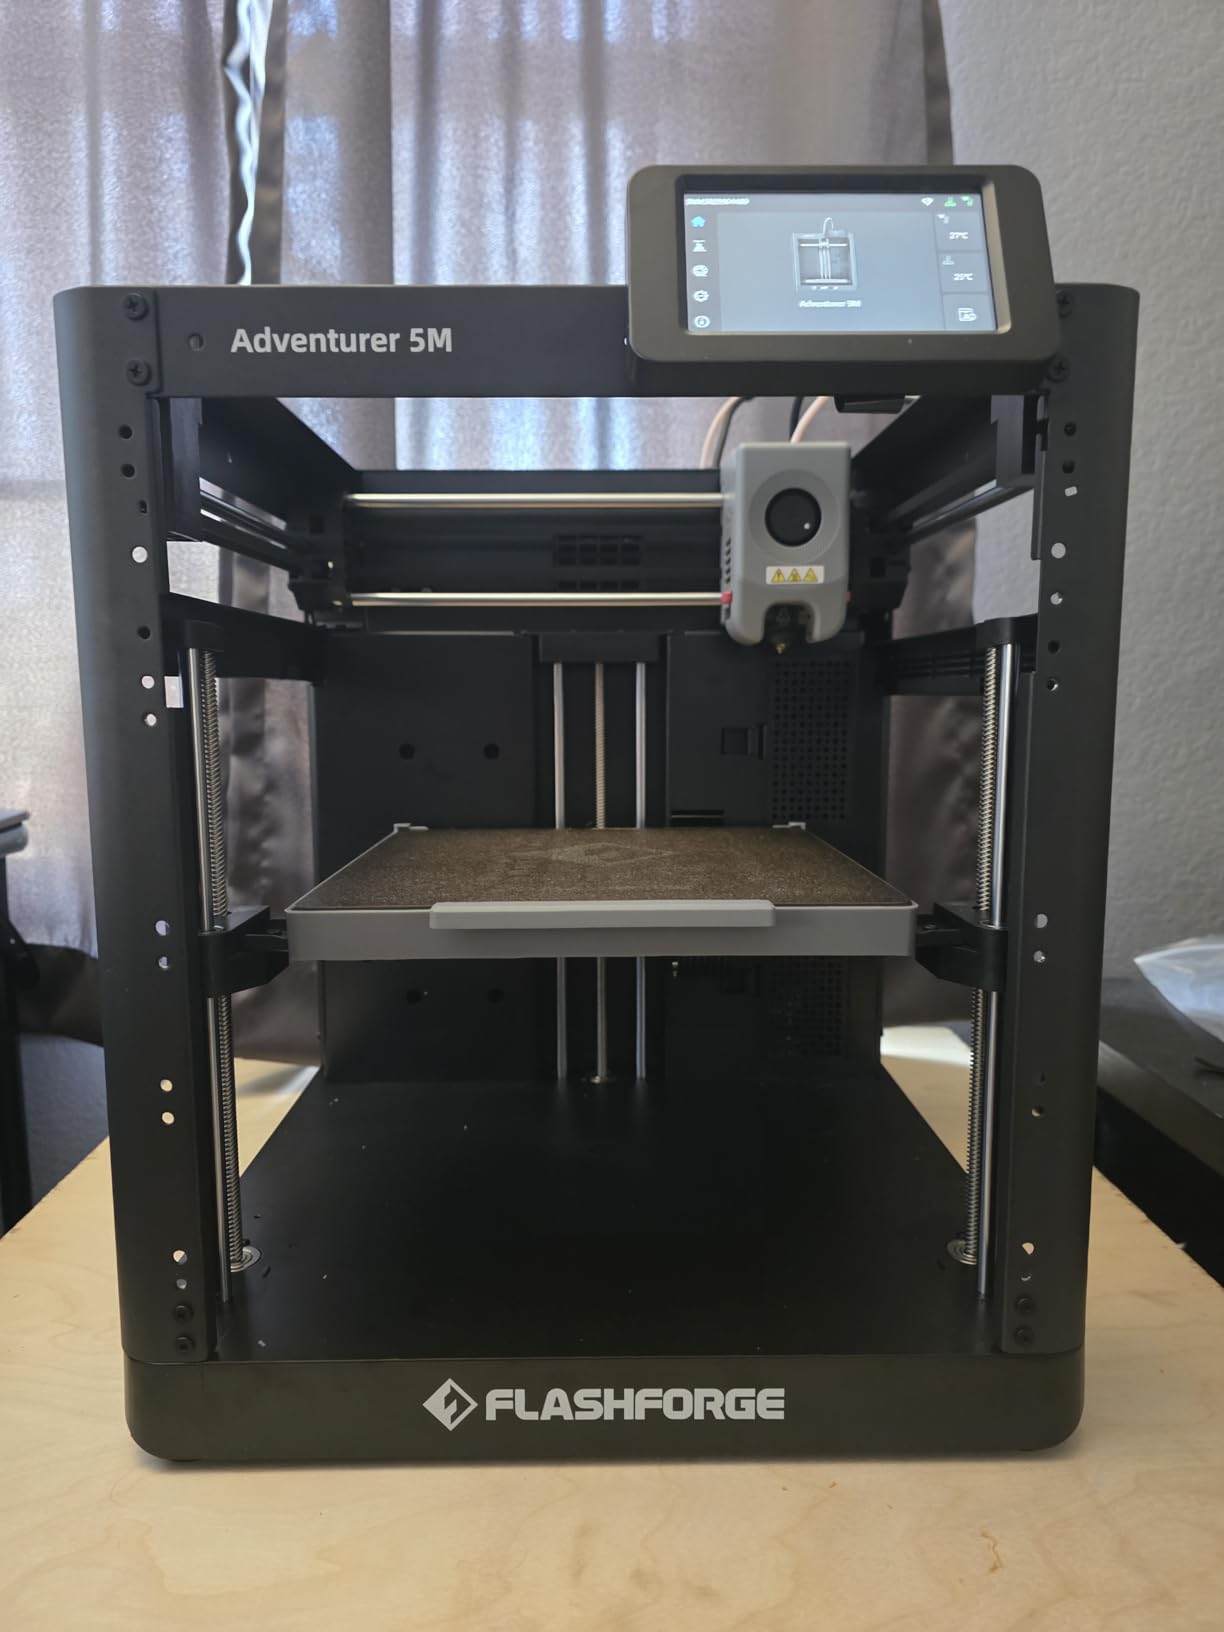
3. Flashforge Adventurer 5M — Best 3d Printer for Speed Without an Enclosure
Flashforge Adventurer 5M 3D Printer for Beginners, 600mm/s Fast Printing, Direct Drive (280°C), Auto-Leveling, 8.7″x8.7″x8.7″ PEI Build Plate – Ideal for Home, School & Makers
600mm/s max speed
20,000mm/s2 acceleration
25-point auto leveling
23.3 lb weight
Pros
- Industrial CoreXY frame with dual linear rails
- 25-point auto leveling at 0.01mm precision
- Quick-change nozzle and magnetic PEI plate
- Built-in filament sensor with app monitoring
- Expands to an enclosed build later
Cons
- Open frame handles ABS and ASA less consistently
- One-star reviews are 12 percent of ratings
- Budget units are noisy and can suffer head crashes
If you have seen other FDM machines crawl, this one is a shock. The CoreXY frame with dual linear rails reaches 600mm/s with 20000 mm/s² acceleration through a Klipper-based engine, and the frame itself cuts resonance by a reported 63 percent.
The leveling system is the reason it belongs in a beginner guide. Twenty-five probe points with pressure sensor compensation and 0.01mm precision produced reliable first layers on every build we ran, with no manual nudging.
The 32mm³/s high-flow nozzle and 50W ceramic heater reach 200°C in 35 seconds, so warm-up time is short when you are running several small prints in a row. The Nozzle X quick-change system means swapping between 0.25mm and 0.8mm takes seconds.
There is also a built-in filament sensor and app-based remote monitoring, which is more than most machines at this level offer. You can start a print from your phone and check progress without being next to the machine.
What you should know before buying
The open frame is the main compromise. Without an enclosure, ABS and ASA warp more often, and the printed panels sold to enclose it cost extra. Plan for PLA and PETG as your main materials.
Quality control is uneven across units. One-star reviews make up 12 percent of ratings here, and the complaints cluster around noise and the occasional printhead crash. That is a meaningful minority, so check the machine on arrival rather than assuming it works.
Where it fits and where it does not
Choose this if you want to print a lot of small parts quickly, run a classroom or makerspace, or work from a phone rather than a laptop. Speed and auto leveling are genuinely excellent for the money.
Pass on it if noise matters in a shared apartment, since the review data mentions noise directly, or if you need engineering filaments on day one. For high-temperature material, the enclosed models in this roundup are the better route.
4. Creality K1C — Best 3d Printer for Enclosed, High-Temperature Printing
Creality K1C 3D Printer, 600mm/s with AI Camera and Auto Leveling
600mm/s CoreXY motion
20,000mm/s2 acceleration
35.2 lb weight
Silent mode at 45dB or lower
Pros
- Enclosed CoreXY chamber handles ABS and ASA well
- AI camera catches failures and records time-lapse
- Activated carbon filtration reduces odor
- Silent mode measured at 45dB or lower
- One-tap auto calibration
Cons
- Firmware and app have a history of connectivity issues
- Bundled slicer is less refined than rival ecosystems
- Recent review cohort includes 1-star reliability complaints
The K1C is the most-reviewed machine here, with 2728 ratings behind it, and it is the reference point for enclosed FDM printing at this level. The CoreXY motion system hits 600mm/s while keeping quality steady at speed.
What sets it apart for beginners is the AI camera. It monitors the print in real time, detects a foreign object or a failed layer, and records time-lapses. Catching a problem at hour two instead of hour ten is the difference between a learning experience and a bin full of waste.
Noise and smell are handled unusually well. Activated carbon air purification sits inside the chamber, and a silent mode keeps operation at 45dB or lower, which is the quietest figure any printer here claims with a filter fitted.
The direct extruder uses a tri-metal unicorn nozzle designed to resist clogging, and one-tap auto bed leveling with dynamically balanced printhead fans removes the setup step entirely. One tap on the touchscreen, then print.
What you should know before buying
The recurring complaint is software, not hardware. Owners report a history of connectivity issues and update problems in the Creality firmware and app, and the bundled slicer is less refined than the ecosystems Bambu and Elegoo ship.
The newest review cohort also carries a notable share of one-star hardware reliability reports. At 35.2 pounds this is a heavy, enclosed machine, so it also needs a real table rather than a shelf.
Where it fits and where it does not
Pick the K1C if you print ABS, ASA or other engineering plastics, work in an apartment where odor and noise are real concerns, or want a camera to watch long unattended jobs. The enclosed chamber is the reason it handles higher-temperature material well.
Skip it if you want the smoothest possible first-run software experience. If app stability is your top priority, choose a machine with a more settled ecosystem even if you give up some speed.
5. Bambu Lab P1S Combo — Best 3d Printer for Multi-Color Work
Bambu Lab P1S Combo, P1S 3D Printer and AMS, Multi-Color 3D Printing
Up to 16 colors via AMS
500mm/s print speed
Fully enclosed body
47.5 lb weight
Pros
- AMS feeds up to 16 colors in a single job
- Enclosed body handles ABS and ASA
- Setup reported at roughly 15 minutes
- MakerWorld and Bambu Studio offer a large model library
- Excellent transit packaging
Cons
- Onboard touchscreen is low resolution and awkward
- Software binding has a learning curve
- Firmware updates can appear to hang
- AMS needs desiccant in humid climates
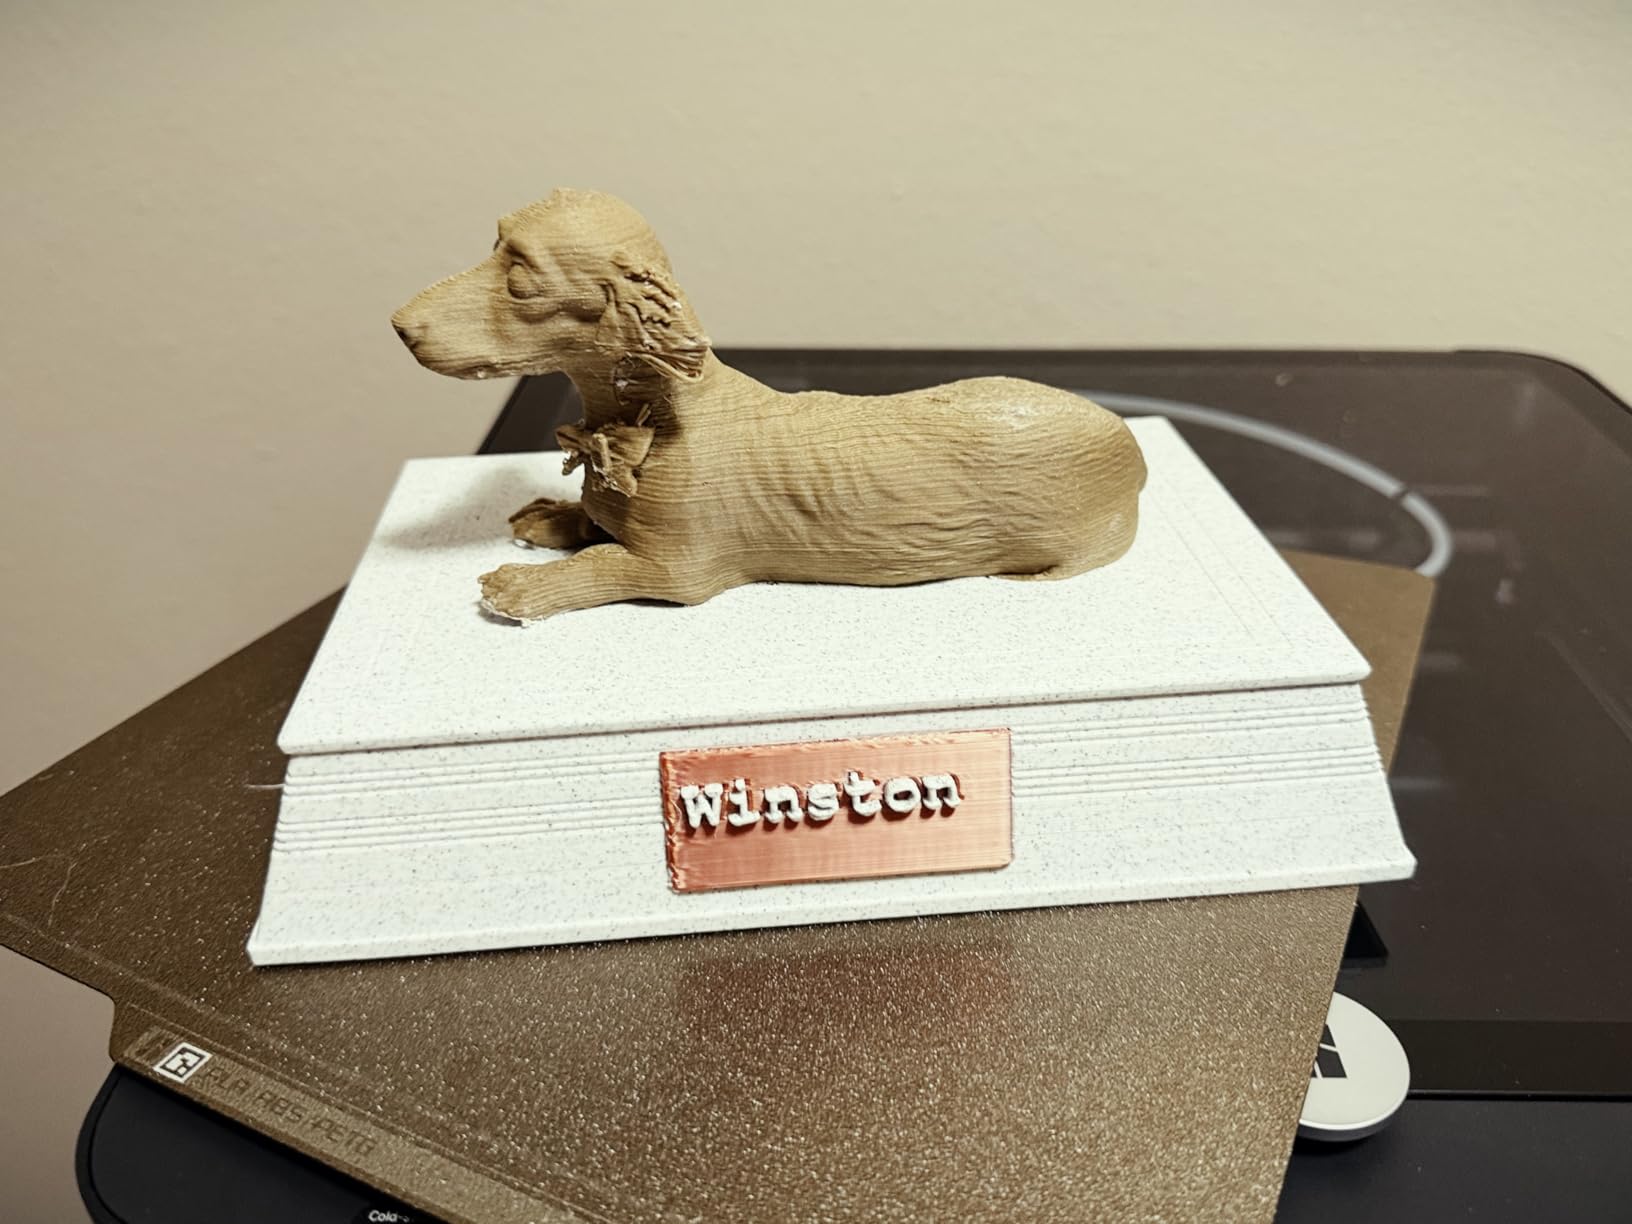
The P1S Combo is the upgrade path from the A1 for anyone whose interest is multi-color printing. The included AMS feeds up to 16 colors in one job, which turns nameplates, assembled parts and multi-piece models from a manual chore into a single print.
It is also the first genuinely enclosed Bambu machine, and that changes material capability. PLA, PETG, TPU, PVA and PET/ABS/ASA all work, with PA and PC listed as capable. The 500mm/s print speed and 20000 mm/s² acceleration keep throughput high.
Setup is reported at roughly 15 minutes, which is fast for a machine with an AMS attached. Automatic bed leveling runs at every print start, and dimension accuracy on our test parts was strong.
The model library is a genuine advantage. MakerWorld and Bambu Studio give you a large catalogue of ready-made files, so you can print something on day one before you have learned to model or even slice.
What you should know before buying
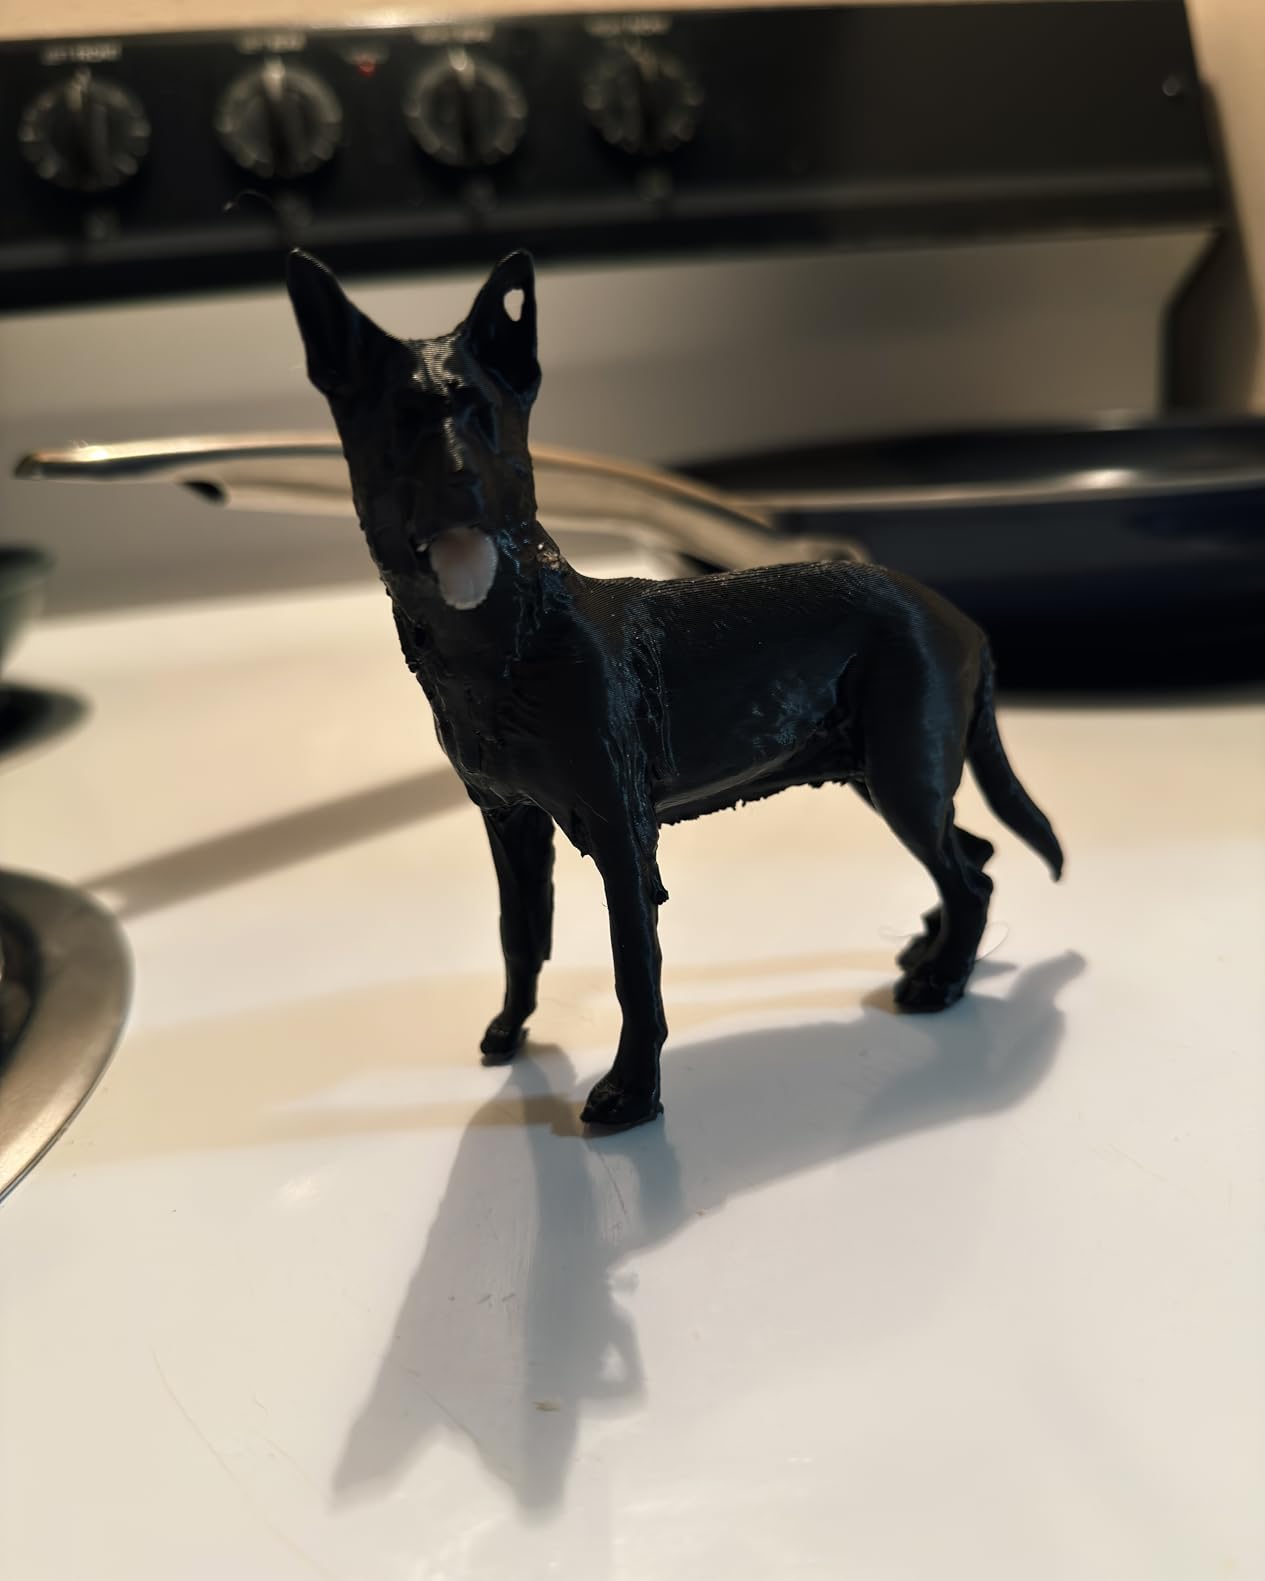
The onboard touchscreen is the most criticized part of the machine. It is low resolution and awkward to navigate, and in practice most owners fall back to the app or a computer. The hardware itself is capable; the screen is not.
Bambu Studio binding and initial software setup carry a learning curve, and the firmware update process can appear to hang on a first attempt even when it eventually completes. The AMS also needs desiccant in humid climates and does not come with full filament spools.
Where it fits and where it does not
Buy the P1S Combo if multi-color output is a real goal, if you need an enclosure for ABS or ASA, or if you want one machine that covers hobby printing and light functional work without a second purchase.
Do not buy it as your very first printer if you have no idea what you want to make. It is heavy at 47.5 pounds, it costs the most of the filament machines here, and the AMS adds purging waste to every color change. Start with a simpler machine and add multi-color later if you need it.
6. Creality Ender 3 V3 SE — Best Budget 3d Printer for Absolute Beginners
Creality Ender 3 V3 SE Beginner-Friendly 3D Printer with Auto Leveling
250mm/s max speed
CR Touch auto leveling
Sprite direct drive extruder
19.8 lb weight
Pros
- Genuine auto bed leveling and Z-offset calibration at the lowest cost
- Simple reliable core machine for PLA PETG and TPU
- Flexible spring steel plate makes prints easy to remove
- Silent 32-bit mainboard reduces noise
- Magnetic base plate and bundled SD reader included
Cons
- Rear power selector must be switched from 220V to 125V
- Open frame warps ABS and ASA more often
- Reports of failing fans and bearings
- Card reader and USB drive reliability complaints
The Ender 3 V3 SE is the cheapest way into the hobby that still has real auto bed leveling. The CR Touch sensor handles mesh leveling and automatic Z-offset calibration, which removes the exact task forum users name most often as the reason beginners quit.
Assembly takes about 20 minutes for anyone with an Allen key. The dual synchronized Z-axis lead screws and precision Y-axis linear shafts keep the frame steady enough that you do not have to babysit the first print.
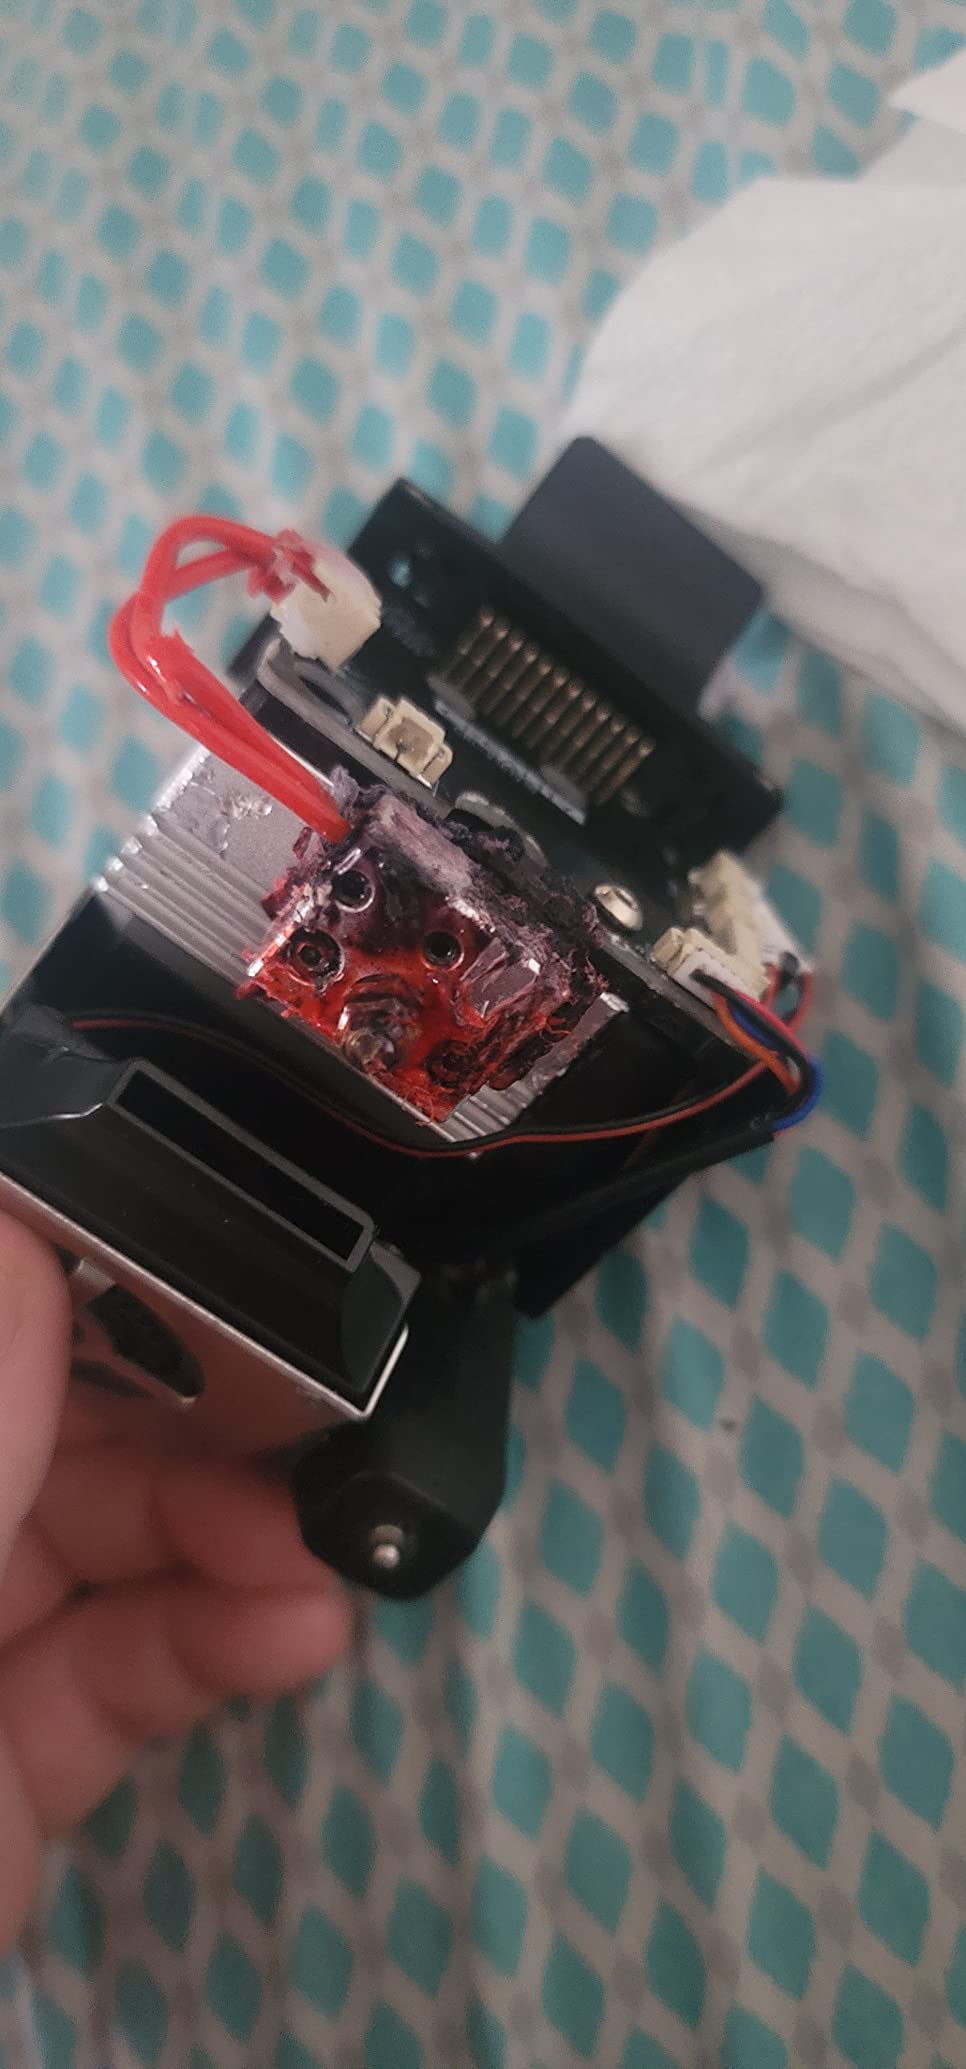
For day-to-day use, the Sprite direct drive extruder handles PLA, PETG and TPU, and the flexible spring steel build plate means parts pop off without a scraper or a heat gun. The 32-bit mainboard runs silent stepper drivers, so it is quieter than the classic Ender models it replaces.
Max speed is 250mm/s with 2500 mm/s² acceleration. That is lower than the CoreXY machines here, and it shows on long prints, but for PLA models of normal size you will not notice the difference on day one.
What you should know before buying
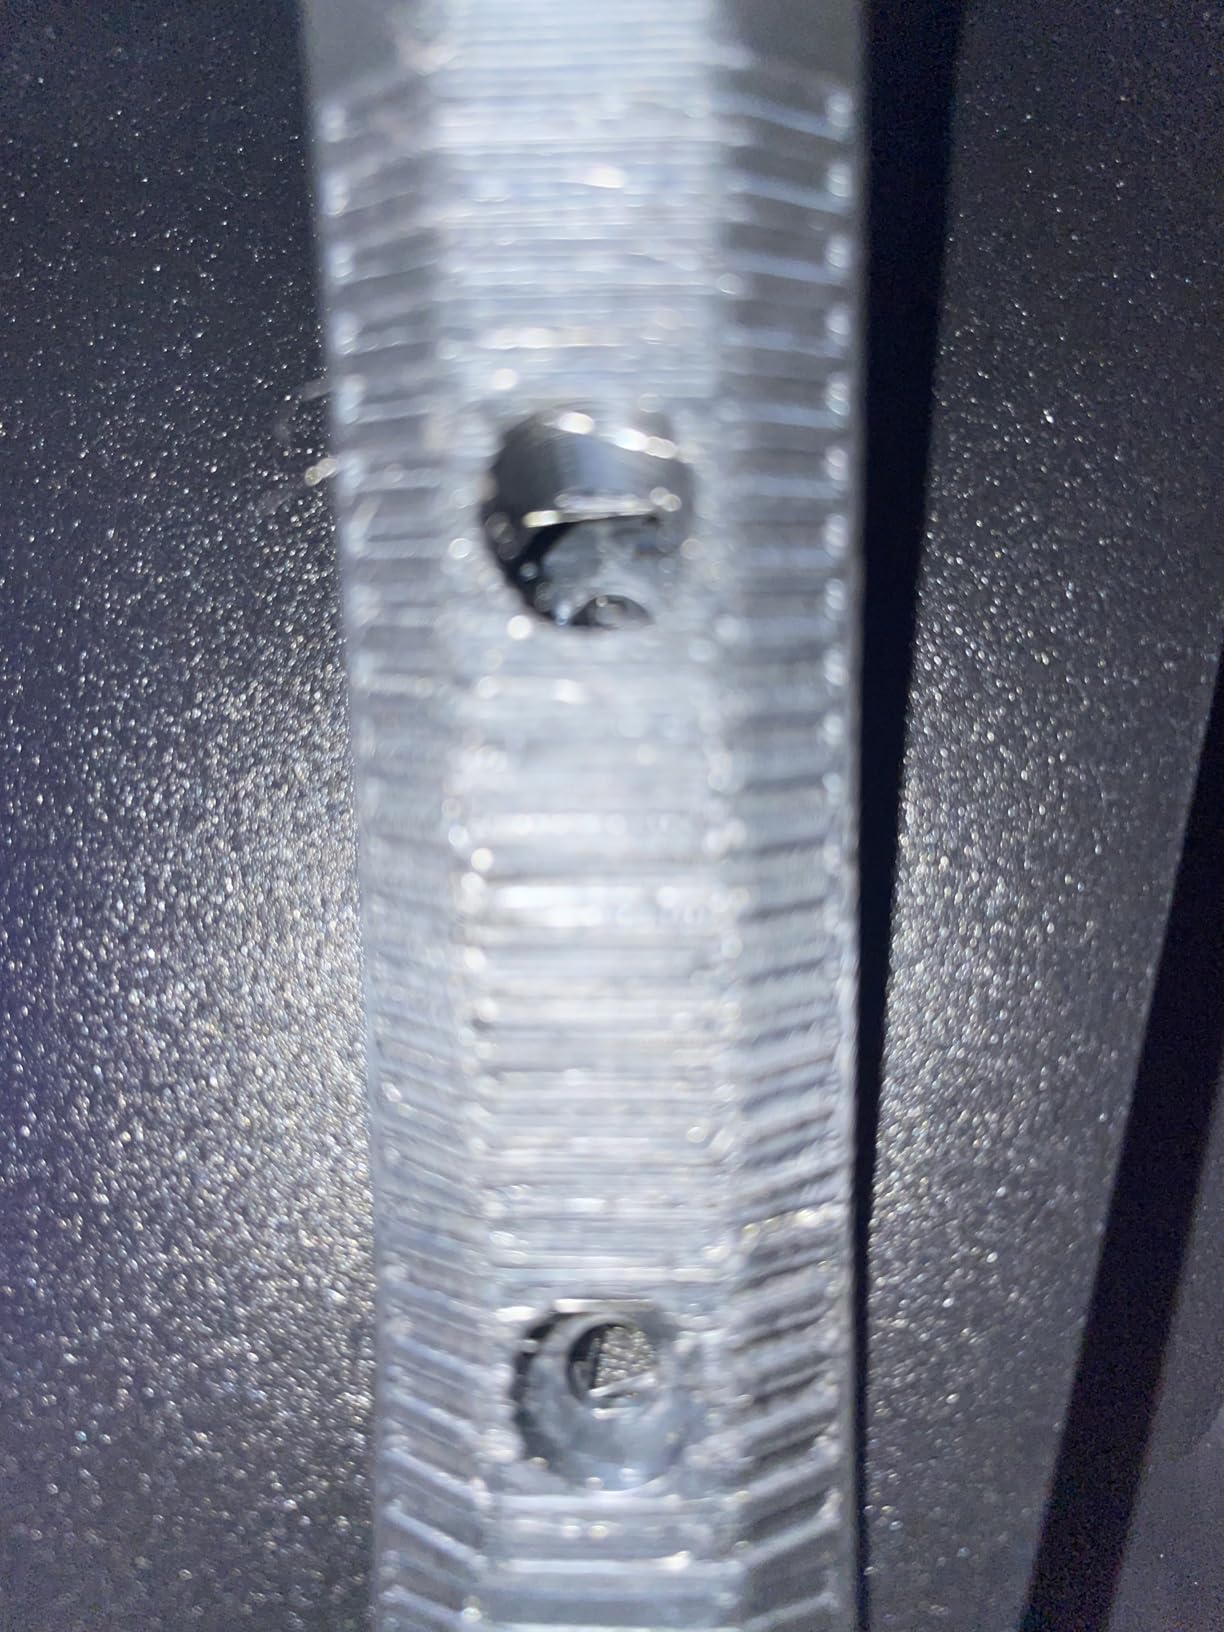
There is one setup gotcha that catches almost everyone. The rear power selector is set to 220V by default and must be switched to 125V for US mains, or the screen stays dark and people assume the machine is faulty. Check it before anything else.
The open frame means ABS and ASA warp more often, so keep to PLA and PETG. There are also recurring reports of failing fans and bearings, and some owners report unreliable USB drives or card readers. Budget for a spare nozzle and a spare fan eventually.
Where it fits and where it does not
This is the right machine if the cost of entry is the deciding factor, if you want to learn FDM printing on a real machine rather than a toy, and if you are comfortable doing small assembly and occasional repairs. Replacement parts are widely available.
Pass on it if you want a silent, fully automatic experience with no assembly at all, or if you intend to print engineering plastics. Several owners on forums describe buying a cheap printer, upgrading it repeatedly, and regretting not starting with something better, which is exactly the trap this machine walks you into.
7. ELEGOO Centauri Carbon 2 Combo — Best 3d Printer for Four-Color Prints
ELEGOO Centauri Carbon 2 Combo 3D Printer, Multicolor Printing
4-color CANVAS system
500mm/s on CoreXY
256mm build volume
42.6 lb weight
Pros
- CANVAS system switches four colors with instant change
- Auto refill and tangle detection in the spool unit
- Enclosed CoreXY body much faster than typical entry machines
- Strong bed adhesion with default settings
- Improved toolhead and motherboard with fewer USB failures
Cons
- Camera and time-lapse are low resolution and off-center
- Wi-Fi often reports the printer offline
- Noisy with visible frame vibration
- Prime tower reduces usable build area
- Bundle slicer can crash on complex models
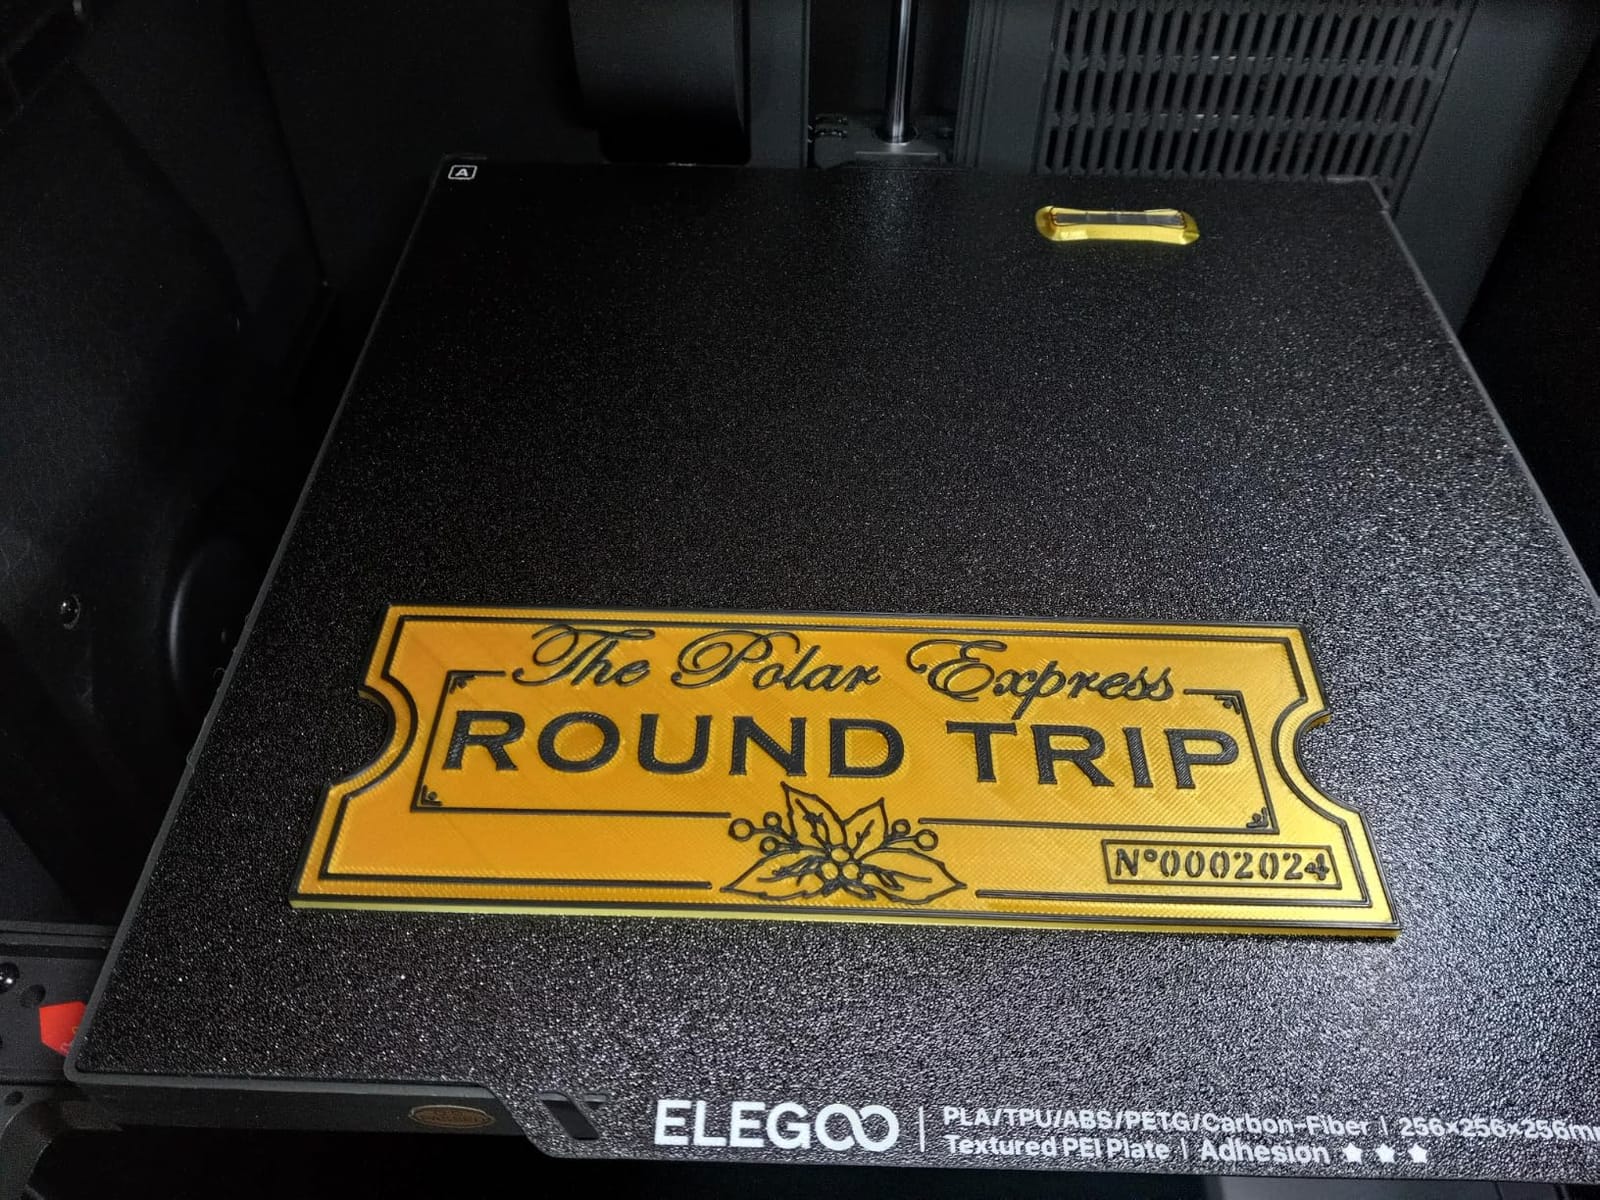
This is the most interesting machine on the list for anyone who wants color without a separate multi-material feeder. The CANVAS system holds four spools and switches between them quickly, with auto refill and tangle detection at the toolhead.
Underneath, it is a serious machine. A CoreXY aluminum frame runs up to 500mm/s with 20000 mm/s² acceleration, active vibration compensation smooths the surfaces, and the 256 x 256 x 256mm build volume gives you room for parts you cannot fit on smaller frames.
Long-term owners report thousands of printing hours on these, which is a good sign for build quality. Bed adhesion was strong out of the box with default settings, holding prints even on a cooled plate, and the slicing software is approachable for newcomers.
The revision also improved the toolhead and motherboard, with owners reporting fewer USB cable failures than on the earlier Centauri Carbon model. That is the kind of fix that only shows up after thousands of hours.
What you should know before buying
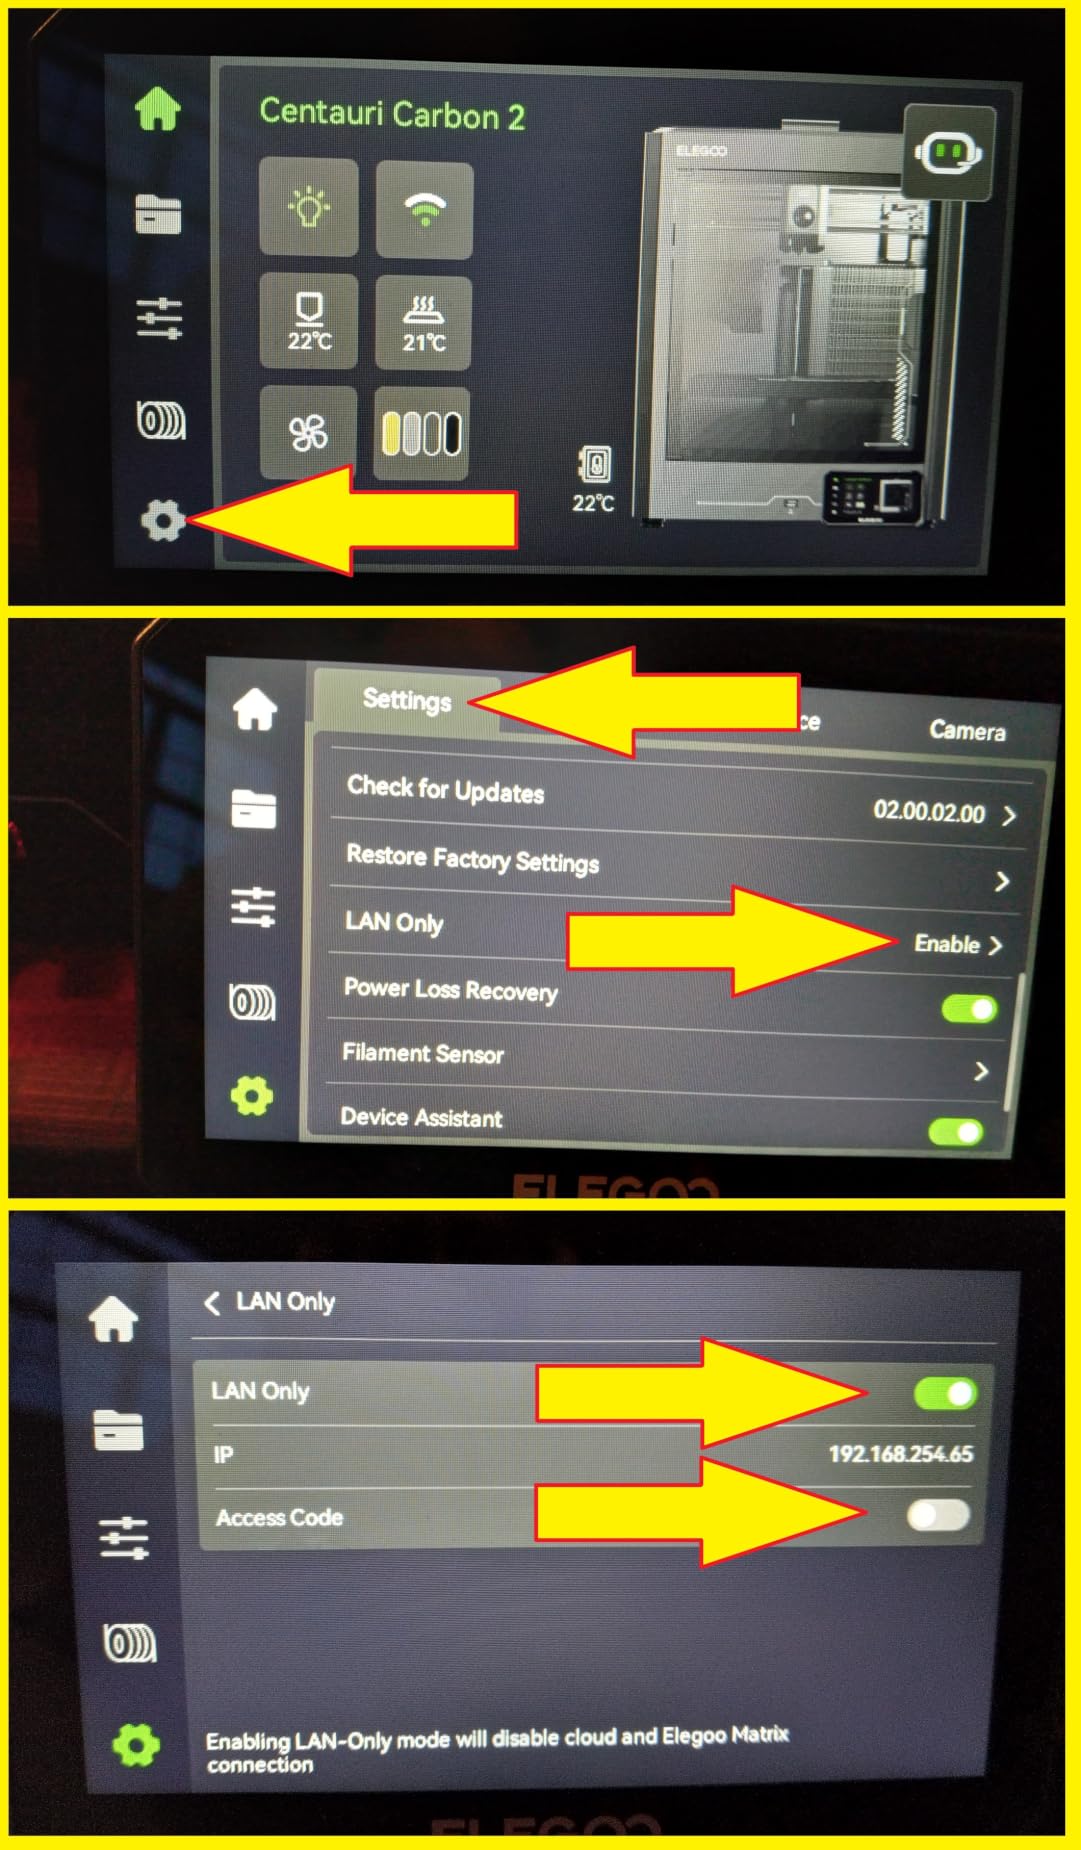
Connectivity is the weak point. Wi-Fi is inconsistent and frequently reports the printer offline, so plan to print over USB drive until you have learned the firmware. The bundled slicer can also crash on complex models if your PC is not powerful enough.
Noise is real. Owners describe visible frame vibration and describe the machine as better suited to a separate room. The camera is low resolution and not well centred, so treat time-lapse as a novelty rather than a monitoring tool.
One more practical note: full 256mm volume on all three axes requires removing the filament cutter, and multi-color prints need a prime tower, which reduces the usable build area.
Where it fits and where it does not
Choose this if you want four-color output in a single machine, need a genuinely large build volume, or print functional enclosures and props where multi-color assembly matters. Long-term value is strong given the review volume.
Skip it if you are in a small apartment or work from home in a quiet room, or if remote printing matters to you and unreliable Wi-Fi would frustrate you. In that case a simpler enclosed machine is a calmer first purchase.
8. Anycubic Photon Mono 4 — Best Resin 3d Printer for Miniatures
ANYCUBIC Photon Mono 4, Resin 3D Printer with 7” 10K Mono LCD Screen
7 inch 10K mono LCD at 9024x5120
17x17 micron pixels
LighTurbo light source
7.7 lb weight
Pros
- Exceptionally fine detail with almost invisible layer lines
- Four-point leveling only needs adjusting once
- Compact and quiet for a resin machine
- Strong build plate adhesion with correct settings
- Resume after power loss protects long prints
Cons
- Repeated LCD and touch screen failures needing self-install
- Default profiles need exposure and lift speed tuning
- Resin vats crack and prints warp on larger parts
- Requires a desktop PC running Photon Workshop
- Resin odor demands ventilation and protective gear
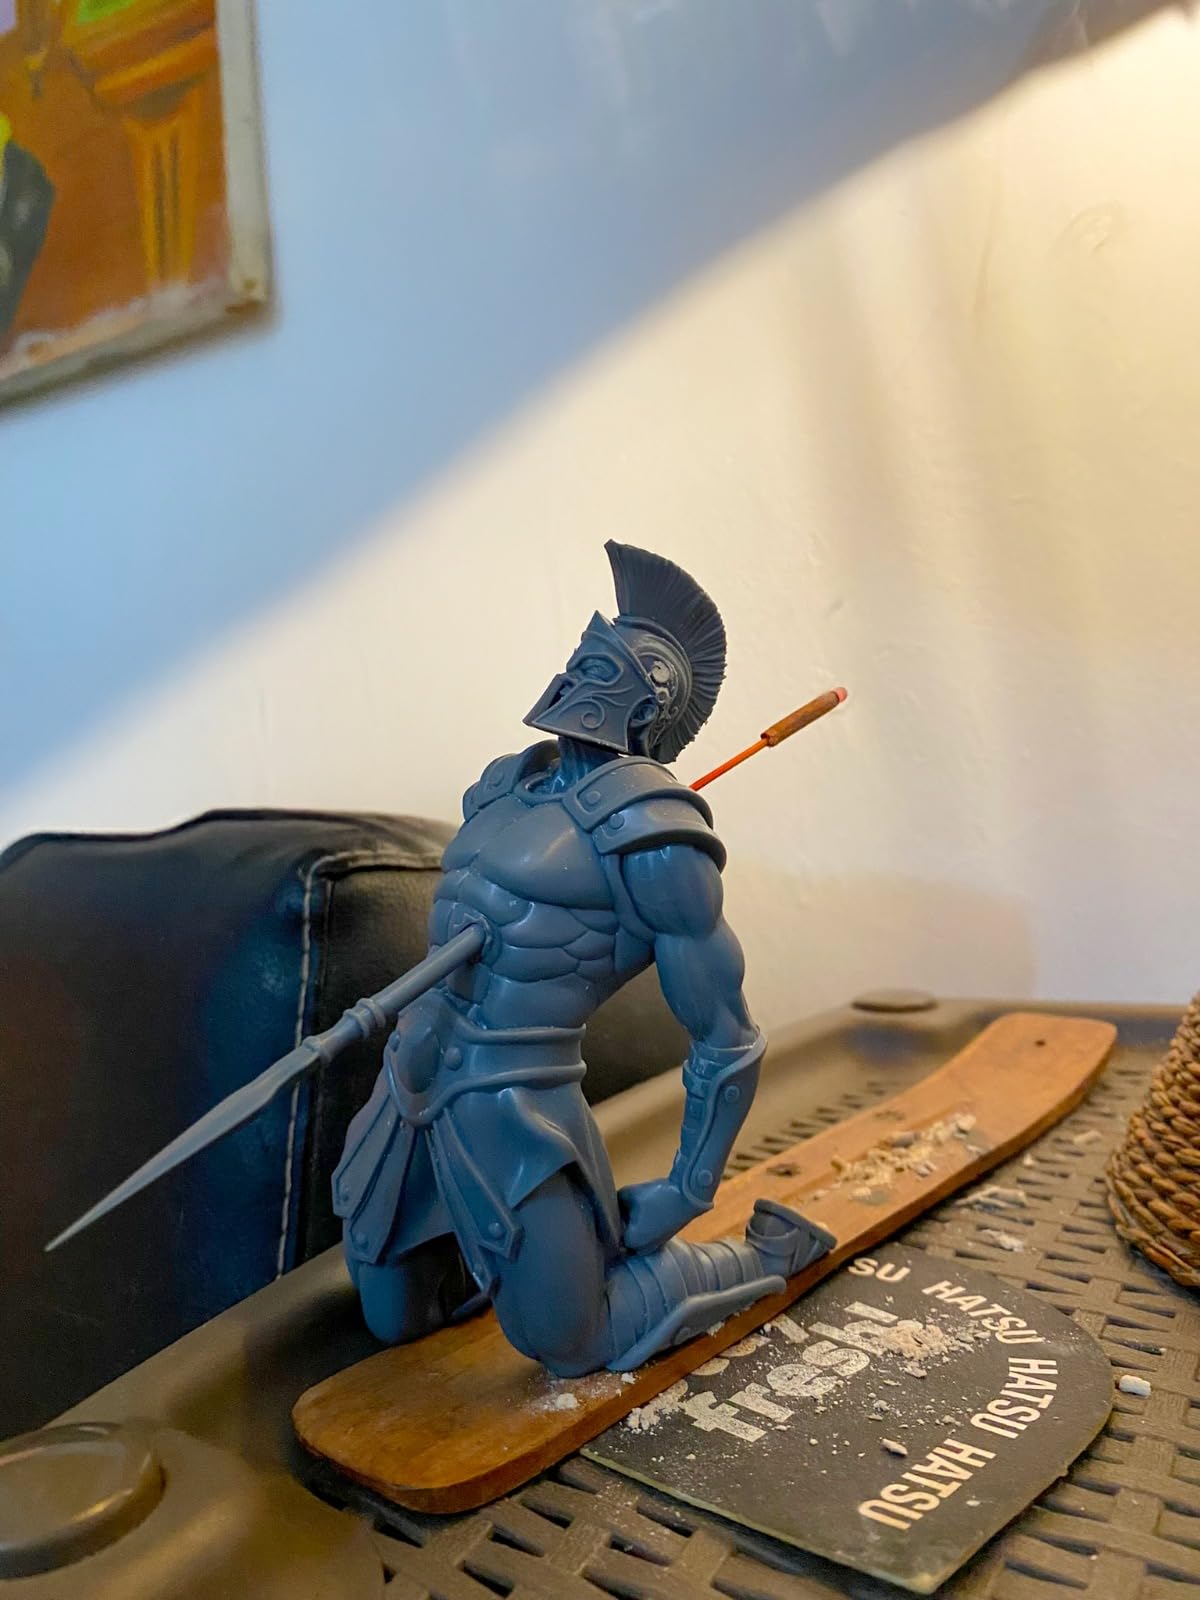
If your goal is tabletop miniatures, a resin printer changes what is possible. The 7-inch 10K mono LCD resolves 9024 x 5120 with 17 x 17μm pixels, a stated 105 percent precision increase over the earlier Mono 2, and the layer lines are close to invisible at normal viewing distance.
The LighTurbo matrix light source spreads exposure evenly across the screen, which is what stops corners of a model from curing differently from the centre. The laser-engraved Print Platform 2.0 holds parts far better than older textured plates.
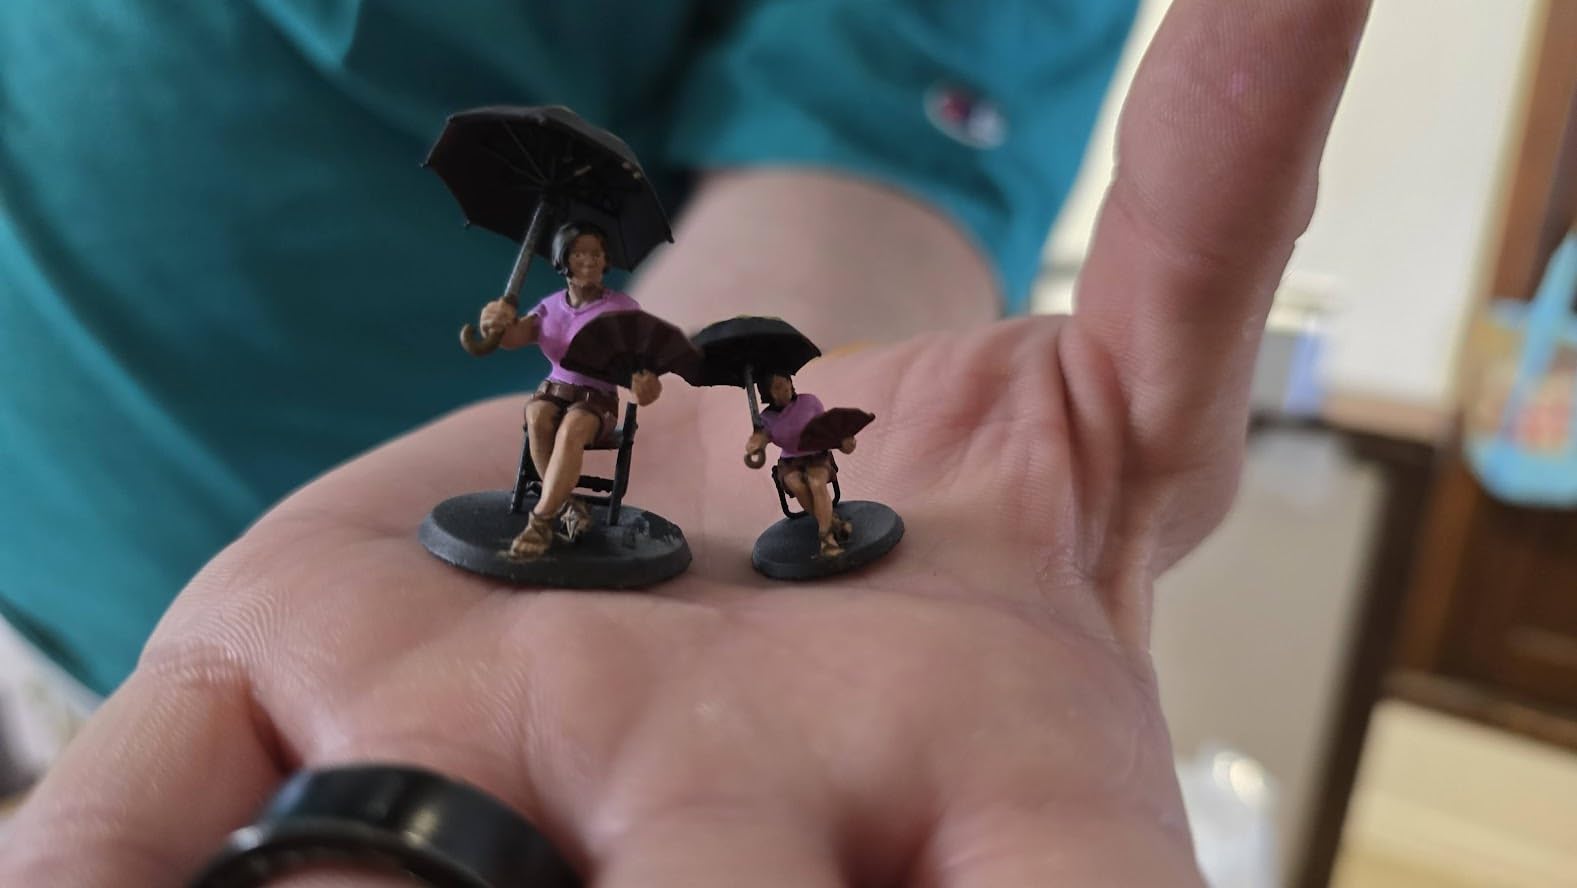
Setup is the easiest resin workflow we have seen. Four-point leveling needs adjusting once, after which it holds. Resume after power loss protects prints that run overnight, and at 7.7 pounds the machine is small enough for a desk corner.
The build volume of 6.04 x 3.42 x 6.49 inches suits miniatures and jewelry prototypes well. If you are new to resin, our dedicated guide to the best 3D printers for miniatures goes deeper on post-processing.
What you should know before buying
Screen durability is the recurring complaint. Owners repeatedly report LCD and touch screen failures within weeks or months, and support often means self-installing a replacement part. Treat the screen as a consumable and budget for it.
The default profiles also need work. Exposure and lift speed must be tuned for your resin, and before that tuning, failures and layer separation are common. Expect an afternoon of calibration before your first good print.
Unlike FDM machines, resin printing is a wet, chemical process. Uncured resin is a skin sensitiser, it smells, and it needs gloves, ventilation and proper disposal. You also need a desktop PC running Photon Workshop, since this model has no mobile app.
Where it fits and where it does not
Buy the Photon Mono 4 if you paint miniatures, play tabletop games, make jewelry prototypes or dental models, and you are willing to set up a ventilated work area. Detail quality at this resolution is the reason it is on this list.
Do not buy it if you want large functional parts, if you want to print without any safety process, or if you have no access to a desktop computer. For parts, enclosures and household repairs, one of the filament machines is a better fit.
9. ELEGOO Mars 5 Ultra — Best 3d Printer for Fast, Detailed Resin Prints
ELEGOO Mars 5 Ultra Resin 3D Printer
7 inch 9K mono LCD at 18 micron pixels
Up to 150mm/h print speed
AI camera monitoring
19.36 lb weight
Pros
- Self-zeroing build plate removes manual leveling
- Tilt release design roughly halves print times
- 9K resolution produces highly detailed models
- AI camera and alarms catch failures early
- First successful print reported in about an hour
Cons
- Lid has no hinges and must be fully removed
- Rounded resin spout makes pouring messy
- Camera view blocked by tall prints
- Adhesion can fail with some resins
- Build plate is small beyond miniatures
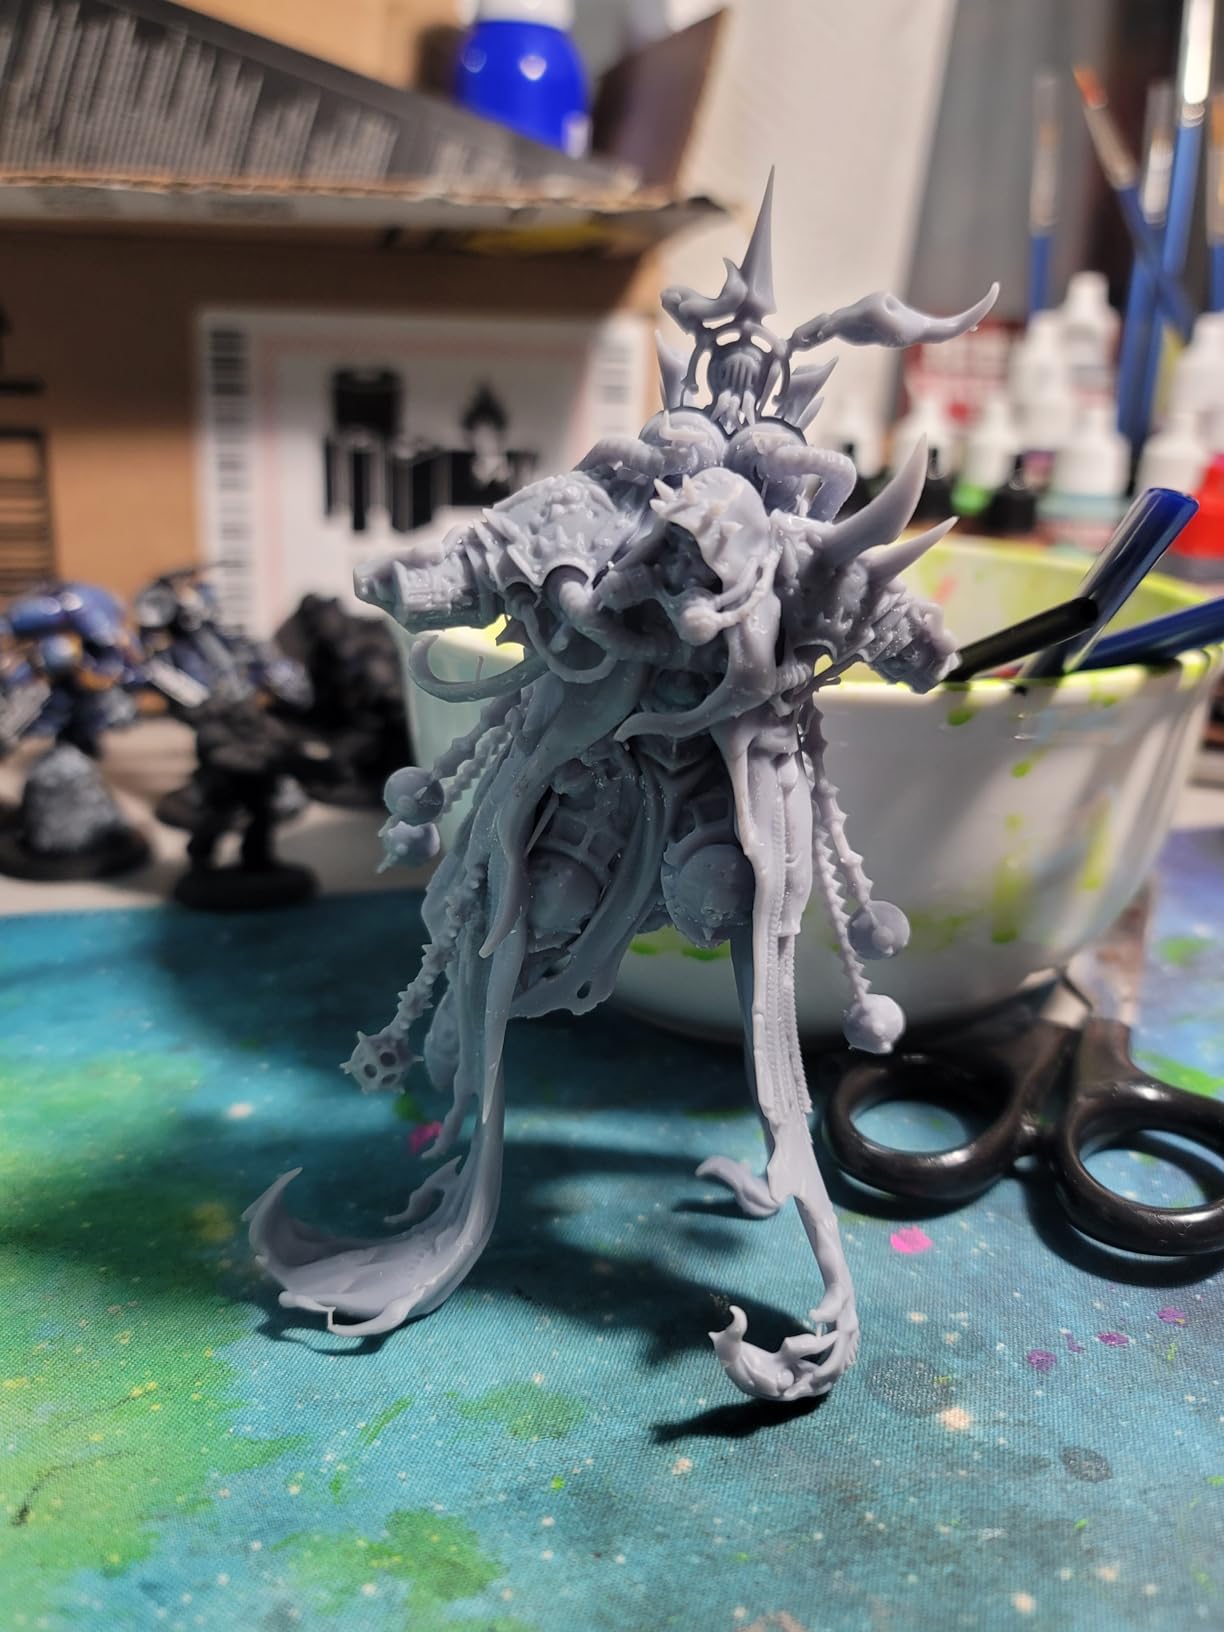
The Mars 5 Ultra solves the two things that usually slow resin beginners down. First, the self-zeroing build plate removes manual leveling entirely. Second, tilt-release film peeling technology runs up to 150mm/h, roughly halving print times compared with older Mars models.
Resolution is a 7-inch mono LCD at 9K with 18μm XY pixels, which produces clean detail on faces, hair texture and small mechanical features. Switchable fast and slow print modes let you use speed for draft parts and slow mode for a final show piece.
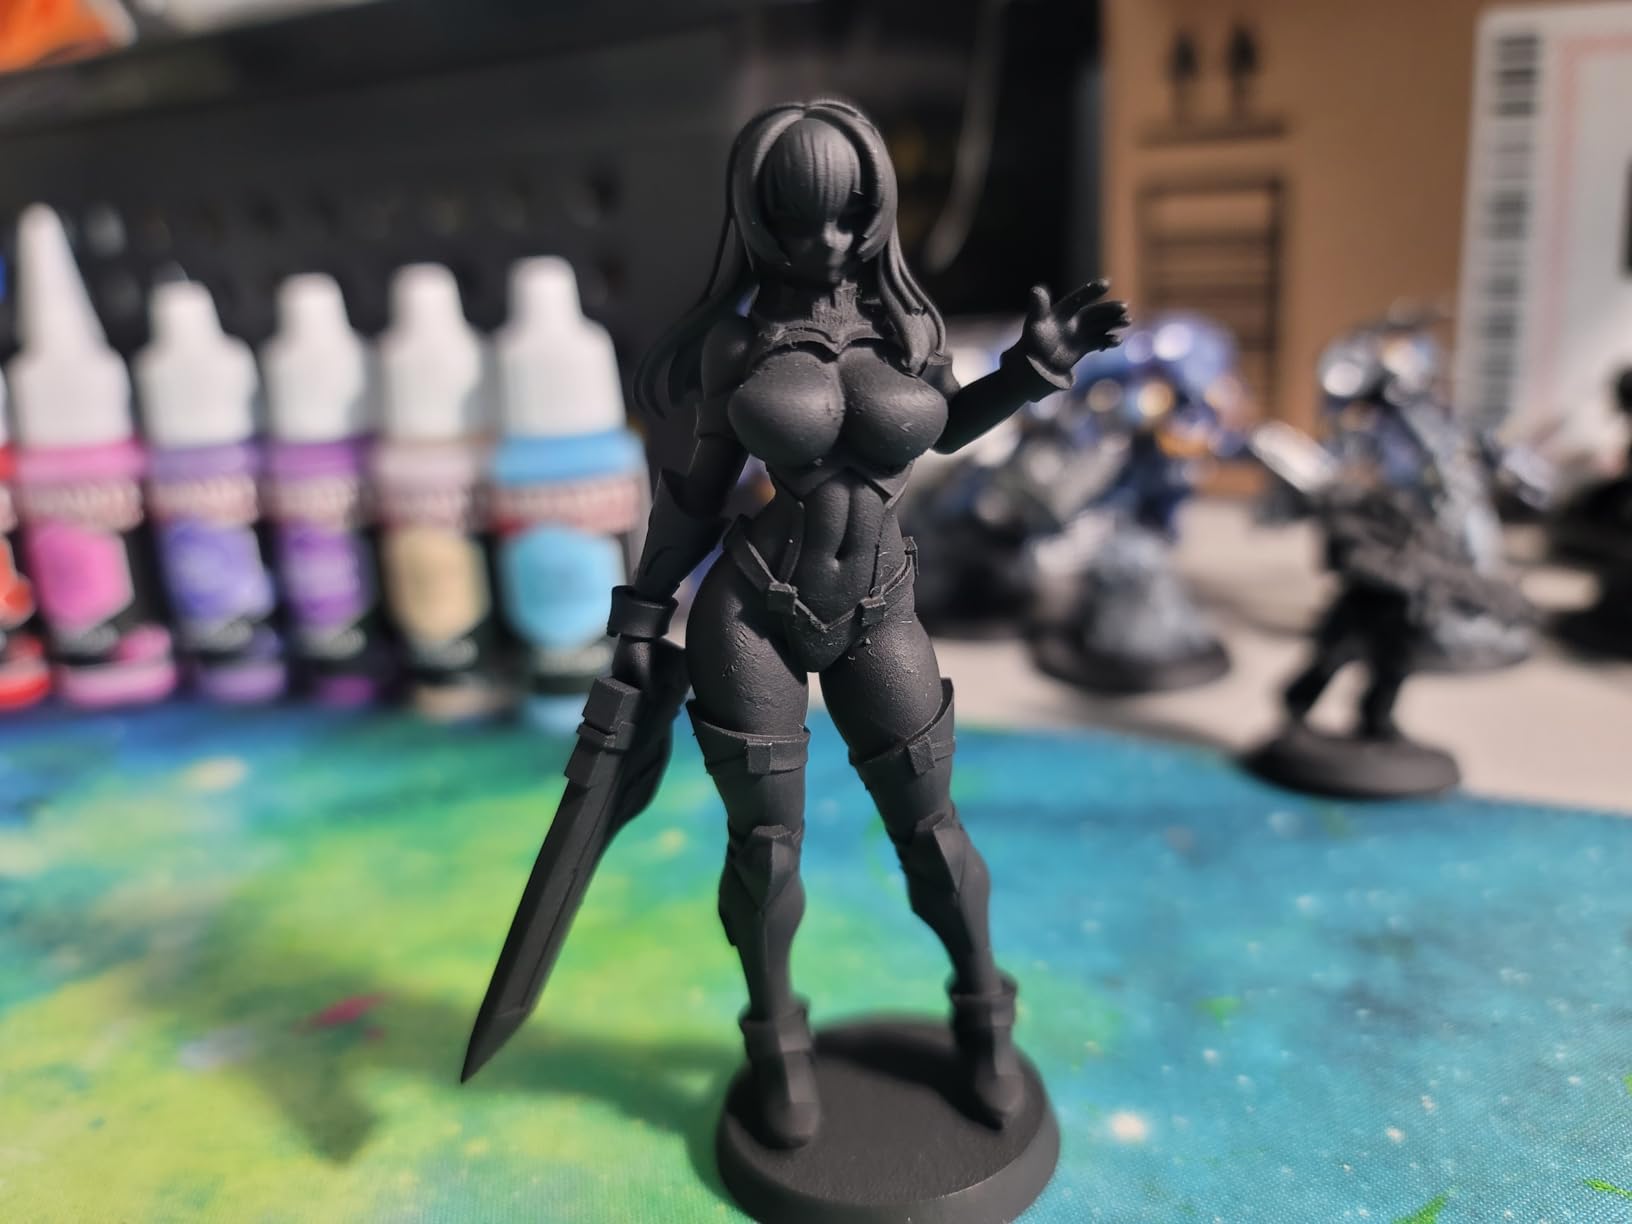
Failure detection is unusually good. An AI camera monitors the print in real time, a mechanical sensor detects residue to protect the LCD, and alarms fire for resin shortage or leveling failure. A three-month Chitubox Pro subscription is included to simplify supports and orientation.
Wi-Fi cluster printing lets you control multiple units from one device, which is interesting if you ever print miniatures in batches. Owners report a first successful print within about an hour of unboxing.
What you should know before buying
The physical design has small annoyances that show up daily. The lid has no hinges and must be fully removed to open, and the rounded resin spout makes pouring messy. Both are easy to work around once you know the routine.
The camera view is easily blocked by tall prints and the LCD itself is low resolution, so monitoring is not the strong feature the spec sheet implies. Adhesion to the build plate can also fail outright with some resins or in certain environments, which usually means re-orienting the model.
As with any resin machine, gloves, ventilation and safe disposal are part of the workflow, not optional extras.
Where it fits and where it does not
This is a strong choice for a beginner who has decided resin is the right tool and wants minimal manual leveling. The alarm system means you are not watching the machine, and the speed keeps throughput reasonable for batches of miniatures.
Pass if you print large parts, since the build plate is small beyond miniatures, or if you need a hinged lid in a busy workflow. For larger resin volumes, look at a bigger frame instead.
10. Flashforge Adventurer 5M Pro — Best 3d Printer for Engineering Filaments
FLASHFORGE Adventurer 5M Pro 3D Printer with 1 Click Auto Printing System
600mm/s CoreXY
280C nozzle and 110C bed
Dual filtration, under 50dB
4.3-inch touchscreen
Pros
- Enclosed and filtered chamber with 600mm/s CoreXY motion
- 280C hotend and 110C bed handle ABS ASA and PETG-CF
- Tool-free three-second nozzle swap
- Built-in camera with Flash Studio mobile control
- Handles multi-filament detection and power loss recovery
Cons
- Slicer installers may not support the newest operating systems
- Reported printhead crashes and part failures
- Some units arrive with damaged PEI plates
- Machine Busy lockups reported
- 220mm build volume limits larger projects
The Adventurer 5M Pro is the most capable filament machine for materials. A 280°C nozzle and 110°C heated bed mean ABS, ASA and PETG-CF are all on the menu, which is a real step beyond what open-frame entry printers can hold.
It is also enclosed and filtered. Dual filtration keeps odor down, and operation stays under 50dB. That combination makes it one of the few machines here that is comfortable in a home rather than a garage.
The all-metal CoreXY frame reaches 600mm/s with 20000 mm/s² acceleration, and integrated vibration compensation reduces ghosting and ringing on the surfaces. One-click full auto leveling handles setup, and the guided 4.3-inch touchscreen walks you through it.
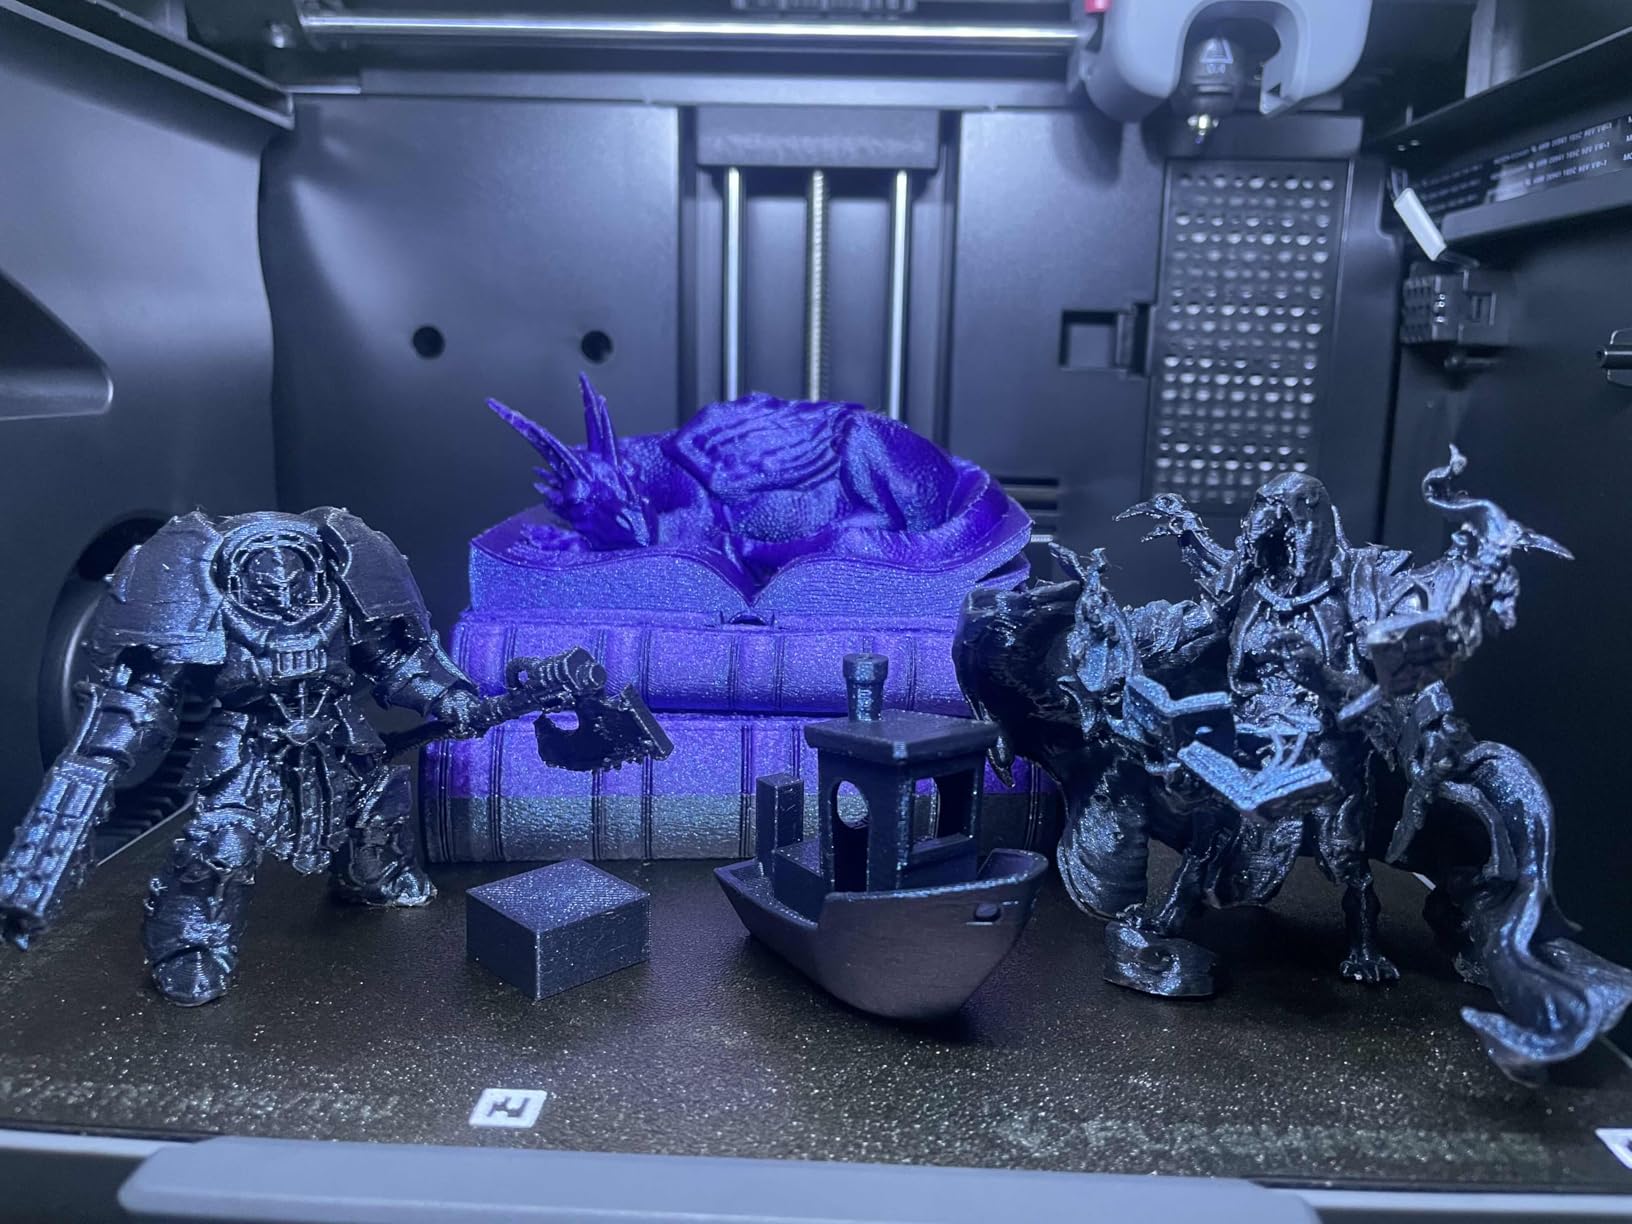
Tool-free nozzle changes take three seconds across 0.25, 0.4, 0.6 and 0.8mm nozzles, and a PEI build plate handles high-temperature materials without glue. A built-in camera records time-lapses, and Flash Studio gives mobile control.
What you should know before buying
Build quality varies more than the feature list suggests. Owners report printhead crashes and part failures requiring repeated replacement, some units arriving with PEI plates already damaged by the homing and leveling routine, and lockups where the machine reports Machine Busy while idle.
Software compatibility is another friction point. FlashPrint 5 and Orca-Flashforge installers may not support the newest macOS or Windows releases, so check your operating system before you commit. Support response is rated positively by owners who have used it.
Where it fits and where it does not
Buy this if your projects genuinely need ABS, ASA or carbon-filled filament, if you want multi-material capability without buying an AMS, or if you work in a quiet home and need enclosure plus filtration. The 220mm cube build volume suits most functional work.
Skip it if you are a first-week beginner who wants zero failure risk, or if you are on the very latest operating system and cannot confirm slicer support. For pure ease of use, the Bambu Lab A1 is the calmer route into the hobby.
How to Choose Your First 3D Printer
Decide FDM or resin before anything else
This is the single most consequential decision, and it comes before brand, budget or size. FDM printers melt plastic filament and push it through a heated nozzle. Resin printers cure liquid photopolymer with UV light. They produce completely different results from the same 3D model.
Choose FDM if you want household safety, minimal cleanup, large prints, functional parts and no special handling. Choose resin if you want surface detail fine enough for miniatures, jewelry or models, and you are willing to work with gloves, ventilation and curing.
Resin carries more risk for a beginner because uncured liquid resin is a skin sensitiser and the odour needs managing. FDM machines smell mildly when printing engineering plastics and are otherwise benign in a home. If you have small children or share a small apartment, that difference matters.
Build volume and the mistake almost everyone makes
Build volume is the width, depth and height of the area available to print. Small desktop units give you roughly eight inches per axis, mid-size machines give you 220mm or so, and large-format options go higher still.
Many beginners regret a small build volume within six months. The TINA2S at 8.3 x 8.3 x 11.4 inches is genuinely limiting, while the Centauri Carbon 2 at 256mm on a side handles much bigger work.
Ask yourself what you will actually print. Desk organizers and small parts suit almost anything. Cosplay armor, shelving brackets and large enclosures need real space. Buying the largest build volume you can live with costs little compared with replacing a machine later.
Auto bed leveling versus manual leveling
Manual bed leveling is the number one frustration named by people who quit 3D printing. You adjust four knobs, print a test, repeat. It is not a skill anyone enjoys learning as a beginner, and a bad first layer wastes filament.
Every printer in this roundup has some form of automatic leveling, which is the single biggest reason to buy new rather than used. CR Touch, strain gauge probes and pressure-sensor meshes all do the same job with different accuracy. Any of them beats a manual bed.
Even with auto leveling, the first layer still depends on nozzle height and bed cleanliness. Wipe the plate with dish soap and water before your first print. No machine compensates for a greasy surface.
Direct drive, Bowden and what they mean for you
Direct drive puts the extruder motor directly above the print head. Bowden routes filament through a PTFE tube to a lighter toolhead. Direct drive handles flexible TPU far more reliably and retracts more predictably, so it is the better default for a beginner.
All-metal hotends are worth having too. They reach and hold higher temperatures, which is what you need for ABS, ASA and nylon. A PTFE-lined hotend softens and fails around 240°C, so check the listed maximum nozzle temperature before buying for engineering work.
Firmware, apps and slicers
Klipper-based firmware enables high print speeds through motion planning, and it appears on several machines here. Marlin is the older, widely supported standard. Neither matters on day one, but both matter if you plan to modify anything later.
The bigger question is the slicer, the software that turns a model into G-code. Bambu Studio, PrusaSlicer, OrcaSlicer, Cura and FlashPrint are the common names. A manufacturer with a polished app saves you real time, but the most important thing is that the machine can also print from a USB drive when the app misbehaves.
Closed ecosystems such as Bambu’s make life easier out of the box and harder to modify later. Open firmware appeals to people who enjoy tuning. Decide which you are, because switching later means buying a new machine.
What a first printer really costs in year one
The machine is rarely the whole cost. Plan for filament, spare nozzles, a build plate, electricity and a set of failed prints before the first good one.
Filament: a 1kg PLA spool covers weeks of small prints. Buy one dry, sealed spool to start and a filament dryer if your home is humid, because wet filament causes stringing and weak layers.
Consumable parts: nozzles wear every few hundred hours, and PTFE-lined hotends eventually need replacing. Keep two spare 0.4mm stainless steel nozzles on hand from day one.
Build plates: textured PEI sheets wear out and PEI spring steel plates get damaged. One spare sheet avoids a stoppage.
Electricity: a 100-150W heated bed running constantly is the main draw. Printing during off-peak hours cuts this noticeably.
Resin extras: if you go the resin route, add nitrile gloves, a resin-safe wash station, an air filter and containers for washing and curing. Budget separately for this rather than discovering it later.
Failed prints: the first ten prints will not all succeed. Treat early filament as tuition rather than waste.
Safety basics for both technologies
FDM machines are hot. The nozzle and heated bed reach temperatures that cause burns, and the moving parts catch fingers and hair. Keep the machine on a stable surface, keep hair tied back, and never reach inside while a print is running.
Do not leave a hot machine unattended overnight unless you have thought about fire risk. Household printers do not belong in an unattended rental or in a position where you cannot smell smoke.
Resin carries the bigger hazard. Uncured liquid resin sensitises skin and eyes on contact, and the vapour needs ventilation. Wear nitrile gloves, work in a room you can ventilate, and never pour uncured resin down a sink. Cure and wash parts fully before handling them bare-handed.
Both types need a fire-safe surface away from flammables, and both benefit from a smoke or particle filter if you print often. For resin, place the machine inside a grow tent or use a dedicated ventilation setup.
Maintenance you can do in ten minutes a month
New owners treat maintenance as optional and then wonder why prints start failing. A short schedule prevents most problems.
Every print: wipe the build plate, check the nozzle for visible filament debris, and glance at the first layer for adhesion.
Weekly: check belt tension on the CoreXY models, clean the nozzle tip with a brass brush, and dust off the cooling fan and electronics bay.
Monthly: tighten frame bolts a quarter turn, check Z-axis smooth motion over the full height, and inspect the PTFE tube or Bowden path for jams.
Quarterly: replace the nozzle, verify bed levelling accuracy with a test print, and update firmware only after reading recent owner reports about the update.
Resin machines, monthly: inspect the vat for cloudy or cracked areas, replace the film if the build plate looks worn, and clean the LCD with a lint-free cloth.
Where to get help when a print fails
Every printer here has an active community, and using it is the difference between fixing a problem in ten minutes and buying a new machine.
Brand-specific subreddits exist for Bambu Lab, Creality and Elegoo, and the general 3D printing communities are large enough that almost any symptom has been posted before. Printables.com and Thingiverse host the model libraries most beginners start with. Manufacturer forums remain useful for firmware-specific problems, where the community knowledge is thin.
A makerspace or hackerspace is worth considering. Hands-on help from someone who has already broken a nozzle once beats an hour of forum searching. For labels and organizing the finished output of your first prints, our guide to the best label printers covers the other half of a small production run.
Frequently Asked Questions
Can I teach myself 3D printing?
Yes. Most people learn the basics in a weekend with a machine that has auto bed leveling. Spend the first day printing calibration models and a simple object, the second learning to slice in the software that comes with your printer. The skills build in order: loading filament, slicing a model, adjusting temperature and retraction, then troubleshooting. Forums and brand communities fill in the rest as questions come up.
What is the most beginner friendly 3D printer?
The Bambu Lab A1 is the most beginner friendly on our list because it calibrates its own bed and Z-offset on startup and needs no assembly. You can go from unboxing to a finished print in minutes without touching a single knob. The Creality Ender 3 V3 SE is the gentlest on your budget, and the Asani TINA2S needs no build step at all, but all three deliver a successful first print with less input than a manual-level bed would need.
Should my first 3D printer be FDM or resin?
Choose FDM if you want functional parts, large objects and a safe, low-fuss workflow with no chemical handling. Choose resin if you want fine surface detail for miniatures, jewelry or models, and you are willing to use gloves, ventilation and a curing setup. Resin produces noticeably better detail but adds a chemical process that beginners often underestimate.
Do I need an enclosed 3D printer as a beginner?
Not for PLA and PETG, which most beginners use first, and not for TPU. You want an enclosure when you print ABS or ASA, nylon or carbon-filled filament, because those materials need a heated, stable chamber to stop warping and layer separation. If engineering plastics are on your list from the start, buy enclosed and skip the upgrade path.
How expensive is 3D printing as a hobby?
Beyond the machine, budget for filament, a couple of spare nozzles, a spare build plate, electricity and a handful of failed early prints. Dry sealed filament is the item most beginners underestimate, as wet filament causes stringing and weak layers and a filament dryer pays for itself quickly in humid climates. If you print resin, add gloves, wash station, ventilation and proper disposal to that list.
Is it cheaper to 3D print or buy an object?
For one-off or custom items, printing is usually cheaper and often the only option, since a replacement part may not exist in any size or shape. For a single commodity object you could pick up in a shop, printing rarely wins once you count filament, electricity, failed prints and your time. The hobby pays off when you need something specific that you cannot buy.
Final Verdict
For most people, the best 3d printers for beginners in 2026 start with the Bambu Lab A1. It removes the three things that stop newcomers: manual leveling, complicated setup and noisy, unreliable first attempts. Order it, load the filament it recommends, and print something the same afternoon.
Buy the Creality Ender 3 V3 SE instead if the cost of getting started is the deciding factor and you are comfortable with 20 minutes of assembly. Buy the Anycubic Photon Mono 4 or ELEGOO Mars 5 Ultra if you want miniatures and have a ventilated place to work. Move up to the Bambu Lab P1S Combo or Flashforge Adventurer 5M Pro when you know you need multi-color or engineering materials.
Whichever you choose, start with PLA, keep the nozzle clean, and give it a month before you judge it. That is where the learning actually happens.