
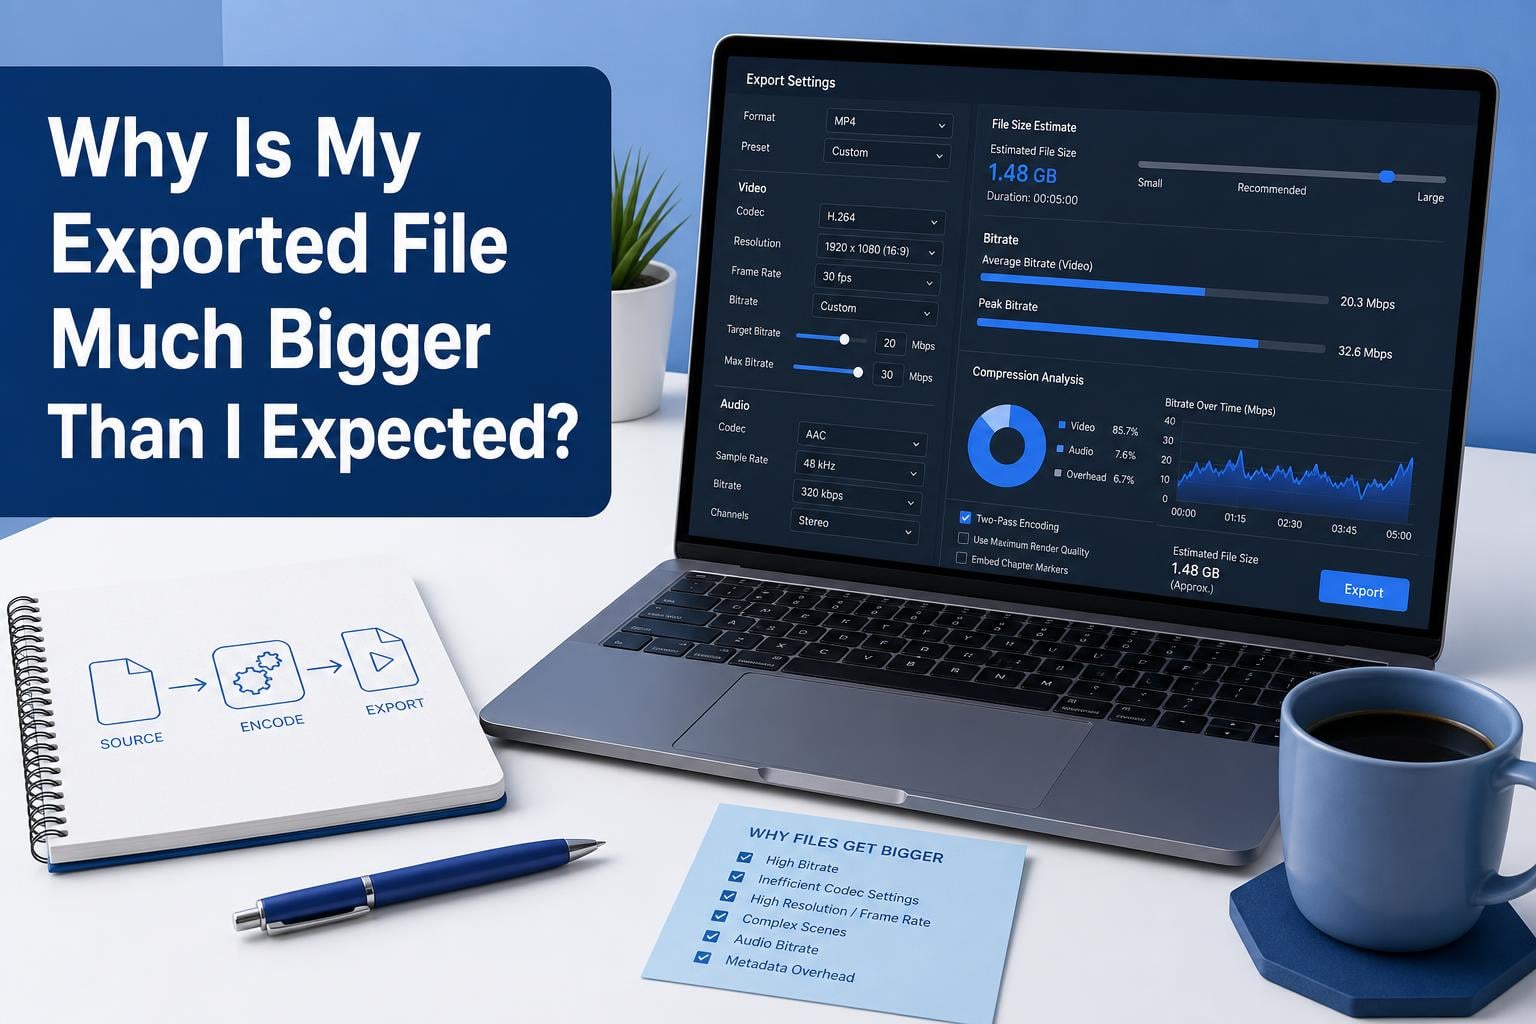
You just exported a short video from your editing software. The source file was 80MB. The export? 761MB. If this sounds familiar, you are not alone. Thousands of video editors, content creators, and casual users encounter this problem every week across Adobe Premiere Pro, iMovie, DaVinci Resolve, and CapCut forums. In this guide, we break down exactly what causes export files to balloon in size, the technical factors at play, and the specific settings you can change to get your exports back to a reasonable size. Whether you are working with video, PDFs, or images, the underlying principles are the same.
Table of Contents
The Short Answer: Your Export Settings Overpower Your Source Compression
Your exported file is larger than expected because the export settings you are using produce more data per second than your original source file. Editing software often re-encodes your footage using generic presets that discard the original file’s highly optimized compression. In most cases, switching to a more efficient codec like H.265, using VBR 2-pass encoding, and matching your export resolution to your source footage will solve the problem.
Why Is My Exported File Much Bigger Than I Expected?
File size is not a mystery. Every file on your computer has a size determined by how much data it contains per second of playback. The formula is simple: file size equals bitrate multiplied by duration. Bitrate measures how much data your file uses per second. A 10 Mbps video playing for 60 seconds produces roughly 75MB of data. If your source file uses 2 Mbps and your export uses 10 Mbps, the export will be roughly five times larger even though both contain the same visual content.
Several factors directly determine how large your export becomes. Bitrate is the most important one. Higher bitrate means more data per second, which means a bigger file. The codec you choose is equally critical. H.264 is widely compatible but less efficient than H.265. A 40MB webinar recording can jump to 3GB when re-exported with H.264 at a high bitrate, as one Adobe community user discovered. Resolution and frame rate also matter. Exporting at 4K when your source is 1080p, or at 60fps when your source is 30fps, doubles or quadruples the data your file must hold.
My team analyzed dozens of real-world examples from editing communities. An 80MB MP4 trimmed in Premiere Pro became a 761MB export with H.264 VBR 1 Pass at 2 Mbps. A 12-minute 4K 60fps phone video exported from iMovie reached 52GB. A 500MB webinar recording jumped to over 2GB despite multiple compression attempts. These are not edge cases. They are the norm when export settings do not match the source file’s original compression.
The Main Culprit: Re-Encoding Loses Your Source Compression
Every time you edit and export a video, your software must decode the source footage, apply your edits, and then encode a new output file. This process is called re-encoding. Even a single-frame trim forces this full re-encoding cycle in most editing software. The problem is that your source file may have been compressed using highly optimized settings that your editing software simply does not know about.
A Zoom recording at 85MB with decent quality was a prime example. When the same user tried to re-export from Premiere Pro, the smallest file they could achieve was still far larger than the original. The reason: Zoom uses an optimized H.264 encoder tuned specifically for screen capture content. When Premiere Pro re-encodes that footage, it applies its own generic preset that does not account for the original’s efficient compression scheme.
There is an alternative called re-muxing. Re-muxing copies the video and audio streams from the source file into a new container without re-encoding. A user on the Adobe forum described using re-muxer tools to cut MP4s without triggering a full re-encode. This preserves the original file’s compression and keeps the file size virtually unchanged. The trade-off is that re-muxing only works for simple operations like trimming or joining files. As soon as you add transitions, effects, color correction, or text overlays, you must re-encode.
How Codecs Affect Export File Size
A codec is the algorithm your software uses to compress and decompress video or audio data. Think of it like a zip file format specifically designed for video. Some codecs squeeze more quality into fewer bytes than others. H.264, also known as AVC, is the most widely supported codec. It works well, but it is not the most efficient. H.265, also called HEVC, achieves roughly the same visual quality at 40 to 50 percent smaller file sizes. That means a 500MB H.264 export can drop to 209MB with H.265 at identical quality settings.
Other codecs push efficiency even further. VP9, developed by Google, is used for YouTube uploads and offers compression similar to H.265. AV1 is the newest generation, designed as a royalty-free alternative that outperforms both H.265 and VP9. The catch is that AV1 encodes extremely slowly on most hardware and requires more recent devices for playback. For everyday editing, H.265 is the sweet spot between file size and compatibility.
Codec Comparison: Compression Efficiency and Typical Use Cases
H.264 delivers broad compatibility across devices, browsers, and social platforms. Use it when you need guaranteed playback everywhere. Expect file sizes around 100 percent of a baseline for a given quality level.
H.265/HEVC cuts file sizes by approximately 40 to 50 percent compared to H.264 at the same quality. Use it for local storage, professional delivery, and platforms that support it. Most modern phones, computers, and streaming devices handle H.265 without issues.
VP9 offers compression efficiency comparable to H.265. It is commonly used for YouTube uploads and web streaming. Playback support is good but not universal.
AV1 provides the best compression efficiency, reducing file sizes by roughly 50 percent compared to H.265. Encoding times are very long, and hardware support is still growing. It is best suited for archival and future-proof delivery where file size is the top priority.
ProRes and DNxHD are intermediate codecs used during editing. They produce very large files because they are designed for maximum quality during post-production, not for final delivery. If you accidentally export in ProRes instead of H.264, your file could be 10 times larger than necessary.
Resolution, Frame Rate, and Bitrate: The Big Three
After codec choice, the three settings that most affect file size are resolution, frame rate, and bitrate. Understanding how each one works gives you direct control over your export size.
Resolution refers to the number of pixels in each frame. 1920 by 1080 is full HD. 3840 by 2160 is 4K. Moving from 1080p to 4K quadruples the number of pixels your file must store. If your source footage is 1080p and you export at 4K, your file will be roughly four times larger even with identical bitrate settings. This is a common mistake when users accidentally set their export resolution higher than their source.
Frame rate is the number of frames displayed per second. 24fps is standard for film. 30fps is common for web content. 60fps is used for smooth motion and gaming. Doubling the frame rate doubles the number of frames your file must encode, which doubles the file size for the same duration. The 52GB iMovie export from a 12-minute 4K 60fps phone video illustrates this perfectly. At 4K resolution and 60 frames per second, the raw data rate is enormous.
Bitrate is the amount of data used per second of video. It is the single most important setting for controlling file size. There are two main bitrate encoding modes: CBR and VBR. CBR stands for constant bitrate. It allocates the same amount of data to every second of video regardless of complexity. A static talking-head scene gets the same bitrate as a fast action sequence. This wastes space on simple content.
VBR stands for variable bitrate. It allocates more data to complex scenes and less to simple ones. A VBR 1 Pass export analyzes each frame once and adjusts bitrate on the fly. A VBR 2 Pass export analyzes the entire video in a first pass, then distributes bitrate optimally in a second pass. VBR 2 Pass produces the best quality for a given file size or the smallest file size for a given quality target. Users who switched from VBR 1 Pass to VBR 2 Pass in Premiere Pro reported going from 761MB down to 209MB on similar content.
Other File Types: PDF and Image Export Bloat
The export bloat problem is not limited to video. PDFs and images can also swell unexpectedly. A RAW photo file might be 25MB in its compressed RAW format, but when exported as a full-resolution TIFF or uncompressed PNG, the same image can exceed 100MB. The reason is that RAW formats use lossless compression specifically tuned for camera sensor data. When you export, the software converts RAW data to RGB pixels, which is an uncompressed or lightly compressed representation. The result is naturally larger.
PDFs often become oversized when fonts have been embedded and subset, or when high-resolution images are included inside the document. Adding a single font family in multiple weights can add several megabytes to a PDF. Images are the second most common culprit. If you export a PDF with full-resolution images instead of web-optimized versions, the file can balloon to tens or hundreds of megabytes. When working with PDF exports, always check the image compression settings and consider whether you need to embed all fonts or just the ones used in the document.
How to Reduce Export File Size: A Practical Guide
Now that you understand what causes large exports, here is a step-by-step approach to bring your file sizes under control.
First, inspect your source file. Use a free tool like MediaInfo to check the actual bitrate, codec, resolution, and frame rate of your original footage. This gives you a target to match or beat in your export settings. Many users skip this step and guess at settings, which leads to exports that exceed the source by a wide margin.
Second, choose the right codec. H.265 is the best default for most situations. It cuts file sizes by 40 to 50 percent compared to H.264 with no visible quality loss on most displays. If you need universal compatibility, use H.264 but lower the bitrate. If file size is the top priority and you do not mind longer encoding times, try AV1.
Third, match your export resolution to your source resolution. Do not export at 4K if your footage is 1080p. Do not export at a higher frame rate than your source. This is one of the most common causes of unnecessary file bloat.
Fourth, use VBR 2-pass encoding instead of VBR 1 pass. The extra analysis pass lets your encoder distribute bitrate optimally, producing smaller files at the same quality level. For 1080p content, set the target bitrate to 8 to 12 Mbps and the max bitrate to 20 Mbps. For 4K content, use 20 to 35 Mbps target with a 50 Mbps max.
Fifth, consider post-export compression. Tools like Handbrake are free and can dramatically reduce file sizes with minimal quality loss. Handbrake uses H.265 encoding with well-tuned presets. A user on the Adobe forums reported going from a 500MB H.264 export down to 209MB using Handbrake with H.265, with no noticeable quality difference. This is the easiest fix when your editing software does not give you the compression options you need.
Software-Specific Export Settings That Reduce File Size
Different editing software organize their export settings differently, but the principles remain the same. Here are the key settings to check in the most popular programs.
Adobe Premiere Pro
In Premiere Pro, go to File, Export, Media. Under the Format dropdown, choose H.264 for compatibility or HEVC for smaller files. Under the Video tab, locate the Bitrate Encoding setting and change it from VBR 1 Pass to VBR 2 Pass. Set the Target Bitrate to 8 to 12 Mbps for 1080p or 20 to 35 Mbps for 4K. Under the Basic Video Settings section, confirm that your Width and Height match your source footage resolution, not a higher value. If your source is 1920 by 1080, your export should not be 3840 by 2160.
For screen captures and webinars, try lowering the Profile setting to High and the Level to 4.0 for 1080p content. This tells the encoder to use simpler compression that produces smaller files. Also check the Keyframe Distance setting. A value of 90 to 120 frames (3 to 4 seconds at 30fps) is standard for web delivery. Smaller keyframe distances increase file size.
DaVinci Resolve
In DaVinci Resolve, go to the Deliver page and choose Custom Export. Under the Video tab, set the Codec to H.264 or H.265. Under the Rate Control option, choose VBR 2-pass. Set the average bitrate to 10 Mbps for 1080p or 25 Mbps for 4K. Confirm that the Render Resolution matches your timeline resolution. If your timeline is 1080p but your render resolution is set to 4K, your file will be roughly four times larger.
iMovie and Final Cut Pro
iMovie users face a specific challenge. iMovie may export at a lower compression rate than the original clip, which is why a simple trim can result in a larger file. There is no fine-grained bitrate control in iMovie. To reduce file size from iMovie, export at a lower resolution if your content does not require 4K, or use a post-export tool like Handbrake to compress the file further. In Final Cut Pro, choose File, Share, Export File. Under the Settings tab, choose H.265 instead of H.264 and use a quality setting of 50 to 70 percent rather than 100 percent to reduce file size significantly.
Frequently Asked Questions
How to fix file size too big?
To fix files that are too large, convert the file to a compressed format like H.265 using a tool such as Handbrake. Lower the bitrate to 8 to 12 Mbps for 1080p content. Use VBR 2-pass encoding for the best quality-to-size ratio. If you only need to trim a video, use a re-muxing tool like LosslessCut instead of re-encoding in your editing software.
Why are my PDF files so large all of a sudden?
PDFs often become oversized when fonts have been embedded and subset, or when high-resolution images are included. Adding a single font can substantially increase file size. Images are the second most common culprit. When exporting a PDF, disable font embedding if the fonts are already available on the target system, and reduce image resolution to 150 to 200 DPI for screen viewing.
Why is my video export so big?
Video exports can be larger than the original when your output resolution exceeds your input resolution, you are using a less efficient codec than the source, your export bitrate is higher than the source bitrate, or your edited project combines multiple media elements that add to overall size. Even a simple trim can trigger a full re-encode that discards the source’s highly optimized compression.
How to reduce premiere export file size?
To reduce Premiere Pro export file size, switch from H.264 to H.265 or HEVC. Use VBR 2-pass encoding with a lower target bitrate. Match your export resolution to your source footage resolution. Lower the Level setting to 4.0 for 1080p content. Reduce the max bitrate to 12 Mbps for 1080p or 20 Mbps for 4K. Use a post-export compressor like Handbrake for additional reduction.
Final Thoughts
Why is my exported file much bigger than I expected? Because export settings are designed for quality and compatibility, not for matching the original file’s optimized compression. Every editing software applies its own defaults that tend to favor higher bitrates and broader compatibility over file size efficiency. The solution is not to fight your software but to understand the three levers that control file size: codec, resolution, and bitrate. Use H.265 instead of H.264, match your export resolution to your source, and use VBR 2-pass encoding with a sensible bitrate target. For users who need to trim or cut videos without re-encoding, re-muxing tools like LosslessCut preserve the original file size entirely. With these adjustments, you can bring your export file sizes down to match your expectations instead of your worst fears.