
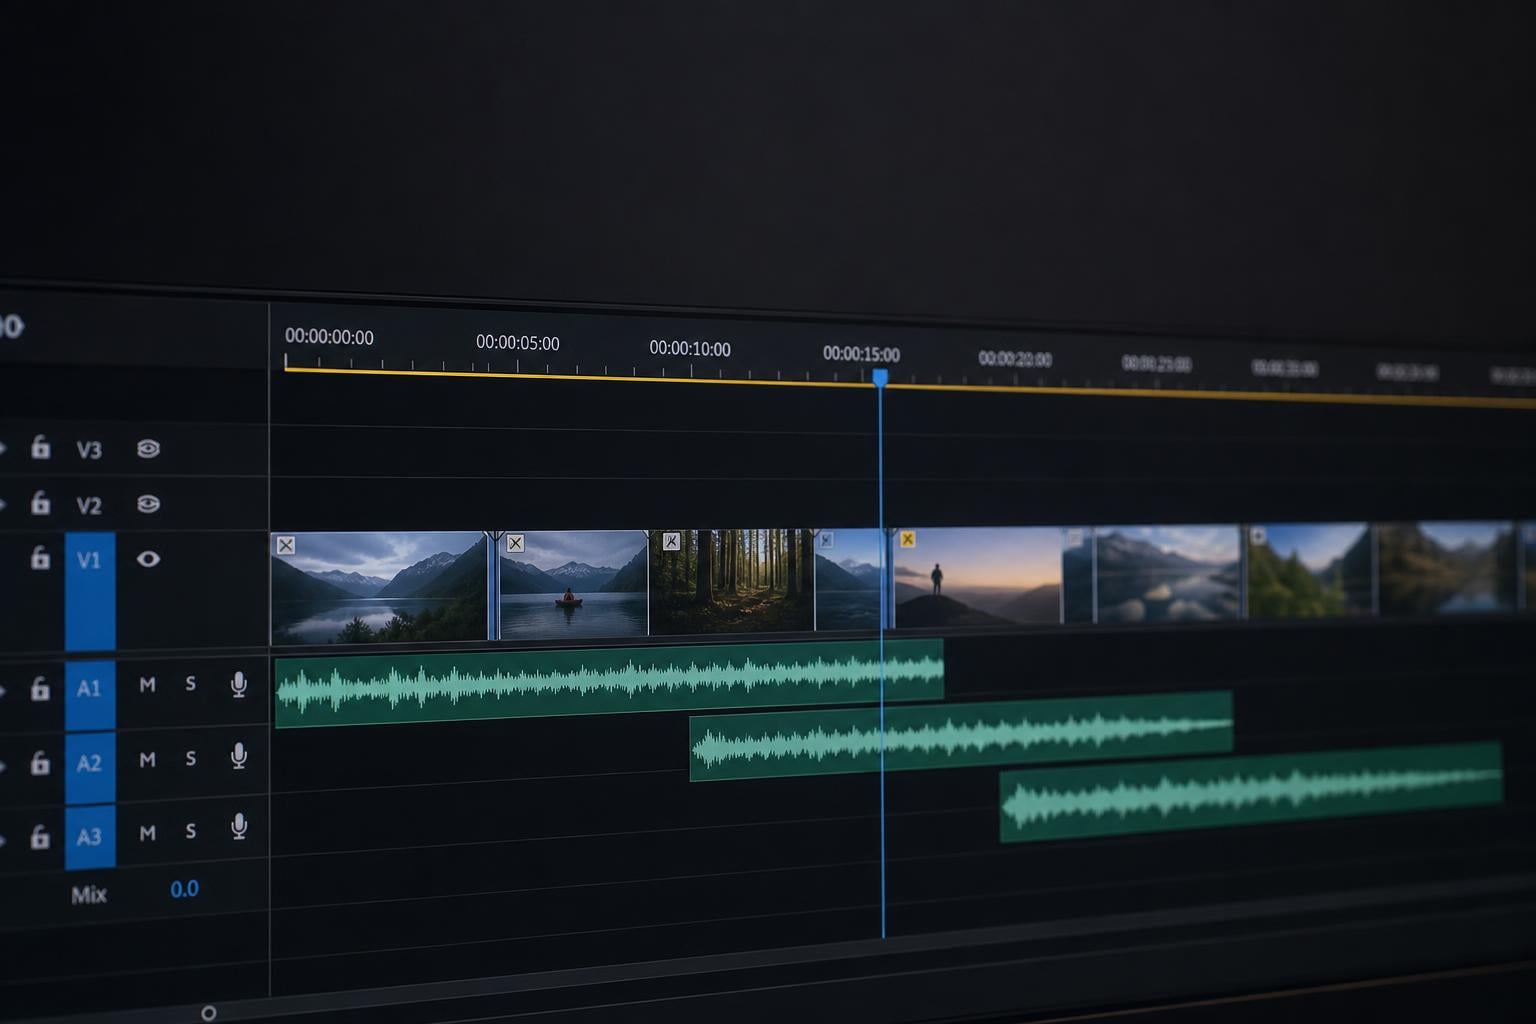
You just spent hours editing a video. The timeline looks perfect. Every cut lines up with the beat, every word matches the lip movement. You hit export, wait for the render to finish, and open the final file. The audio is off. Maybe it is a small 10-millisecond delay that nags at you. Maybe it drifts further out of sync as the video plays. Either way, something that looked flawless in your editor now looks broken.
This is one of the most frustrating problems in video editing, and almost every editor runs into it at some point. The good news is that in the vast majority of cases, the problem has a specific cause and a specific fix. You do not need to re-edit your timeline or start your project over.
If you are asking why is my audio out of sync after exporting my video, this guide breaks down the technical reasons behind the problem and walks through every fix step by step. We cover the five major causes of export audio desync, provide solutions for Premiere Pro, DaVinci Resolve, CapCut, Final Cut Pro, and Shotcut, and include a prevention checklist so you never hit this issue again.
Table of Contents
Quick Answer: What Causes Audio Sync Problems After Export?
Audio out of sync after export happens because of one of five issues: variable frame rate source files, frame rate mismatch between footage and sequence, audio sample rate mismatch, hardware acceleration encoding bugs, or codec-specific problems with H.264 in MP4 containers. The most common fix is converting variable frame rate footage to constant frame rate using HandBrake, matching your sequence settings to your source footage, and switching from hardware encoding to software encoding in your export settings.
Before diving into the deep troubleshooting, test your exported file in VLC media player. If the audio syncs correctly in VLC but not in QuickTime or other players, your file is likely fine and the issue is player-specific. We explain why this happens later in this guide.
Why Is My Audio Out of Sync After Exporting My Video? Common Causes
Understanding the root cause is the key to picking the right fix. Here are the six most common reasons your audio goes out of sync after export, ranked from most to least frequent based on what editors report across forums and support communities.
1. Variable Frame Rate (VFR) Source Files
This is the single biggest cause of audio sync issues after export. Many phones, screen recording tools, and webcams record video using variable frame rate (VFR) instead of constant frame rate (CFR). With VFR, the camera adjusts the frame rate on the fly depending on what is happening in the scene. A talking head section might record at 30 fps, while a fast-motion section drops to 24 fps.
Video editing software expects constant frame rate. When you import a VFR file, the editor tries to interpret it as CFR. The preview might look fine because the editor is compensating in real time. But when you export, the editor renders based on its internal interpretation, and the audio track no longer lines up with the actual video frames.
If you shot footage on an iPhone, recorded your screen with OBS using default settings, or used a webcam, your source files are almost certainly VFR. This is why phone footage and screen recordings are the most common triggers for audio sync problems after export.
2. Frame Rate Mismatch Between Clips and Sequence
Even if all your footage uses constant frame rate, mixing different frame rates causes sync issues. For example, if your sequence is set to 30 fps but you drop in 24 fps footage and 60 fps footage, the editor has to conform each clip to the sequence frame rate. This conforming process can introduce subtle timing shifts.
The preview compensates by stretching or repeating frames. But the export re-encodes everything based on the sequence frame rate, and the audio track stays locked to its original timing. The result is audio that drifts away from the video as the clip plays.
This problem is especially common when editors mix iPhone footage (often 30 fps or 60 fps) with screen recordings or cinema camera footage (often 24 fps or 25 fps). The fix is to either match all footage to the same frame rate before editing or set your sequence to match the dominant clip frame rate.
3. Audio Sample Rate Mismatch
Audio sample rate is the audio equivalent of video frame rate. Video editing software typically works at 48 kHz, but many audio recorders, phones, and downloaded music tracks use 44.1 kHz. When the editor has to convert between sample rates during export, the audio can shift by a few milliseconds.
A 10-millisecond shift is small enough that it might not be obvious in short clips but becomes noticeable in talking head footage or dialogue-heavy content. This is the cause behind the widely reported 10 ms audio delay on H.264 MP4 exports that editors see in Adobe forums.
To check your audio sample rate, right-click any audio file in your project bin and look at the properties. If some clips are 44.1 kHz and others are 48 kHz, that mismatch is a likely contributor to your sync issue.
4. Hardware Acceleration and Hardware Encoding
Most modern video editors offer hardware acceleration, which uses your graphics card (GPU) to speed up rendering and encoding. This includes NVIDIA NVENC, Intel Quick Sync, Apple Metal, and AMD VCE. While hardware encoding is much faster, it is less reliable than software encoding when it comes to audio sync.
Hardware encoders process video and audio on separate pathways. Under certain conditions, these pathways can fall out of step, producing a final file where the audio is offset from the video. This problem is intermittent and hardware-dependent, which makes it hard to diagnose. Some editors never see it, while others hit it on every export.
The Adobe community forum has dozens of reports where switching from hardware encoding to software encoding immediately fixed audio sync issues. If your export uses H.264 with hardware encoding and the audio is off, this is one of the first things to test.
5. Codec-Specific Issues with H.264 in MP4
H.264 in an MP4 container is the most popular export format because it works everywhere. It is also the format most commonly associated with audio sync problems. The H.264 codec uses inter-frame compression, meaning it stores some frames as full images and other frames as data describing what changed from the previous frame. This compression method can introduce timing irregularities in the audio track.
Adobe staff have acknowledged this as a known issue. Multiple users report that exporting to QuickTime format or switching to H.265 eliminates the sync problem entirely. The audio data itself is fine, but the way H.264 interleaves audio and video in the MP4 container can cause players to interpret the timing differently.
6. Audio Drift Over Time (Progressive Desync)
Audio drift is a specific type of sync issue where the audio and video start aligned but gradually separate as the video plays. By the end of a 15-minute video, the audio might be one or two seconds off. This is different from a constant delay, where the audio is wrong by the same amount throughout.
Drift is caused by a cumulative timing error during encoding. The most common cause is a frame rate rounding error. For example, if your sequence is 29.97 fps but the editor renders at 30 fps, the video track gains about one frame every 33 seconds. Over a 10-minute video, that adds up to 18 frames, which is more than half a second of drift.
The Shotcut forum has extensive discussion of this problem. One user reported that audio was fine for the first few minutes, then drifted to one or two seconds out of sync by the end of a 15-minute video. The fix is to ensure your sequence frame rate exactly matches your export frame rate, down to the decimal.
How to Fix Audio Out of Sync After Exporting: Step-by-Step
These steps are ordered from easiest and fastest to most involved. Try them in order, and test your export after each one.
Step 1: Test in VLC Media Player First
Before changing any settings, download VLC media player and open your exported video in it. VLC is more forgiving than most players because it dynamically adjusts audio timing during playback. If your video syncs correctly in VLC, the problem might be with your media player rather than your export.
Many editors waste hours changing export settings when the actual issue is that QuickTime, the default Mac player, handles certain MP4 files differently than VLC. If VLC plays the file with perfect sync, your export is likely fine for upload to YouTube, social media, or web playback.
If VLC also shows the sync issue, move on to the next step.
Step 2: Convert VFR Source Files to CFR Using HandBrake
If your source footage comes from a phone, webcam, or screen recording, it likely uses variable frame rate. Converting it to constant frame rate before editing eliminates the most common cause of audio sync issues.
Download HandBrake (it is free and open source). Open your source file in HandBrake, go to the Video tab, and change the Frame Rate setting from “Same as source” to a specific number like 30 or 24. Make sure “Constant Frame Rate” is selected, not “Variable Frame Rate” or “Peak Frame Rate.”
Export the file from HandBrake, then import the converted version into your editor instead of the original. This single step fixes the majority of audio sync problems we see reported across forums.
Step 3: Match Your Sequence Settings to Source Footage
Check your sequence settings (called “timeline settings” in some editors). The sequence frame rate must match your dominant source footage frame rate. If your main camera shoots at 24 fps, your sequence should be 24 fps. If your phone shoots at 30 fps and that is most of your footage, set the sequence to 30 fps.
In Premiere Pro, right-click the sequence and select Sequence Settings. In DaVinci Resolve, go to Project Settings and check the Timeline Frame Rate. In Final Cut Pro, the timeline automatically conforms to the first clip dropped in, which can cause issues if you add different frame rate footage later.
If you already edited your timeline on a mismatched sequence, changing the frame rate now could shift your cuts. The safer approach is to export at the current sequence frame rate and switch to software encoding (Step 5) to minimize the timing error.
Step 4: Verify Audio Sample Rate Settings
Open your project settings and check the audio sample rate. It should be set to 48 kHz, which is the standard for video. Then check each audio clip in your project bin. Any clip at 44.1 kHz needs to be converted before export.
To convert audio files, use a free tool like Audacity. Open the file, change the Project Rate (bottom left corner) to 48000, and export as a new WAV file. Replace the 44.1 kHz clip in your editor with the converted 48 kHz version.
In your export settings, confirm that the audio sample rate is also set to 48000 Hz. If your editor is set to export at 44100 Hz while your project is 48000 Hz, the conversion during export can introduce a small audio delay.
Step 5: Switch from Hardware Encoding to Software Encoding
This is the fix that resolves the most stubborn sync issues that other steps do not. In your export settings, look for an option related to encoding, rendering, or hardware acceleration.
In Premiere Pro, go to the Video tab in export settings and change the Encoding from “Hardware Accelerated” to “Software Only Encoding.” In DaVinci Resolve, look in the Deliver page under Advanced Settings and disable hardware encoding. In Shotcut, go to Export Advanced and uncheck “Hardware encoders.”
Software encoding is slower, sometimes taking two to three times longer to render. But it processes audio and video on the same pathway, which eliminates the timing split that hardware encoders can introduce. If this fixes your sync issue, you can experiment with hardware encoding again for future projects while keeping software encoding as your fallback.
Step 6: Change Export Codec or Container
If you have tried all the above steps and the sync issue persists, change your export format. If you are exporting to H.264 MP4, try one of these alternatives:
Export to H.264 in a QuickTime MOV container instead of MP4. The MOV container handles audio interleaving differently and often avoids the timing issues that affect MP4 files.
Export to H.265 (also called HEVC). This codec uses a different compression method that is less prone to the inter-frame timing issues of H.264. The file size will be smaller, though encoding takes longer.
Export to Apple ProRes or DNxHD. These are intermediate codecs designed for post-production. They use intra-frame compression, meaning every frame is stored as a complete image. This eliminates the timing irregularities that cause audio sync issues. The files are large, but you can then re-encode to H.264 using HandBrake for delivery.
Step 7: Clear Render Cache and Re-Export
If none of the above steps work, your editor might be holding onto cached render files that contain the sync error. This is especially common in DaVinci Resolve and Final Cut Pro, which cache preview renders aggressively.
In DaVinci Resolve, go to Playback, then Delete Render Cache, and select All. Then go to the Deliver page, delete any existing render jobs, and re-export from scratch. In Final Cut Pro, go to File, then Delete Generated Library Files, and select Delete Render Files. In Premiere Pro, clear the media cache by going to Preferences, then Media Cache, and clicking “Delete Unused.”
One Blackmagic forum user reported that simply deleting the render cache and existing export jobs completely resolved their audio sync slip. This is worth trying even if you think your cache is clean.
Software-Specific Fixes for Audio Sync After Export
Each major editing program has specific settings and known issues related to audio sync after export. Here is what to check in your editor of choice.
Adobe Premiere Pro
Premiere Pro has a well-documented H.264 audio sync bug. The most widely confirmed fix is changing the Mercury Playback Engine renderer. Go to File, Project Settings, General, and change the Renderer from “Mercury Playback Engine GPU Acceleration (OpenCL)” to “Mercury Playback Engine GPU Acceleration (Metal)” on Mac, or to “Software Only” on Windows.
Multiple Premiere users on the Adobe community forum confirm that switching from OpenCL to Metal fixed the 10 ms audio delay on H.264 MP4 exports. If you are on Windows, switching to “Software Only” rendering has the same effect.
Also check your sequence frame rate by right-clicking the sequence and selecting Sequence Settings. If your sequence is 30 fps but your footage is 29.97 fps, that rounding difference causes progressive audio drift over long videos.
DaVinci Resolve
In DaVinci Resolve, the most common sync issue comes from mismatched timeline frame rates. Check Project Settings, then Master Settings, and verify the Timeline Frame Rate matches your footage. DaVinci Resolve does not let you change the timeline frame rate after you start editing, so if it is wrong, you need to create a new project with the correct frame rate and copy your timeline over.
Also check the Deliver page audio settings. Under the Audio tab in export settings, make sure the sample rate is 48000 and the data format is 16-bit or 24-bit PCM. Avoid compressed audio formats in the export container.
One DaVinci Resolve user reported spending two days on a project only to find the audio sync was broken on export. Clearing the render cache and re-exporting resolved the issue immediately.
CapCut
CapCut is popular for mobile editing and short-form social media content, and it has a reputation for exporting with slightly off-sync audio. The issue is usually related to CapCut handling variable frame rate footage from phones without properly conforming it.
The most reliable fix is to clear the CapCut cache before exporting. In the mobile app, go to Settings and tap “Clear Cache.” Then export again. If that does not work, try exporting to a different resolution or frame rate than your original setting.
One CapCut user found that moving the audio track 10 frames forward on the timeline before export produced a synced file. This is a workaround, not a true fix, but it can save a project if you are on a deadline and cannot troubleshoot further.
Final Cut Pro
Final Cut Pro conforms imported footage to the timeline frame rate automatically, which can mask frame rate mismatches during editing. The sync issue appears only after export because the conformed footage gets re-encoded during the render.
The fix is to check each clip’s frame rate in the Browser. If you have mixed frame rate footage, identify the dominant frame rate and ensure your project is set to match it. Go to Project Info to verify the project frame rate.
One FCPX user reported that their exported file played fine in VLC but was out of sync in QuickTime and when uploaded to Vimeo. This points to a player-specific issue rather than an export error. In this case, try exporting to ProRes and then compressing with HandBrake.
Shotcut
Shotcut has specific issues with audio effects causing sync problems after export. If you applied a pitch filter, speed adjustment, or any audio filter that alters the timing of the audio, disable it and test the export. Shotcut’s forum has multiple reports of pitch filters breaking audio sync.
Also check whether your source audio is compressed. Compressed audio formats like MP3 or AAC can cause sync issues in Shotcut because the editor has to decode them in real time during export. Converting to uncompressed WAV before importing usually resolves the problem.
Frame hold and frame stretch effects are another known cause of Shotcut audio sync issues. If your timeline uses any of these effects on video clips, remove them or replace them with a different technique like a freeze frame export.
Why Your Video Plays Fine in VLC but Out of Sync in QuickTime?
This is one of the most confusing aspects of audio sync issues, and it comes up constantly in editing forums. You export your video, play it in VLC, and everything looks perfect. Then you open the same file in QuickTime, or upload it to a social media platform, and the audio is out of sync.
The reason is that different media players handle audio timing differently. VLC uses a dynamic audio resampling method that adjusts the audio playback speed in real time to maintain sync with the video. This means VLC can compensate for small timing errors in the file and play it smoothly even if the audio track is slightly offset.
QuickTime, the built-in player on Mac, does not do this. It reads the audio and video timestamps directly from the file and plays them exactly as written. If the file has a small offset between the audio and video tracks, QuickTime will show it. So will social media platforms like YouTube, Instagram, and TikTok, which use their own playback engines.
This is why VLC is not a reliable tool for checking audio sync. If VLC plays the file correctly but QuickTime does not, your file likely has a real sync issue that VLC is masking. Always test your exports in the same player or platform your audience will use to watch the video.
For social media uploads, a good rule is to test in QuickTime on Mac and in the native Windows Media Player on Windows. If the audio syncs in both, it will almost certainly sync on social media platforms as well.
How to Prevent Audio Sync Issues Before Exporting?
Fixing audio sync issues is reactive. Preventing them is proactive. Here is a checklist to run through before you start editing and before you export, so you never have to troubleshoot audio sync again.
Before You Start Editing
Convert all phone footage, screen recordings, and webcam recordings from VFR to CFR using HandBrake before importing them into your editor. This eliminates the most common cause of audio sync problems before they can happen.
Standardize all audio to 48 kHz. Convert any 44.1 kHz audio files to 48 kHz using Audacity or any audio conversion tool. Having every audio file at the same sample rate prevents conversion errors during export.
Identify the frame rate of your primary footage and set your sequence or timeline to match it before adding any clips. If you are mixing footage from multiple cameras, pick the frame rate of the dominant footage and conform everything else to it.
Before You Export
Verify your export settings match your sequence settings. The export frame rate should be identical to your sequence frame rate, including the decimal (29.97, not 30). The audio sample rate should be 48000 Hz.
Use software encoding instead of hardware encoding for your final export. It takes longer but eliminates the audio-video pathway split that causes sync errors. If you need hardware encoding for speed, test a short 30-second section first before committing to the full export.
Clear your render cache before the final export. Cached preview files from earlier in your editing process might contain timing errors that carry over to the final render.
Keep a reference export of a short section. Export just the first 30 seconds of your video using your final settings. Check the audio sync in QuickTime (or your target platform) before exporting the full video. This catches issues early and saves you from waiting through a full render only to find the audio is off.
FAQs
How to fix out of sync audio on video file?
To fix out of sync audio on a video file, first test it in VLC media player. If VLC syncs correctly, the issue is likely player-specific, not file-specific. If the audio is out of sync in VLC too, convert your source footage from variable frame rate to constant frame rate using HandBrake, match your sequence frame rate to your footage, and switch from hardware encoding to software encoding in your export settings.
How to fix audio delay sync?
To fix audio delay after export, check your audio sample rate settings. Set both your project and export audio sample rate to 48000 Hz. If you have audio clips at 44.1 kHz, convert them to 48 kHz using Audacity before importing. Also try switching from hardware encoding to software encoding, as hardware encoders can split audio and video timing pathways.
How to fix desynced audio?
To fix desynced audio, convert variable frame rate source files to constant frame rate using HandBrake, ensure your sequence frame rate matches your dominant footage frame rate, verify your audio sample rate is 48 kHz throughout, and switch to software encoding in your export settings. If the issue persists, try exporting to a different codec like H.265 or to a QuickTime MOV container instead of MP4.
Why does my audio keep going out of sync?
Audio keeps going out of sync after export because of variable frame rate source files, frame rate mismatch between footage and sequence, audio sample rate mismatch, hardware acceleration encoding bugs, or codec-specific issues with H.264 in MP4. The most common cause is variable frame rate footage from phones and screen recordings. Converting to constant frame rate before editing prevents the problem entirely.
Wrapping Up
Audio sync issues after export are frustrating but almost always fixable. The vast majority of cases trace back to variable frame rate source footage, frame rate mismatches, or hardware encoding bugs. Converting your source files to constant frame rate with HandBrake before editing prevents most problems before they start.
If you are currently dealing with audio out of sync after exporting your video, work through the seven troubleshooting steps in order. Start by testing in VLC, then move to VFR conversion, sequence matching, sample rate verification, and software encoding. One of these will resolve the issue for the majority of editors using Premiere Pro, DaVinci Resolve, CapCut, Final Cut Pro, or Shotcut.
For future projects, run through the prevention checklist before you start editing. Converting footage, standardizing sample rates, and choosing software encoding for final exports will save you hours of troubleshooting and re-exporting down the line.