
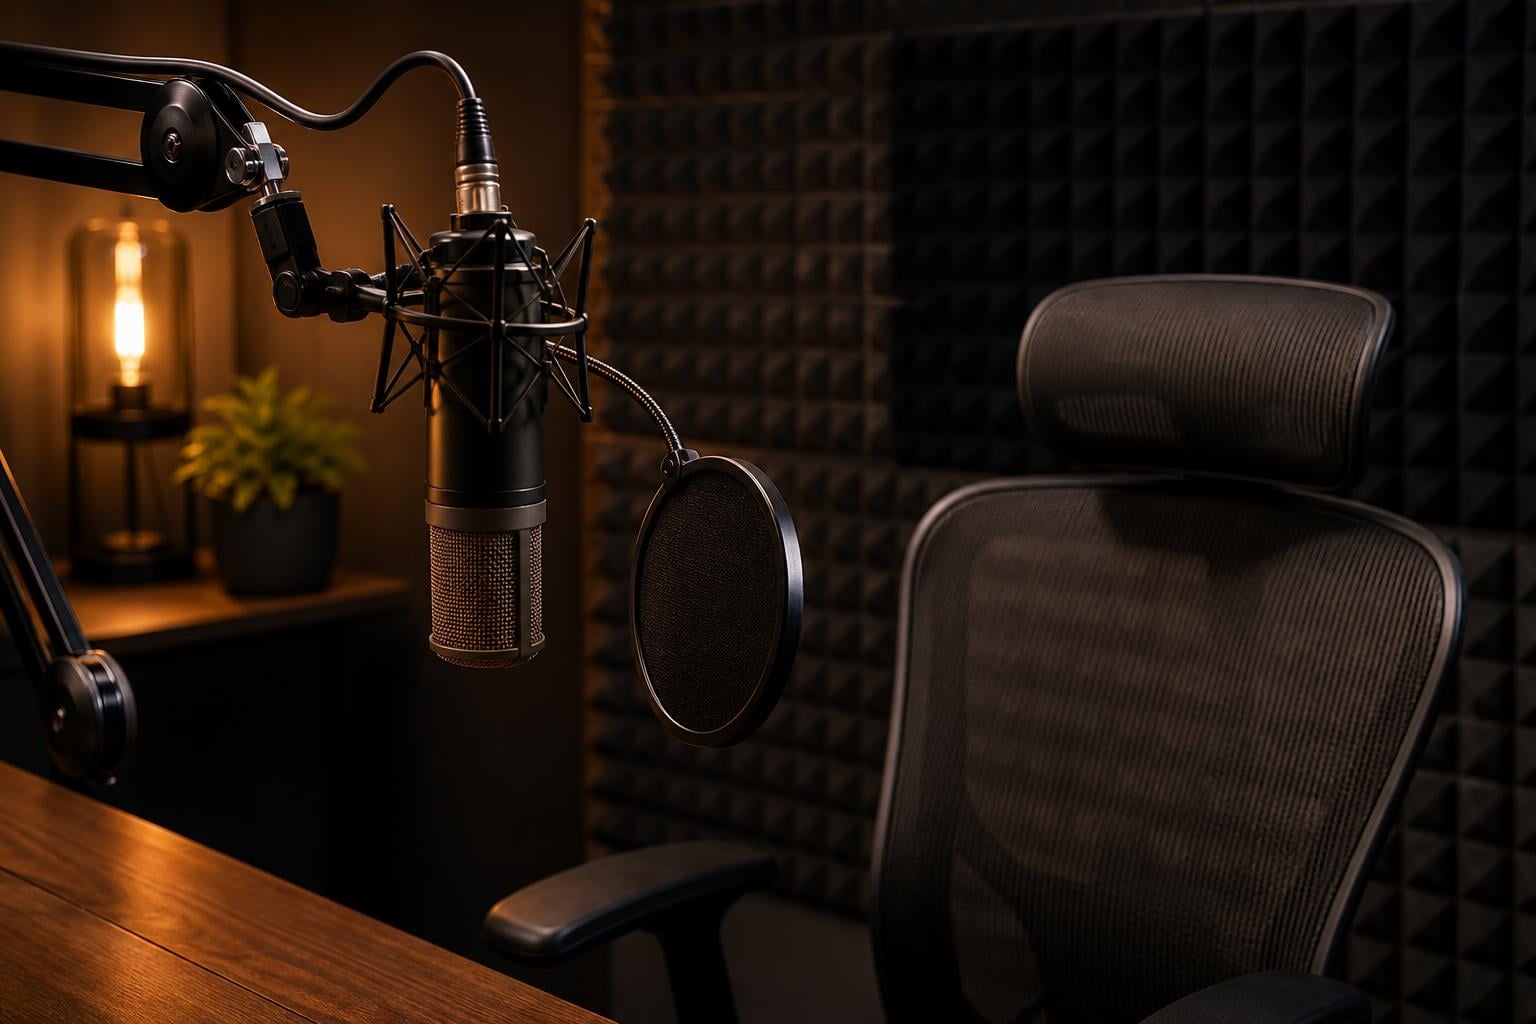
A microphone should typically be positioned 6 to 12 inches (15 to 30 cm) from your mouth for optimal audio quality. This standard distance works for most recording situations, including podcasting, voice over work, and vocal recording. The exact distance depends on your microphone type, your voice, and the sound you want to achieve.
Getting this distance right is one of the most impactful things you can do for your recordings. Too close and your voice sounds muddy, boomy, and full of harsh plosive pops. Too far and you capture room noise, echoes, and a thin, distant sound that no amount of post-production can fully fix.
Our team has spent years testing microphone placement in professional and home studio environments. In this guide, we break down exactly how close should a microphone be to your mouth, covering every mic type, recording scenario, and common mistake that ruins otherwise good audio.
Table of Contents
How Close Should a Microphone Be to Your Mouth: The Quick Answer
The general rule of thumb is 6 to 12 inches (15 to 30 cm) between your mouth and the microphone capsule. This range gives you clean, natural-sounding audio with minimal proximity effect and room noise. But this is a starting point, not a fixed rule.
Dynamic microphones like the Shure SM58 or SM7B can handle closer positioning at 2 to 4 inches because they are less sensitive and designed for near-field use. Condenser microphones, especially large-diaphragm models, need at least 6 inches of distance to avoid overwhelming the capsule with low-frequency energy and plosives.
If you want a single number to start with, try 6 inches with a pop filter for speaking applications. Move closer for a warmer, more intimate tone. Move farther for a more natural, open sound. Record test clips at each distance and listen back on good headphones to find your personal sweet spot.
Microphone Distance by Type: A Detailed Breakdown
Not all microphones behave the same way at the same distance. Your mic type is the single biggest factor in determining how close you should get. Here is a detailed breakdown that most guides skip entirely.
Dynamic microphones (2 to 4 inches): Dynamic mics like the Shure SM58, SM7B, and Electro-Voice RE20 are built for close-range use. They have lower sensitivity, meaning they need more sound energy to produce a strong signal. You can comfortably position them 2 to 4 inches from your mouth. Many podcasters and radio hosts work at 3 inches with a foam cover. Dynamic mics also reject background noise well, making them ideal for untreated rooms.
Large-diaphragm condenser microphones (6 to 12 inches): Condensers like the Audio-Technica AT2020, Rode NT1, and Neumann TLM 103 are far more sensitive than dynamics. They pick up every detail, including room reflections and mouth noises. Position them at least 6 inches away, with 8 to 12 inches being ideal for spoken word. For singing, 6 to 8 inches with a pop filter is common. Going closer than 4 inches on a condenser almost guarantees plosive problems and excessive proximity effect.
Small-diaphragm condenser microphones (6 to 12 inches): Pencil condensers are extremely sensitive to high frequencies and transients. They work well at 8 to 12 inches for acoustic instruments and ensemble recording. For vocals, they are less common but can work at 6 to 8 inches if you manage plosives carefully.
Ribbon microphones (3 to 6 inches): Ribbon mics are fragile and figure-8 patterned, meaning they pick up sound from both the front and back. Position them 3 to 6 inches away, slightly off-axis. Never blow directly into a ribbon mic, as the element can be damaged by air blasts. Always use a pop filter.
Headset microphones (1 to 2 inches): Headset and gaming mics are designed for very close placement. They sit about 1 to 2 inches from the corner of your mouth, not directly in front of it. This off-corner placement reduces plosive impact while maintaining consistent distance as you move your head.
Lavalier microphones (6 to 10 inches below the chin): Clip-on lavaliers attach to clothing about 6 to 10 inches below your mouth, centered on your chest. This distance provides natural sound while keeping the mic out of camera frame. Avoid clipping too high on the lapel, as direct breath hits cause rustling and pops.
Here is a quick reference summary for the most common mic types:
Dynamic mic: 2 to 4 inches (5 to 10 cm) from mouth
Condenser mic: 6 to 12 inches (15 to 30 cm) from mouth
Ribbon mic: 3 to 6 inches (8 to 15 cm) from mouth, off-axis
Headset mic: 1 to 2 inches (2.5 to 5 cm) from corner of mouth
Lavalier mic: 6 to 10 inches (15 to 25 cm) below chin on chest
Smartphone built-in mic: 6 to 12 inches (15 to 30 cm) from mouth
Understanding the Proximity Effect
Proximity effect is the boost in low-frequency response that occurs when a directional microphone is placed very close to the sound source. The closer you get, the warmer and bassier your voice sounds. This is a physical property of directional mic capsules, not a flaw or a feature you can toggle.
For cardioid and figure-8 microphones, proximity effect kicks in noticeably below about 4 inches. At 1 to 2 inches, the low-frequency boost can be dramatic, adding 6 to 10 dB of bass response depending on the mic. This is why radio DJs and podcasters who get very close to a dynamic mic sound rich, deep, and authoritative.
Singers often exploit proximity effect intentionally. Moving closer during quiet, intimate passages adds warmth and presence. Pulling back during louder sections reduces bass buildup and prevents distortion. This dynamic distance technique is a hallmark of professional vocal recording.
But proximity effect can also work against you. If your mic is too close and your voice already has strong low-end content, your recordings sound muddy and indistinct. Words blur together. The mix gets cluttered with low-frequency energy that competes with bass instruments. This is the number one complaint we hear from beginners who wonder why their voice sounds muffled and unclear.
The fix is simple. Pull back to 6 inches or more, or use a microphone with an omnidirectional pattern, which does not exhibit proximity effect. You can also engage the low-cut filter (sometimes called a high-pass filter) on your microphone or audio interface to tame excess bass.
The Role of Pop Filters and Plosive Prevention
Plosives are the bursts of air that hit the microphone capsule when you pronounce sounds like P, B, T, and D. These air blasts create a low-frequency thump that can spike your recording levels and ruin takes. A pop filter is a circular mesh screen, usually made of nylon or metal, placed between your mouth and the microphone to diffuse this air blast.
A pop filter should sit about 2 inches in front of the microphone capsule. Your mouth then positions 4 to 6 inches behind the pop filter. This arrangement gives you a total mouth-to-mic distance of roughly 6 to 8 inches, which lands right in the sweet spot for condenser microphones.
Pop filters also serve a secondary purpose. They act as a physical distance marker. If you maintain the habit of keeping your lips just behind the filter, your distance stays consistent across recording sessions. Consistency matters more than perfection. A slightly imperfect distance held consistently sounds better than a perfect distance that shifts throughout the recording.
If you do not have a pop filter, there are alternatives. Foam windscreens slip over the mic capsule and provide moderate plosive protection. Angling the microphone 10 to 15 degrees off-axis so your breath shoots past the capsule rather than directly into it also helps. Some engineers even attach a pencil vertically in front of the capsule to split the air stream, a trick that works surprisingly well in a pinch.
For dynamic microphones with built-in foam balls, like the SM58, you generally do not need an external pop filter. The foam ball plus the mic grille provide adequate protection for most vocal applications at typical working distances.
Signs Your Microphone Is Too Close or Too Far
One of the most common questions on audio forums is how to tell if you are at the wrong distance. Your recordings give you clear diagnostic signals if you know what to listen for. Here are the symptoms and their causes.
Your microphone is too close if you notice:
Muddy, boomy, or overly bassy sound (proximity effect in overdrive)
Loud plosive pops on P and B sounds that clip your audio
Excessive mouth noises like lip smacks, clicking, and swallowing
audible breathing between phrases
Harsh sibilance on S sounds that pierces through the mix
Inconsistent levels when you shift position even slightly
Your microphone is too far if you notice:
Room reflections and echo that make your voice sound distant
Background noise like computer fans, air conditioning, or traffic is prominent
Thin, tinny sound lacking warmth and body
Low recording levels requiring you to crank the gain, which adds hiss
A hollow or boxy quality that suggests you are recording in a small untreated room
Your voice lacks presence and intimacy compared to professional recordings
To diagnose your setup, record a 30-second test clip speaking naturally at your current distance. Then record another clip at 6 inches with a pop filter. Compare them on headphones. Most people are surprised by how much difference a few inches makes.
Head movement is another factor many beginners overlook. If you lean in and out while recording, your distance changes constantly. This creates volume swells and tonal shifts that are distracting. Use a mic stand or boom arm, and position a visual reference point like a pop filter or a marked spot on your desk to anchor your position.
Microphone Angle and Positioning Techniques
Distance is only one part of the equation. The angle at which you address the microphone matters almost as much. Professional engineers use several positioning techniques to get the best possible sound.
Off-axis positioning: Instead of speaking directly into the front of the capsule, angle the microphone 10 to 15 degrees so your breath shoots slightly past it. This reduces plosive impact dramatically without changing your tonal quality. Think of it as letting your air stream graze the mic rather than hitting it head-on.
The inverted technique: Mount your condenser microphone upside down, with the cable pointing up and the capsule pointing down toward your mouth, positioned slightly above nose level. This technique, favored by Roswell Pro Audio and many studio engineers, has two benefits. First, your hot breath rises naturally away from the capsule instead of hitting it directly. Second, condensation from your breath does not settle on the diaphragm, which protects the microphone capsule over time and extends its lifespan.
Height relative to your mouth: Position the microphone slightly above or below your lips, never dead center. A mic placed at nose level angled downward toward your mouth tends to reduce nasal harshness. A mic placed at chin level angled upward captures more chest resonance and warmth. Experiment with both to find what flatters your voice.
The flat face approach: For side-address condensers, make sure you are actually addressing the correct side. Many people talk into the wrong face of the microphone. The front is usually marked with a logo or a cardioid symbol. Recording into the back of a side-address mic produces a thin, phase-canceled sound that no amount of EQ can fix.
The 3:1 Rule for Multiple Microphones
When you use two or more microphones in the same recording space, the 3:1 rule helps you avoid phase cancellation. This principle states that the distance between two microphones should be at least three times the distance from each microphone to its intended sound source.
For example, if your primary microphone is 6 inches from your mouth, any second microphone should be at least 18 inches from the first one. This distance ratio ensures that the second mic picks up the sound source at a level low enough that phase interference is minimal when both signals are combined.
The 3:1 rule matters for podcasters recording multiple people in one room, drummers using multiple drum mics, and anyone running a multi-mic interview setup. When two mics are too close and pick up the same source at similar levels, the sound waves arrive at slightly different times. This creates comb filtering, a hollow, flanging effect that ruins clarity.
If you cannot maintain the 3:1 ratio due to space constraints, consider using microphones with different polar patterns. An omnidirectional mic and a cardioid mic placed close together will interact less than two cardioids at the same distance. You can also pan the mics hard left and right to reduce perceived phase issues in stereo playback.
Tips for Specific Recording Scenarios
Different recording situations call for different distances. Here are our recommendations for the most common scenarios our readers ask about.
Podcasting: Position a dynamic mic 2 to 4 inches from your mouth with a foam cover. If using a condenser, go 6 to 8 inches with a pop filter. Podcasters often work in untreated rooms, so closer is usually better to reject background noise. A dynamic mic at 3 inches is the most forgiving setup for home podcasters.
Voice over and audiobook recording: Condenser mics at 6 to 8 inches with a pop filter are standard. The goal is a full, warm, intimate sound without excessive bass. Work slightly off-axis and maintain whisper-quiet room conditions. Consistency of distance is critical for audiobooks, where you record for hours at a stretch.
Singing and vocal tracking: Pop filter at 2 inches from the mic, with your mouth 4 to 6 inches behind the filter. This gives 6 to 8 inches total distance on a condenser. Backup vocals can be tracked at 10 to 12 inches for a more blended, distant feel. Lead vocals typically stay in the 4 to 8 inch range, with the singer working the mic for dynamic expression.
Streaming and gaming: Many streamers use a dynamic mic like the SM7B at 2 to 3 inches. This rejects keyboard sounds and computer fan noise. If you use a condenser on a stream, position it 6 inches away and use a noise gate in your software to tame background sounds. Remember that your viewers hear everything the mic picks up.
iPhone and smartphone recording: Hold or mount your phone 6 to 10 inches from your mouth for the built-in microphone. The internal mics on modern phones are surprisingly good but are omnidirectional, meaning they pick up everything in the room. Getting closer reduces room sound but introduces handling noise. A small tripod stand at 8 inches is a reliable starting point.
Conference calls: Built-in laptop microphones work best at 12 to 18 inches. Speak clearly and avoid turning away from the laptop. If call quality matters, invest in a USB microphone positioned 6 to 8 inches from your mouth. The improvement over a built-in mic is immediately noticeable to everyone on the call.
FAQs
What is the 3:1 rule for mics?
The 3:1 rule states that when using multiple microphones, the distance between any two microphones should be at least three times the distance from each microphone to its sound source. For example, if a mic is 6 inches from your mouth, a second mic should be at least 18 inches away from the first. This ratio minimizes phase cancellation and comb filtering when both signals are mixed together.
How many inches should a microphone be held away from the mouth?
A microphone should generally be held 6 to 12 inches (15 to 30 cm) away from your mouth for optimal audio quality. Dynamic microphones can be positioned closer at 2 to 4 inches, while condenser microphones perform best at 6 to 12 inches with a pop filter. The exact distance depends on your mic type, voice, and recording environment.
Why do singers put their mouth so close to the microphone?
Singers get close to the microphone to take advantage of the proximity effect, which boosts low-frequency response and makes the voice sound warmer and more intimate. They also work the mic dynamically, moving closer during quiet passages for warmth and pulling back during loud sections to prevent distortion. This technique adds emotional expression and tonal variety to vocal performances.
What happens if your microphone is too close to your mouth when recording?
When a microphone is too close to your mouth, several problems occur: the proximity effect makes your voice sound muddy and overly bassy, plosive sounds (P and B) create loud pops that can clip your audio, mouth noises like lip smacking and breathing become prominent, and sibilance on S sounds becomes harsh and piercing. These issues are difficult to fully correct in post-production.
Finding Your Perfect Microphone Distance
Figuring out how close should a microphone be to your mouth comes down to three things: your microphone type, your recording environment, and the sound you want. Start with the standard 6 to 12 inches for condensers, or 2 to 4 inches for dynamics, and adjust from there.
Use a pop filter. Work slightly off-axis. Record test clips at different distances and listen critically on good headphones. Your ears are the final judge, and personal experimentation beats any rigid rule. Every voice is different, and the best distance for you may not match what works for someone else.
The most important habit you can build is consistency. Once you find your sweet spot, mark it. Use a boom arm measurement, a desk marking, or a pop filter position that you return to every session. Consistent distance produces consistent audio, and consistent audio is the foundation of professional-sounding recordings.