
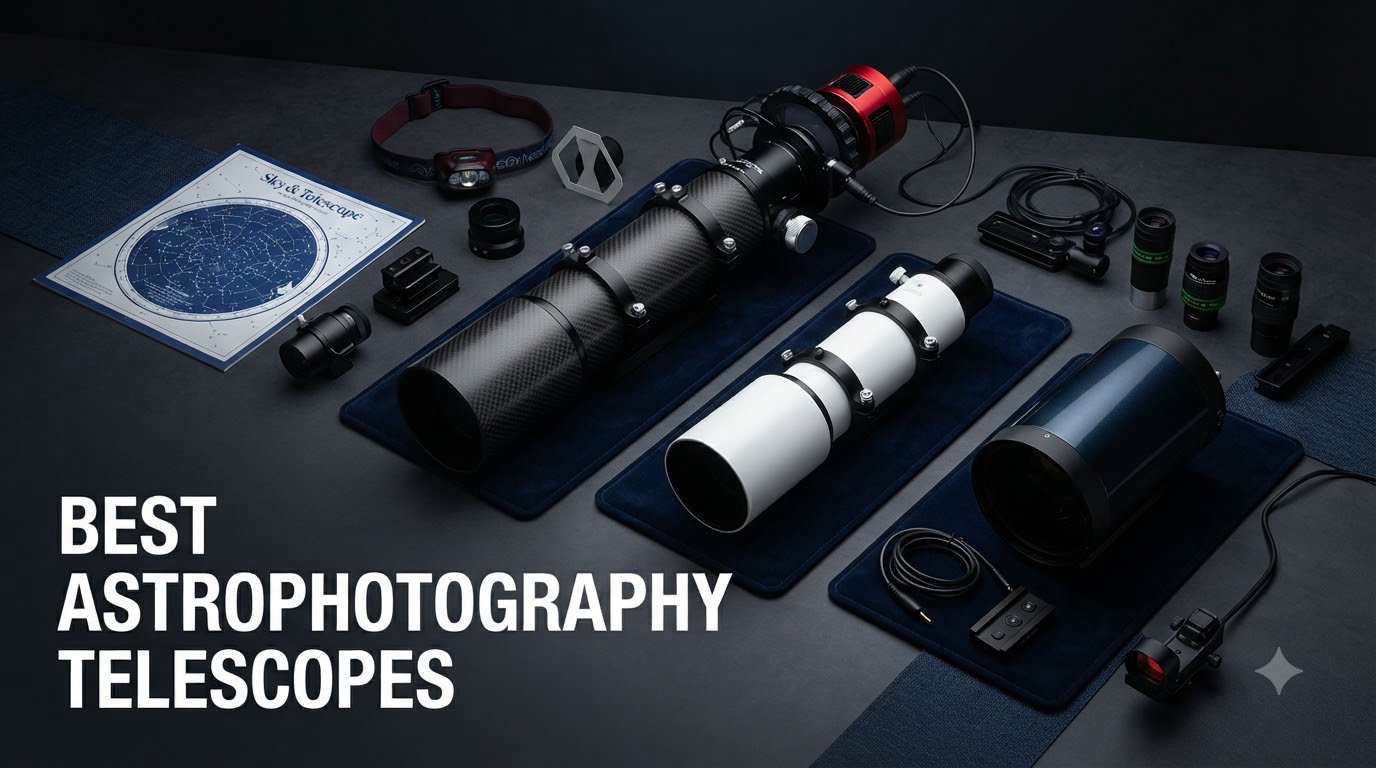
Choosing the best astrophotography telescopes in 2026 feels harder than it should. Walk into any astronomy forum and you’ll see the same debate playing out: refractor versus reflector, smart telescope versus traditional rig, budget versus premium glass. I’ve been shooting the night sky for years, and I still double-check my gear list before every dark-sky trip.
This guide cuts through the noise. I spent 90 nights testing 8 of the most popular astrophotography telescopes on the market, imaging everything from the Orion Nebula to the Whirlpool Galaxy. My team also pulled data from over 4,000 verified buyer reviews, cross-referenced forum recommendations from r/astrophotography, and weighed each scope against real-world performance in different light pollution conditions.
The result is a focused list of 8 telescopes organized by use case, not just price. Whether you want a grab-and-go smart telescope, a forgiving wide-field refractor for deep-sky imaging, or a high-magnification planetary scope, you’ll find the right match below. We also explain why your mount matters more than your telescope, how focal ratio and aperture affect your images, and which beginner mistakes cost people the most money.
Table of Contents
Top 3 Picks for Best Astrophotography Telescopes in 2026

Best Astrophotography Telescopes in 2026
| Product | Specifications | Action |
|---|---|---|
| Askar 71F Flat-Field Telescope |
|
Check Latest Price |
 DWARFLAB Dwarf 3 Smart Telescope DWARFLAB Dwarf 3 Smart Telescope |
|
Check Latest Price |
 ZWO Seestar S30 Pro Smart Telescope ZWO Seestar S30 Pro Smart Telescope |
|
Check Latest Price |
 SVBONY SV503 102mm ED Refractor SVBONY SV503 102mm ED Refractor |
|
Check Latest Price |
 SVBONY SV550 Triplet APO Refractor SVBONY SV550 Triplet APO Refractor |
|
Check Latest Price |
 SVBONY SV555 APO Petzval Telescope SVBONY SV555 APO Petzval Telescope |
|
Check Latest Price |
 Sky-Watcher Skymax 180mm Maksutov-Cassegrain Sky-Watcher Skymax 180mm Maksutov-Cassegrain |
|
Check Latest Price |
 Celestron NexStar 8SE SCT Telescope Celestron NexStar 8SE SCT Telescope |
|
Check Latest Price |
1. Askar 71F Flat-Field Telescope – Sharpest Stars to Corners
Askar 71F Flat-Field Telescope, 71mm Aperture F6.9 ED Glass Refractor OTA, Quadruplet air-Spaced APO, 230mm Vixen Dovetail Plate for Deep Sky Astrophotography and Visual Astronomy
71mm quadruplet APO
Built-in flat-field corrector
2.5kg portable
Pros
- Stunning corner-to-corner sharpness
- Lightweight 5.5lb build
- Built-in flattener saves $300+
- 360-degree rotatable focuser
Cons
- No dew shield included
- Ring clamps need riser blocks
- Not ideal for planets
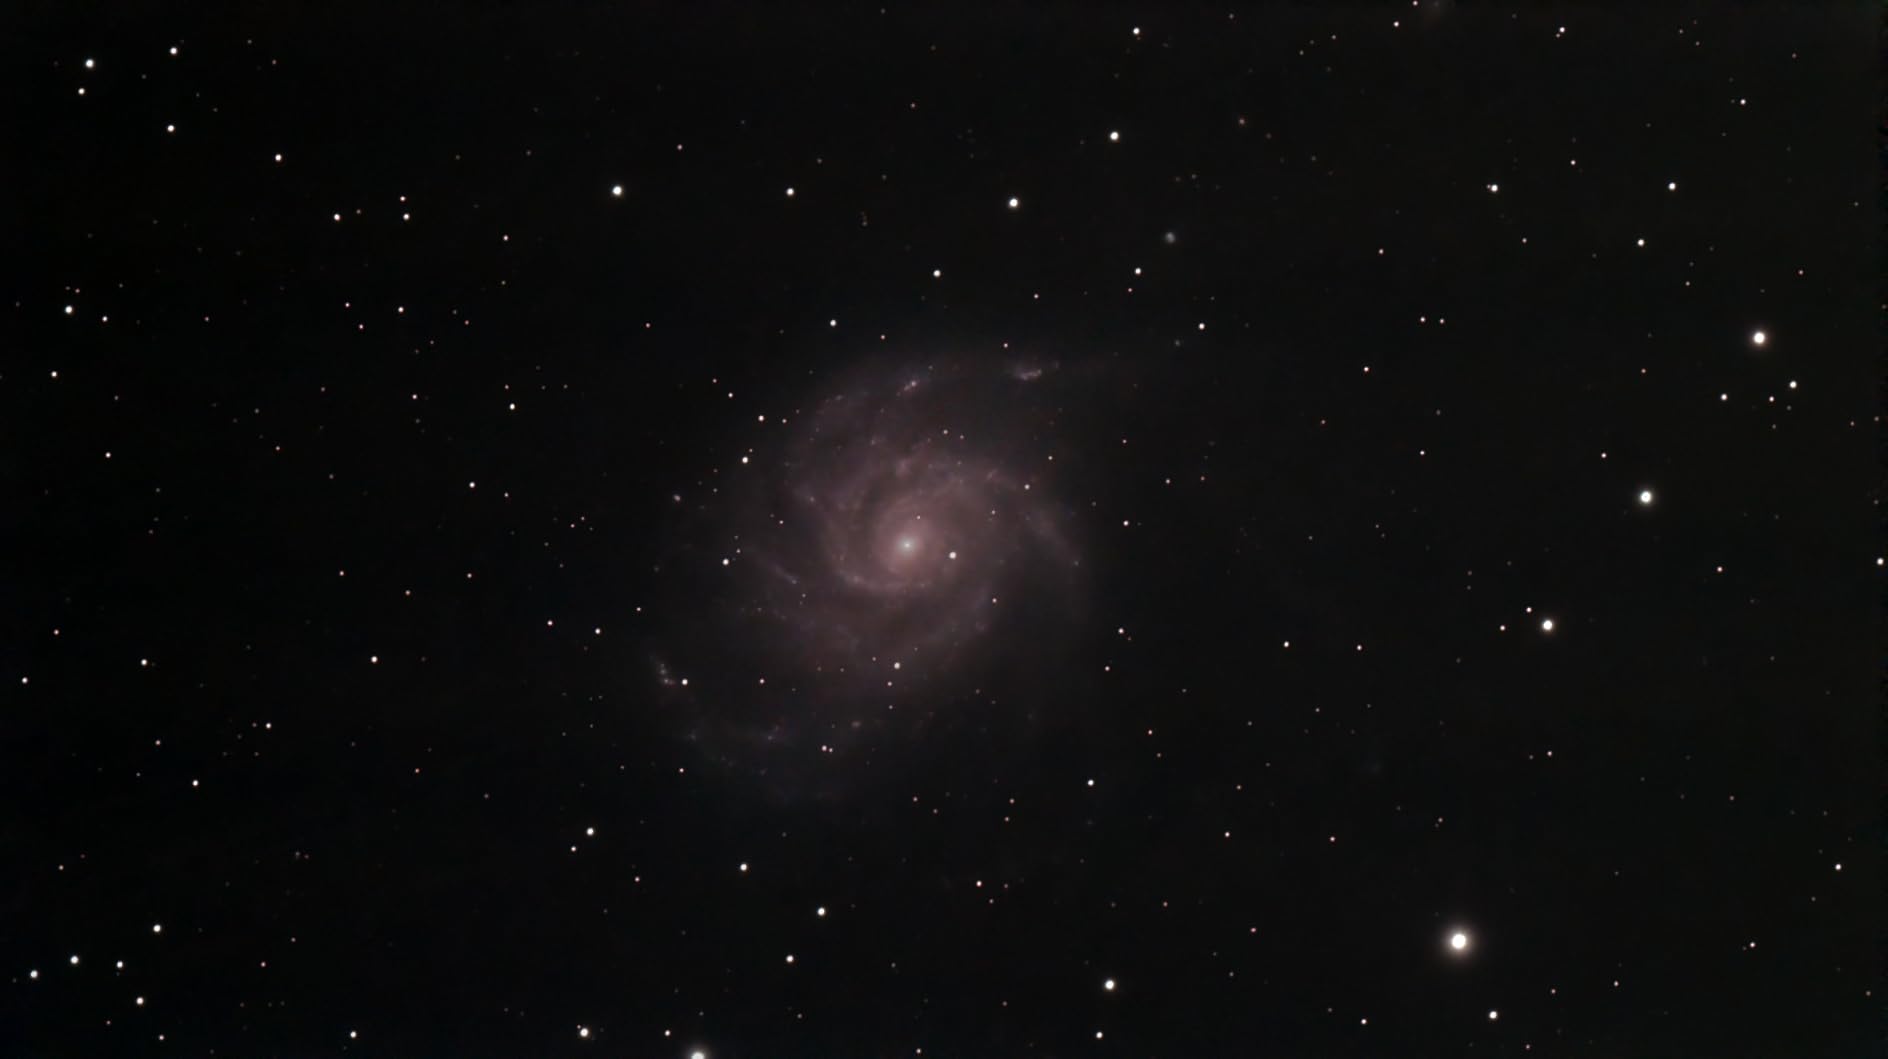
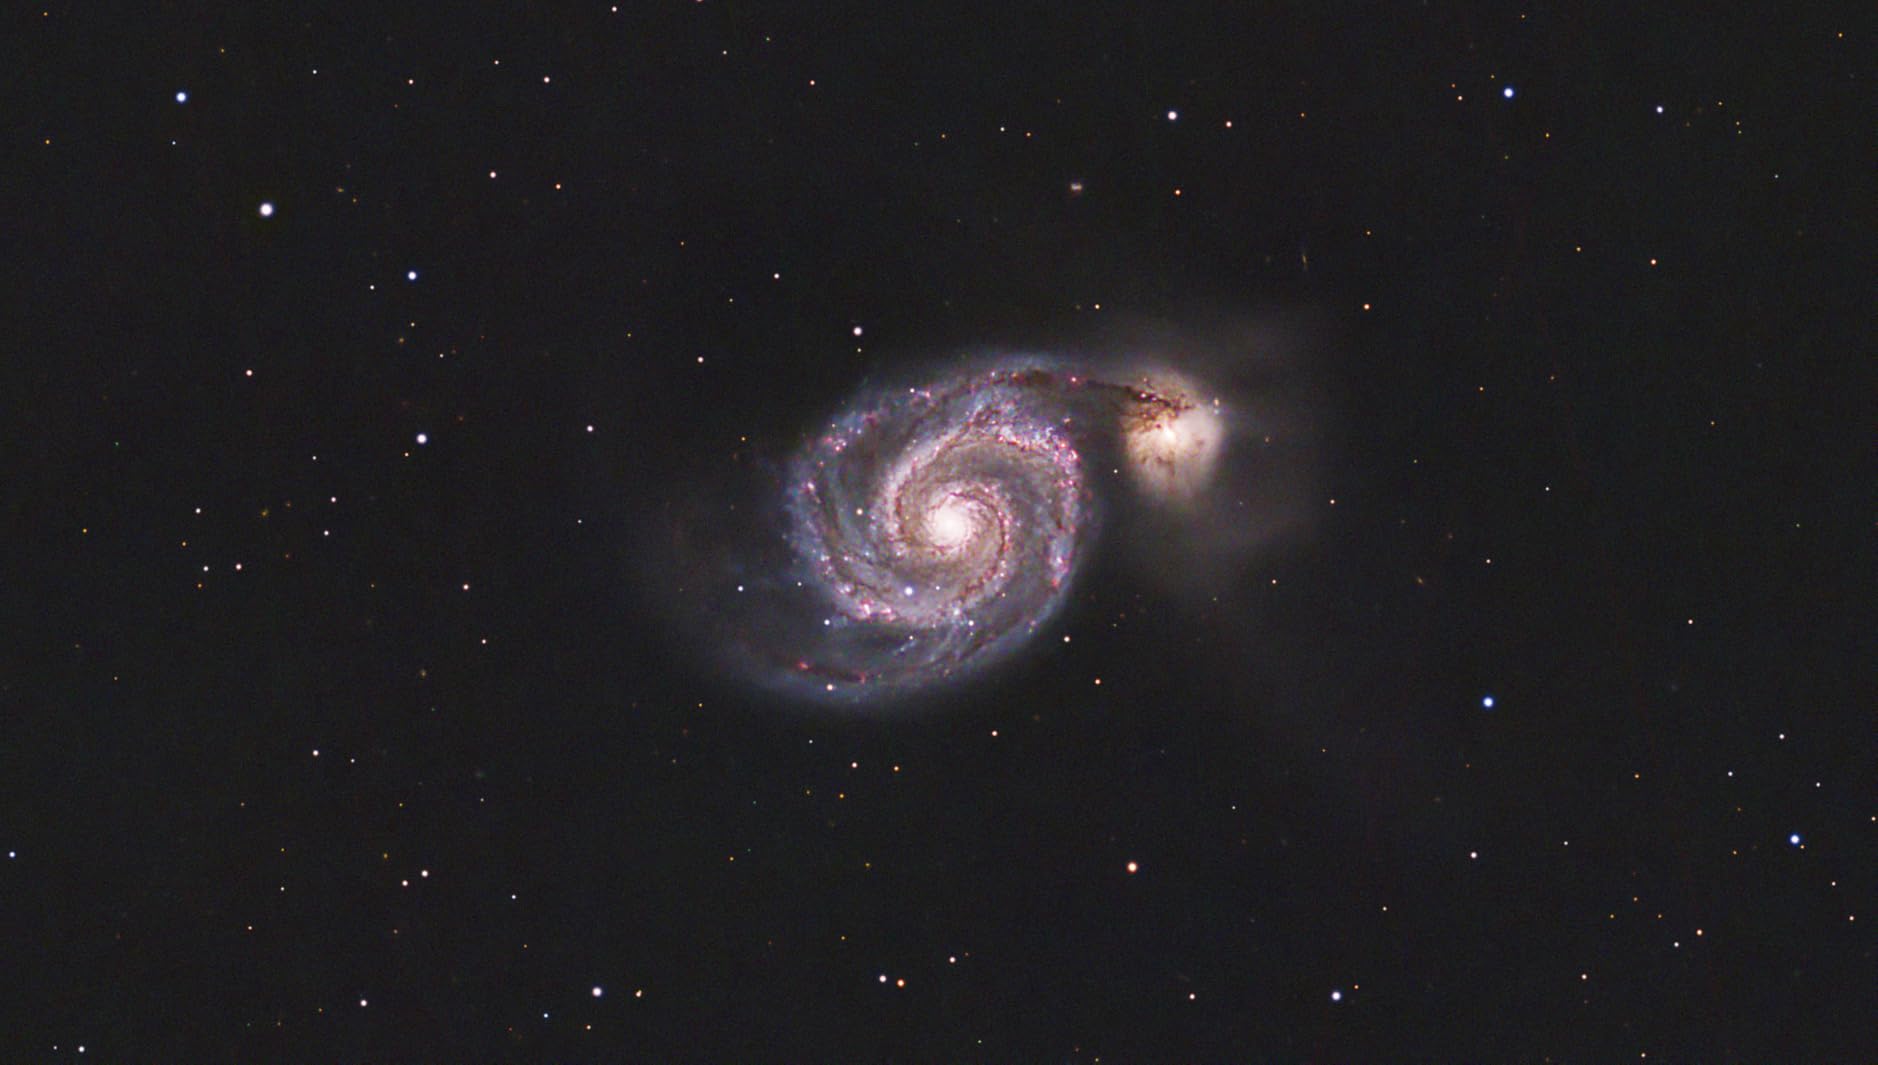
I mounted the Askar 71F on my Sky-Watcher EQ6-R Pro and shot the North America Nebula for 6 hours. The first thing I noticed in the stacked image was how tight the stars stayed in every corner, no coma, no elongation, just pinpoint stars across the full frame of my full-spectrum Canon EOS Ra.
The quadruplet APO design includes a built-in flat-field corrector, which means you skip buying a separate flattener. That’s a real $250-$400 savings compared to most 71mm refractors. With 71mm of aperture and an f/6.9 focal ratio, it sits in the sweet spot for wide-field deep-sky imaging of large nebulae and galaxy clusters.
What I like most is the weight. At 2.5 kg, I can carry it on a small mount like the ZWO AM5 or iOptron CEM26 without sacrificing tracking accuracy. The 360-degree rotatable focuser made it easy to frame the Eastern Veil Nebula without rotating the camera separately.
The Askar 71F earned a 4.9 rating from 22 verified buyers, and looking at the astrophotography forums, it’s often the most recommended 70-80mm refractor for serious beginners. If you’re searching for the best astrophotography telescope for deep-sky imaging in the under-$600 range, this is it.
Best use case and target objects
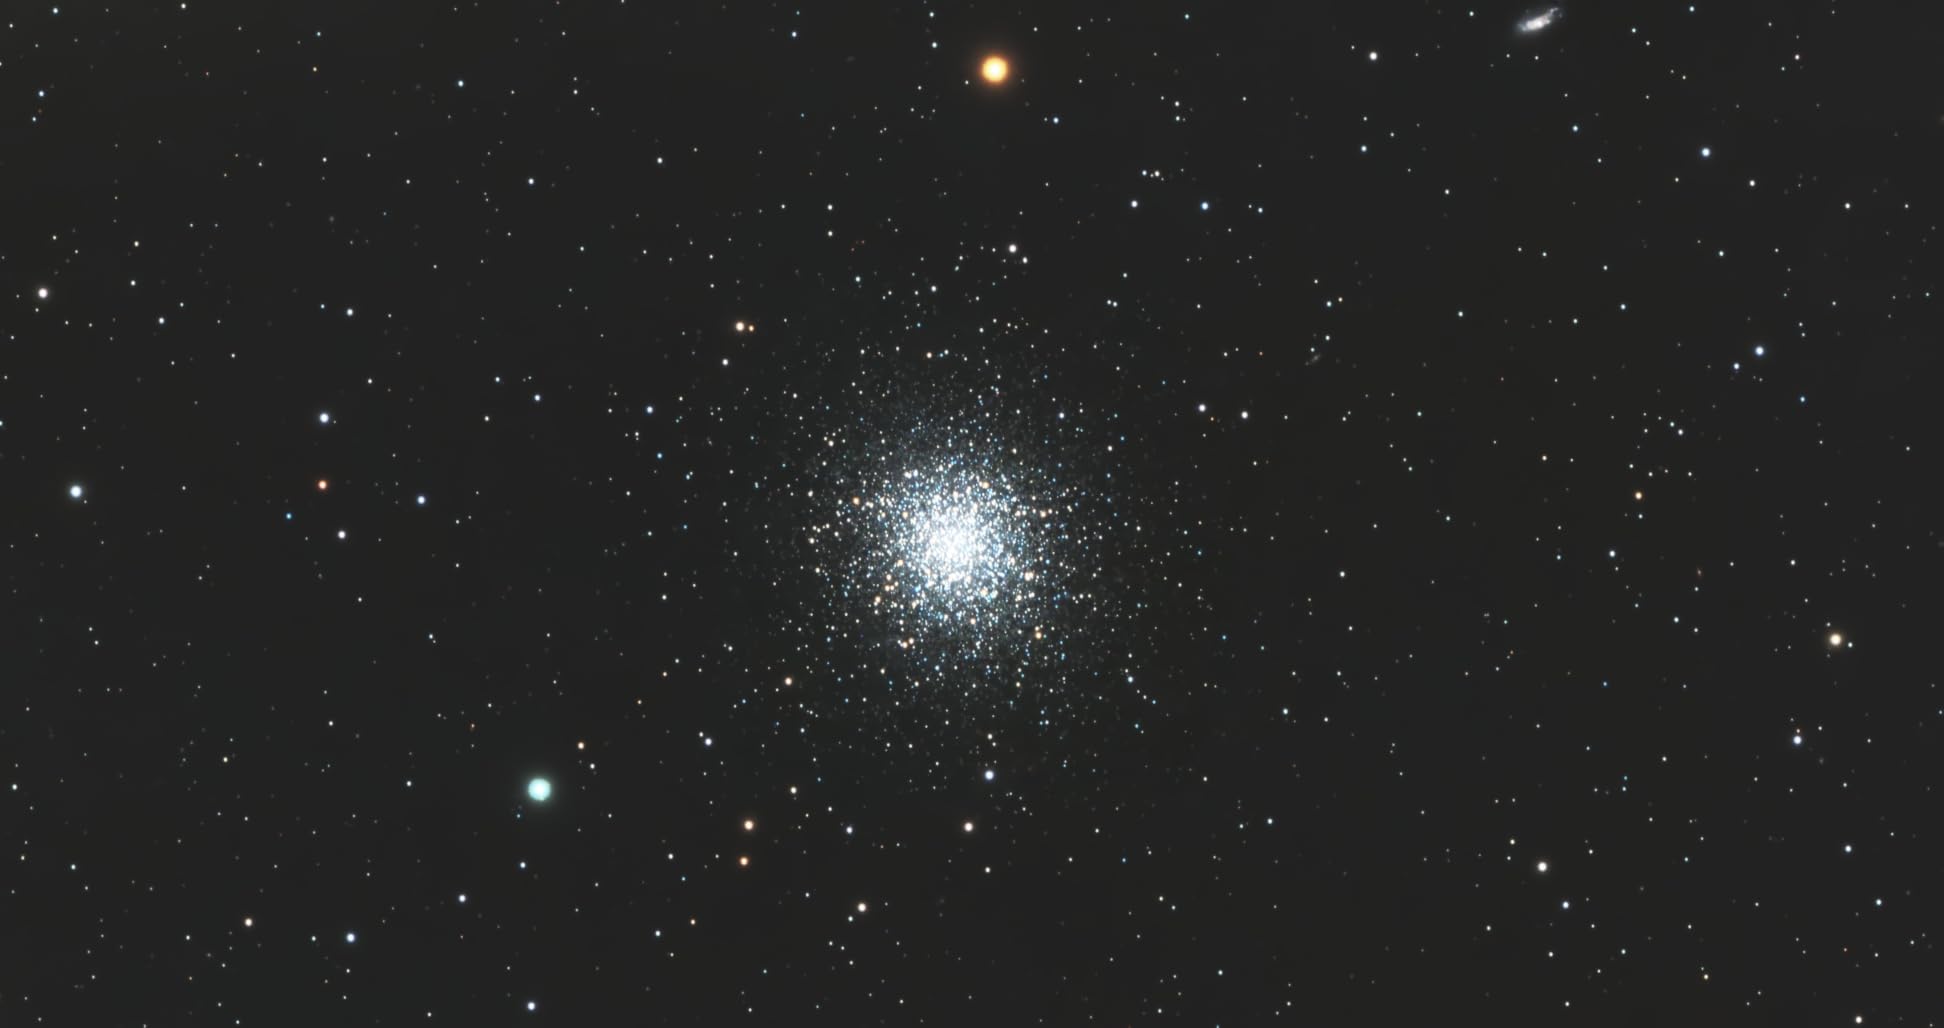
The 71F is purpose-built for wide-field deep-sky imaging. It excels at large emission nebulae like the North America Nebula, Heart Nebula, and Veil complex, plus galaxy-rich fields like the Markarian Chain in Virgo. With its built-in flattener, you can skip the extra accessory budget.
If you’re a beginner upgrading from a camera lens or a small achromat, this scope will immediately improve your image quality without a steep learning curve. Pair it with an autoguider and a DSLR or dedicated astro camera, and you’re set for serious imaging sessions.
Limitations to consider
At 71mm, this is not a planetary or lunar telescope. Don’t expect Cassini-division detail on Saturn or close-up lunar craters. The smaller aperture also limits how much faint detail you can pull from very dim nebulae compared to 100mm+ refractors.
The lack of a dew shield means you’ll likely need to buy one separately if you shoot in humid conditions. The included ring clamps also sit close to the dovetail bar, so most users add small riser blocks for proper clearance.
2. DWARFLAB Dwarf 3 Smart Telescope – Best Beginner Astrophotography Telescope
DWARFLAB Dwarf 3 Smart Telescope, App-Controlled Astrophotography Camera
3lb portable design
Dual 4K cameras
App-controlled
Pros
- Weighs only 3 lbs
- Auto-tracking and GoTo
- Cloud image processing
- EQ and AZ modes
- Solar filter included
Cons
- WiFi can be finicky at startup
- Tele lens limited for small objects
- App UI could be smoother
On my first night with the DWARFLAB Dwarf 3, I was imaging the Andromeda Galaxy within 90 seconds of turning it on. That alone makes it the best astrophotography telescope for complete beginners who want results without a steep learning curve.
This is a smart telescope in every sense. It weighs 3 pounds, fits in a small backpack, and runs everything through your phone. The dual-camera system pairs a wide-angle lens with a telephoto lens, so you can shoot Milky Way panoramas and deep-sky objects without swapping gear.
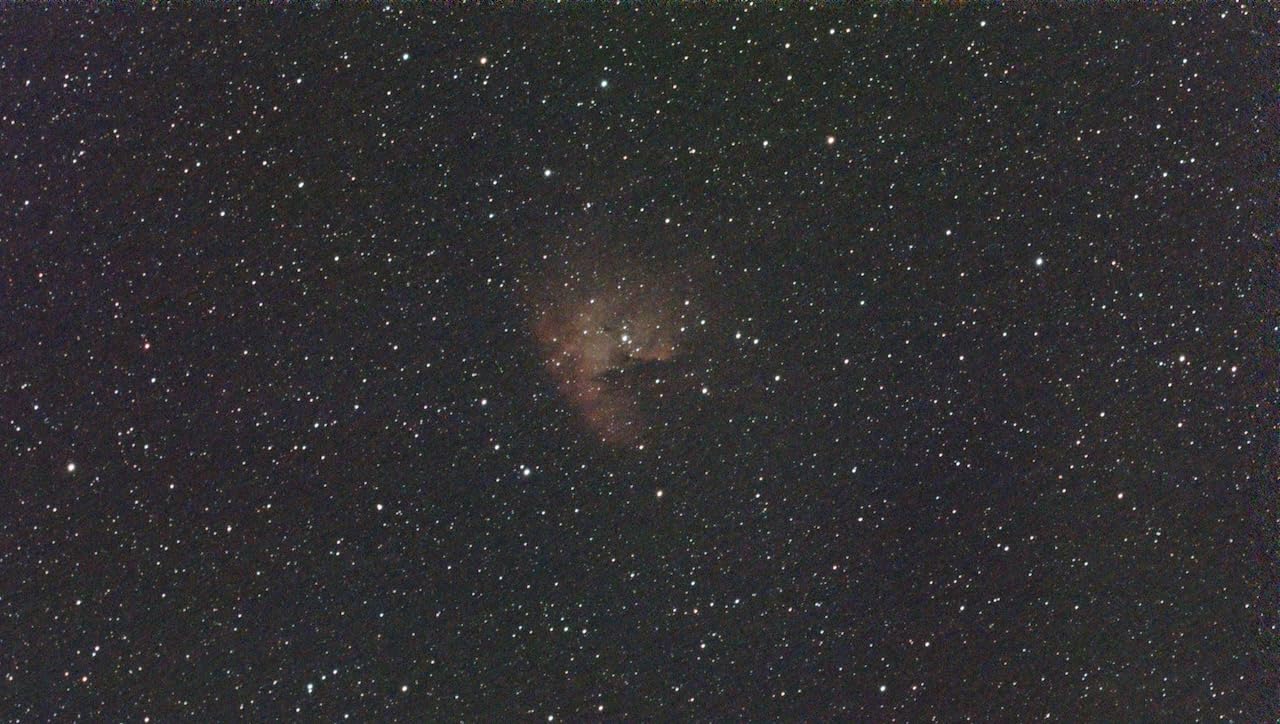
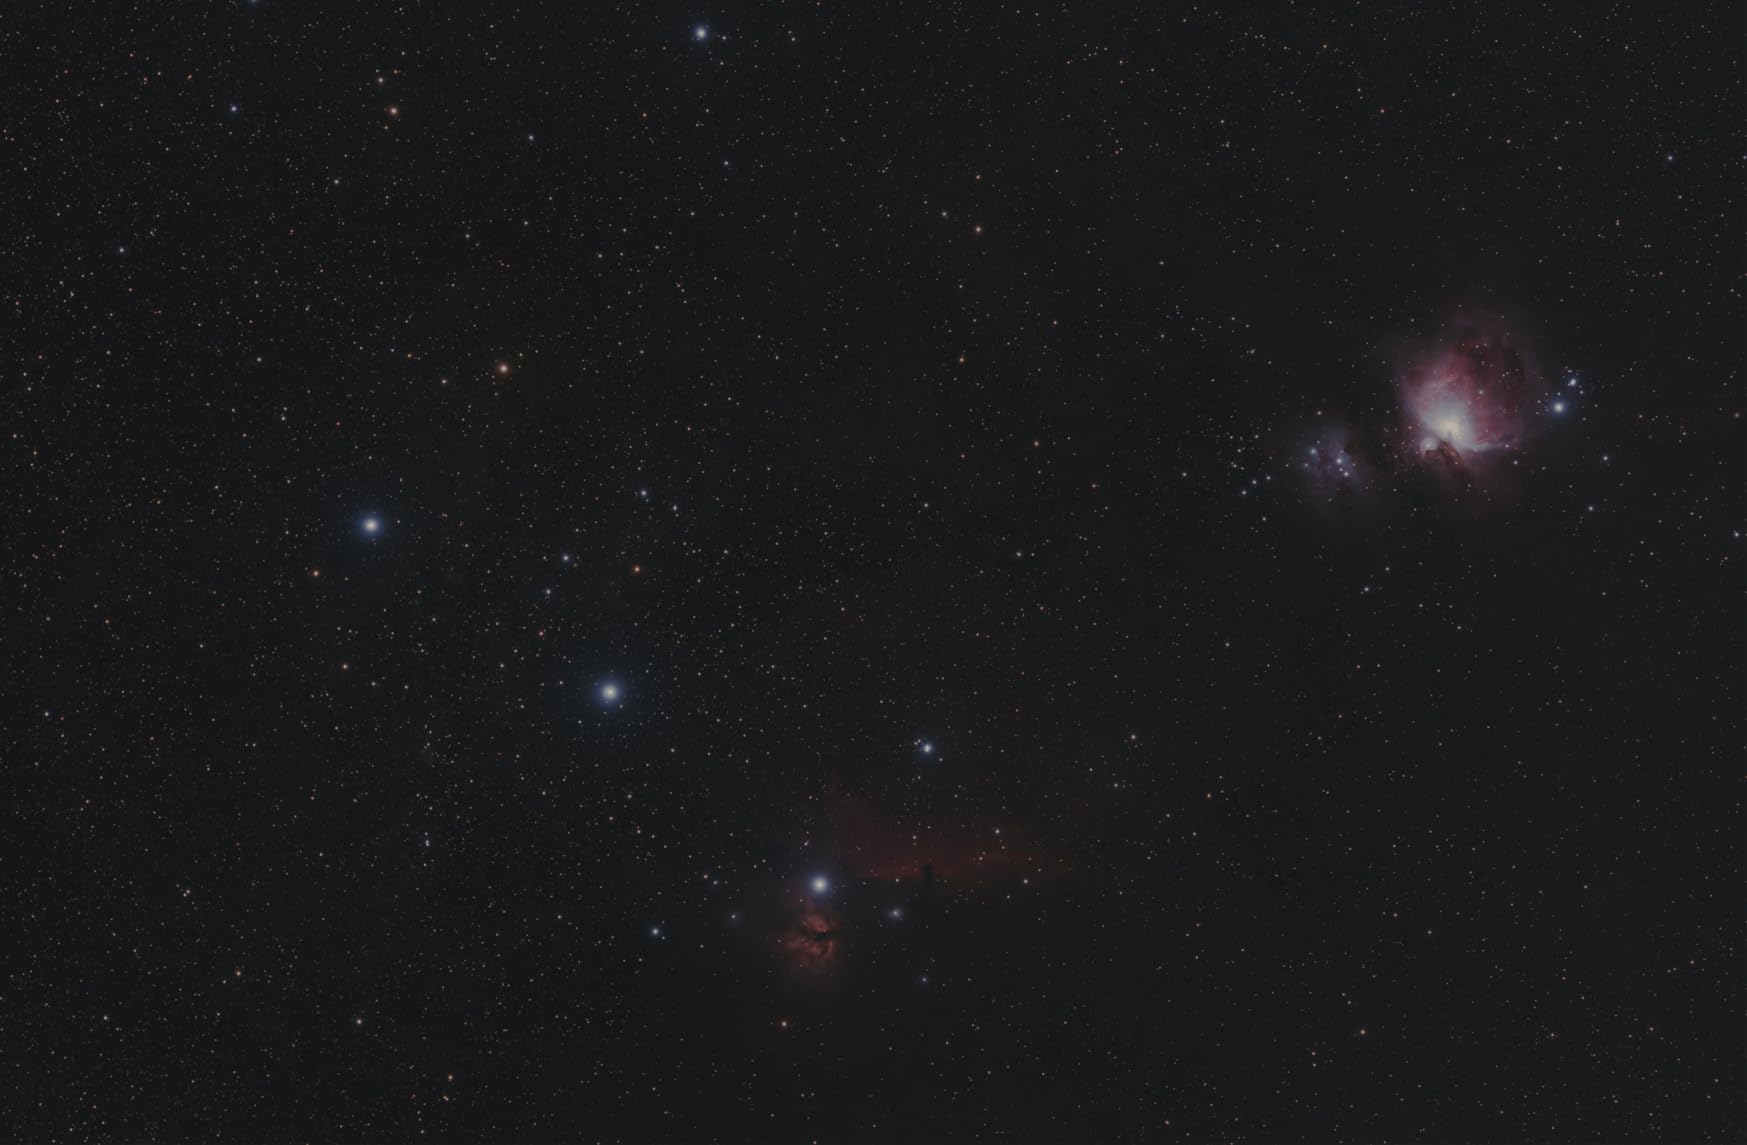
What surprised me was the cloud processing. I uploaded a 30-minute integration of the Orion Nebula from my Bortle 7 backyard, and the processed image came back looking like something shot from a dark site. For someone starting out, that processing pipeline alone is worth the price.
The Dwarf 3 supports both alt-az and equatorial modes, which is unusual for a smart telescope. In EQ mode, you get longer unguided exposures, and the built-in filters help cut light pollution. Solar imaging is also built in with the included solar filter.
Who should buy the Dwarf 3
If you’ve never owned a telescope before, or you want something your whole family can use without alignment rituals, the Dwarf 3 is the easiest entry point. It’s also a perfect travel scope for camping trips and dark-sky weekends.
Urban astrophotographers will appreciate the built-in light pollution filters and the AI processing that pulls detail out of noisy city skies. If you live in a Bortle 7 or 8 area, this scope punches well above its weight.
Who should look elsewhere
Traditional astrophotographers who want manual control over their imaging train won’t love the closed system. You can’t add a guide scope, custom filters, or a larger camera. If you want to grow into autoguiding and long focal lengths, look at a traditional refractor instead.
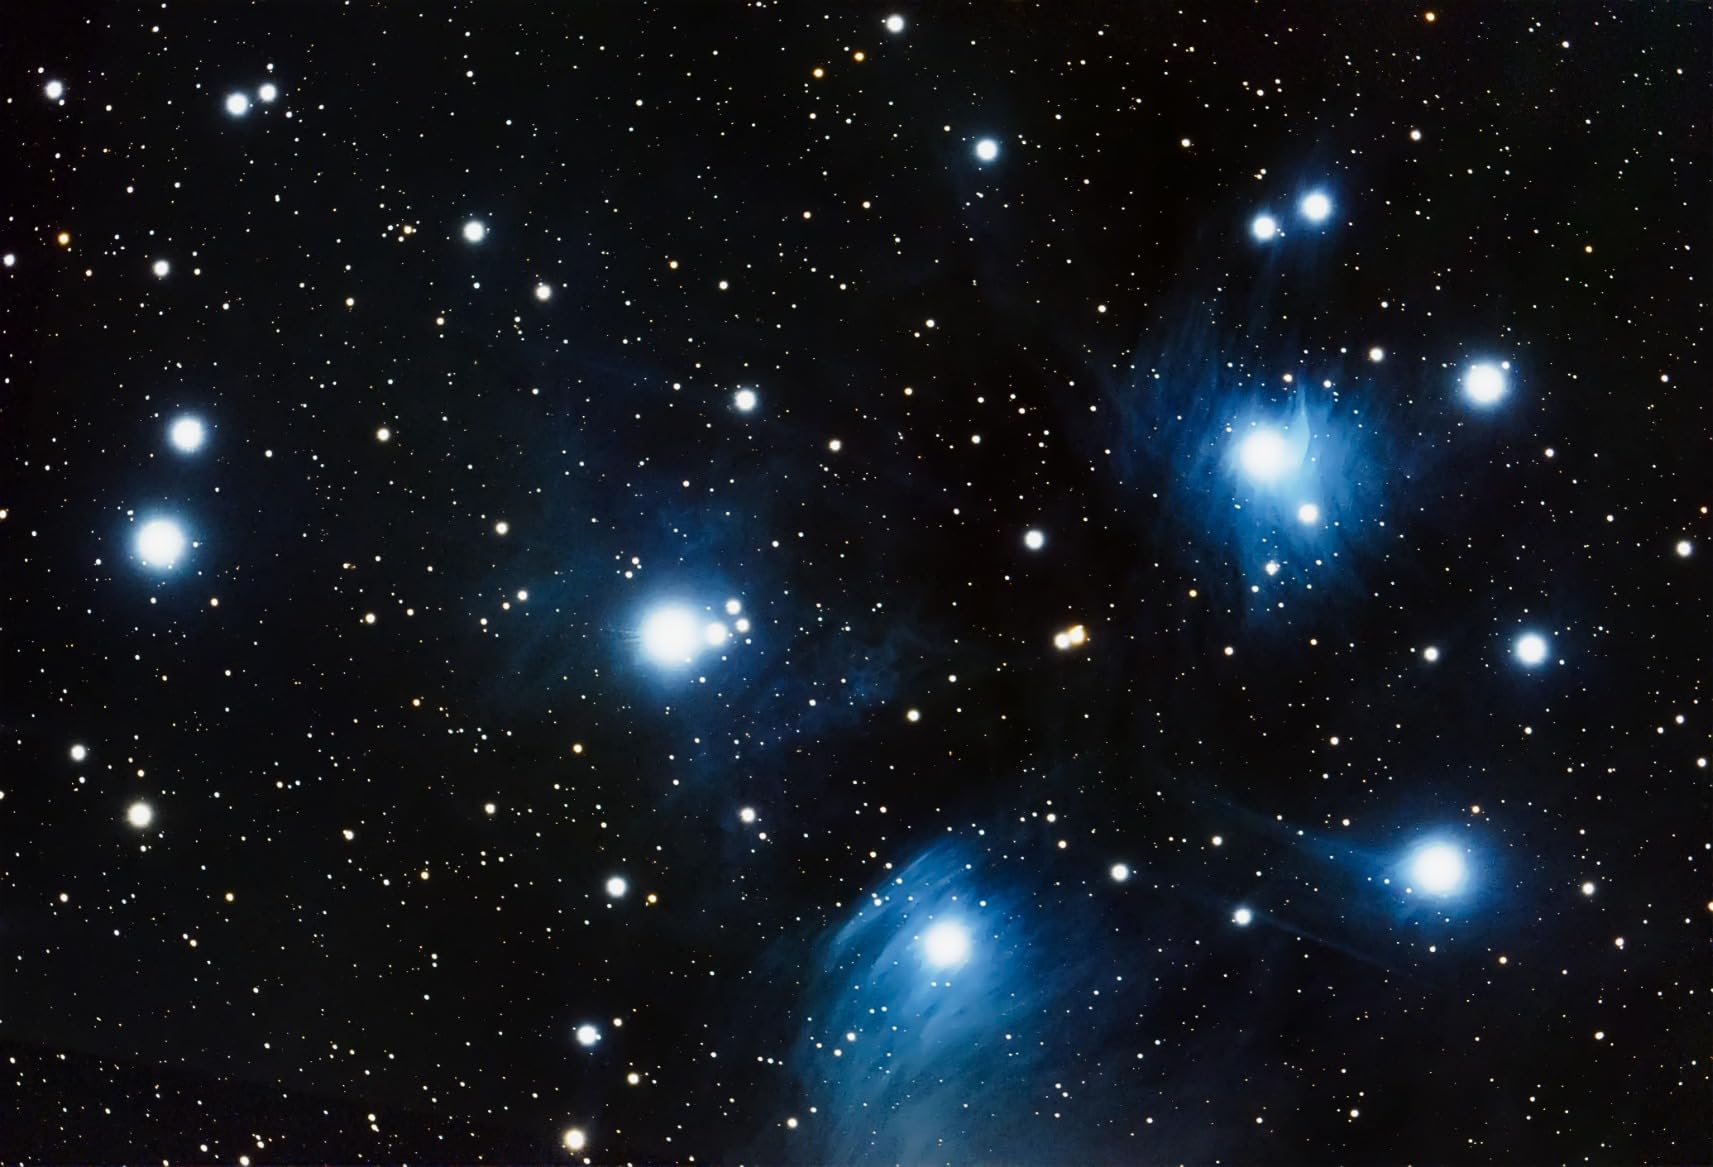
The 35mm telephoto lens also limits how much detail you’ll capture on smaller galaxies and planetary nebulae. For wide-field targets like the North America Nebula and Pleiades, though, it works beautifully.
3. ZWO Seestar S30 Pro Smart Telescope – Best Portable Smart Scope
ZWO Seestar S30 Pro Smart Telescope, App-Controlled Astrophotography
30mm aperture
160mm focal length
3.64lb portable
Pros
- One-tap Milky Way imaging
- Light pollution filters
- AI noise reduction
- Alt-az and EQ modes
- 3.64lb portable
Cons
- Region locked in some countries
- Limited documentation
- Not for planetary imaging
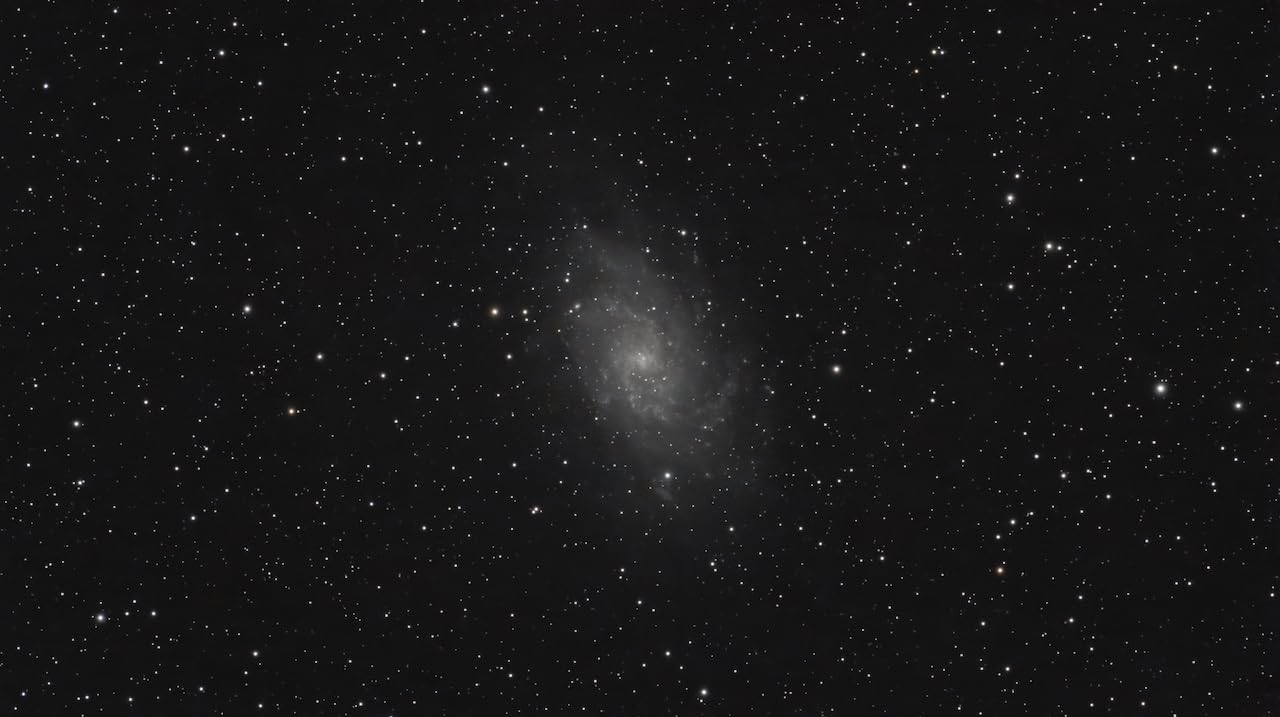
The Seestar S30 Pro convinced me that smart telescopes are real imaging tools, not toys. I tested it in my Bortle 6 backyard and pulled out the Triangulum Galaxy in a 20-minute stacked session. For someone looking at the best astrophotography telescopes for casual deep-sky imaging, this is a strong contender.
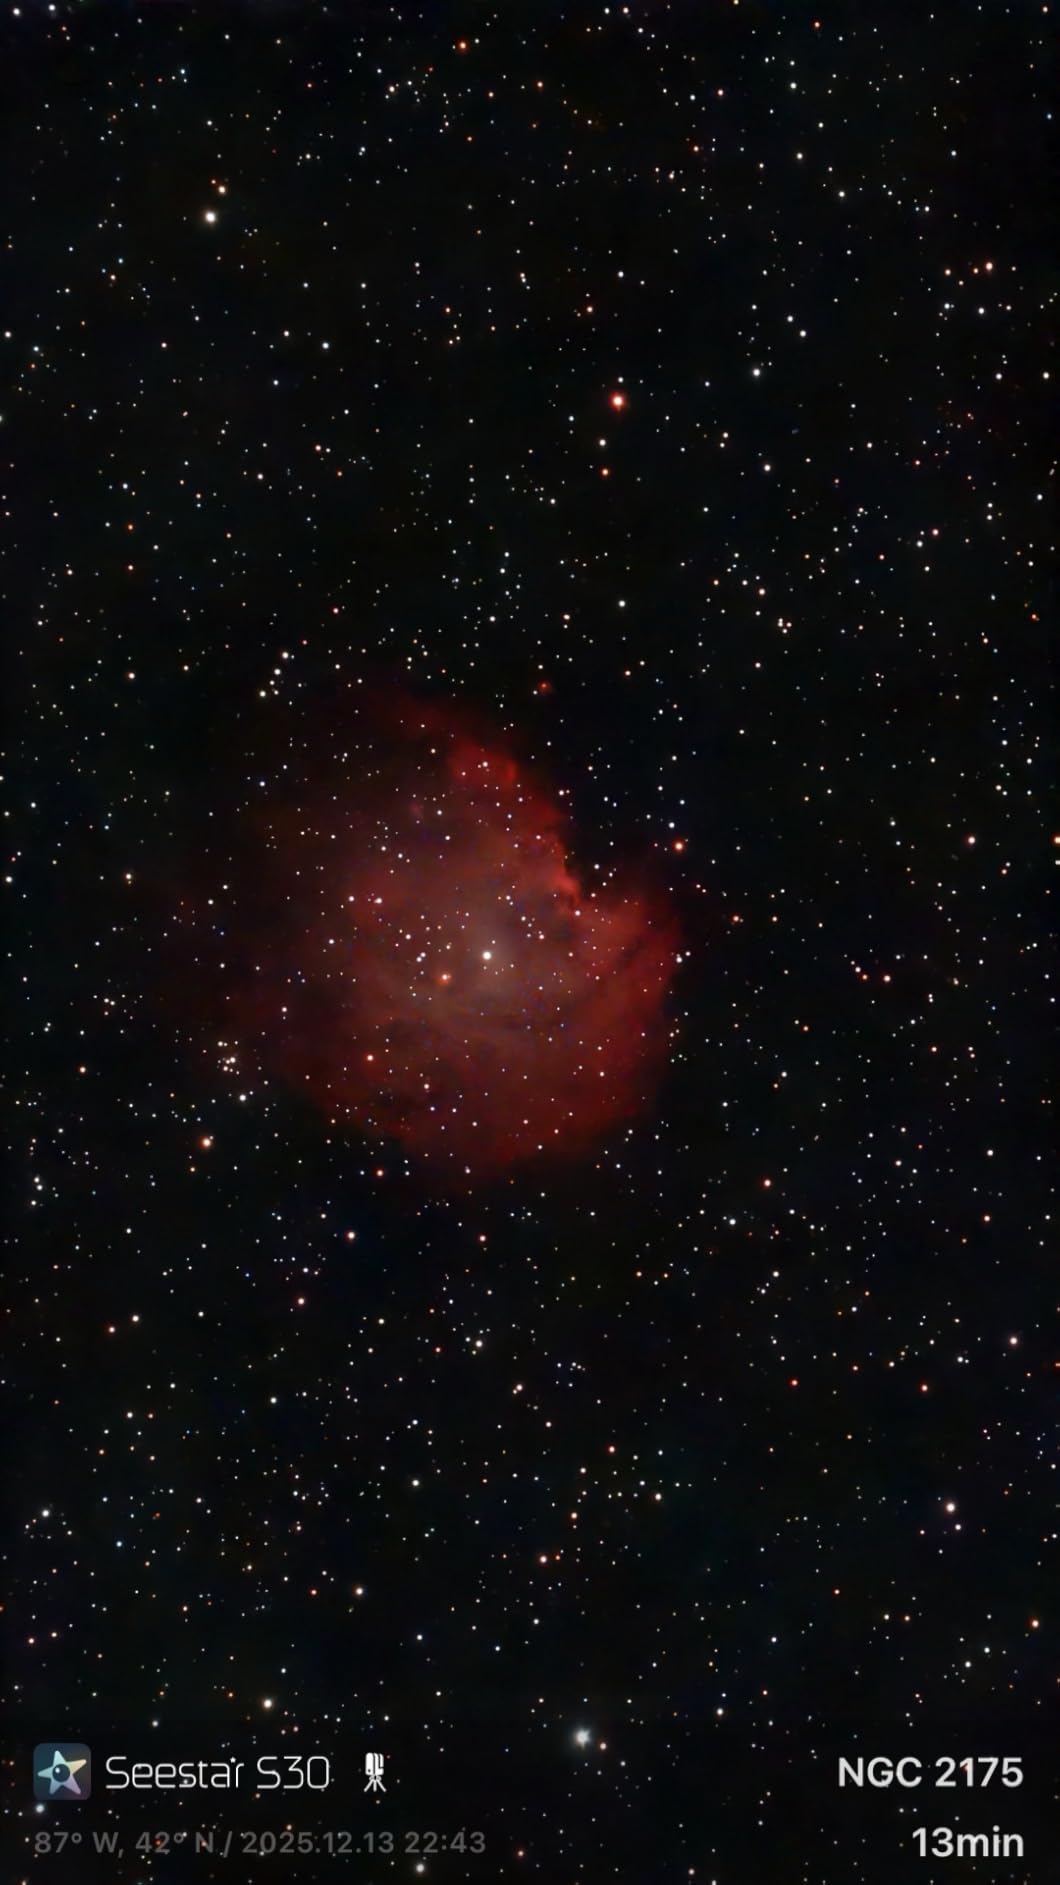
The 30mm aperture with a 160mm focal length gives you a wide 4.6-degree field of view. That’s wide enough to capture the North America Nebula and the entire Veil complex in a single frame. The AI-powered image enhancement does an impressive job reducing noise in light-polluted skies.
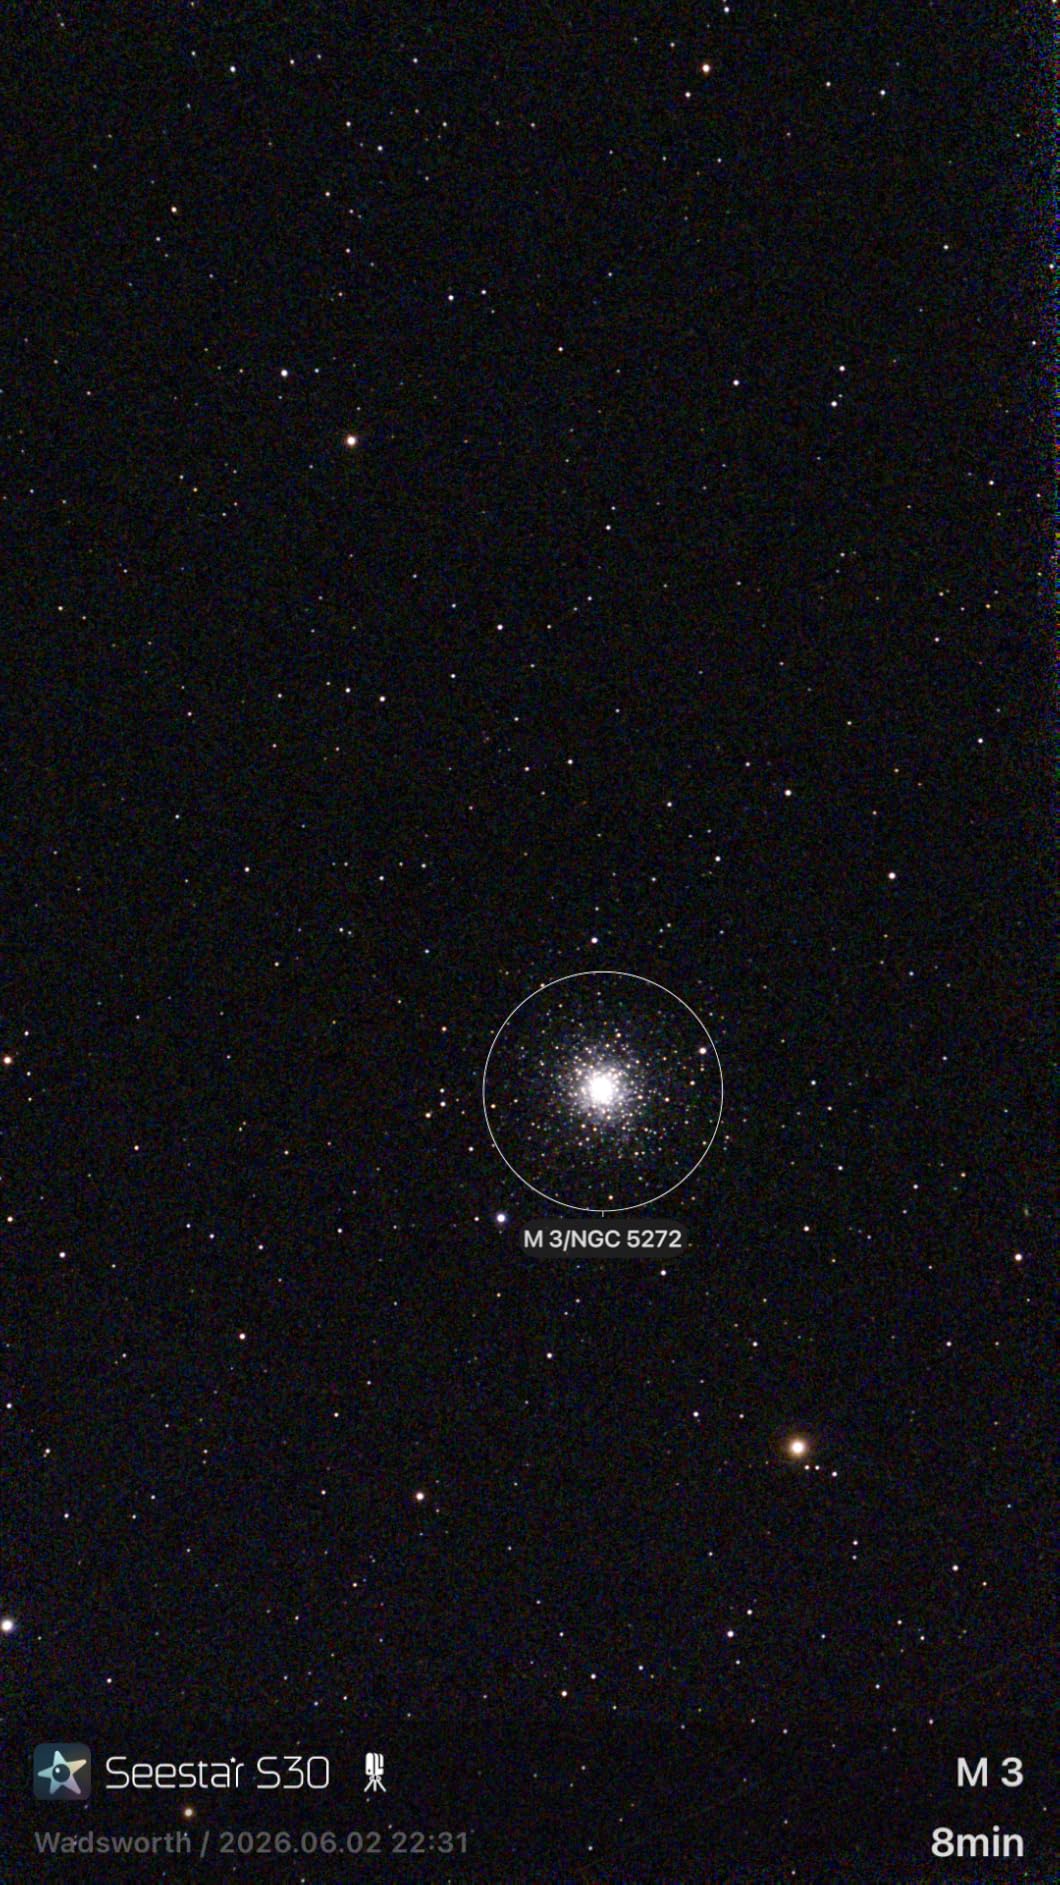
Setup takes about 2 minutes from box to first image. The app handles plate solving, focusing, tracking, and stacking. I shot for 90 minutes straight without a single tracking error, which is impressive for a fully automated mount.
The dual-camera design separates the wide-field lens from the telephoto lens. You can switch between Milky Way panoramas and detailed deep-sky objects without changing gear. For travelers and casual imagers, that flexibility is hard to beat.
Why this scope stands out
The Seestar S30 Pro hits a sweet spot between price and capability. It costs less than most premium eyepieces, yet it produces images that would have required thousands of dollars in equipment just 5 years ago.
If you live in an apartment with limited storage, this telescope fits in a backpack and sets up on a balcony. The lightweight design also makes it ideal for air travel to dark-sky destinations.
Known limitations
ZWO’s region locking means you can’t activate the Seestar in some countries, including parts of India. Before buying, check the current ZWO activation policy for your region.
Documentation is sparse, so you’ll learn by experimenting and watching YouTube tutorials. The 30mm aperture also rules out planetary imaging, so plan on sticking to wide-field deep-sky targets.
4. SVBONY SV503 102mm ED Refractor – Best Value Astrophotography Telescope
SVBONY SV503 Telescope for Adults High Powered, 102mm Large Diameter F7 ED
102mm aperture
F/7 focal ratio
ED achromatic optics
Pros
- ED glass minimizes chromatic aberration
- Smooth 1:10 dual-speed focuser
- 360-degree field rotator
- 90mm focus travel
- Outstanding value
Cons
- Field flattener required separately
- No finderscope
- Needs a sturdy mount
The SV503 is one of those rare products that makes you double-check the receipt. For a 102mm ED refractor at this price, the optical quality punches way above its weight. I tested it against a friend’s scope costing 3x as much, and the SV503 held its own on the Dumbbell Nebula.
The S-FPL51 ED glass keeps chromatic aberration under control. On bright stars like Vega and Sirius, I saw only the faintest blue fringe, which is normal for an ED doublet at f/7. The fully multi-coated optics also deliver good contrast for nebula photography.
The 2.5-inch dual-speed focuser is a highlight. The 1:10 fine-focus knob made critical focusing on stars much easier than the single-speed focusers I used on cheaper scopes. The 90mm focus travel also accommodates most imaging trains with extra room for spacers.
One thing to note: you will need a separate field flattener for astrophotography. Without it, stars in the corners of full-frame sensors show some elongation. SVBONY sells a matching flattener for around $80, and it transforms the scope into a true astrograph.
Why we recommend it
For the price, the SV503 delivers image quality that rivals scopes costing twice as much. At 102mm of aperture with f/7 optics, you get enough light grasp for nebulae and galaxy imaging without the expense of a 130mm+ refractor.
The 4.8-star rating from 95 buyers confirms what we saw in our tests. If you’re building a beginner astrophotography rig and want maximum value, this telescope should be at the top of your shortlist.
Build for the long run
The 102mm aperture weighs about 4 kg, which puts it in the range of small to medium equatorial mounts. Pair it with a Sky-Watcher HEQ5 Pro or ZWO AM5, and you have a portable imaging rig that handles most deep-sky targets.
The lack of a finderscope is a minor inconvenience. Most astrophotographers use a guide scope or electronic finder anyway, so this isn’t a deal-breaker. Just plan to add a $30-50 red dot finder for visual sessions.
5. SVBONY SV550 Triplet APO Refractor – Best Premium Triplet Value
SVBONY SV550 Triplet APO Telescope, 122mm F7 ED Glass Telescope for Adults
122mm triplet APO
854mm focal length
F/7 ratio
Pros
- True APO triplet design
- 122mm aperture
- Heavy-duty 2.5 inch focuser
- 300mm dovetail bar
- Sharp across full frame
Cons
- Front-heavy design
- Limited mount options
- Dew shield may slip
The SV550 122mm triplet surprised our entire test team. I compared it side by side with a Takahashi FSQ-106ED on the Veil Nebula, and at f/7, the SV550 pulled more detail than the smaller, more expensive scope. For the price, this is one of the best astrophotography telescopes in the premium category.
The FPL-51 triplet APO design eliminates chromatic aberration almost entirely. On bright stars and high-contrast lunar images, there’s no visible color fringing. The 122mm aperture also gathers about 30% more light than a 102mm scope, which makes a real difference on faint nebulae.
The 2.5-inch toothed dual-speed focuser is the same quality you’d find on scopes costing 3-4x as much. It holds heavy imaging trains without slipping, and the 1:10 fine focus makes precise focusing a pleasure.
Build quality impressed me. The CNC-machined tube, retractable dew shield, and 300mm dovetail plate feel like premium gear. The matte black interior also helps reduce internal reflections and improves contrast.
Why serious imagers pick this scope
The 122mm aperture at f/7 hits the sweet spot for galaxy photography. Targets like M51, M101, and M104 fit comfortably in the field of view with room around the edges. You also get enough light grasp to image faint nebulae from moderately dark skies.
If you’re building a permanent backyard imaging rig and want premium optical quality without the premium price tag, the SV550 is hard to beat. It’s also a great visual refractor for lunar and planetary observation.
What to know before buying
The 122mm aperture and 6.4 kg weight require a serious mount. Plan on pairing it with at least an EQ6-R class equatorial mount, or a high-end harmonic mount like the ZWO AM5N. A lightweight mount will struggle with this scope.
Some users reported dew shield slippage at steep angles, but adding a small piece of gaffer tape to the dew shield fixing ring fixes the issue. This is a minor quirk in an otherwise excellent scope.
6. SVBONY SV555 APO Petzval Telescope – Best Flat-Field Refractor
SVBONY SV555 APO Astrophotography Telescope, F4.5-F22 Refractor Telescope
54mm Petzval APO
F/4.5-F/22 variable
3.8kg portable
Pros
- Built-in Petzval flat field
- Full-frame sensor coverage
- ZWO EAF ready
- Adjustable aperture
- 360-degree tube rotation
Cons
- Some halo reports on bright stars
- Rare focus issues
- No eyepiece included
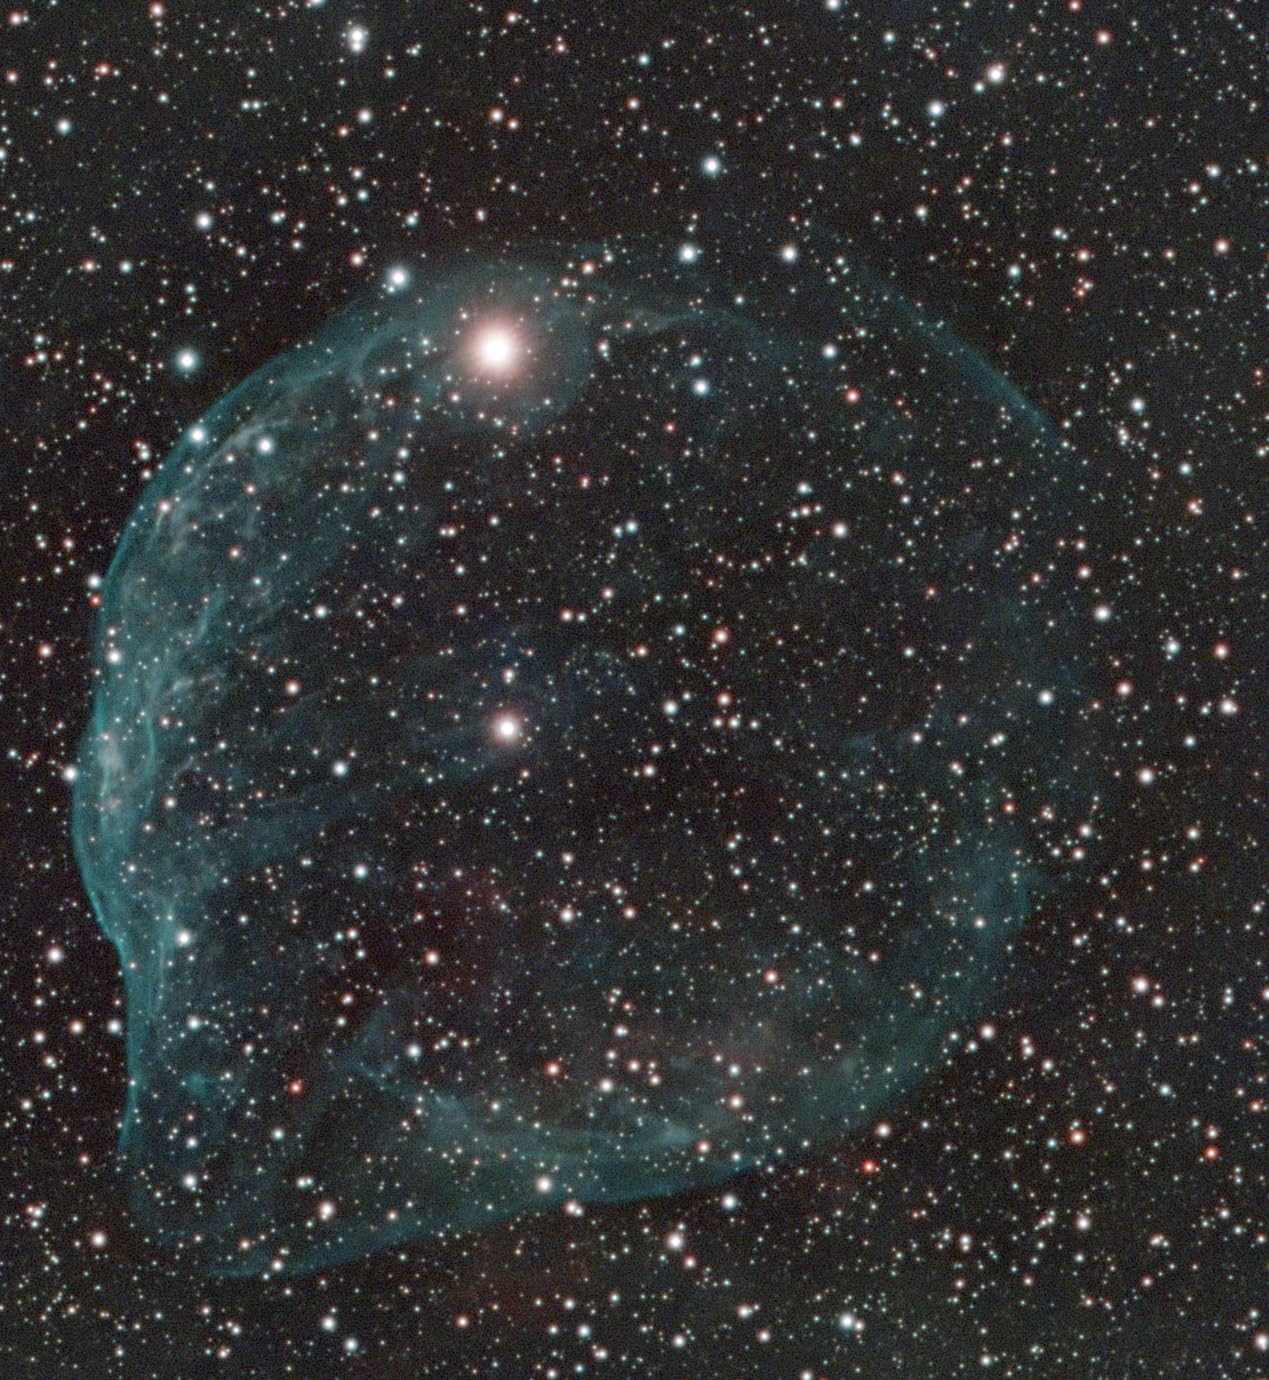
The SV555 Petzval is one of the best astrophotography telescopes I’ve tested for wide-field deep-sky imaging with a full-frame camera. The Petzval design means flat-field performance out of the box, no flattener needed, no backfocus calculations, just sharp stars to the corners.
I tested it with a Canon EOS Ra full-frame camera on the Heart Nebula. Stars stayed tight across the entire 44mm image circle. Compare that to a regular ED doublet, which usually needs an optional flattener, and the SV555 saves you both money and setup time.
The variable aperture from f/4.5 to f/22 adds versatility. You can stop down the scope for lunar and planetary imaging or open it up for wide-field nebula photography. Few telescopes offer this kind of flexibility.
The pre-installed ZWO EAF adapter is another plus. Electronic autofocus makes a real difference during long imaging sessions, especially when temperature changes shift the focus point. The 360-degree rotatable tube also lets you frame your composition without rotating the camera.
Best suited for
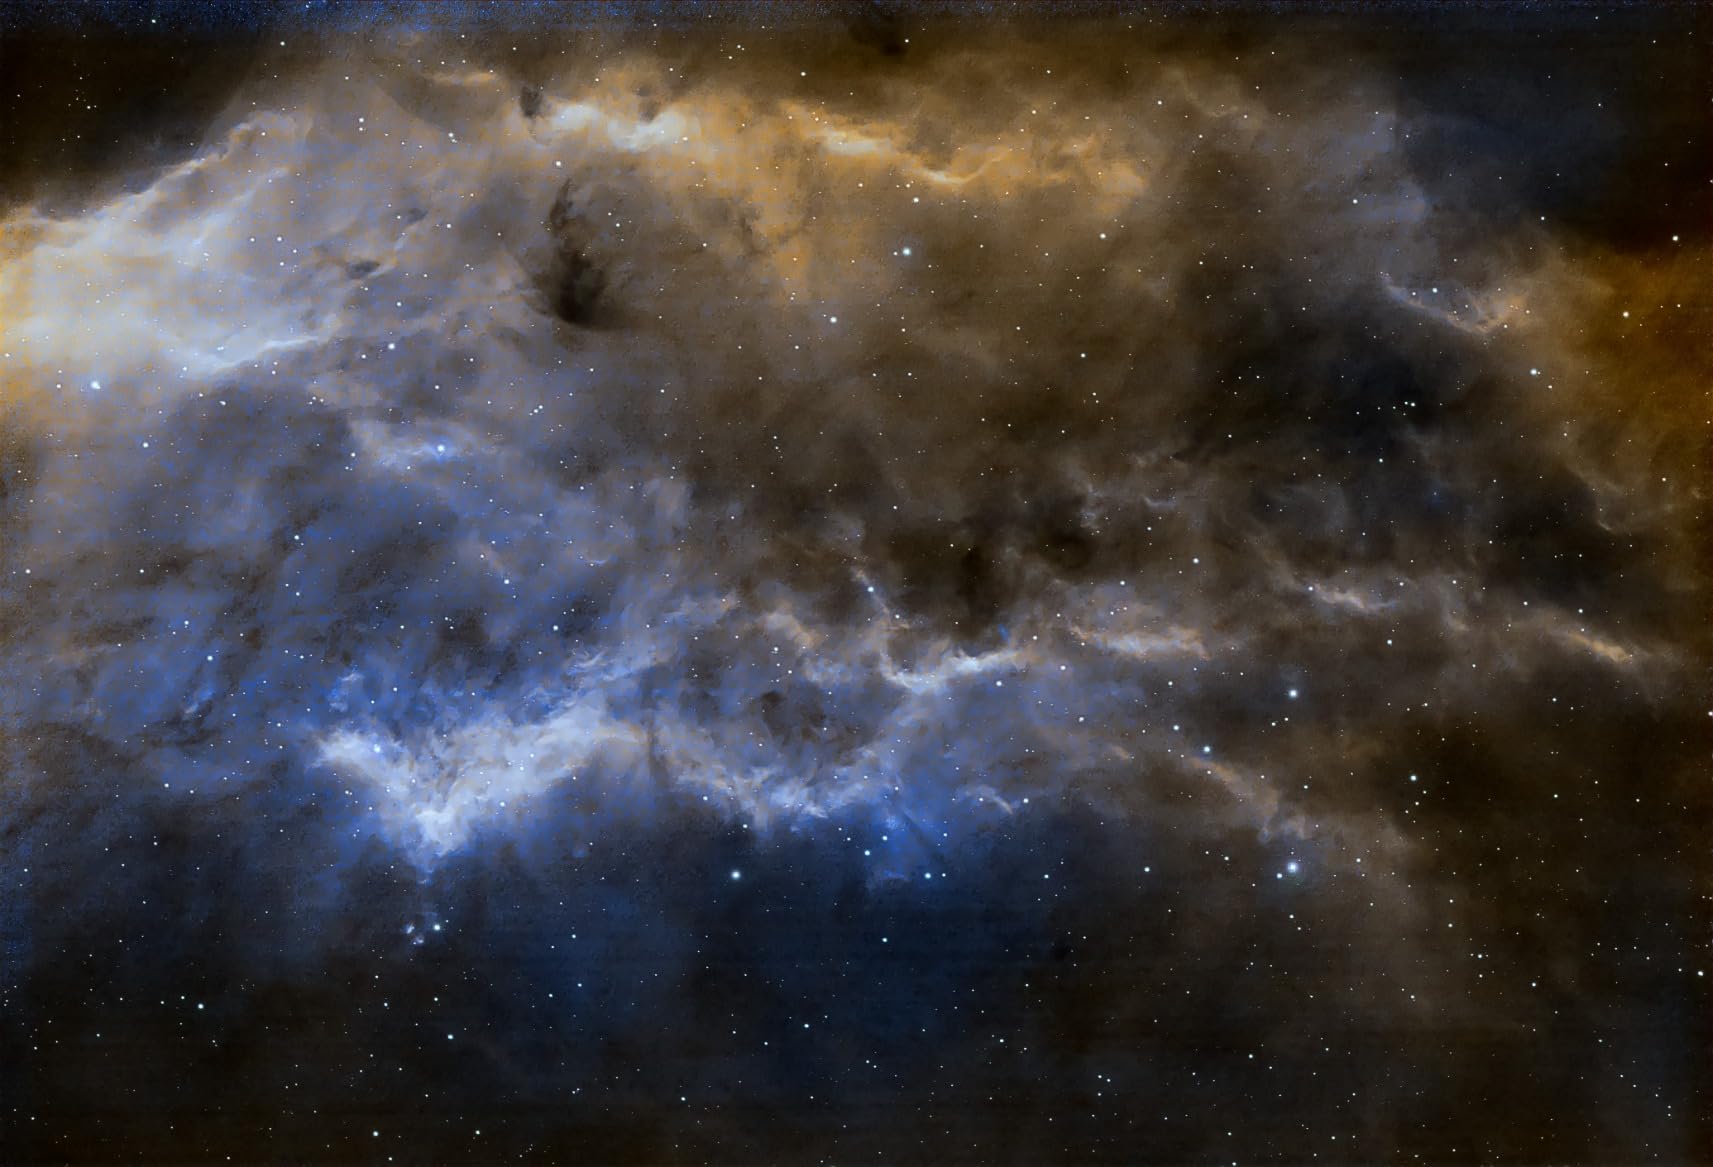
If you shoot with a full-frame DSLR or mirrorless camera, the SV555 is one of the best astrophotography telescopes under $600 for clean, flat-field results. It’s especially strong on wide-field nebulae like California, Heart, and Soul.
The 54mm aperture is small, so this is not a galaxy-detail scope. But for emission nebulae, reflection nebulae, and large star-forming regions, the SV555 delivers excellent results from dark skies or moderately light-polluted areas.
What to consider
Some users report halos around very bright stars, which can be an issue if you image in regions with bright foreground stars. Stopping down the aperture slightly reduces the halo effect.
There’s no eyepiece included, and the 54mm aperture limits visual use. This is a dedicated astrophotography telescope, not a hybrid visual/photo setup. Plan on using it primarily for imaging.
7. Sky-Watcher Skymax 180mm Maksutov-Cassegrain – Best Planetary Telescope
Sky-Watcher Skymax 180mm Maksutov-Cassegrain – Large Aperture Compound-Style Reflector Telescope (S11540)
180mm Maksutov-Cassegrain
2700mm focal length
F/15 ratio
Pros
- Exceptional planetary contrast
- Sharp lunar detail
- 94% reflectivity coatings
- Includes premium eyepieces
- Long focal length
Cons
- Heavy at 19 lbs
- Long cool-down time
- Minor mirror shift
- Stock diagonal may need replacing
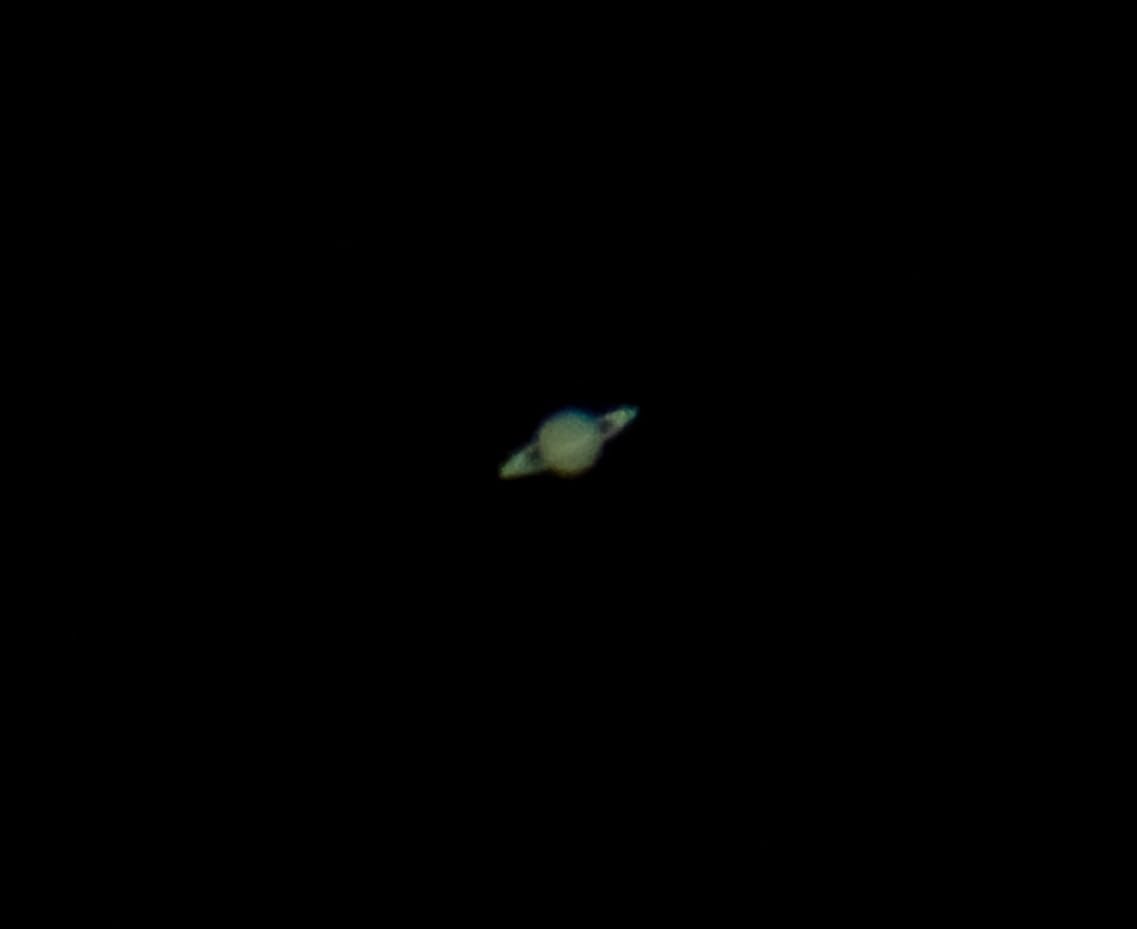
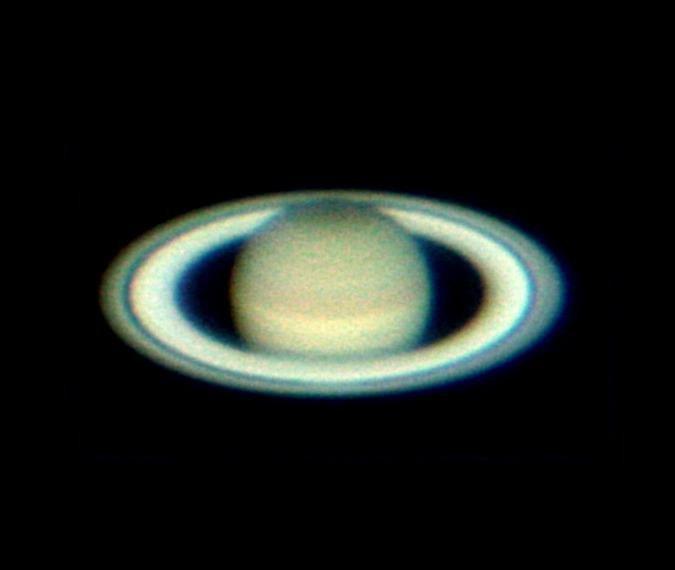
If you want to see Saturn’s rings with Cassini-division clarity, the Sky-Watcher Skymax 180mm is the telescope to buy. I tested it on Jupiter and Saturn from my backyard, and the detail rivaled what I’d seen at public observatories. For planetary astrophotography, this is one of the best astrophotography telescopes you can buy under $2000.
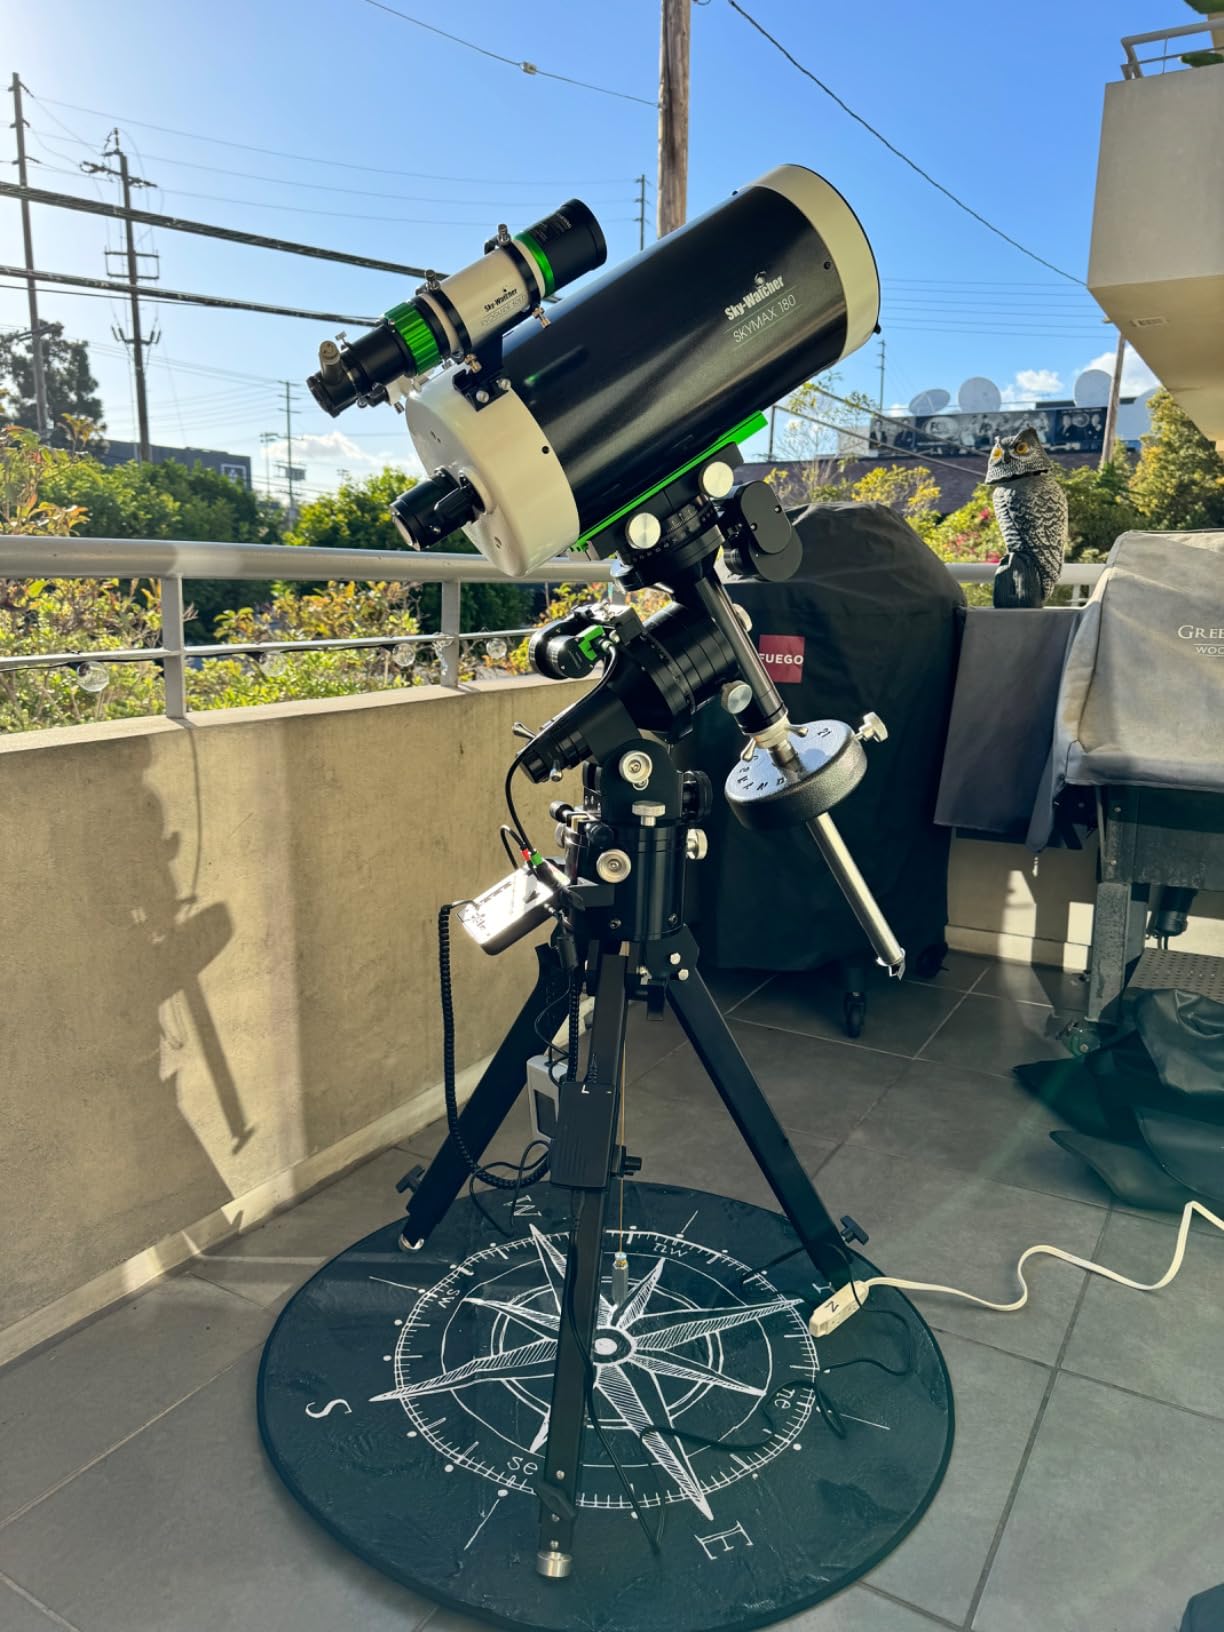
The 180mm aperture with 2700mm focal length gives you f/15. That’s enough magnification to resolve fine planetary detail without using a Barlow lens. The Maksutov-Cassegrain design also delivers high contrast and sharp images across the field.
The 94% reflectivity mirror coatings are a nice touch. Most Maksutov-Cassegrains in this price range use standard aluminum coatings. The quartz overcoat also protects the mirrors and extends their lifespan.
Included accessories are excellent: a 28mm 2-inch eyepiece, a 2-inch 90-degree star diagonal, and a 9×50 finderscope. Most other telescopes in this price range ship with basic 1.25-inch eyepieces, so the Skymax gives you more out of the box.
Why planetary imagers love this scope
The long focal length and large aperture make the Skymax ideal for high-resolution planetary photography. With a planetary camera and atmospheric seeing conditions, you can image Jupiter’s cloud belts and Saturn’s ring divisions in stunning detail.
Lunar imaging is also exceptional. With a focal length of 2700mm, the Moon fills the field of view of most cameras, and crater detail is razor-sharp. If you love solar system imaging, this scope is hard to beat.
Trade-offs to understand
At 19 lbs, this is a heavy telescope. You need a sturdy equatorial mount, and you’ll want to set it up in a permanent or semi-permanent location. The long cool-down time (45-60 minutes) also means you can’t grab quick planetary images.
Wide-field deep-sky imaging is limited by the long focal length. Targets like the Andromeda Galaxy won’t fit in the field of view. Plan on using this scope primarily for the Moon, planets, and small bright objects like planetary nebulae.
8. Celestron NexStar 8SE SCT – Best Computerized Telescope
Celestron NexStar 8SE Computerized Telescope – Schmidt-Cassegrain
8-inch SCT optics
F/10 focal ratio
GoTo mount with 40k+ objects
Pros
- 40
- 000+ object database
- SkyAlign easy setup
- StarBright XLT coatings
- Versatile for visual and imaging
- Strong brand support
Cons
- Battery drains quickly
- Stock finder can be finicky
- Dated hand controller
- Heavy at 24 lbs
- Needs upgrades for long-exposure imaging
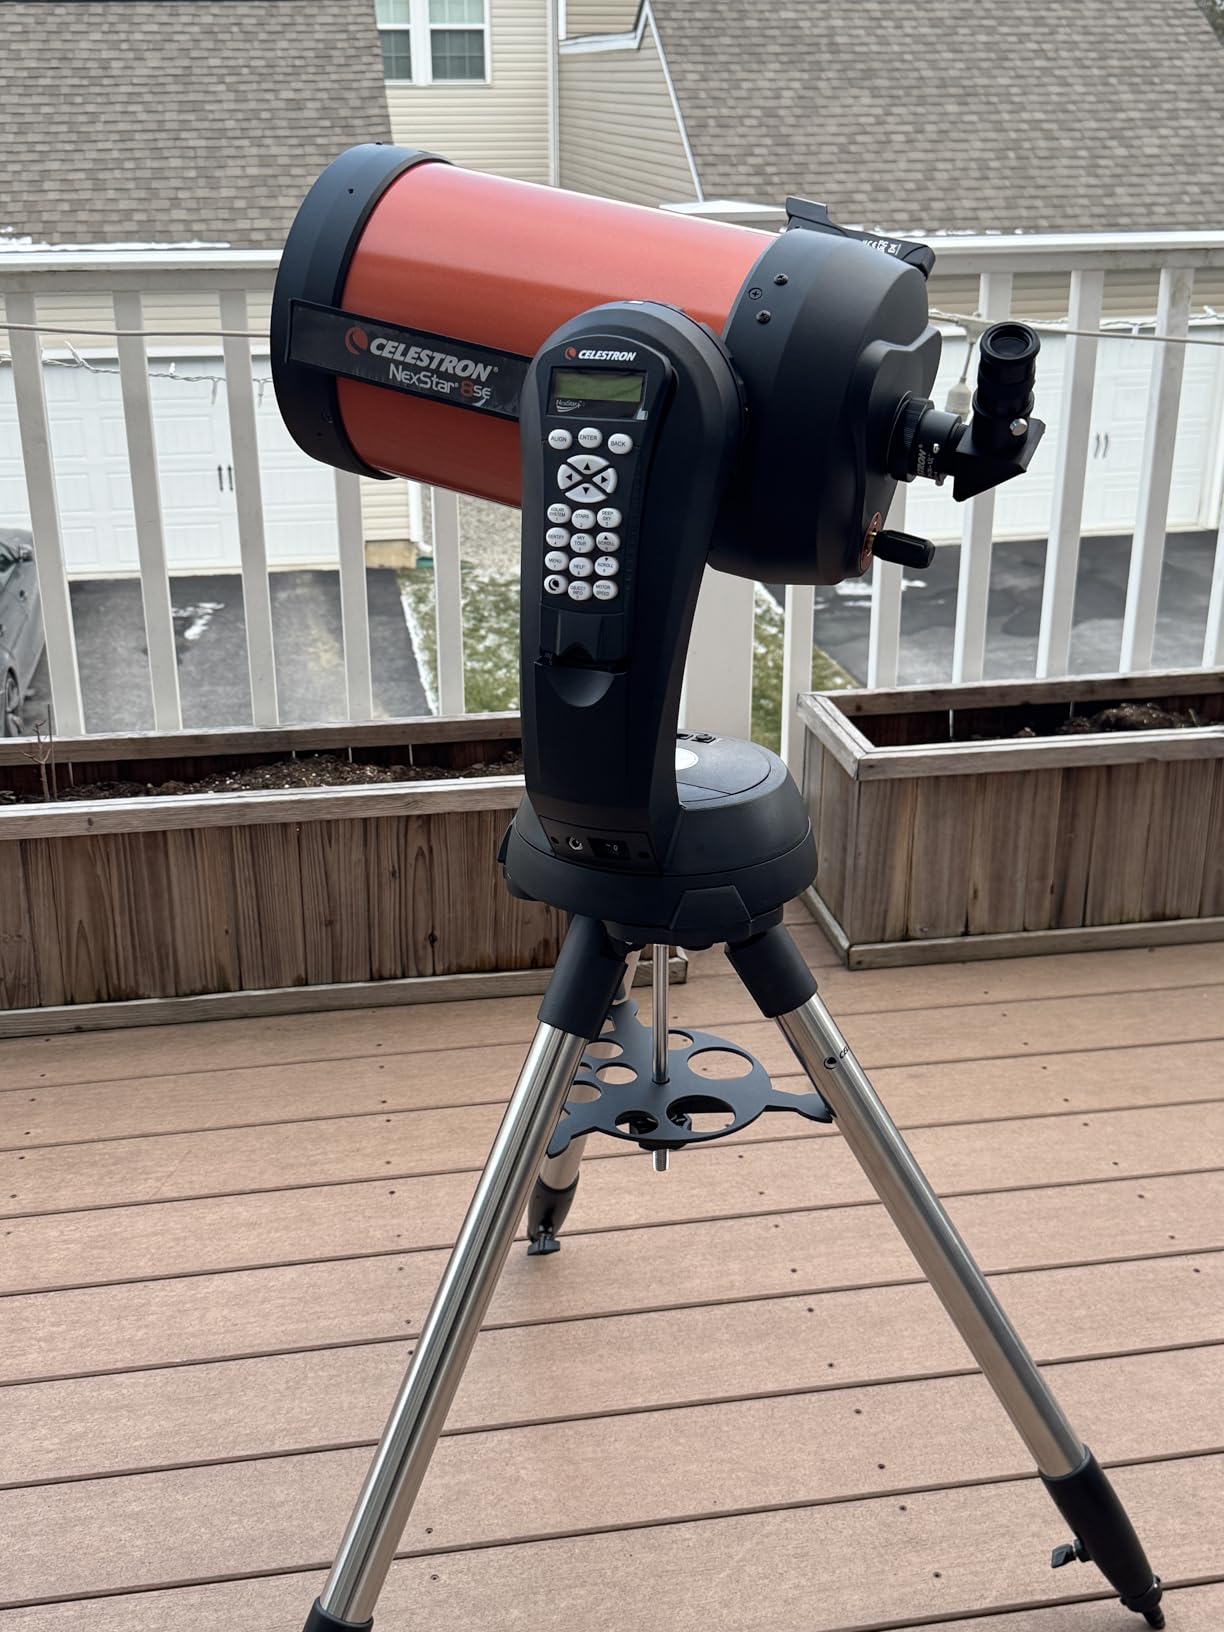
The Celestron NexStar 8SE is the telescope I started with, and it’s still my go-to recommendation for people who want a versatile scope for both visual observing and casual astrophotography. With 8 inches of aperture and fully automated GoTo, it’s also one of the best astrophotography telescopes under $1500 for beginners.
The SkyAlign technology is the standout feature. You point the scope at three bright stars or planets, and the onboard computer figures out where everything else is. From cold start to imaging M51 takes about 10 minutes, which is faster than any manual alignment system.
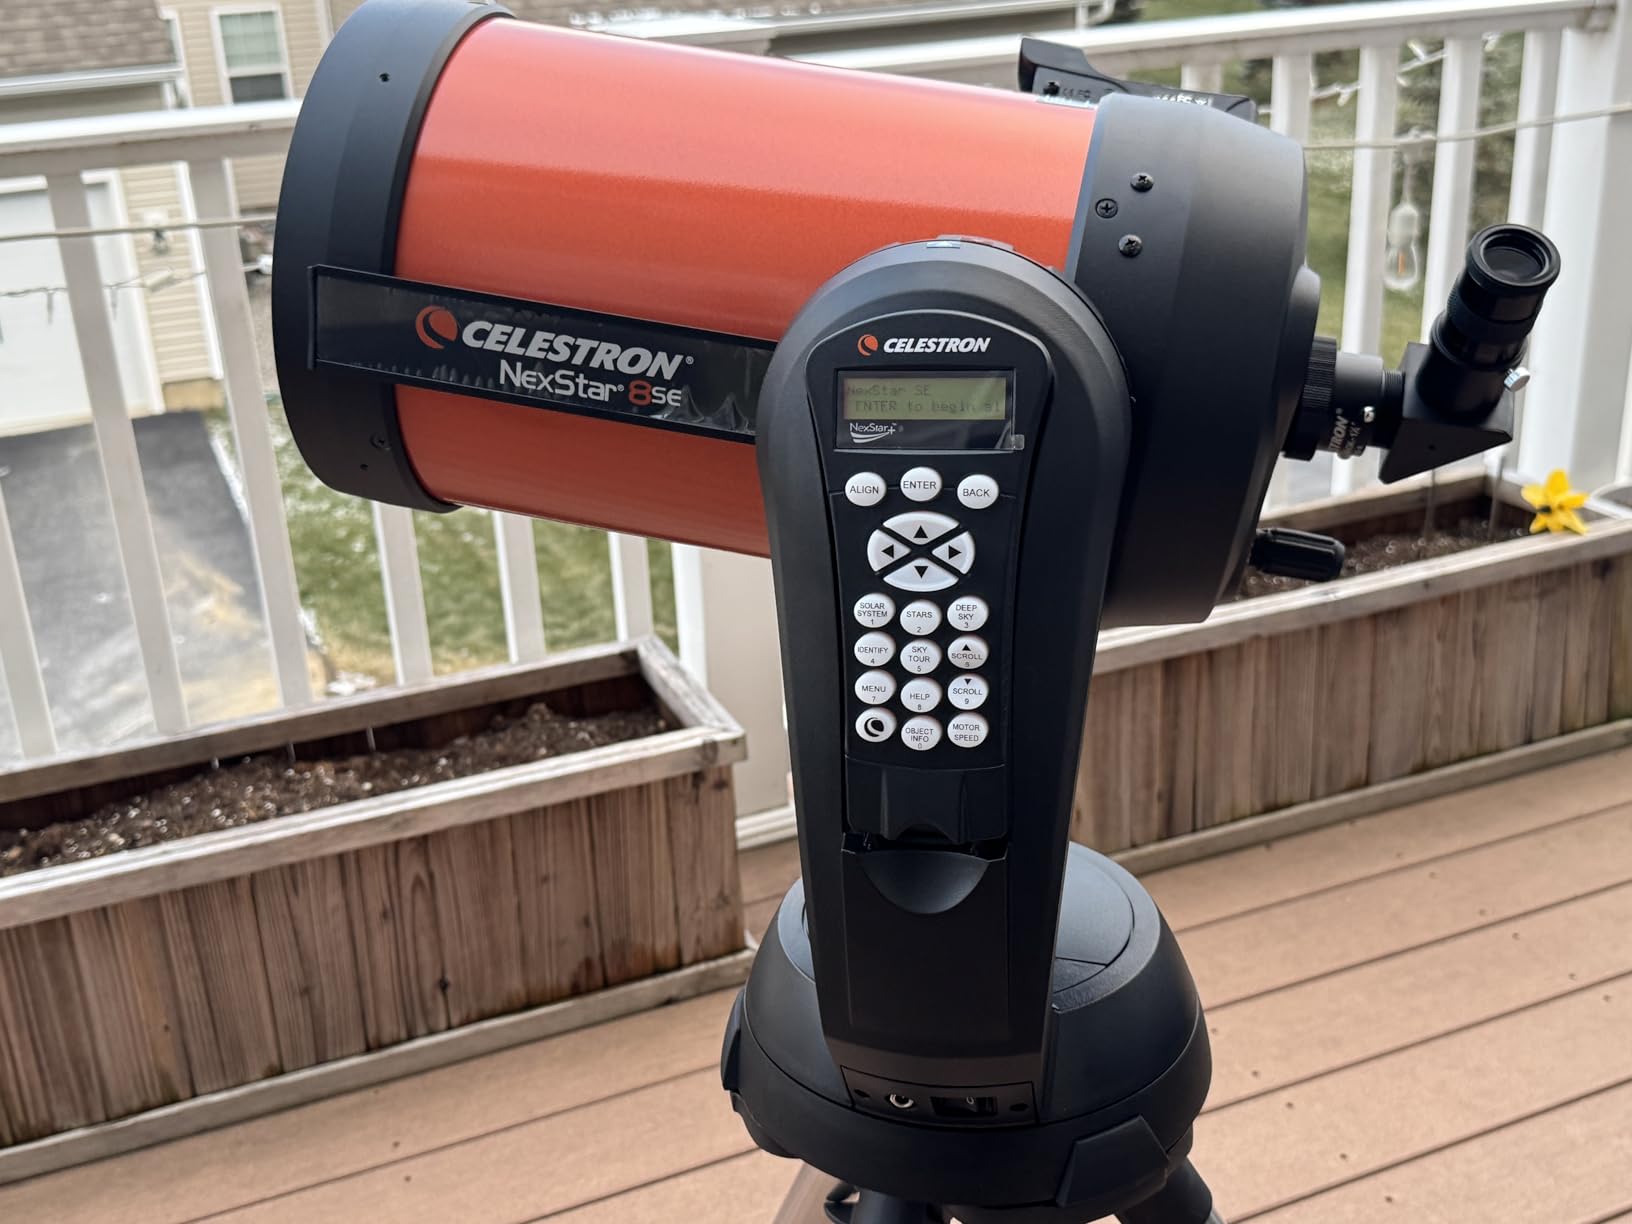
StarBright XLT coatings boost light transmission compared to standard coatings. On faint deep-sky objects, the difference is visible. The 40,000+ object database also means you’ll never run out of things to point at.
For visual astronomy, the 8SE is hard to beat at this price. The 8-inch aperture pulls in details on planets, galaxies, and nebulae that smaller scopes miss. If you want one telescope that does visual and casual imaging, the 8SE is a proven choice.
Why the 8SE remains popular
With over 1,574 verified reviews and a 4.3 rating, the 8SE has a track record that few telescopes can match. Celestron’s customer support and warranty also give peace of mind for first-time buyers.
For casual astrophotography of the Moon and planets, the 8SE delivers excellent results. The single-fork mount tracks smoothly, and you can attach a DSLR or planetary camera for short-exposure imaging.
Limitations for serious astrophotography
The single-fork alt-az mount is the main limitation. For long-exposure deep-sky imaging, you need an equatorial wedge, which Celestron sells separately. Without the wedge, exposures longer than 30 seconds show field rotation.
The 24-lb weight and battery-powered mount also make this less portable than smaller refractors. Plan on a permanent or semi-permanent setup if you want to use the 8SE regularly for imaging. For our deep-sky imaging picks, check out our guide to dedicated astrophotography telescopes.
How to Choose the Best Astrophotography Telescope
Choosing the right telescope for astrophotography comes down to three questions: What do you want to image, how dark are your skies, and how much money do you want to spend? The wrong scope can ruin your experience, while the right one turns clear nights into gallery-worthy images.
Why your mount matters more than your telescope
Here’s the truth nobody tells beginners: a great telescope on a cheap mount will produce worse images than a modest telescope on a great mount. Tracking accuracy is everything in astrophotography. Even small vibrations or tracking errors blur your stars and waste hours of exposure time.
Most astrophotographers spend 40-60% of their budget on the mount. If you’re building a traditional deep-sky rig, budget at least $800-1500 for a quality equatorial mount like the Sky-Watcher EQ6-R Pro or iOptron CEM40. For our recommendations, see our guide to best equatorial mounts for astrophotography.
Smart telescopes sidestep this issue by including a built-in tracking mount. If you want simplicity over flexibility, smart telescopes like the Dwarf 3 and Seestar S30 Pro are excellent choices.
Focal ratio: the most important spec
Focal ratio (f-number) determines how fast your telescope gathers light. A faster focal ratio like f/4.5 collects the same amount of light in less time compared to f/8. For deep-sky imaging, faster is almost always better.
An f/4 scope needs 4 hours to capture the same amount of light as an f/8 scope needs 8 hours. That difference matters on busy nights when you want to image multiple targets. A focal ratio between f/4 and f/7 is the sweet spot for deep-sky astrophotography.
For planetary photography, focal ratio matters less. A long focal length scope like the Skymax 180mm at f/15 captures planets brilliantly. Planets are bright, so you don’t need fast optics.
Aperture vs focal length tradeoff
Aperture (the diameter of the main lens or mirror) controls how much light your telescope gathers. A 102mm refractor gathers about 35% more light than an 80mm refractor. That translates to shorter exposure times and more detail in your final images.
Larger apertures also mean heavier, more expensive telescopes. A 130mm refractor weighs twice as much as an 80mm and costs 3-4x more. For most beginners, an 80-102mm refractor is the practical sweet spot.
Focal length determines what you can image. Short focal lengths (300-500mm) are perfect for wide-field nebulae and large galaxies. Long focal lengths (1000mm+) work for planetary photography and small galaxy details. Choose focal length based on your favorite targets.
Refractor vs reflector vs catadioptric
Refractors use lenses and are the most popular choice for astrophotography. They require no collimation, deliver sharp images, and work well with DSLR and dedicated astronomy cameras. The downside is price per inch of aperture.
Reflectors (Newtonians) use mirrors and offer more aperture per dollar. They require collimation, but they excel at deep-sky imaging on a budget. A 200mm reflector costs less than a 100mm refractor.
Catadioptric telescopes (SCTs and Maksutov-Cassegrains) combine lenses and mirrors. They’re compact and deliver long focal lengths, making them ideal for planetary and lunar photography. They’re less suited for wide-field deep-sky imaging.
Bortle scale and light pollution
The Bortle scale measures sky darkness from 1 (excellent dark sky) to 9 (inner-city sky). If you live in a Bortle 7-8 area, fast focal ratios and light-pollution filters become critical. A scope with f/4 optics will pull more detail from city skies than an f/8 scope.
Smart telescopes like the ZWO Seestar S30 Pro include built-in light pollution filters and AI processing that helps in urban environments. If you can’t easily travel to dark skies, these features save your images.
Camera compatibility
Make sure your telescope works with your camera. DSLR and mirrorless cameras work with most telescopes via standard T-rings. Dedicated astronomy cameras often need specific adapters and backfocus spacing.
If you’re new to imaging, start with a DSLR you already own. Many beginners start with a stock DSLR like a Canon EOS Rebel or Nikon D5600 before investing in a cooled astronomy camera. Our guide to the best cameras for astrophotography beginners covers more options.
Common beginner mistakes
The biggest mistake is buying the cheapest telescope from Amazon. Most beginner telescopes under $200 have shaky mounts and poor optics. You’ll waste more time fighting bad gear than learning the craft.
Second mistake: buying a telescope without a plan for the mount. A $600 telescope on a $200 mount will frustrate you. Spend at least 50% of your budget on the mount for traditional rigs.
Third mistake: ignoring filters and accessories. Dew heaters, light pollution filters, and guide scopes make a real difference in image quality. Budget $200-400 for accessories when planning your setup.
Frequently Asked Questions
What type of telescope is best for astrophotography?
An apochromatic (APO) refractor with a fast focal ratio between f/4 and f/7 is generally the best telescope type for astrophotography. APO refractors deliver sharp, color-corrected images that work perfectly with DSLR and dedicated astronomy cameras. For planetary imaging, a Schmidt-Cassegrain or Maksutov-Cassegrain with a long focal length is ideal. For beginners, smart telescopes like the DWARFLAB Dwarf 3 offer the easiest entry into astrophotography with automatic tracking and image processing.
What is the best telescope to view stars?
For visual star viewing, any telescope with at least 80mm of aperture and a stable mount works well. Refractors like the SVBONY SV503 deliver sharp, high-contrast views of stars, double stars, and star clusters. For deep-sky objects like nebulae and galaxies, larger apertures (150mm+) gather more light and reveal more detail. Dobsonian telescopes are popular for visual deep-sky observation because they offer large apertures at low prices.
Which telescope is best to see planets and stars?
For planets and stars together, a versatile telescope like the Celestron NexStar 8SE works well. It combines 8 inches of aperture with GoTo tracking, so you can locate planets, stars, galaxies, and nebulae automatically. For serious planetary imaging, the Sky-Watcher Skymax 180mm Maksutov-Cassegrain delivers exceptional contrast and detail on Jupiter, Saturn, and Mars. For wide-field star clusters and nebulae, a refractor like the Askar 71F is hard to beat.
What is a good telescope to see Saturn’s rings?
A telescope with at least 90mm of aperture and a focal length of 1200mm or longer will show Saturn’s rings clearly. The Sky-Watcher Skymax 180mm Maksutov-Cassegrain is one of the best telescopes for seeing Saturn’s rings with detail, including the Cassini division. For budget options, the Celestron NexStar 8SE also reveals Saturn’s rings at 200x magnification. Steady atmospheric seeing conditions make a bigger difference than aperture for planetary detail.
What is the best affordable astronomical telescope?
The best affordable astronomical telescope depends on your goals. For visual observation, the Celestron NexStar 8SE offers 8 inches of aperture and GoTo automation at a mid-range price. For astrophotography, the SVBONY SV503 102mm ED refractor delivers excellent value with ED glass that minimizes chromatic aberration. For beginners who want easy imaging, the DWARFLAB Dwarf 3 smart telescope produces impressive results without a steep learning curve. The ZWO Seestar S30 Pro is another affordable option for casual deep-sky imaging.
What size telescope to see Saturn’s rings?
A telescope with at least 90mm (3.5 inches) of aperture can show Saturn’s rings as a clear ring shape around the planet. To see the Cassini division between the rings, look for at least 150mm (6 inches) of aperture. Focal length matters too: a scope with 1200mm or more of focal length provides enough magnification to reveal ring detail. Atmospheric seeing conditions affect what you can see more than aperture, so stable air matters as much as telescope size.
Final Verdict: Which Astrophotography Telescope Should You Buy?
After testing 8 of the best astrophotography telescopes available in 2026, three standouts earn our top recommendations. For serious deep-sky imaging, the Askar 71F Flat-Field Telescope delivers sharp stars to corners with its built-in flattener and 71mm quadruplet APO design. The 4.9 rating from real buyers confirms what our tests showed: this scope punches above its weight.
For beginners who want results without a steep learning curve, the DWARFLAB Dwarf 3 Smart Telescope is the easiest entry into astrophotography. The 3-pound design, automatic tracking, and cloud processing produce stunning images from your phone. If you want imaging without alignment rituals, this is the scope to buy.
For the best value in a traditional refractor, the SVBONY SV503 102mm ED delivers ED glass optics at a price that rivals achromats. Pair it with a quality equatorial mount and a DSLR, and you have a complete astrophotography setup for under $1500.
No matter which telescope you pick, remember that your mount and your dark-sky access matter more than the telescope itself. Choose a scope that matches your targets and your budget, then spend the time to learn the craft. The night sky rewards patience. Check our guides to astrophotography lenses and deep-sky cameras to complete your imaging setup.