
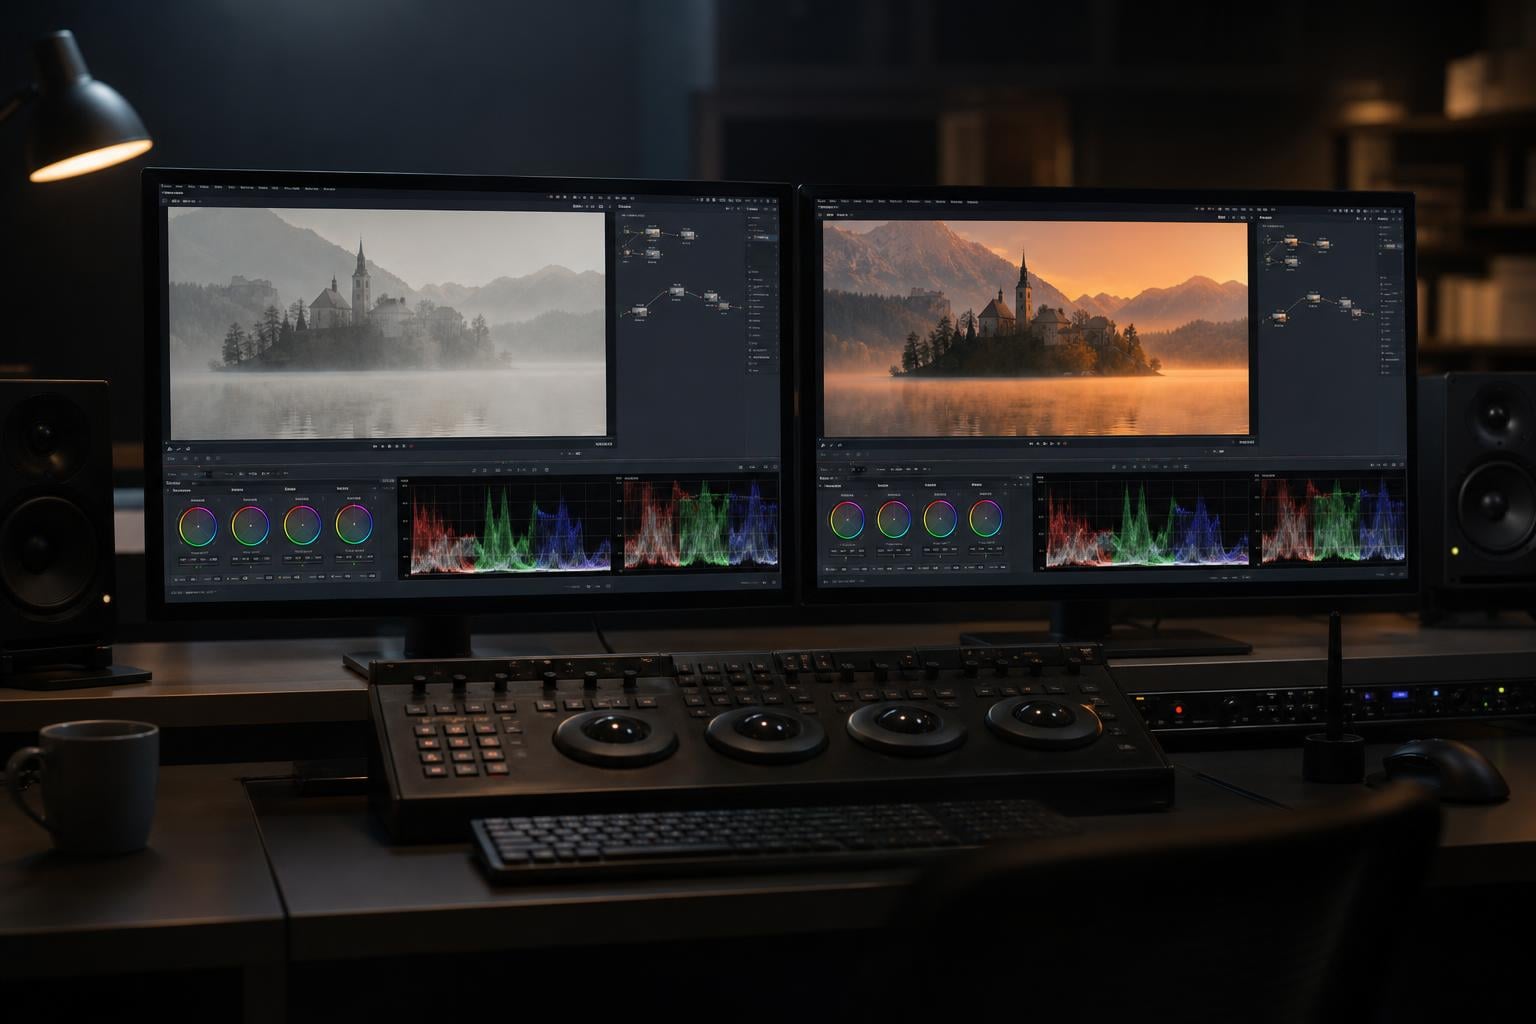
You spent hours perfecting your color grade. The preview looked incredible. Then you exported, opened the file, and everything looked flat, faded, and lifeless. Sound familiar?
If your video looks washed out after applying a LUT, you are dealing with one of the most common and frustrating problems in video editing. Nearly every editor hits this wall at some point. I have personally spent days chasing this issue across multiple projects before understanding what was actually happening under the hood.
The short answer is almost always a gamma or color space mismatch between your editing software and the application playing back the video. Your editing software interprets color one way, while QuickTime, Chrome, or your media player interprets it differently.
In this guide, I will walk through every reason your video looks washed out after applying a LUT, how to fix it in Premiere Pro, DaVinci Resolve, and Final Cut Pro, and how to prevent it from happening on your next export.
Table of Contents
The Root Causes: Why Your Video Looks Washed Out After Applying a LUT
Understanding the root cause is half the battle. Once you know what is happening between your editor and your media player, the fixes start making sense. Here are the four most common reasons your footage loses its punch after a LUT.
1. Gamma Mismatch Between Editor and Player
This is the number one cause. Most editing software renders its preview using Rec709 gamma 2.4, which is the broadcast standard. However, many media players, especially QuickTime on Mac, use gamma 1.96 instead.
That difference of 0.44 might sound tiny, but it is enormous in practice. Gamma 1.96 lifts the shadows and midtones, making your blacks look grey and your overall image look milky. Your video is not actually broken. The player is just interpreting the same data differently.
I have seen editors spend hours re-grading footage trying to fix a problem that only exists in QuickTime. Checking the same file in VLC or a properly calibrated monitor often reveals the footage looks exactly as intended.
2. Color Space Mismatch
Your footage lives in a color space, typically Rec709 for standard dynamic range video. But if your editing software, your export settings, and your playback application each make different assumptions about which color space is being used, you get a mismatch.
This often happens when editing Rec709 footage on a monitor set to sRGB, or when exporting in a color space that your playback software does not recognize. The result is a flat, desaturated image that looks nothing like your preview.
On Mac specifically, the operating system applies color management differently depending on whether the app is color-managed. QuickTime and Safari handle color one way, while Chrome and Firefox handle it another. This is why the same export can look different across different apps on the same computer.
3. Using the Wrong LUT Type
Not all LUTs do the same thing. There are two main categories, and confusing them is a recipe for washed out footage.
Technical LUTs, also called camera LUTs or conversion LUTs, are designed to convert log or flat footage into a standard viewing space like Rec709. They expect specific input footage, like CLOG, S-Log, or V-Log, to work correctly.
Creative LUTs, on the other hand, are designed as finishing styles. They expect already-corrected Rec709 footage as input and apply a stylized look on top.
If you apply a creative LUT directly to uncorrected log footage, the colors will not land where the LUT designer intended. Conversely, if you stack a technical conversion LUT on footage that is already in Rec709, you will get bizarre color shifts and a washed out appearance. I see this mistake constantly in Reddit forums, especially with Canon CLOG3 shooters.
4. Skipping Color Correction Before the LUT
A LUT is not a magic filter. It is a mathematical transformation that assumes your input footage hits specific values for exposure, white balance, and contrast.
If your footage is overexposed by even half a stop, a conversion LUT designed for CLOG3 will push the highlights too far and wash out the image. If your white balance is off, the LUT will amplify the cast rather than correct it.
The correct workflow is always: correct exposure and white balance first, then apply the LUT, then make any additional adjustments. One user on the r/canon subreddit described this exact problem with CLOG3 footage. Their conversion LUT kept producing flat results until they realized the underlying footage was overexposed by nearly a full stop.
How to Fix Washed Out Video After Applying a LUTs?
Now that we understand the causes, let me walk through the specific fixes for each major editing application. The solution depends on which software you use, but the principles are the same.
Fixing Washed Out Video in Premiere Pro
Premiere Pro has been the source of endless frustration for editors dealing with washed out exports. The good news is that Adobe has improved its color management significantly, but you still need to configure things correctly.
Step 1: Check your color management settings. Go to your project settings and navigate to Color Management. Make sure your working color space is set to Rec709. If you are editing log footage, ensure the input color space for your clips is set correctly in the Interpret Footage dialog.
Step 2: Apply the LUT correctly. Use the Lumetri Color panel. Under Creative, load your LUT. If you are working with log footage, apply a conversion LUT first under the Input LUT setting in the Basic Correction tab, not the Creative tab.
Step 3: Use Adobe’s gamma compensation LUT at export. Adobe provides a compensation LUT that counteracts the gamma shift caused by QuickTime and other players. Apply this in the Lumetri section of your export settings if you know your viewers will watch on Mac or in QuickTime.
Step 4: Check your export format. Use H.264 with the Rec709 color space selected. In the Video tab of your export settings, make sure the color space is set to Rec709 and not set to Automatic or left undefined.
Step 5: Enable hardware acceleration carefully. Some GPU encoders handle color differently. If your exports look wrong only when hardware encoding is enabled, try switching to software encoding to see if the issue disappears.
Fixing Washed Out Video in DaVinci Resolve
DaVinci Resolve is a dedicated color grading application, so it gives you more control over color management than Premiere Pro. But that control means you need to configure it properly.
Step 1: Set up project color management. In Project Settings under Color Management, choose your timeline color space as Rec709-A (the A stands for gamma-aware, which is Resolve’s way of handling the QuickTime gamma issue). Set your output color space to Rec709-A as well if you are delivering for web playback.
Step 2: Apply LUTs in the correct node. In the Color page, apply conversion LUTs in the first node of your node tree. Use the Camera LUT dropdown in the Sizing panel or apply a LUT via a node. Creative LUTs should go on a later node, after you have balanced exposure and white balance.
Step 3: Use the Color Space Transform. If a conversion LUT is not giving you the right results, try the Color Space Transform effect instead. It gives you explicit control over input color space, gamma, and output color space, and it can be more reliable than a LUT for tricky footage.
Step 4: Check your delivery settings. In the Deliver page, make sure your color space tag is set correctly. For web delivery, use Rec709 and choose the gamma that matches your target platform. Resolve lets you tag the gamma explicitly, which helps players interpret the file correctly.
Fixing Washed Out Video in Final Cut Pro
Final Cut Pro handles color management differently from Premiere and Resolve, and it can produce unexpected results if you are not careful.
Step 1: Check your color space override. In the Info inspector for each clip, check the color space assignment. If Final Cut is applying a Log profile when your footage is standard Rec709, the image will look flat and washed out. Set it to Rec709 manually if needed.
Step 2: Apply camera LUTs correctly. Final Cut has a dedicated Camera LUT setting in the Info inspector. Use this for log-to-Rec709 conversion, not the Custom LUT effect from the effects browser. The two are different and produce different results.
Step 3: Verify your export. Final Cut exports with color tags, and the player may or may not honor them. If your export looks washed out only in QuickTime, the issue is likely the QuickTime gamma shift, not Final Cut itself.
Export Settings That Prevent Washed Out Footage
Getting your export settings right can eliminate the washed out problem before it starts. Here is what I recommend based on testing across multiple projects.
Choose the Right Color Space Tag
When exporting, always specify the color space explicitly. Do not leave it set to Automatic or undefined. For standard web delivery, use Rec709. If your software offers a gamma option, choose gamma 2.4 for broadcast delivery or handle the QuickTime gamma issue with a compensation LUT.
Codec Selection Matters
H.264 and H.265 are the most common delivery codecs. They handle color well as long as you set the color space correctly. ProRes is excellent for intermediates and masters, and it preserves more color information, but it produces much larger files.
If you are uploading to YouTube, H.264 is fine. YouTube will recompress your file regardless, and the platform expects Rec709 input.
Mac vs Windows Export Considerations
If you are on a Mac, your system display profile affects how colors look in the editor. On Windows, the color management is more linear but depends on your monitor’s ICC profile.
The key difference is that Mac applies color management to video playback through QuickTime and Safari, while Windows generally passes video through more directly. This is why the same exported file can look different on a Mac versus a Windows machine.
One approach that has worked well for my team is to export a test file and check it on multiple platforms before final delivery. If it looks correct in VLC on a calibrated monitor, you can trust that grade.
Why Different Players Show Different Colors?
This section addresses one of the most confusing aspects of the washed out video problem. The same file can look different in every application you open it in. Here is why.
QuickTime and the Gamma Shift
QuickTime is the biggest offender. On Mac, QuickTime applies gamma 1.96 instead of the standard 2.4 used by most editing software. This single difference is responsible for the vast majority of washed out export complaints.
QuickTime also does not always respect color tags embedded in the file. Even if you tag your export as Rec709 gamma 2.4, QuickTime may still apply its own interpretation.
Many professionals on Reddit’s r/ColorGrading recommend telling clients to review files in VLC rather than QuickTime to avoid this exact confusion. The gamma difference between the two players can make a perfectly graded shot look like it was never graded at all.
Chrome vs Safari vs Firefox
Each browser handles video color differently. Safari on Mac uses the same color pipeline as QuickTime, so it shows the same gamma shift. Chrome has historically been inconsistent but has improved its color management in recent updates.
Firefox is generally the most color-accurate browser for video on Windows, but it depends on your operating system’s color management settings.
If you deliver for web, you cannot control which browser your viewers use. The best approach is to grade for Rec709 gamma 2.4 and accept that some viewers on Mac will see a slightly lighter version.
VLC as a Reference Player
VLC is widely recommended as a reference player because it ignores the operating system’s color management and displays the video data more directly. This means what you see in VLC is closer to the actual pixel values in your file.
If your video looks good in VLC but washed out in QuickTime, the problem is QuickTime’s gamma interpretation, not your grade. If it looks washed out in both, you have a genuine grading or color space issue that needs fixing.
YouTube Recompression Effects
YouTube recompresses every uploaded video, and this can further degrade color. The platform expects Rec709 input and generally handles it correctly, but heavy compression can reduce saturation and detail.
Some editors compensate by slightly over-saturating their footage before upload. This is a common workaround mentioned in forum discussions, but it is risky. If YouTube changes its compression pipeline, your over-saturated footage will suddenly look wrong.
A safer approach is to upload a high-bitrate file and let YouTube handle the compression. The higher your source quality, the better the compressed result will be.
Quick Troubleshooting Checklist for Washed Out Video
When your video looks washed out after applying a LUT, work through this checklist in order. Each step rules out a specific cause and narrows down the problem quickly.
Step 1: Open the exported file in VLC, not QuickTime. If it looks correct in VLC, the issue is the player’s gamma interpretation, not your footage.
Step 2: Check if you applied a technical LUT to corrected footage, or a creative LUT to uncorrected log footage. Swap them and see if the result improves.
Step 3: Verify your editing software’s working color space is set to Rec709. Check this in project settings before doing anything else.
Step 4: Check your export settings for the color space tag. Make sure it is explicitly set to Rec709, not Automatic.
Step 5: Use the waveform monitor and vectorscope in your editing software to verify your black levels, white levels, and saturation. Trust the scopes, not your eyes or your monitor.
Step 6: If the issue persists, temporarily disable the LUT entirely and check if the base footage looks correct. This isolates whether the LUT or the pipeline is the problem.
Step 7: If you are on Mac, check whether the issue appears only in QuickTime and Safari, or also in Chrome and VLC. If it is only QuickTime and Safari, you are dealing with the Mac gamma shift.
Forum users consistently emphasize using scopes over visual judgment. Eye fatigue and uncalibrated monitors can trick you into thinking there is a problem when the data is actually fine. A waveform showing black levels at 0 IRE and whites at 100 IRE means your grade is correct, regardless of what any single player shows.
FAQs
Why does my Camera LUT look weird or wrong?
Your Camera LUT likely looks wrong because it is mismatched to your footage. Camera LUTs are technical conversion LUTs designed for specific log profiles like CLOG3, S-Log3, or V-Log. If you apply a CLOG3 LUT to standard Rec709 footage, or to footage from a different camera, the color transformation will be incorrect and your video will look washed out or oddly tinted. Always verify that your LUT matches your camera’s specific log profile.
How do I fix washed out footage?
To fix washed out footage, first open the file in VLC to rule out QuickTime gamma shift. Then verify your editing software is set to Rec709 color space. Apply a conversion LUT that matches your camera’s log profile before any creative LUT. Correct your exposure and white balance before applying the LUT. Finally, ensure your export settings explicitly tag the file as Rec709 rather than leaving the color space undefined.
Why do my iPhone videos look washed out?
iPhone videos often look washed out because they are recorded in a color space that editing software may not interpret correctly. The iPhone uses Display P3 color space for its screen, and footage imported into Premiere Pro or DaVinci Resolve may be assigned the wrong color space. In Premiere, check the Interpret Footage color space setting. Set it to Rec709 if the footage is standard, or use the correct color space override for HDR Dolby Vision footage shot on iPhone.
How do I fix washed out video in DaVinci Resolve?
In DaVinci Resolve, set your project color management to use Rec709-A for both the timeline and output color space. Apply conversion LUTs in the first node of your grade, not later nodes. Use the Color Space Transform effect for more reliable results than a LUT when dealing with tricky log footage. On the Deliver page, explicitly tag your export as Rec709 with the correct gamma setting for your target platform.
Why does my Premiere Pro export look washed out?
Premiere Pro exports often look washed out due to a gamma mismatch between the editing preview and the playback application. Premiere renders in Rec709 gamma 2.4, while QuickTime and Safari on Mac use gamma 1.96, which lifts shadows and makes the image look flat. Fix this by using Adobe’s gamma compensation LUT at export, verifying your export color space is set to Rec709, and testing the file in VLC to confirm the actual pixel values are correct.
Do Premiere Pro LUTs work in DaVinci Resolve?
Yes, Premiere Pro LUTs work in DaVinci Resolve because both applications support the standard .cube LUT format. However, the results may differ slightly because each application handles color management and gamma differently. A LUT designed for Premiere’s specific color pipeline may produce a slightly different look in Resolve. Always test the LUT on reference footage and adjust your nodes accordingly rather than expecting identical results across platforms.
Final Thoughts on Washed Out LUT Footage
Washed out video after applying a LUT is almost always a color management issue, not a broken LUT or bad footage. The gamma mismatch between your editor and your playback application accounts for the majority of cases.
The most important habits I can recommend are these: always correct your footage before applying a LUT, always verify your color space settings in project and export configurations, and always test your final export in VLC alongside QuickTime.
Trust your scopes over your screen. A waveform and vectorscope will tell you whether your grade is correct regardless of what any single media player shows. Once you understand the gamma 2.4 versus 1.96 difference and the distinction between technical and creative LUTs, you will never be surprised by a washed out export again.