
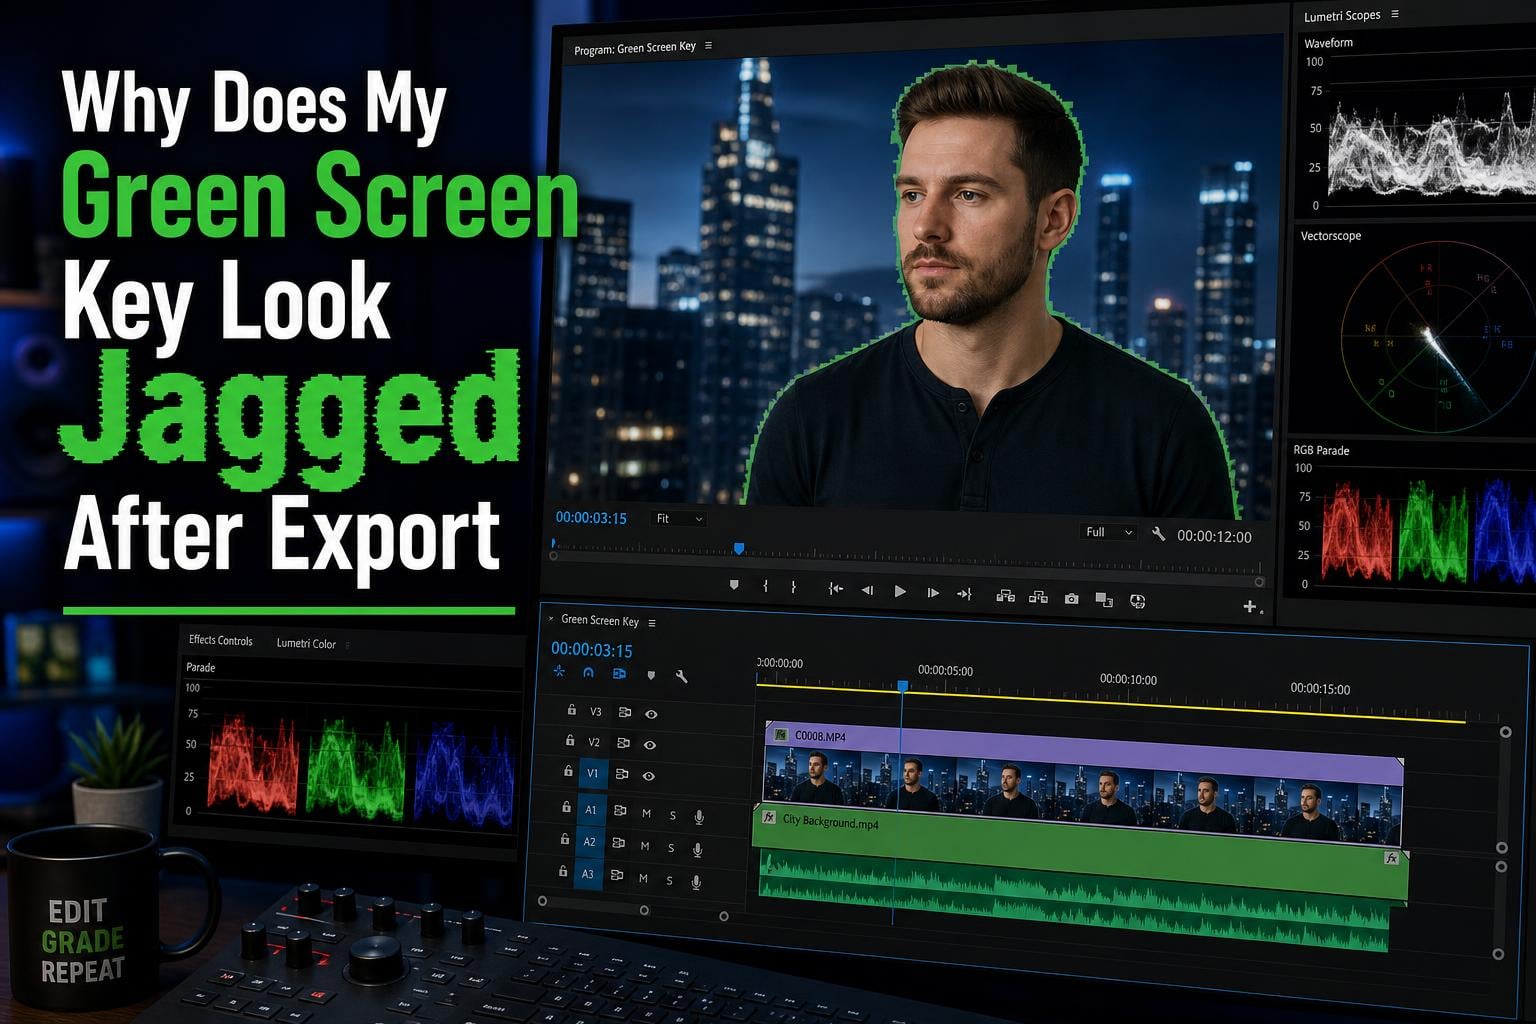
You spent an hour perfecting your chroma key. The edges look clean in the preview monitor. You hit export, wait for the render to finish, open the final file, and there it is: jagged, pixelated, stair-stepped edges ringing your subject like a digital halo. If you are wondering why your green screen key looks jagged after export, you are not alone. This is one of the most common complaints in video editing forums, and the good news is that the cause is well understood.
I have dealt with this problem across dozens of projects in Premiere Pro, After Effects, and DaVinci Resolve. The fix is rarely about buying better software or reshooting your footage. It almost always comes down to understanding how your export codec handles color data. Let me walk you through exactly what is happening and how to fix it for good.
The short answer: your green screen key looks jagged after export because most common export codecs (especially H.264 and H.265) use 4:2:0 chroma subsampling, which discards half the color resolution horizontally and vertically before compression even begins. The fine edge data that made your key look clean in the editor gets thrown away during the export process. Your preview monitor shows the full-quality key, but the rendered file only preserves a fraction of the color information along the edges.
Table of Contents
The #1 Cause: 4:2:0 Chroma Subsampling Explained
To understand why your green screen key looks jagged after export, you need to understand chroma subsampling. Video codecs do not store full color information for every single pixel. Instead, they store full brightness (luma) data for every pixel but only store color (chroma) data for a reduced number of pixels. This saves enormous amounts of file space because human eyes are more sensitive to brightness than to fine color detail.
The most common subsampling format is called 4:2:0. In a 4:2:0 video, for every block of four pixels arranged in a 2×2 grid, the codec stores one shared color value instead of four individual ones. That means 75 percent of the color data is discarded. Luma data stays intact at full resolution, so the image looks sharp in terms of brightness. But color transitions, which is exactly what a chroma key edge is, get smeared and blocky.
Think about what happens at the edge of your keyed subject. On one side you have the subject with skin tones, clothing, and hair. On the other side you have the transparent background. Right at that boundary, the color shifts dramatically over a distance of just one or two pixels. Your keying software creates a clean alpha channel transition at full resolution. But when you export to a 4:2:0 codec, the edge color data gets averaged across that 2×2 pixel block. The result is a blurry, staircased, jagged edge where the transition used to be smooth.
One CreativeCOW forum user put it perfectly: the entire issue of pixellation is caused by the chroma downsampling in 4:2:0 or 4:1:1 video. This is not a software bug or a settings mistake. It is a fundamental limitation of how compressed video works.
Why Does My Green Screen Key Look Jagged After Export? All 5 Root Causes
While 4:2:0 chroma subsampling is the primary culprit, several other factors can contribute to or worsen the problem. Here are the five root causes I see most often, ranked by impact.
1. Export codec with 4:2:0 chroma subsampling. This is the big one. H.264, H.265 (HEVC), and most MP4 and MOV presets use 4:2:0 subsampling by default. When you export to these formats, the codec throws away three-quarters of the color data at every edge. The jagged artifacts you see are literally the 2×2 pixel color blocks becoming visible along the subject outline. This affects every editing program including Premiere Pro, After Effects, DaVinci Resolve, and FFMPEG pipelines alike.
2. 8-bit color depth in the export. Most compressed video uses 8-bit color, which gives you only 256 levels per color channel. At the edge of a chroma key, the alpha channel needs smooth gradients to create a natural transition between opaque and transparent. With only 256 levels, those gradients show visible banding and stepping. A 10-bit export gives you 1,024 levels per channel, which smooths out those transitions dramatically. I have seen 8-bit vs 10-bit make a visible difference even when the subsampling is identical.
3. Preview codec vs export codec mismatch. Your editing software shows you a preview using a high-quality internal format. Premiere Pro, for example, renders previews in its own internal color space at full chroma resolution. After Effects shows you the composition at full quality in the viewer. But when you export, the software switches to whatever codec you selected in the export settings. If you picked H.264 in an MP4 wrapper, the final file goes through 4:2:0 subsampling that you never saw in the preview. This mismatch is why the monitor-to-export discrepancy is so jarring.
4. Improperly tuned key with no edge margin. If your key is barely holding together in the preview, any quality loss during export will push it over the edge. A key that relies on pixel-level precision to separate subject from background has zero tolerance for color data loss. Setting your key too aggressively with hard edges, no feathering, and tight clip settings means the export compression destroys what little edge quality you had. I have seen editors pull their hair out over a key that was fundamentally fragile to begin with.
5. Source footage already compressed with 4:2:0. If you shot your green screen footage on a camera recording H.264 or H.265 internally, which most DSLRs, mirrorless cameras, and phones do, the color data was already degraded before you ever opened your editing software. You are trying to key footage that has already lost 75 percent of its color resolution at the edges. Keying 4:2:0 source footage and then exporting to another 4:2:0 codec compounds the damage twice.
Jagged Edges vs Green Spill: Two Different Problems
Many editors confuse jagged edges with green spill, and the fixes are completely different. Let me clarify the distinction because treating the wrong problem will waste your time.
Jagged edges are a spatial aliasing problem. The outline of your subject looks pixelated, staircased, or blocky. This is caused by the alpha channel losing resolution, which ties back to the chroma subsampling and color depth issues described above. The edge itself is the problem.
Green spill is a color contamination problem. Green light from your screen bounces onto your subject, tinting their skin, hair, and clothing with a chartreuse or lime halo. The edges may be perfectly smooth, but there is a green color fringe around the subject. Spill is caused by lighting setup issues during the shoot, such as the subject standing too close to the screen, the screen being too bright, or no backlight separating subject from background. It is fixed with spill suppression tools, not edge refinement.
If your problem is colored speckles or a green halo around the subject, you need spill suppression. If your problem is pixelated, jagged outlines, you need the codec and export fixes in this guide. Some editors have both problems simultaneously, which makes diagnosis harder.
A Reddit user on r/davinciresolve described the jagged-edge problem perfectly: colored speckles along the subject edges that only appear after export, with background parts leaking into the subject. That is chroma subsampling eating the alpha channel at the edges, not green spill.
Quick Fix Escalation Ladder: Easiest to Advanced
Before diving into software-specific settings, try these fixes in order. Each one takes progressively more effort but delivers better results. Start at the top and stop when the problem disappears.
Step 1 (30 seconds): Enable Maximum Render Quality. In Premiere Pro, check the box for Maximum Render Quality in the export dialog. In After Effects, enable Best Quality in the render settings. This forces the software to render at the highest possible internal quality before downscaling for the export codec. It will not fix 4:2:0 subsampling entirely, but it can reduce the severity.
Step 2 (1 minute): Change your export format from H.264 to QuickTime with the Animation or ProRes 4444 codec. These codecs support alpha channels and use 4:4:4 chroma sampling, which preserves full color resolution at every pixel. Your edges will look dramatically better. The file size will be much larger, but you can always compress to H.264 later for delivery after your composite is finalized.
Step 3 (5 minutes): Add edge feathering and a matte choker to your key. Instead of a hard key edge, add 1-2 pixels of feathering so the alpha channel transition is spread across multiple pixels. This gives the codec more gradual color changes to work with during compression. A light matte choke, which shrinks the alpha by 1-2 pixels, also helps pull the edge inward away from where the color transition is sharpest.
Step 4 (10 minutes): Pre-render your composite to an intermediate codec. Export your keyed composite to ProRes 422 or DNxHR first, which uses 4:2:2 subsampling. That is better than 4:2:0 but smaller than 4:4:4. Then bring that rendered file back into your editor, place your background behind it, and export the final version to H.264. This two-pass approach means the 4:2:0 compression only happens once, at the very end.
Step 5 (advanced): Shoot or convert to 4:4:4 or RAW footage. If you are still seeing artifacts, your source footage is the bottleneck. For future shoots, record to an external recorder using ProRes RAW or at minimum ProRes 422. For existing footage, you can upconvert to 4:4:4 in After Effects using the Interpret Footage dialog, though this will not restore color data that was never captured.
Software-Specific Fixes: Premiere Pro Ultra Key
Premiere Pro uses the Ultra Key effect for chroma keying, and it has specific settings that affect how your edges survive export. Here is how to configure Ultra Key for the best post-export results.
First, apply Ultra Key and select your green color using the eyedropper. Then open the Output menu and switch from Composite to Alpha. This shows you the black-and-white matte that Ultra Key is generating. You want to see clean white where the subject is and clean black where the background is, with a smooth gray transition at the edges. If you see noise, speckles, or hard pixel transitions in the alpha view, those will become jagged edges after export.
Under the Matte settings, adjust these parameters for the best results. Set Transparency to around 45-55 percent for a natural key. Set Matte Cleanup Pedestal to 5-10 to lift the black levels slightly and reduce noise in the transparent areas. Use Choke set to 1-2 to pull the matte edge inward, which hides the transition zone where subsampling artifacts are worst. Set Softness to 1-3 pixels for a gentle edge that compresses more gracefully than a hard one.
Under Spill Suppression, set the method to Aggressive if you see any green color fringe. The default Standard setting often leaves a faint chartreuse tint on subjects that becomes more visible after export compression. However, be careful with Aggressive mode on subjects with blonde hair or green clothing, as it can desaturate legitimate colors.
Finally, in the export settings, avoid the default H.264 Match Source preset. Instead, switch to QuickTime format and choose the GoPro Cineform or ProRes 422 codec if you need transparency. If you must deliver H.264, go to the Video tab and set Encoding to Maximum Render Quality, and under the Bitrate settings, use VBR 2-pass with a high target bitrate of at least 20 Mbps for 1080p or 50 Mbps for 4K.
Software-Specific Fixes: After Effects Keylight
Keylight is the industry standard for chroma keying, and it is included free with After Effects. When configured correctly, Keylight produces edges that survive export far better than Ultra Key. Here is the step-by-step setup I use on every green screen project.
Step 1: Apply Keylight to your footage. Use the Screen Colour eyedropper to select the green color near the subject edge, not the center of the green screen. The edge color is what matters most for the key quality.
Step 2: Switch the View dropdown to Screen Matte. You will see a grayscale preview of the alpha channel. Look at the black area for the background and white area for the subject. The gray transition zone at the edges is what you need to optimize.
Step 3: Adjust Clip Black upward, starting at 10 and increasing to 20-30 if needed, until the background is solid black with no noise. Then adjust Clip White downward, starting at 70 and decreasing to 50-60 if needed, until the subject is solid white with no holes. The goal is to make the black and white areas as solid as possible while keeping the gray transition zone thin and smooth.
Step 4: Use Screen Balance. Set it to 50 for green screens, which is the default and correct for most footage. If your screen is not pure green or was shot under mixed lighting, adjust between 30-70 to find the cleanest matte.
Step 5: Apply Screen Shrink or Grow set to -1 or -2. This slightly shrinks the matte inward, pulling the edge away from the noisy transition zone. It is the Keylight equivalent of Ultra Key Choke.
Step 6: Enable Spill Suppression. Set the method to Color Correction and adjust the Saturation Reduction to 50-70 percent. This removes the green fringe without over-desaturating the subject.
For the export, use the Render Queue with the Output Module set to QuickTime and the format set to ProRes 4444. This codec supports the alpha channel directly and uses 4:4:4 chroma sampling. If you need an MP4 deliverable, render to ProRes 4444 first, then use Adobe Media Encoder to transcode to H.264 as a separate final step.
A common complaint from the Adobe Community forums: Keylight causes grain on the subject that was not present in the original footage. This happens when the Screen Matte settings are too aggressive, amplifying noise in the gray transition zone. Fix it by increasing Clip Black slightly and adding Screen Softness of 1-2 pixels to smooth the transition.
Software-Specific Fixes: DaVinci Resolve
DaVinci Resolve users frequently report colored speckles along subject edges after export, even when the key looks clean on the timeline. This is caused by the same 4:2:0 subsampling issue, but the fix path in Resolve is slightly different.
If you are using the Delta Keyer on the Color page, start by enabling the Clean Background and Clean Foreground checkboxes. These suppress noise in the matte that becomes visible after compression. Then use the Matte Finesse controls. Adjust the Soften parameter to 1-2 pixels for a gentler edge transition. Use Shrink set to 1 to pull the matte inward.
For the 3D Keyer on the Fusion page, which is more powerful, add a Matte Control node after the keyer. In the Matte Control, use the Post-Multiply option to clean up edge artifacts, and set Soften Edge to 1-2 pixels. The 3D Keyer handles compressed footage better than the Delta Keyer because it uses a different algorithm for edge detection that is more tolerant of color data loss.
On the Deliver page, avoid the default H.264 preset. Instead, use the QuickTime format with DNxHR or ProRes codec. For projects requiring H.264 delivery, enable Force Sizing to Highest Quality in the Advanced Settings, and set the Encoding Profile to High instead of Main. The High profile uses better motion estimation that can reduce edge artifacts.
One Resolve-specific tip from the Blackmagic Design forum: if you are seeing speckles that look like multi-colored noise, enable Render in Separate Color Spaces and set your timeline color space to Rec.709-A, which is alpha-aware. This forces Resolve to render the alpha channel at full quality before compressing to the deliverable format.
Software-Specific Fixes: FFMPEG Colorkey
For command-line workflows using FFMPEG, the colorkey filter is the standard approach for chroma keying. The result is notoriously jagged because FFMPEG processes color in whatever subsampling the input video uses, and most input videos are 4:2:0.
A Reddit user on r/ffmpeg reported the typical problem: using colorkey with parameters like 0x44FB00:0.3:0.5 produces visibly jagged edges. The fix is to pre-process the footage to 4:4:4 before applying the key. Use the format filter and add format=yuv444p before the colorkey filter in your filter chain. This forces FFMPEG to upconvert the chroma to full resolution before keying, which dramatically improves edge quality.
Additionally, add a slight blur to the alpha channel using the boxblur or gblur filter after keying. This adds the equivalent of edge feathering and helps the final composite look smoother when output to a compressed format. Combined with the yuv444p pre-processing step, this two-filter approach resolves the majority of jagged edge problems in FFMPEG pipelines.
For FFMPEG users working in batch or automated workflows, consider building a two-pass pipeline. In the first pass, key the footage and output to a lossless or visually lossless intermediate format like FFV1 or ProRes. In the second pass, compress the intermediate to your final delivery codec. This mirrors the professional compositing workflow and ensures that subsampling only degrades your edges once rather than twice.
Chroma Keyer Settings Comparison Across Software
Here is a side-by-side comparison of the key settings you should use across the three major compositing tools for the best post-export edge quality. These are the values I recommend after testing across hundreds of clips.
Keylight in After Effects: Clip Black at 10-20, Clip White at 50-70, Screen Shrink or Grow at -1, Screen Softness at 1-2 pixels, Spill Suppression Color Correction mode at 50-70 percent saturation reduction, Screen Balance at 50 for green.
Ultra Key in Premiere Pro: Transparency at 45-55 percent, Matte Pedestal at 5-10, Choke at 1-2, Softness at 1-3 pixels, Spill Suppression set to Aggressive.
3D Keyer in DaVinci Resolve Fusion: Clean Background and Clean Foreground both enabled, Matte Control Post-Multiply on, Soften Edge at 1-2 pixels, Shrink at 1.
The settings above are starting points, not absolute values. Every footage source is different. But these ranges consistently produce edges that survive the export process better than default settings.
The pattern across all three tools is the same. Build some edge tolerance into the key through softening and choking, rather than trying for a razor-sharp edge that will shatter during compression. A slightly soft key that holds up after export always looks more professional than a razor-sharp key that degrades into pixelated mush.
Export Codec Recommendations: What to Use and What to Avoid
Choosing the right export codec is the single most impactful decision you can make to prevent jagged edges. Here is what I recommend based on years of testing across different deliverable requirements.
Best quality with alpha channel: ProRes 4444. This codec uses 4:4:4 chroma sampling and 16-bit color depth. It preserves every pixel of color data and supports transparency directly. Use this for VFX compositing, archival masters, or any workflow where you need to pass the keyed footage to another application. File sizes are large at roughly 400-600 GB per hour at 4K, but the quality is flawless.
Best quality without alpha channel: ProRes 422 HQ. This uses 4:2:2 chroma sampling, which is a significant improvement over 4:2:0. Color data is halved horizontally but preserved vertically, giving you much better edge quality than H.264. Use this for final delivery when you have already composited your background and no longer need the alpha channel.
Best for web delivery: H.264 with VBR 2-pass. If you must deliver an MP4 for YouTube, social media, or client review, use H.264 with these specific settings. Set the profile to High, enable Maximum Render Quality, use VBR 2-pass encoding, and set the target bitrate high at 20 or more Mbps for 1080p or 50 or more Mbps for 4K. The 2-pass encoding analyzes the video twice and allocates more bits to complex areas like key edges.
Avoid for keyed footage: H.264 Match Source presets, H.265 with default settings, and any codec set to 4:2:0 with a low bitrate. These will produce jagged edges no matter how well you tuned your key. H.265, also called HEVC, can actually produce worse edge artifacts than H.264 at equivalent bitrates because its more aggressive compression algorithm is harder on fine color transitions.
For maximum quality control: PNG or TIFF image sequence. Exporting as an uncompressed image sequence gives you a 4:4:4 output with no compression artifacts whatsoever. You can then compress to any format using a dedicated encoding tool. This is the approach professional VFX houses use. It generates thousands of files and requires more storage, but the quality cannot be beaten.
8-Bit vs 10-Bit: Why Color Depth Matters for Keying
Beyond chroma subsampling, color depth is the second technical factor that determines how well your edges survive export. Most consumer and prosumer footage is 8-bit, meaning each color channel of red, green, and blue has 256 possible values. Professional footage is 10-bit, with 1,024 values per channel.
At the edge of a chroma key, the alpha channel transitions from fully opaque to fully transparent. In an 8-bit pipeline, that transition happens in 256 steps, which sounds like a lot until you realize the visible edge transition might span only 3-5 pixels. That gives you roughly 50-85 levels per pixel of gradient, which produces visible banding that looks like stairsteps. In a 10-bit pipeline, the same transition has 1,024 levels to work with, resulting in gradients so smooth that banding is invisible to the human eye.
If your camera supports 10-bit recording, which most Sony, Panasonic, and Blackmagic cameras do in their cinema profiles, always record green screen footage in 10-bit. The difference in edge quality after keying and export is immediately visible. If you are stuck with 8-bit source footage, you can simulate the benefit by adding a slight dither effect or 1-pixel grain to the edge area, which breaks up the banding pattern.
When exporting, match your color depth to your source. Exporting 8-bit footage to a 10-bit codec does not add quality that was never there, but it does prevent further degradation. Exporting 10-bit footage to an 8-bit codec throws away the advantage you captured. ProRes 422 HQ supports 10-bit. H.264 High 10 profile supports 10-bit but is not widely compatible with playback devices.
Prevention Tips: Getting It Right During the Shoot
The best fix for jagged edges starts before you open your editing software. Here are the on-set practices that will give you the cleanest possible key and reduce the amount of edge repair needed in post-production.
Light the screen evenly. Variations in screen brightness create uneven green values that confuse your keyer. Use a light meter or waveform monitor to ensure the green screen reads within a half-stop of variation across the entire visible area. Two soft lights at 45-degree angles work better than one hard light.
Maximize subject-to-screen distance. Keep your subject at least 6 feet from the green screen. This reduces green spill on the subject and creates natural depth of field separation that helps the keyer distinguish between the two planes.
Shoot at the highest quality your camera supports. If your camera can record ProRes RAW, ProRes 422, or 10-bit internally, use it. The extra color data at the capture stage gives your keyer far more information to work with at the edges. Shooting 4:2:0 H.264 internally means you are keying already-degraded footage.
Separate your subject with backlight. A hair light or rim light on the subject creates a bright edge that separates them from the green screen. This gives your keyer a clear brightness difference at the edge, making the matte cleaner and more resilient to compression.
Use a real green screen, not improvised. Painted walls, green poster board, and green fabric have uneven surfaces and inconsistent color that make keying harder. A proper green screen material like muslin, a pop-up panel, or a painted cyclorama wall has the uniform reflective properties that produce clean keys.
Frequently Asked Questions
How to get rid of green screen edges?
To get rid of green screen edges, switch your export codec from H.264 (4:2:0 chroma subsampling) to ProRes 4444 or QuickTime Animation, which preserve full color resolution. Add 1-2 pixels of edge feathering in your keyer and use a matte choke to pull the edge inward away from the noisy transition zone. If you must deliver H.264, render to an intermediate codec first, then compress as the final step.
How to get rid of green screen edges after effects?
In After Effects with Keylight, set Clip Black to 10-20 and Clip White to 50-70 to solidify the matte. Apply Screen Shrink or Grow set to -1 to pull edges inward. Add 1-2 pixels of Screen Softness. Enable Spill Suppression with Color Correction mode at 50-70 percent saturation reduction. Export using ProRes 4444 via the Render Queue to preserve the alpha channel with 4:4:4 chroma sampling.
How to fix green screen shadows?
Green screen shadows are caused by uneven lighting or the subject standing too close to the screen. Increase the distance between the subject and the green screen to at least 6 feet. Add a backlight or hair light to separate the subject from the background. Use two soft lights on the screen positioned at 45-degree angles to eliminate shadows and hot spots.
Why is my green screen fuzzy?
A fuzzy green screen is caused by either green spill (color contamination from light bouncing off the screen onto the subject) or chroma subsampling destroying alpha channel data during export. Green spill creates a chartreuse halo and is fixed with spill suppression tools. Jagged or pixelated edges are caused by 4:2:0 chroma subsampling in the export codec and are fixed by switching to a 4:4:4 codec like ProRes 4444.
Conclusion: Fixing Jagged Green Screen Keys for Good
The reason your green screen key looks jagged after export is almost always 4:2:0 chroma subsampling in your export codec. The fix is straightforward: export to a 4:4:4 or 4:2:2 codec like ProRes 4444 or ProRes 422, add edge tolerance through feathering and matte choking, and use two-pass encoding if you must deliver H.264. Configure Keylight, Ultra Key, or the 3D Keyer with the settings I shared above, and you will see an immediate improvement.
Understanding why the problem occurs is the key to preventing it. Once you know that your preview monitor shows full chroma resolution while your export codec discards 75 percent of the color data, you can design your keying workflow around that limitation. Start with the quick fix escalation ladder, try the software-specific settings for your editor, and choose your export codec carefully. Your green screen composites will look professional, clean, and believable every time.