
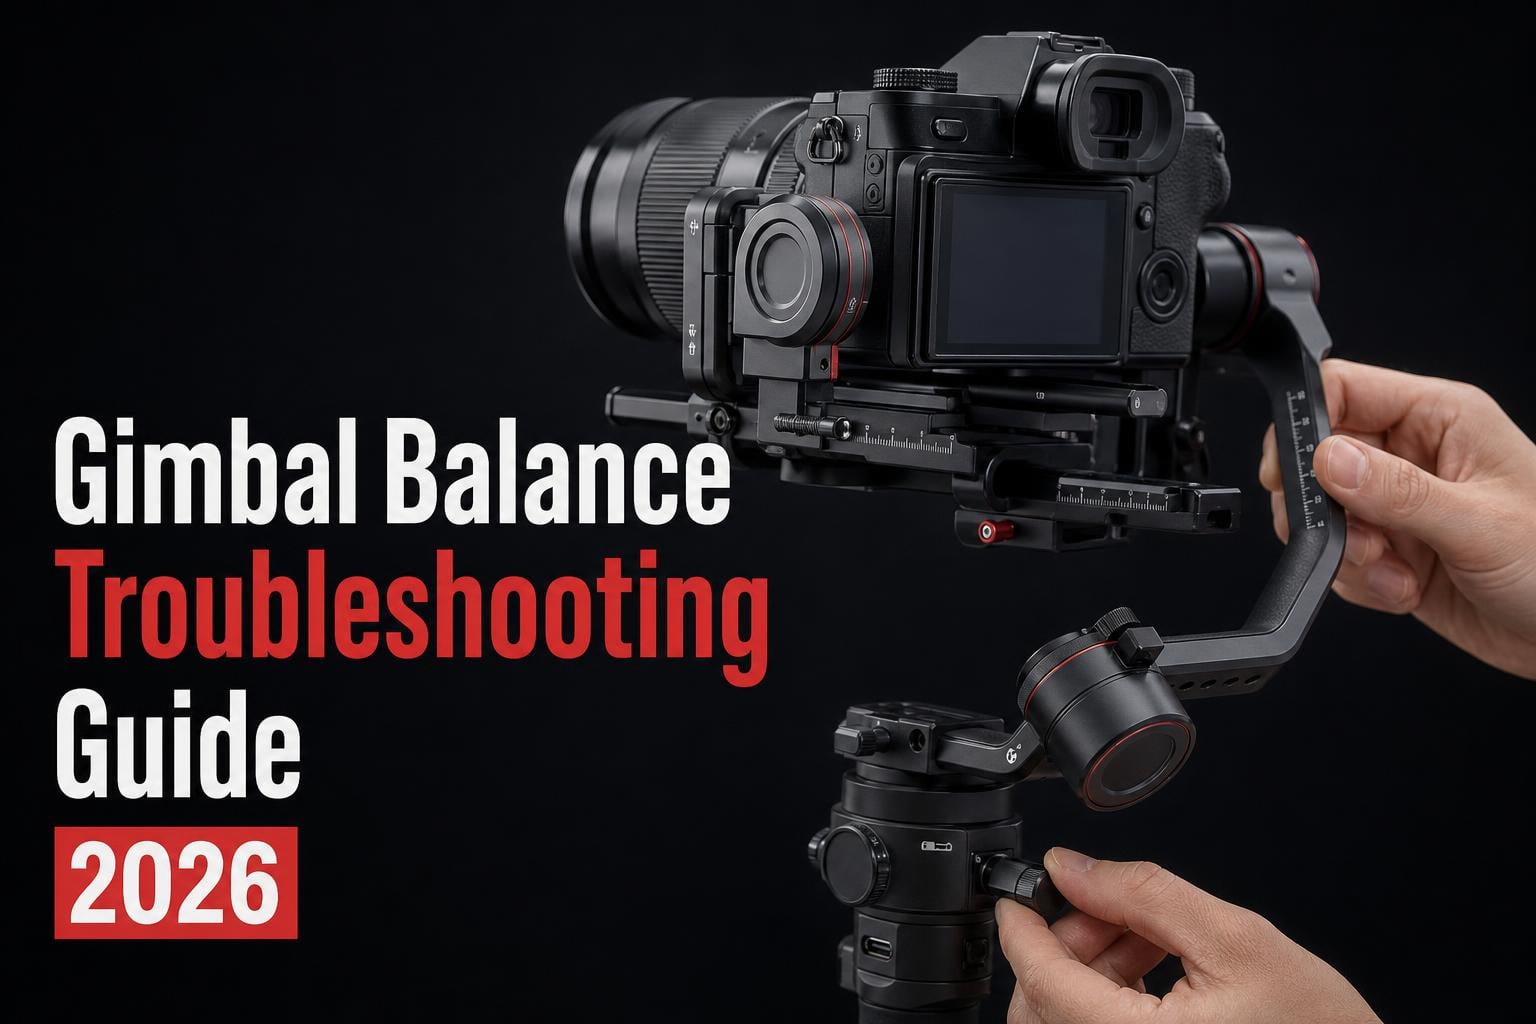
You have been at it for 45 minutes. You slide the mounting plate forward, lock it down, and unlock the tilt axis. The camera immediately nose-dives. You adjust again. Now it falls backward. You repeat the process on the roll axis and the pan axis, and nothing holds. Sound familiar? If you are asking why your gimbal won’t balance no matter what you do, you are not alone. This is one of the most common frustrations in videography, and it has driven plenty of experienced shooters to question their gear.
The good news is that almost every gimbal balance troubleshooting problem has a specific, identifiable cause. It is rarely a mystery once you know what to look for. The problem most people run into is that they are treating symptoms instead of diagnosing the root issue. They keep nudging the same adjustment point expecting a different result, when the real culprit could be a center of gravity offset, a payload that is too heavy, a mounting plate that is misaligned, or a motor that needs recalibration rather than a mechanical balance tweak.
In this guide, our team breaks down every reason a gimbal refuses to balance and walks you through a systematic process to fix it. Whether you are shooting with a mirrorless camera on a DJI RS series, a Zhiyun Crane, or a smaller smartphone gimbal, the principles are the same. We cover axis-by-axis balance steps, counterweight solutions, motor calibration troubleshooting, and the scenarios where your rig simply may not be compatible with your gimbal’s payload capacity. By the end, you will have a clear checklist to diagnose and resolve the problem.
Table of Contents
Understanding How Gimbal Balance Actually Works?
Before you can fix a balance problem, you need to understand what balance means on a motorized gimbal. A gimbal uses three motorized axes to stabilize your camera: the tilt axis (pitch), the roll axis, and the pan axis (yaw). Each axis has a pivot point, and the goal of balancing is to position your camera so that its center of gravity sits exactly at each pivot point. When the center of gravity aligns with the pivot, gravity pulls the camera neither forward nor backward. It just stays put.
Think of it like balancing a broom on your finger. If the broom’s weight is centered over your finger, it stays upright with minimal effort. If the weight shifts even slightly, you have to constantly correct. A gimbal motor works the same way. When the camera is balanced, the motors only need to make tiny micro-adjustments to hold position. When it is unbalanced, the motors fight gravity constantly, which causes shaking, drifting, overheating, and rapid battery drain.
There are two types of balance to understand. Static balance means the camera stays in place on each axis when the motors are off. You test this by unlocking one axis at a time and seeing if the camera drifts. Dynamic balance means the camera stays stable while the gimbal is in motion and the motors are active. You can have decent static balance but poor dynamic balance if the motors are not calibrated correctly or the weight distribution creates rotational inertia problems. Both matter for smooth footage.
The key takeaway: balancing is a mechanical process, not an electronic one. You balance with the gimbal powered off. Once the mechanical balance is right, you turn on the gimbal and let the motors do their job. If you skip the mechanical balance and rely on motor strength to compensate, you will get jittery footage and shorten the lifespan of your gimbal.
Why Your Gimbal Won’t Balance: The Most Common Causes
If your gimbal refuses to balance no matter how much you adjust, one of these root causes is almost always to blame. Let us walk through each one.
Your Camera Exceeds the Payload Capacity
This is the number one reason people cannot achieve balance, and it is also the most overlooked. Every gimbal has a maximum payload weight rating, typically measured in kilograms or pounds. If your camera and lens combination exceeds that rating, no amount of adjustment will fix the problem. The motors simply cannot counteract the weight. You will notice the gimbal struggling, overheating, or failing to hold position even when the mechanical balance seems close.
Check your gimbal’s payload specification and weigh your fully rigged camera. Include the camera body, lens, any filters, a follow focus motor, a microphone, and any cage or mounting accessories. That total needs to be under the gimbal’s rated payload. Ideally, you want to stay at 70 to 80 percent of the maximum rating for best performance. A gimbal rated for 4.5 kg performs best with a rig around 3.2 to 3.6 kg.
The Center of Gravity Is Offset
Some cameras have an asymmetrical design where the tripod mount is not aligned with the optical center of the lens. This creates a lateral center of gravity offset. When you mount the camera, it leans to one side even when everything else is adjusted. This is incredibly common with DSLR and mirrorless cameras that have large grips or battery grips attached.
If your camera consistently tilts to one side no matter how much you adjust the tilt and roll axes, you likely have a CoG offset. The fix is to shift the camera laterally on the mounting plate or use a camera cage that allows side-to-side adjustment. Some gimbals also have lateral adjustment built into the camera tray.
The Mounting Plate Is Slipping or Misaligned
A surprisingly common cause of balance frustration is a mounting plate that shifts when you lock it down. If the plate moves even a millimeter between balancing and locking, your carefully tuned balance is ruined. This happens with worn quick-release plates, plates that are not fully seated in the dovetail, or clamps that are not tightened evenly.
Always make sure the mounting plate is fully seated and the locking mechanism is snug before you start balancing. After each adjustment, check that the plate has not shifted. If your plate has play in it even when locked, consider replacing it. A loose plate makes balancing feel impossible because the balance point keeps changing.
Your Lens Is Too Long or Too Heavy
Heavy telephoto lenses are notorious for creating balance nightmares. The long barrel shifts the center of gravity far forward of the camera mount, making the tilt axis extremely difficult to balance. Many users on videography forums report this exact problem: a cumbersome lens that makes the camera plummet forward no matter how far back they slide the plate.
If your lens extends well beyond the front of the gimbal, you may run out of adjustment travel on the mounting plate. The camera slides as far back as possible and still falls forward. In this case, counterweights on the back of the tilt arm or a lens support bracket are your solution. We cover counterweight placement in detail later in this guide.
Zoom Lenses Shift Balance During Zoom
If you are using a zoom lens, the balance changes every time you change focal length. Internal lens elements move forward and backward as you zoom, shifting the center of gravity. A gimbal balanced at 24mm will be unbalanced at 70mm, and vice versa. Many users do not realize this and chase balance endlessly without understanding that the zoom ring is the culprit.
The standard approach is to balance your gimbal at the focal length you plan to shoot at most frequently. If you need to zoom during a shot, balance at the midpoint of your zoom range. DJI’s official support documentation recommends rotating the lens to your desired focal length before balancing. If you switch focal lengths, you will need to rebalance.
Axis Locks Are Not Fully Released
Many gimbals have physical axis locks that hold the arms in place during transport. If you forget to unlock an axis, or if a lock is partially engaged, the axis cannot move freely and balancing becomes impossible. You may think you are adjusting balance when the axis is physically blocked. Always check that every axis lock is fully disengaged before you start the balancing process.
Signs Your Gimbal Is Unbalanced
Sometimes the problem is obvious. Other times, your gimbal might seem balanced but still produce bad results. Here are the most common symptoms of an unbalanced gimbal.
Camera drifts or slowly rotates when you are holding the gimbal still, especially on the pan axis.
Gimbal shakes or vibrates when motors are engaged, even slightly.
Camera plummets forward or backward when you unlock the tilt axis.
Motor noise is louder than usual, indicating the motors are straining.
Battery drains noticeably faster than normal during a shoot.
Gimbal overheats and shuts down or displays a temperature warning.
Footage has micro-jitters or wobble that is not present when shooting handheld.
The gimbal cannot hold follow or lock mode and drifts out of position.
If you notice any of these symptoms, stop shooting and go through the balance check process. Continuing to use an unbalanced gimbal will degrade your footage and can damage the motors over time.
Step-by-Step: How to Balance a Gimbal Properly
This is the systematic process our team uses for every gimbal setup. Follow these steps in order, and do not skip ahead. Balancing one axis affects the others, so sequence matters.
Step 1: Prep and Mount
Power off the gimbal completely. Make sure all axis locks are disengaged. Mount your camera on the quick-release plate, ensuring the plate is centered and fully seated. If your lens extends past the gimbal arms, slide the camera as far back on the plate as it will go before starting. Attach any accessories you plan to use during the shoot, including microphones, filters, and follow focus motors. Balance with the exact rig you will shoot with.
Step 2: Balance the Tilt Axis
The tilt axis controls up and down pitching motion. To balance it, unlock the tilt arm and let the camera hang freely. If the camera drops forward, loosen the vertical adjustment on the tilt arm and slide the camera back slightly. If it drops backward, slide it forward. Adjust the vertical height so the camera stays level when you let go at any angle. Then adjust the horizontal position on the tilt arm so the camera does not rotate forward or backward. The goal is for the camera to stay exactly where you position it, whether pointing straight up, straight down, or level.
One common mistake here: adjusting the vertical height after balancing the horizontal position. Vertical height changes affect the tilt balance, so always set height first, then fine-tune horizontal position. Lock everything down once the camera holds position on its own.
Step 3: Balance the Roll Axis
The roll axis controls side-to-side tilting. Hold the gimbal by the handle and let the camera roll freely. If the camera tilts to one side, adjust the roll arm position. Most gimbals allow you to slide the roll arm left or right to find the balance point. The camera should stay level when released, not lean left or right. If it consistently leans one direction even after adjustment, you may have a lateral center of gravity offset from an asymmetrical camera body. Try shifting the camera laterally on the mounting plate to compensate.
Step 4: Balance the Pan Axis
The pan axis controls left and right rotation. This is often the hardest axis to balance precisely. Hold the gimbal level and let the pan axis rotate freely. The camera should stay facing the direction you point it without slowly rotating. If it drifts, adjust the pan axis position. The pan axis is sensitive, so make very small adjustments. A quarter-turn of the adjustment knob can make a big difference. The pan axis is balanced when the camera holds its direction and does not slowly swing like a pendulum.
Step 5: Fine-Tune and Lock
After all three axes are balanced, go back and recheck each one. Adjusting one axis can slightly affect the others. Do a final pass on tilt, then roll, then pan. Once everything holds position on its own, lock all adjustments. Power on the gimbal and let it initialize. The motors should engage smoothly without any violent jerking. If the gimbal jerks or vibrates on startup, power off immediately and recheck your balance.
When Balance Seems Impossible: Hardware and Setup Problems
Sometimes you follow every step perfectly and still cannot achieve balance. When that happens, the problem is usually not your technique. It is a hardware or setup limitation. Here are the scenarios where balance genuinely may not be possible without changes to your rig.
Your Camera Is Simply Too Heavy
This is the hardest truth for some shooters to accept. If your camera and lens combination exceeds the gimbal’s payload capacity, you will never achieve stable balance. The motors will strain, the footage will jitter, and the gimbal may overheat or shut down. No amount of adjustment can overcome a physics problem.
Weigh your rig. Compare it to your gimbal’s payload spec. If you are at or over the limit, you need either a stronger gimbal or a lighter camera setup. Consider removing non-essential accessories, using a lighter lens, or switching to a gimbal with a higher payload rating.
Camera Cages Change the Balance Equation
A camera cage adds weight and changes the center of gravity of your setup. If you balanced your gimbal without the cage and then added one, the balance will shift. Cages also change the mounting position, which can move the center of gravity laterally. Always balance with the cage attached if you plan to shoot with it. If your cage makes the rig too heavy, consider whether you actually need it for the shot.
Vertical Shooting Requires a Full Rebalance
Switching from horizontal (landscape) to vertical (portrait) shooting changes the entire balance of your rig. The center of gravity shifts dramatically because the camera rotates 90 degrees. You cannot just flip the camera and expect the gimbal to work. You need to rebalance all three axes from scratch. Most modern gimbals include a vertical mounting accessory or L-bracket for this purpose. Balance each axis again using the same step-by-step process.
Follow Focus Motors and Accessories Add Hidden Weight
A follow focus motor, a wireless video transmitter, or a shotgun microphone may seem light individually, but together they can add 200 to 400 grams to your rig. That is enough to shift the balance and push you over the payload limit. Always mount every accessory before balancing, and include their weight in your payload calculation.
Counterweight Solutions: Where and How to Add Them?
When your camera and lens combination is front-heavy or back-heavy and you run out of adjustment travel, counterweights are the solution. Counterweights are small metal weights that attach to the opposite end of the axis arm to shift the center of gravity back toward the pivot point. Most gimbal manufacturers sell counterweight kits designed for their specific models.
Front-Heavy Setups (Long Lenses)
This is the most common counterweight scenario. A long telephoto lens shifts weight far forward, making the tilt axis impossible to balance. The camera falls forward no matter how far back you slide it on the plate. The solution is to add counterweights to the back of the tilt arm, behind the camera. Start with the smallest counterweight and test. Add more weight incrementally until the camera holds level on the tilt axis.
Position the counterweight as close to the pivot point as possible to minimize rotational inertia. A counterweight placed far from the pivot adds inertia that makes the gimbal feel sluggish and can cause vibration. Most gimbals have threaded holes on the back of the tilt arm specifically for counterweight mounting.
Back-Heavy Setups (Battery Grips, Rear Accessories)
Less common but still problematic, a battery grip or rear-mounted accessory can make the camera back-heavy. The tilt axis falls backward and you cannot slide the camera far enough forward. In this case, add a counterweight to the front of the tilt arm or use a longer mounting plate that gives you more forward travel.
Side-Heavy Setups (Lateral CoG Offset)
If your camera leans to one side on the roll axis, you have a lateral center of gravity offset. Some counterweight kits include side-mounting options. Alternatively, a camera cage with lateral adjustment slots lets you shift the camera sideways to center the weight. This is more effective than adding side counterweights.
How Much Counterweight Do You Need?
Start small and add incrementally. Most counterweight kits come in 40g, 80g, and 120g increments. Begin with the smallest weight, test balance, and step up if needed. Too much counterweight is just as bad as too little because it adds inertia and strain to the motors. The goal is the minimum weight that achieves balance.
Motor Calibration vs Static Balance
One of the most confusing aspects of gimbal balance troubleshooting is understanding the difference between static balance and motor calibration. Static balance is the mechanical process of positioning your camera at the center of gravity for each axis. Motor calibration is the electronic process where the gimbal’s motors learn the characteristics of your specific camera setup.
You must always do static balance first, with the gimbal powered off. Once the mechanical balance is solid, you turn on the gimbal and run the motor calibration through the manufacturer’s app. The gimbal measures the motor strength needed for your rig and adjusts its internal parameters. Without proper calibration, even a perfectly balanced camera can drift or vibrate.
Signs You Need Motor Calibration
If your camera is mechanically balanced but the gimbal still drifts, shakes, or cannot hold position, you likely need motor calibration. Other signs include the gimbal jerking violently on startup or the motors making a loud whining noise. Calibration tells the gimbal’s motors how much torque to apply, which prevents both under-correction (drifting) and over-correction (vibration).
How to Run Motor Calibration
Each gimbal brand has a slightly different calibration process, but the general steps are the same. First, balance the camera mechanically with the gimbal powered off. Second, ensure all axis locks are released. Third, open the gimbal’s mobile app and navigate to the motor calibration section. Fourth, place the gimbal on a flat, stable surface and start the calibration routine. The gimbal will run through a series of automated tests, measuring each axis. This typically takes 30 to 60 seconds.
After calibration, test the gimbal by moving it gently. If the motors feel too stiff or too loose, most apps let you manually adjust motor strength per axis. Increase motor strength if the gimbal drifts or cannot hold position. Decrease motor strength if you feel vibration or hear motor noise.
When to Recalibrate
You should run motor calibration every time you make a significant change to your camera setup. This includes changing lenses, adding or removing accessories, switching between horizontal and vertical shooting, or updating the gimbal firmware. If you notice drift or vibration returning after weeks of smooth operation, a recalibration often fixes it. As a rule of thumb, recalibrate whenever your footage quality degrades and you have confirmed the mechanical balance is still correct.
Quick Balance Troubleshooting Checklist
Use this checklist when your gimbal will not balance. Work through each item in order.
Weigh your full camera rig. Is it under 80% of your gimbal’s payload rating?
Check that all axis locks are fully released before balancing.
Confirm the mounting plate is fully seated and not slipping when locked.
Balance the tilt axis first, then roll, then pan. Never skip the order.
Set vertical height before horizontal position on the tilt axis.
If the camera leans sideways on roll, check for a lateral center of gravity offset.
If using a zoom lens, balance at your shooting focal length.
Include all accessories (microphone, filter, follow focus) in your balance setup.
If you run out of adjustment travel, use counterweights on the opposite side.
After mechanical balance is solid, run motor calibration through the app.
If drift persists after calibration, manually increase motor strength for that axis.
If vibration occurs, decrease motor strength for that axis.
Recalibrate after any lens change, accessory change, or firmware update.
FAQs
Why is my gimbal not balancing?
Your gimbal is likely not balancing because the camera’s center of gravity is not aligned with the axis pivot points. The most common causes are exceeding the gimbal’s payload capacity, a mounting plate that is slipping or misaligned, a lens that is too heavy or too long for the adjustment range, a lateral center of gravity offset from the camera body, or zoom lenses that shift balance when focal length changes. Check that all axis locks are released and balance each axis in order: tilt, roll, then pan.
How to make a gimbal more stable?
To make your gimbal more stable, first ensure the mechanical balance is correct on all three axes with the gimbal powered off. Then run motor calibration through the manufacturer’s app so the motors learn your specific camera setup. After calibration, fine-tune motor strength per axis: increase strength if the gimbal drifts, and decrease it if you see vibration. Also keep your total rig weight under 80 percent of the gimbal’s payload rating, use counterweights for heavy lenses, and keep your firmware updated.
How to rebalance a gimbal?
To rebalance a gimbal, power it off and release all axis locks. Start with the tilt axis: adjust vertical height first, then horizontal position until the camera holds at any angle. Next balance the roll axis by sliding the roll arm until the camera stays level side to side. Finally balance the pan axis with small adjustments until the camera holds its direction without drifting. Recheck all three axes after the first pass, then lock everything and power on the gimbal to run motor calibration.
Do you have to balance a gimbal every time?
You need to rebalance your gimbal every time you change your camera setup. This includes swapping lenses, adding or removing accessories like microphones or follow focus motors, switching between horizontal and vertical shooting, or significantly changing the zoom position on a zoom lens. If you use the same camera and lens combination every time, you can mark your balance positions and return to them quickly without a full rebalance.
How to perfectly balance a gimbal?
Perfect gimbal balance requires a systematic approach. Power off the gimbal and release all axis locks. Balance the tilt axis by setting vertical height first, then horizontal position, until the camera holds still at any angle. Balance the roll axis until the camera stays level. Balance the pan axis with very small adjustments until no drift occurs. Recheck all axes since adjustments interact. Then power on and run motor calibration through the app. Fine-tune motor strength per axis to eliminate any remaining drift or vibration. Perfect balance means the camera holds position on its own with the motors off and produces smooth footage with no jitter when the motors are on.
How to fix gimbal calibration?
To fix gimbal calibration issues, first confirm your mechanical balance is correct with the gimbal powered off. Then open the manufacturer’s app and run the full motor calibration routine on a flat, stable surface. After calibration, if the gimbal still drifts, manually increase motor strength for the affected axis. If the gimbal vibrates or makes noise, decrease motor strength for that axis. If problems persist, update the gimbal firmware and recalibrate. As a last resort, perform a factory reset on the gimbal and run calibration from scratch.
Conclusion
Gimbal balance troubleshooting comes down to a methodical approach: check your payload, secure your mounting plate, balance each axis in the right order, use counterweights when adjustment travel runs out, and run motor calibration after every setup change. The vast majority of balance problems stem from one of these root causes, not from a defective gimbal. If you have gone through every step in this guide and still cannot achieve balance, the most likely explanation is that your camera rig exceeds your gimbal’s payload capacity. In that case, no adjustment technique will solve a physics problem. Invest in a gimbal with a higher payload rating or simplify your rig. For more tips on getting the most out of your stabilization gear, keep exploring our gimbal guides updated for 2026.